by
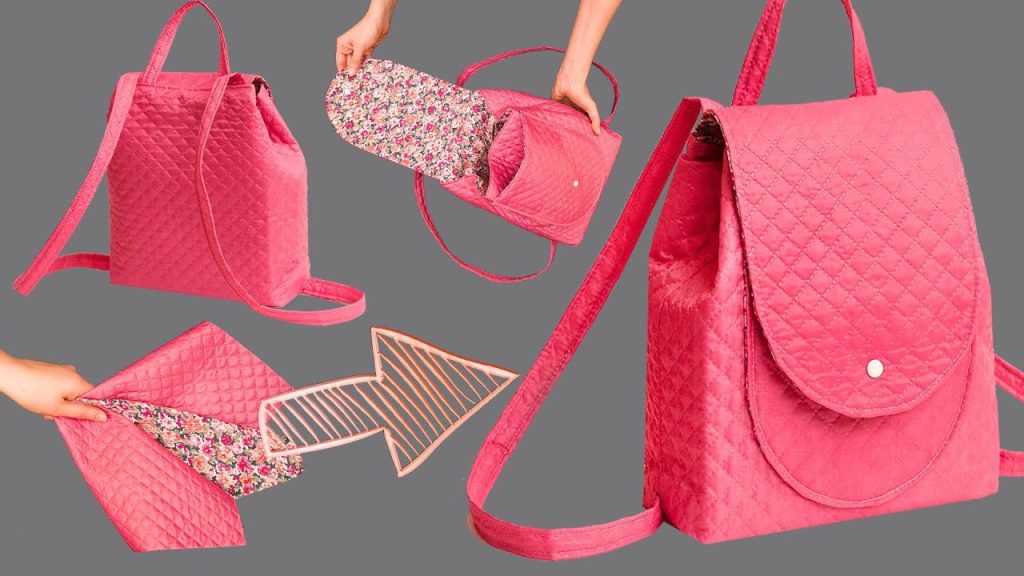
by Imagine the fastest, most straightforward way to sew a comfortable backpack—one that uses simple rectangular pieces, features a secure drawstring top, and requires only basic hardware. This detailed tutorial, inspired by the incredibly simple method in the “DIY the simplest backpack – I will teach you how to sew it!” video from Miarti – Reuse, will guide you through creating this charming, minimalist accessory. The brilliance of this design is its reliance on straight lines and efficient assembly, making it a perfect project for beginners or for batch-making.
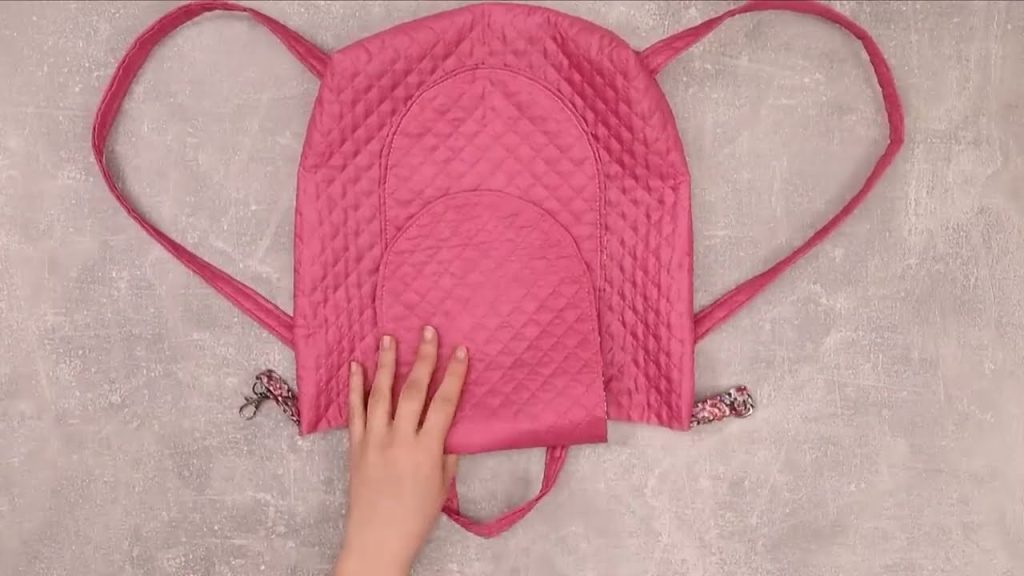
Get ready to transform two simple panels of fabric into a durable, lightweight backpack ideal for carrying gym gear, school books, or daily essentials!
Why This “Rectangular Drawstring” Backpack Will Be Your New Favorite
This design is a testament to the power of simplicity, offering several compelling reasons to make it your next sewing project:
- Lightning Fast: The entire bag is composed of two main rectangles, two strap pieces, and a drawstring channel, ensuring very quick assembly.
- Minimal Cutting: The pattern requires only straight-line cutting—no curves, no boxing, and no complex side panels.
- Secure Drawstring Closure: The top closure is robust and classic, making it easy to open and close quickly.
- Structured Yet Simple: The mandatory use of thick interfacing provides structure without the complexity of traditional boxed corners.
- Beginner-Friendly: It relies entirely on straight stitching, making it an ideal first backpack project.
Materials & Cutting List:
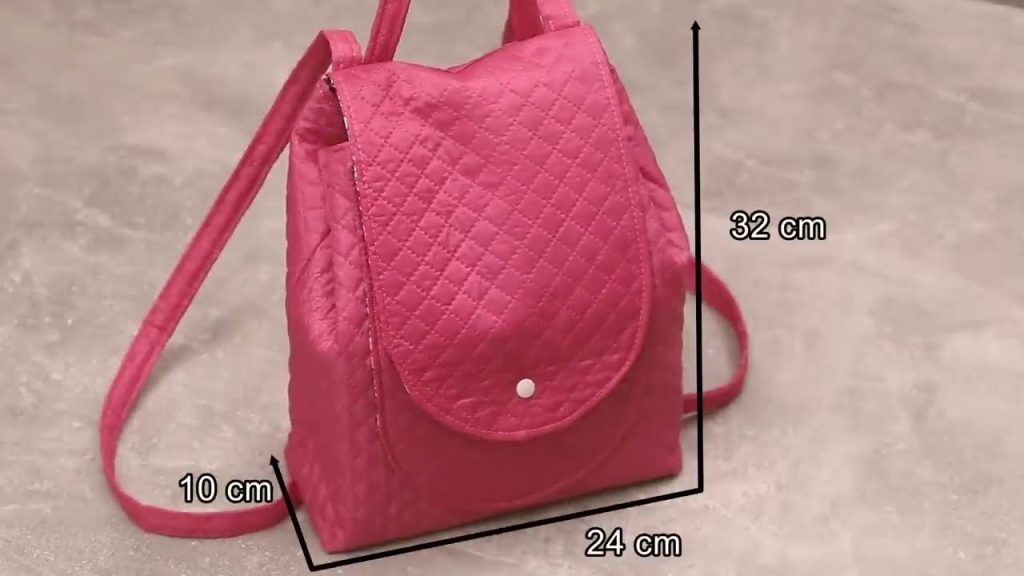
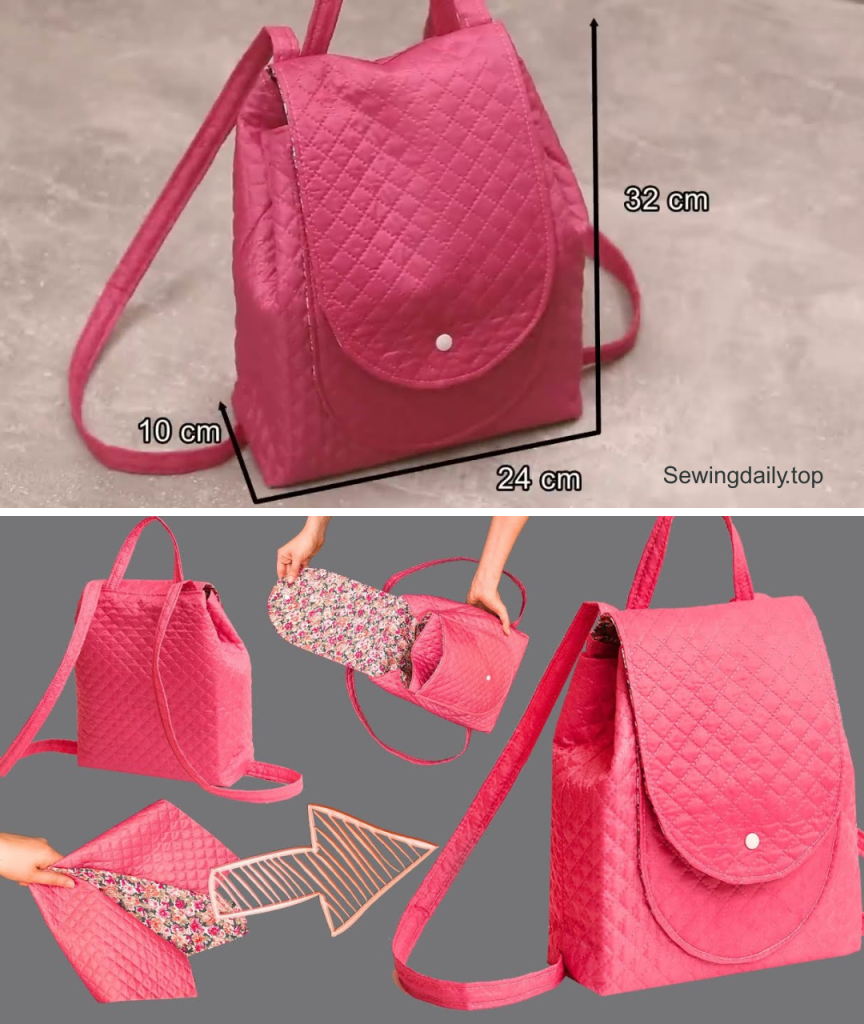
Precision in cutting and marking is key, but the dimensions are entirely up to you. The following dimensions create a medium-sized bag:
| Piece | Fabric | Dimensions | Notes | Video Ref. |
| Main Body Exterior | Sturdy Cotton/Canvas | 2 pieces, 35 cm x 45 cm | Front and Back Panels. | |
| Main Body Interfacing | Thick Fusible Fleece | 2 pieces, 35 cm x 45 cm | Essential for structure. | |
| Lining Fabric | Lightweight Cotton | 2 pieces, 35 cm x 45 cm | ||
| Top Drawstring Channel | Exterior Fabric/Contrast | 2 pieces, 35 cm x 10 cm | The casing for the drawstring. | |
| Shoulder Straps | Webbing/Sturdy Cord | 2 pieces, 140 cm long | The straps also double as the drawstring. | |
| Basic Tools: Sewing machine, ruler, fabric marker, pins/clips, and iron. |
Step-by-Step Tutorial: Crafting Your “Rectangular Drawstring” Backpack
This tutorial is broken down into four key phases: preparation and stabilization, assembling the drawstring channel, constructing the body, and the final drawstring integration. All seam allowances are 1 cm unless otherwise stated.
Phase 1: Preparation and Stabilization
The structure is established by stabilizing the exterior and preparing the top channel pieces.
- Stabilize the Exterior: Iron the Thick Fusible Fleece onto the wrong side of the two Main Body Exterior pieces (35 cm x 45 cm). Fuse it securely to create two rigid panels.
- Prepare Drawstring Channel: Take the two 35 cm x 10 cm Channel pieces.
- Fold each piece in half lengthwise (to 35 cm x 5 cm) and press.
- Open it up. Fold both 35 cm long raw edges inward to meet the center crease, and press firmly.
- Fold in half again along the original center crease. Topstitch along both long edges to create two finished, 5 cm wide casings.
Phase 2: Attaching the Drawstring Channel
The casing for the drawstring is secured to the top of the main panels.
- Attach Channel to Exterior: Lay one Exterior Panel right side up. Lay one prepared Drawstring Channel across the top 35 cm raw edge, aligning the top of the channel with the top raw edge of the bag. Baste the channel in place, stitching only along the top raw edge.
- Attach Channel to Lining: Place one Lining Panel on top (right side down, covering the channel). Stitch all three layers along the 35 cm top edge with a 1 cm seam allowance.
- Repeat: Repeat steps 1 and 2 for the remaining Exterior Panel, Drawstring Channel, and Lining Panel.
- Press and Topstitch: Press the channel and lining away from the exterior on both units. Topstitch along the seam line to hold the layers flat and secure the drawstring channel in place.
Phase 3: Constructing the Body and Anchor Points
The two main units are sewn together, creating the bag body and the bottom anchor points for the straps.
- Sew Body Perimeter: Place the two newly constructed units (Exterior/Channel/Lining) right sides together, matching the exterior to exterior and lining to lining. Pin all around the three open sides.
- Anchor Points: On the bottom 35 cm raw edge of the exterior, mark two points 5 cm in from the side seams. These are your drawstring anchor points.
- Stitch Perimeter: Stitch all around the perimeter (the two 45 cm sides and the 35 cm bottom). Crucially, leave a 15 cm turning opening along the bottom seam of the lining. Stitch securely over the anchor points on the exterior bottom edge, then continue across the lining bottom seam, leaving the opening.
Phase 4: Final Assembly and Drawstring Integration
The bag is turned and the drawstring straps are threaded through.
- Turn Right Side Out: Reach into the turning hole left in the lining bottom seam. Carefully pull the entire bag right side out through the hole. Stitch the lining hole closed (by machine or hand).
- Push Lining Inside: Push the lining neatly inside the exterior bag. Press the bag flat, especially the seams.
- Thread the Drawstring: Take one 140 cm Shoulder Strap/Cord.
- Starting from the outside of the front channel, thread the strap all the way through the front channel.
- Once it exits, thread it through the back channel.
- The two ends of this strap should now emerge on the same side of the bag.
- Tie the two ends together tightly to create a loop, and then stitch the knot to the bottom anchor point (5 cm in) on that side of the exterior.
- Repeat for Second Strap: Take the second 140 cm Shoulder Strap/Cord.
- Starting from the outside of the front channel on the opposite side, thread it through the channels as before (front, then back).
- Tie the two ends together and stitch the knot to the opposite bottom anchor point.
Your unique “Rectangular Drawstring” Backpack is complete! This structured, simple, and functional bag is ready for use!
Video tutorial: