 by
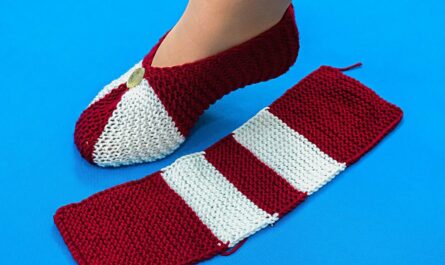
by Absolutely! I can give you a step-by-step guide to making simple knitted slippers for a baby aged 0–3 months. I’ll keep it easy, beginner-friendly, and detailed. Let’s go!
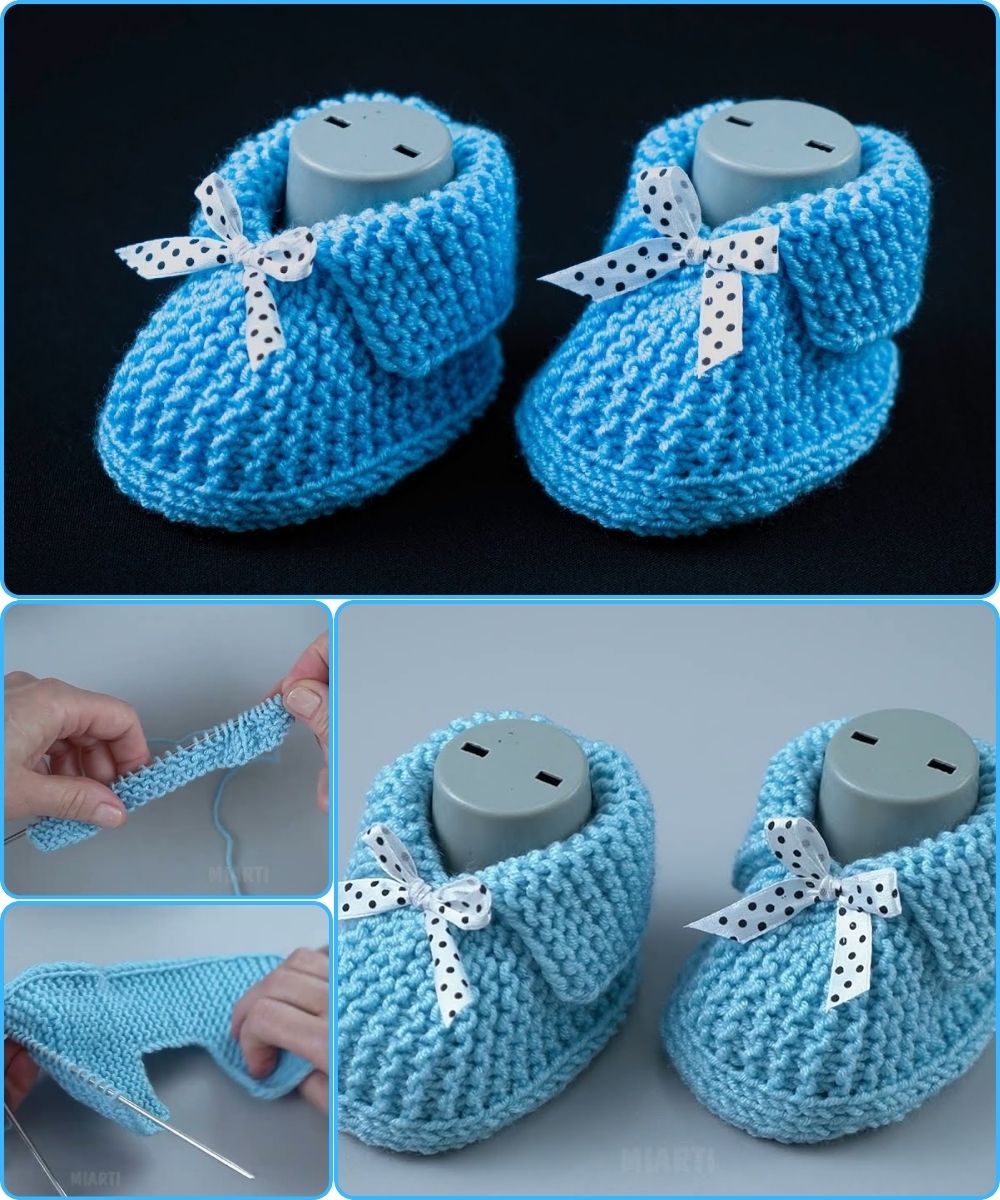
🧶 Materials You’ll Need:
-
Yarn: Soft baby yarn (acrylic or cotton, machine washable). Worsted weight (#4) is easiest.
-
Knitting needles: Size US 6–8 (4–5 mm), depending on yarn thickness.
-
Tapestry needle: For sewing pieces together and weaving in ends.
-
Scissors
-
Optional: Small non-slip grips for soles if you want a safer slipper for crawling.
📏 Size for 0–3 Months:
-
Baby foot length: ~3 inches (7.5 cm)
-
Baby foot width: ~2 inches (5 cm)
This is approximate; babies grow fast, so slippers will be cozy but not tight.
🧵 Step 1: Cast On
-
Cast on 24 stitches using the long-tail cast-on method (for a stretchy edge).
-
This will form the base of the slipper.
🧵 Step 2: Knit the Sole
-
Work in Garter Stitch (knit every row) for 12 rows.
-
This creates the bottom of the slipper.
-
-
Check length: It should measure about 3 inches (the length of the baby’s foot).
🧵 Step 3: Form the Upper Foot
-
After the sole, continue knitting in Stockinette Stitch (knit one row, purl next) for 8–10 rows.
-
This forms the top of the foot.
🧵 Step 4: Shape the Toe
-
Decrease at each end of the row to shape the toe:
-
Row 1: K2tog at start, K to last 2 stitches, K2tog at end
-
Row 2: Knit across (or purl if working in stockinette)
-
-
Repeat these 2 rows until you have about 8 stitches remaining.
🧵 Step 5: Finish the Toe
-
Cut yarn, leaving a 6-inch tail.
-
Thread tail through a tapestry needle, pull through remaining stitches, and tighten to close the toe.
-
Secure yarn and weave in ends.
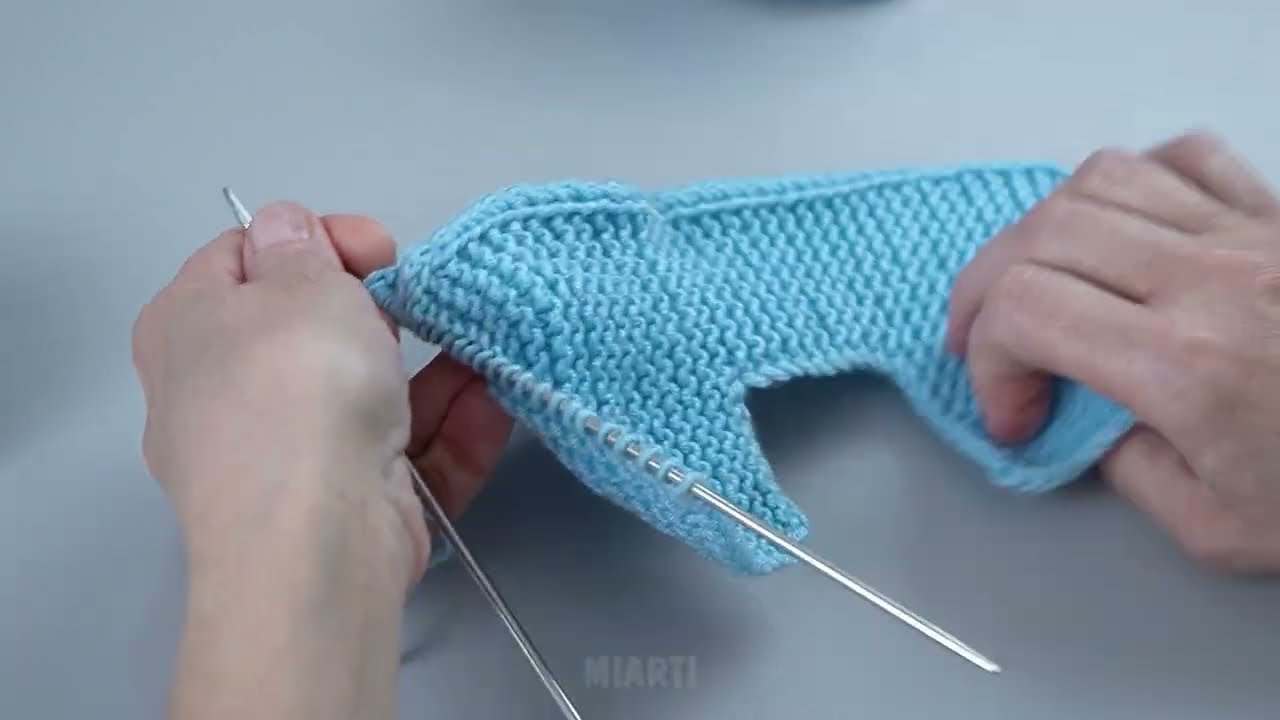
🧵 Step 6: Make the Heel
-
Pick up stitches along the back edge of the slipper (about 12 stitches).
-
Knit 6 rows in garter stitch.
-
Fold the heel back and sew edges together using mattress stitch or whip stitch.
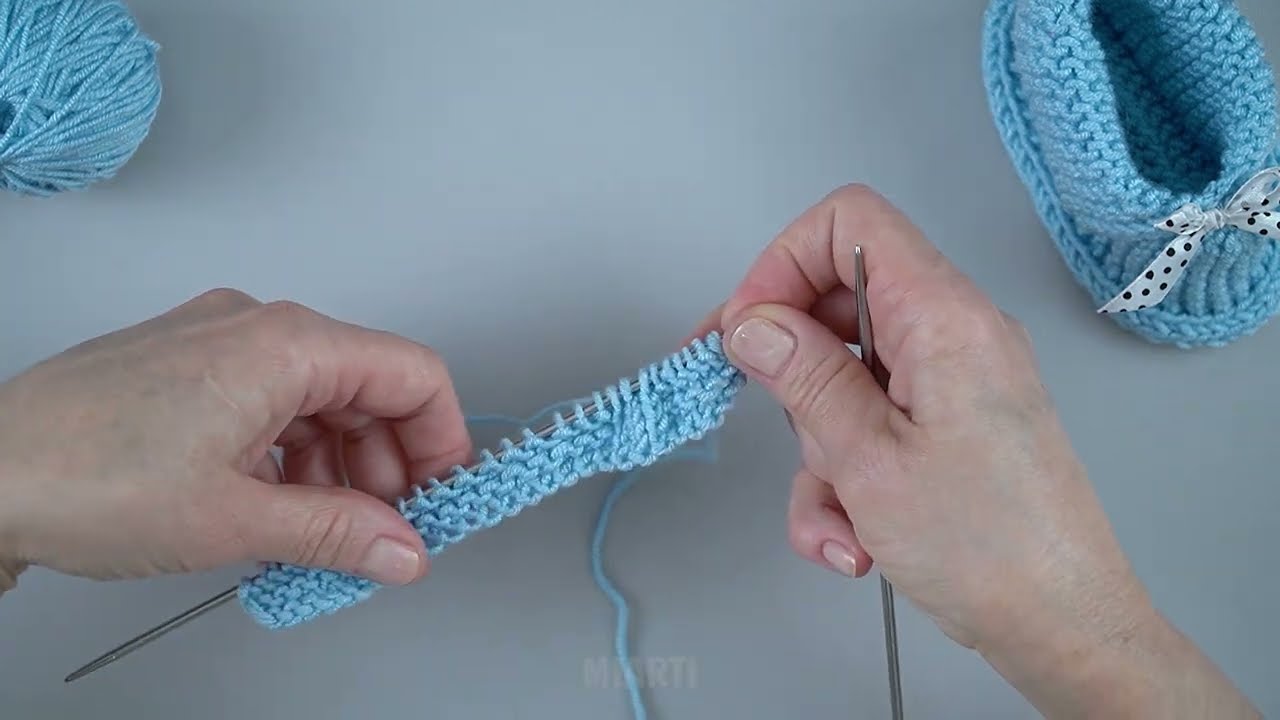
🧵 Step 7: Optional Cuff
-
Pick up stitches around the ankle (~20 stitches).
-
Knit in ribbing (K1, P1) for 6–8 rows for a stretchy, snug cuff.
-
Bind off loosely and weave in ends.
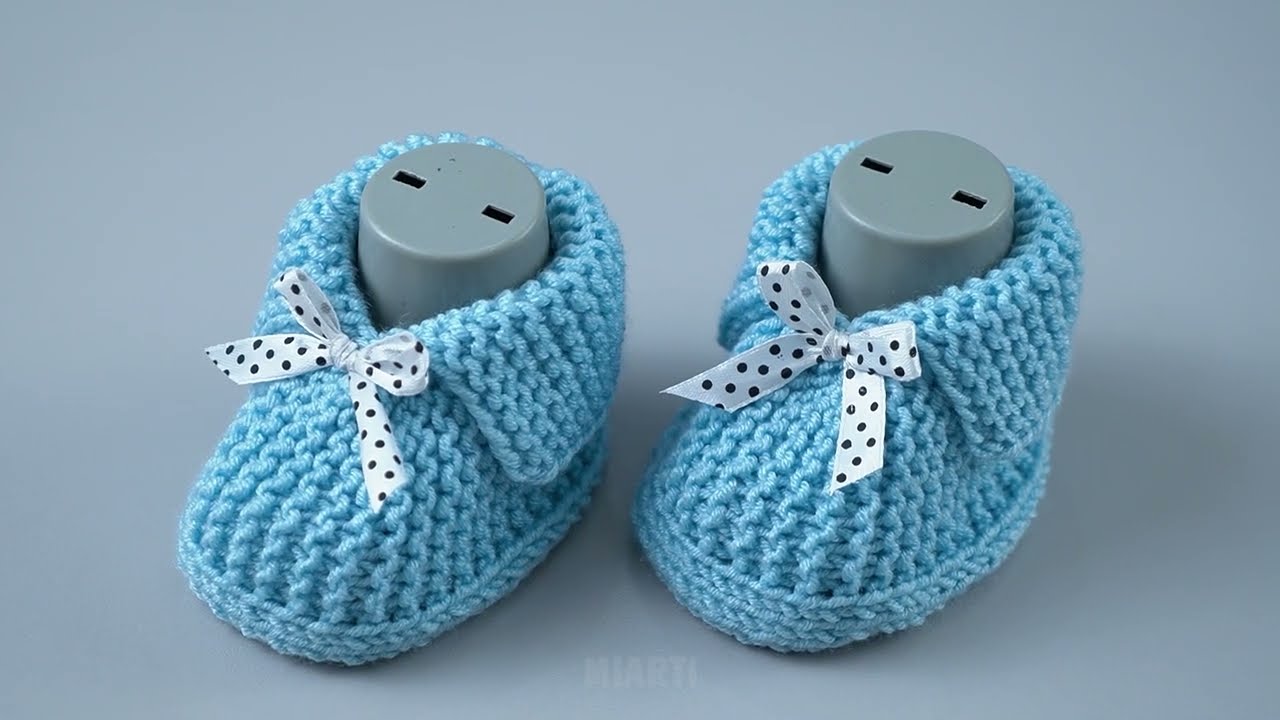
✅ Step 8: Finishing Touches
-
Weave in all ends neatly.
-
Optionally, sew tiny buttons, bows, or non-slip grips.
-
Wash gently in baby-safe detergent before first wear.
💡 Tips for Beginners
-
Use light-colored yarn so you can see stitches clearly.
-
Keep tension loose, so the slippers are soft and comfortable.
-
If you want quicker slippers, you can knit the sole flat, then fold and sew sides instead of shaping toe separately.
-
Use baby yarn for softness and machine washability.
If you want, I can draw a simple diagram showing each step visually, which makes it super easy for beginners to follow. It’ll be like a mini knitting blueprint for baby slippers!
Watch video: