 by
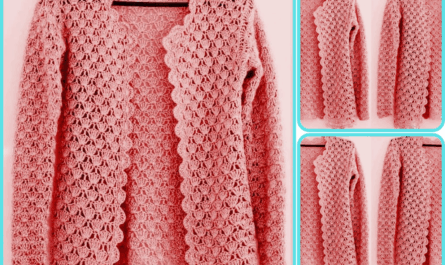
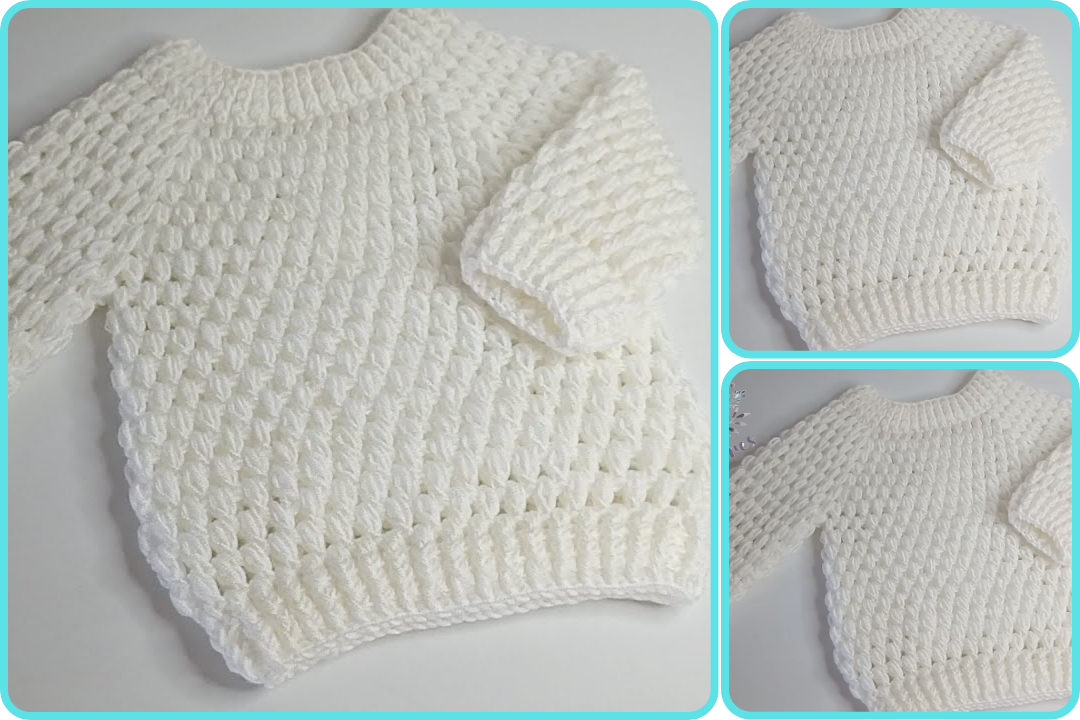
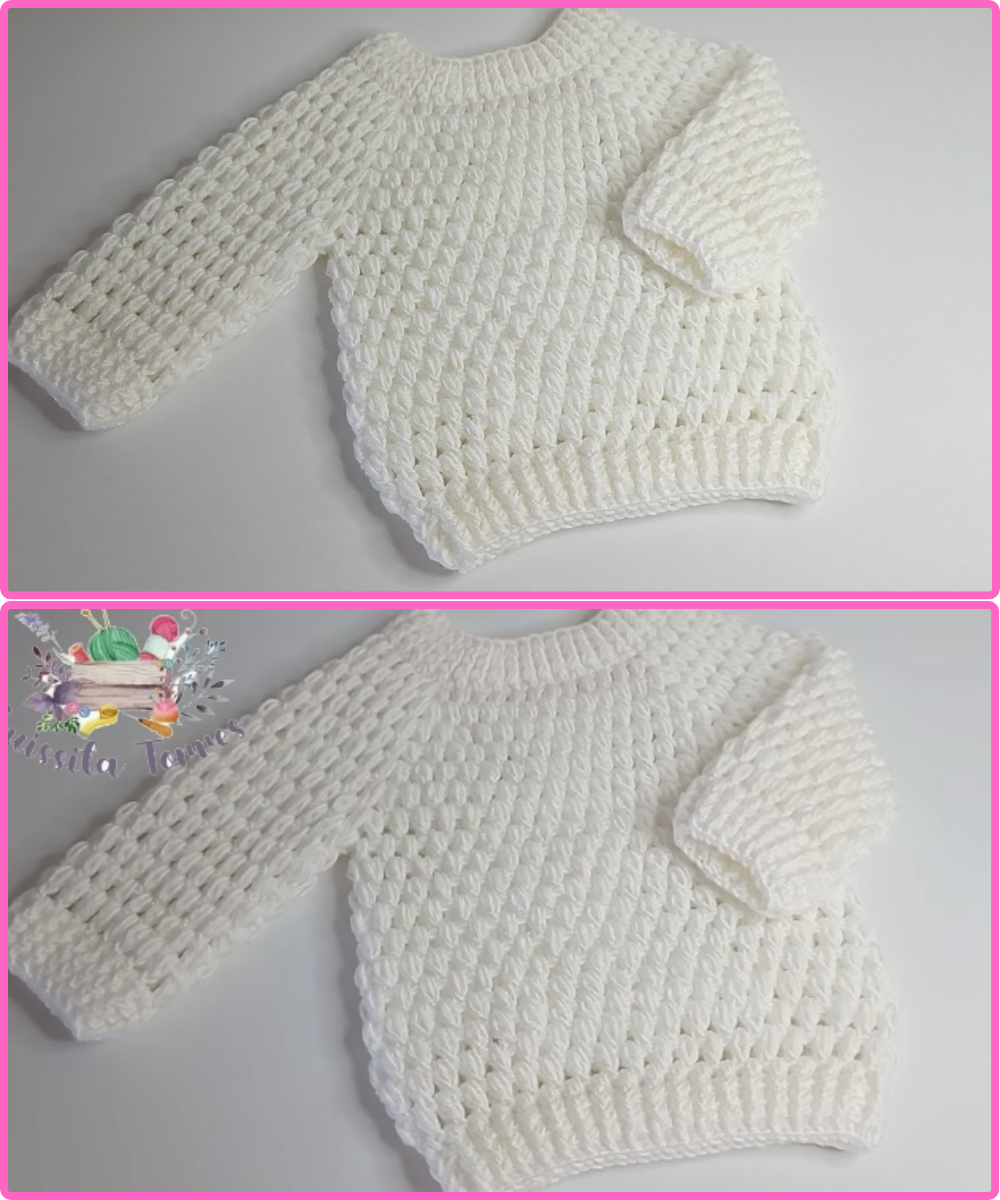
by Creating a crocheted puffer coat or sweater for a newborn (0 to 3 months) is a heartwarming and practical project for babies, especially in colder weather. While the term puffer typically refers to a quilted look in sewn jackets, we can replicate a similar puffed and cozy texture using bulky yarn and textured crochet stitches like the puff stitch or bobble stitch.
This guide will walk you through making a simple step-by-step crocheted puffer-style baby coat/sweater, ideal for beginners.
🧶 Materials Needed
-
Yarn: Bulky (weight 5) or worsted weight (weight 4) yarn in soft acrylic or cotton blend
-
Approx. 150g – 200g for 0–3 months size
-
-
Crochet Hook: Size 5.5 mm to 6.5 mm (I-9 to K-10.5) – check yarn label for recommendation
-
Buttons or zipper (optional, for closure) – 3 to 5 baby-safe buttons
-
Yarn needle – for weaving in ends
-
Scissors
-
Stitch markers
👶 Measurements for 0–3 Months
| Part | Measurement |
|---|---|
| Chest | 16–17 inches |
| Sweater Length | 9–10 inches |
| Sleeve Length | 6 inches |
| Armhole Depth | 3.5 inches |

🧵 Stitches Used
-
CH – Chain
-
SC – Single Crochet
-
DC – Double Crochet
-
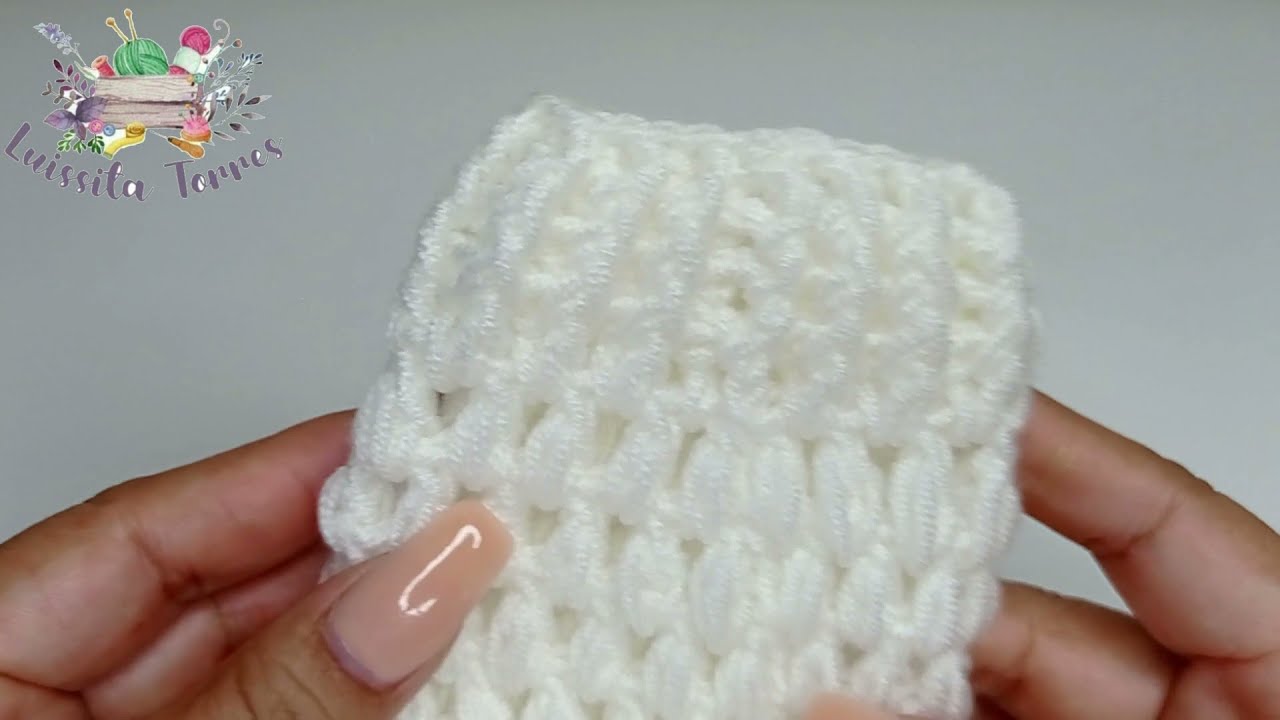
Puff Stitch – Yarn over, insert hook into stitch, pull through, repeat 3–4 times in same stitch, yarn over and pull through all loops
-
SL ST – Slip Stitch
-
INC – Increase (2 stitches in 1)
-
DEC – Decrease (combine 2 stitches)
🧥 Step-by-Step: Baby Puffer Coat/Sweater (0–3 Months)
🪡 Step 1: Yoke (Top of Sweater)
We’ll start from the top down, creating a round yoke style sweater.
Foundation Chain:
-
CH 50
-
Join with SL ST to form a circle (if you prefer, work in rows and seam later for a cardigan-style opening)
Round 1:
-
CH 2, DC in each stitch, join with SL ST (50 DC)
Round 2–5 (Increasing for Yoke):
-
Work 2 DC in every 5th stitch to gradually increase
-
By end of Round 5, you should have about 65–70 stitches
✂️ Step 2: Separate Body and Sleeves
From the yoke, we will now separate stitches for sleeves and body.
-
Count and mark:
-
12 stitches for each sleeve
-
20 for front, 20 for back
-
Join for Body:
-
Work DC across 20 front, skip 12 for sleeve, work DC across 20 back, skip 12 for other sleeve
You should now have 40 DC around the body.
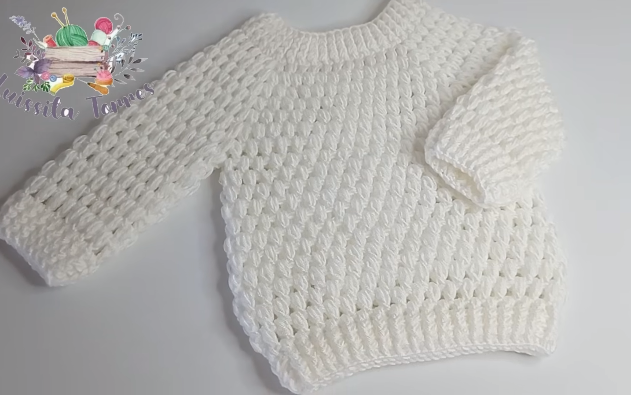
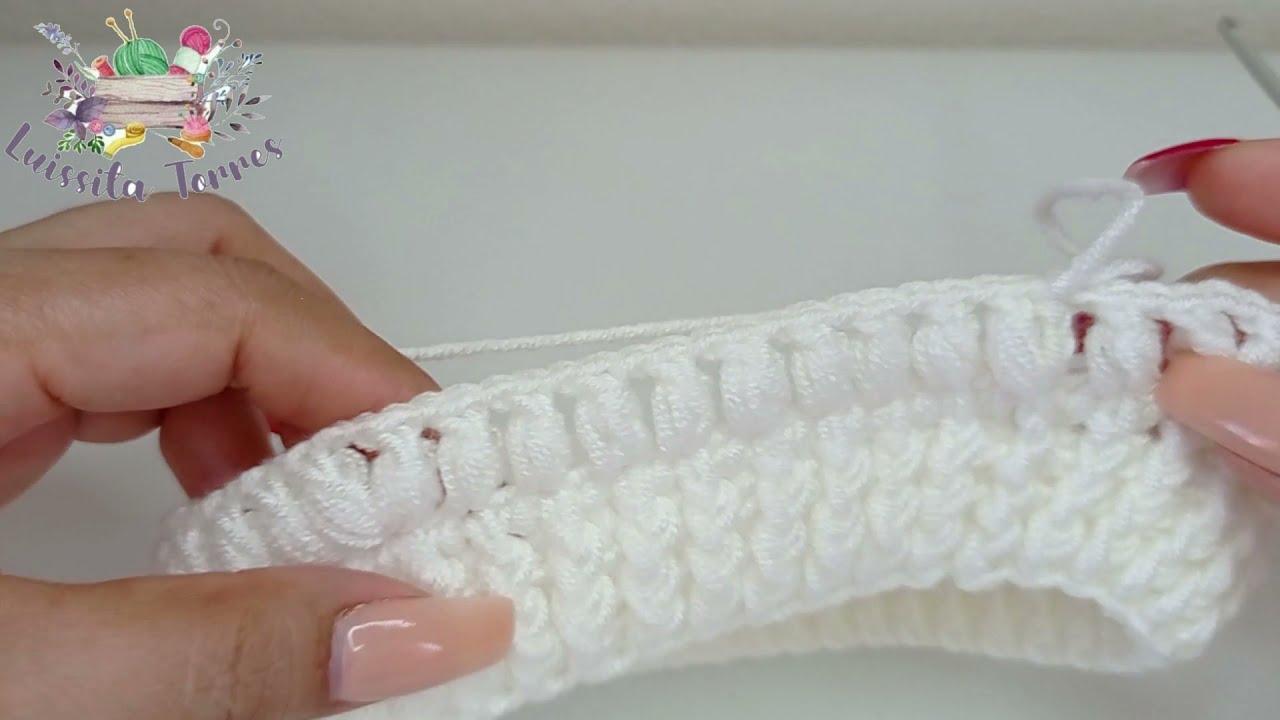
🧶 Step 3: Body Section (Make it Puffy!)
Work 8–10 rows in puff stitch or alternating puff/DC for that soft, padded texture.
Body Pattern:
-
Row 1: CH 2, (DC in next stitch, puff stitch in next) repeat around
-
Row 2: CH 2, (puff stitch in DC, DC in puff stitch) repeat
-
Repeat for 8–10 rows or until it reaches 9 inches total length
You can finish with 2 rows of SC for a neat hem.
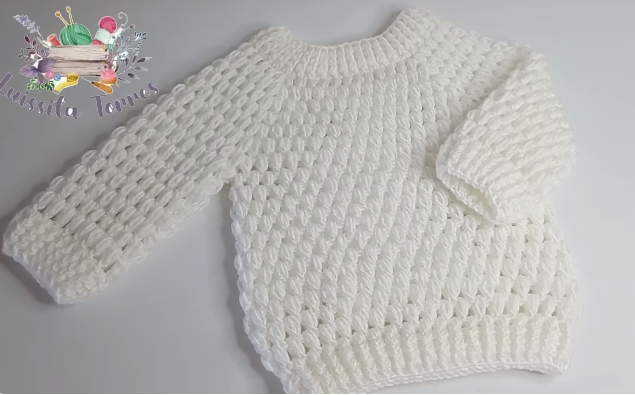
🧶 Step 4: Sleeves (Make Puffy and Snug)
Reattach yarn to sleeve opening.
Sleeve Pattern:
-
Round 1: Join yarn, CH 2, DC evenly around (approx. 20–24 stitches)
-
Round 2–5: Work puff/DC stitch pattern
-
Round 6–8: Decrease slightly for cuff (DEC every 6th stitch)
-
Final 1–2 rounds: SC or ribbed cuffs (optional)
Repeat for second sleeve.
🧶 Step 5: Collar or Hoodie (Optional)
For a Turtleneck Collar:
-
Join yarn to neck edge
-
CH 2, work BLO HDC for 4–6 rows to create a soft foldable collar
For a Hoodie:
-
Work from neck edge upward
-
CH 2, DC in each stitch, increase gradually
-
After 5–6 inches, fold and sew back seam
🪡 Step 6: Finishing Touches
-
Closure Options:
-
Sew buttons down the front (use SC buttonholes if you created a cardigan style)
-
Or sew in a baby-safe zipper
-
-
Weave in all loose ends
-
Block lightly with steam (no heat on acrylic yarn!)
💡 Tips
-
Always check the gauge if using different yarns.
-
Use soft yarn only; rough textures can irritate baby skin.
-
You can line the inside with flannel or fleece for added warmth (sew-in carefully).
🧥 Optional Variations
-
Color Blocking: Use 2 or 3 soft pastel colors for stripes.
-
Hooded Poncho Style: Instead of sleeves, continue body in a wide flare.
-
Matching Booties or Mittens: Use leftover yarn to create accessories.
Watch video: