 by
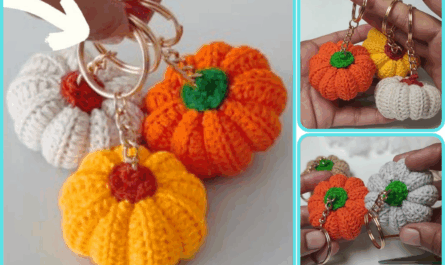
by Absolutely! I can guide you step by step on how to make simple slippers with just 2 knitting needles. This will be a beginner-friendly, quick option—perfect if you want cozy slippers without complicated techniques. I’ll give you all the details, including materials, measurements, and knitting instructions.
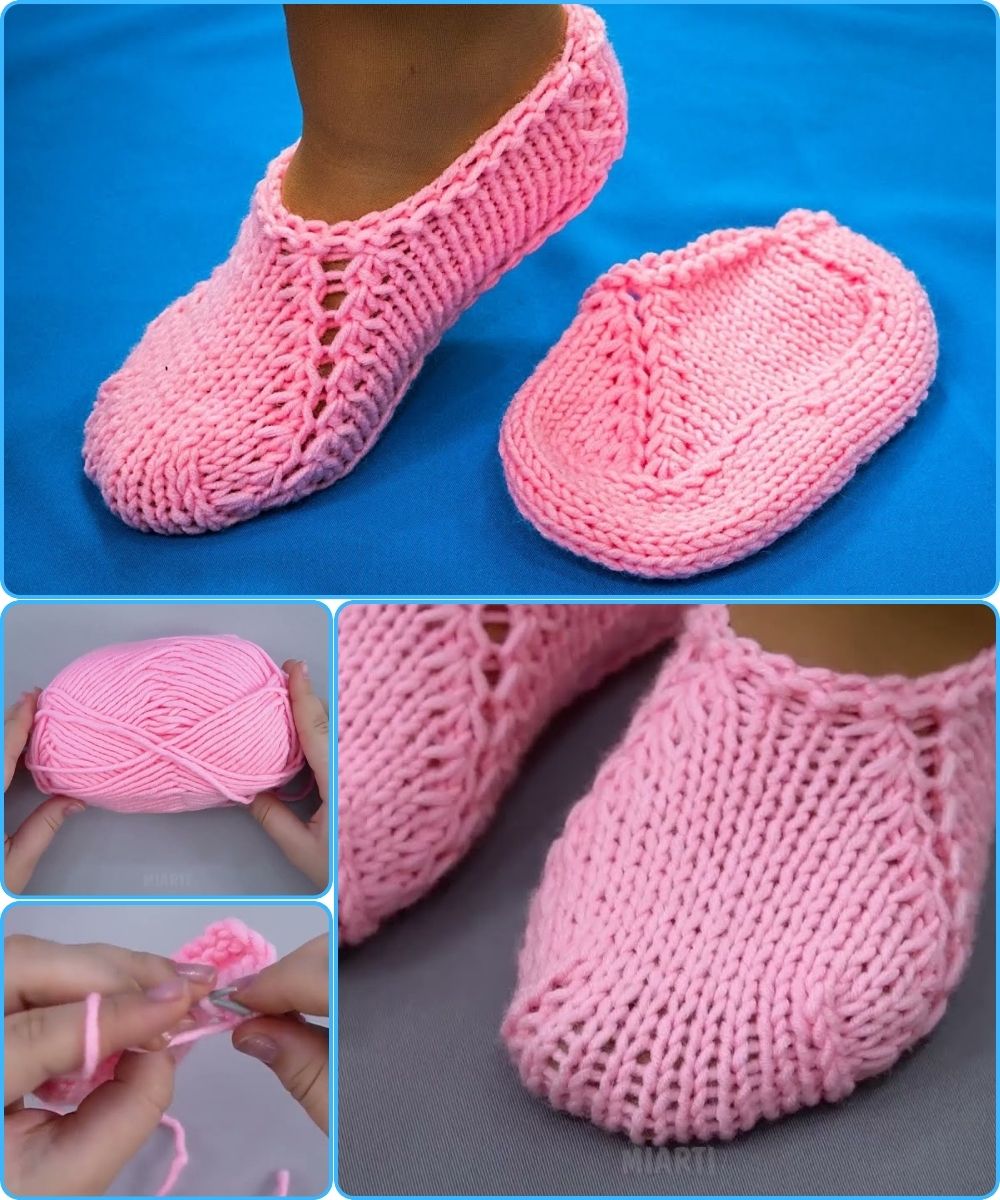
🧶 Materials You’ll Need:
-
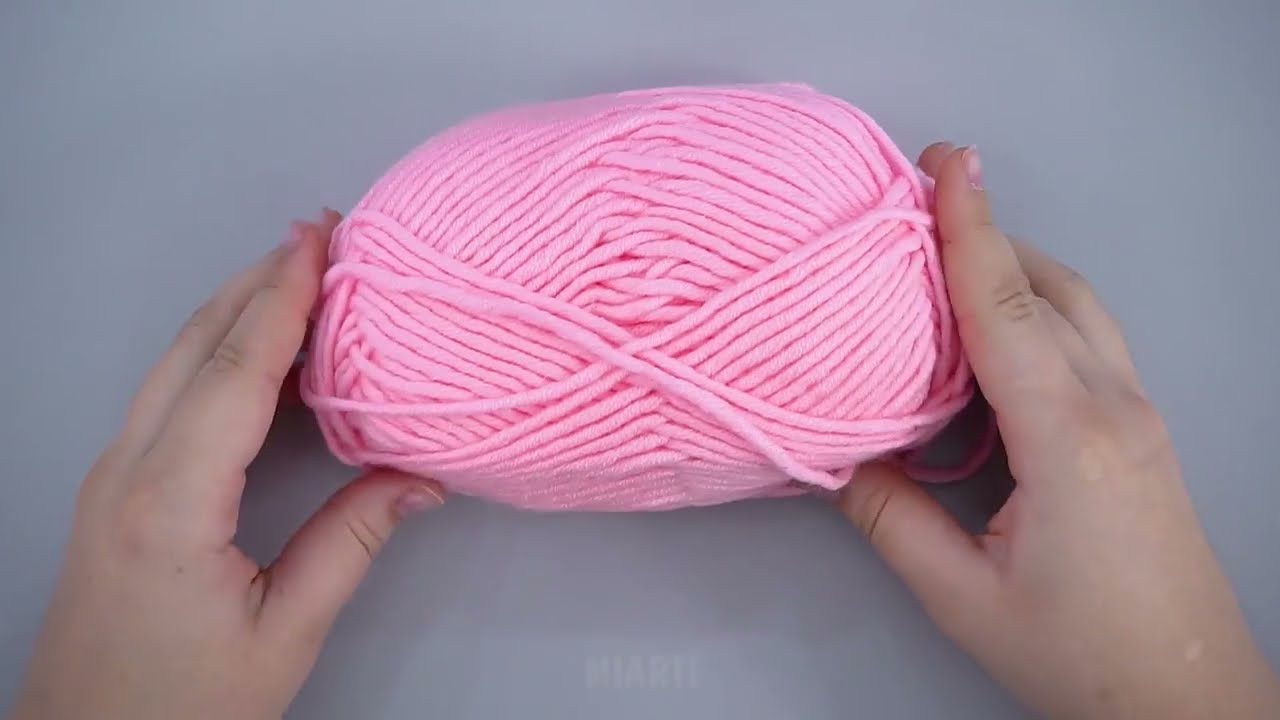
Yarn: Medium-weight (worsted) yarn. Wool or acrylic works well. You’ll need about 100–150g per pair.
-
Knitting needles: 2 straight needles, size 5–7 mm (depends on your yarn thickness).
-
Scissors and tapestry needle (for sewing and finishing).
-
Optional: non-slip sole pads if you plan to wear them on slippery floors.
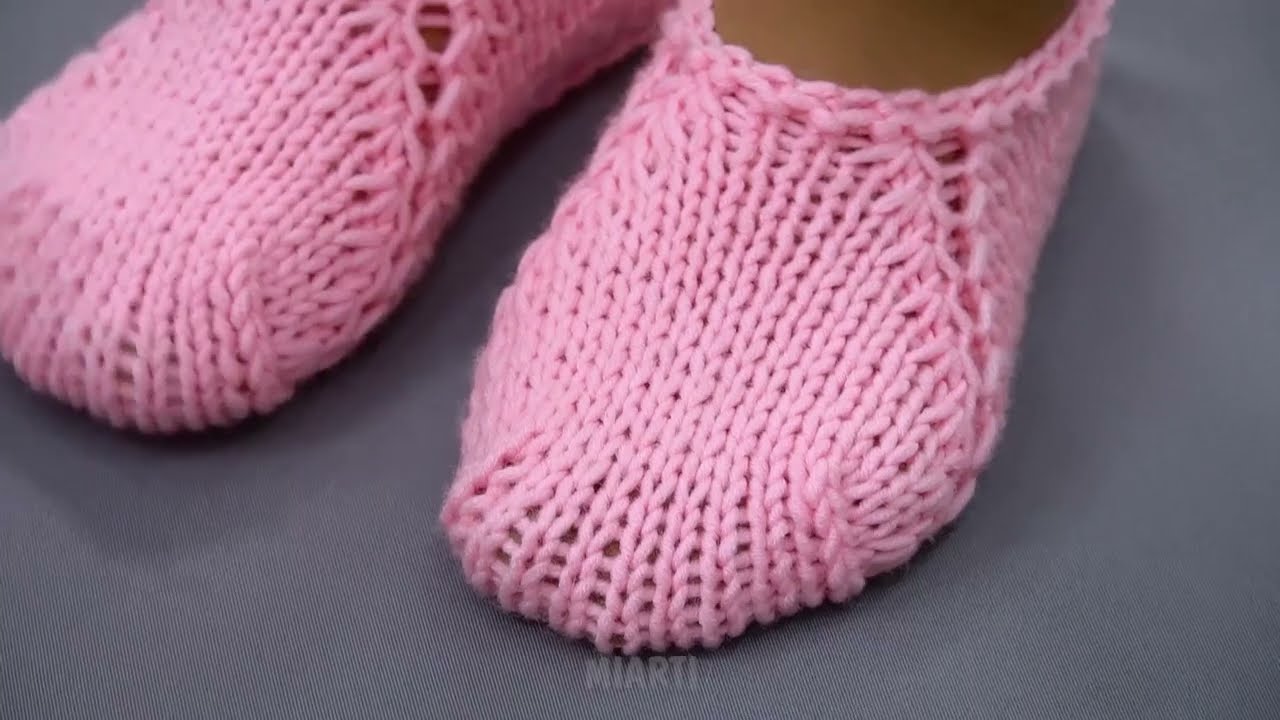
👣 Basic Idea:
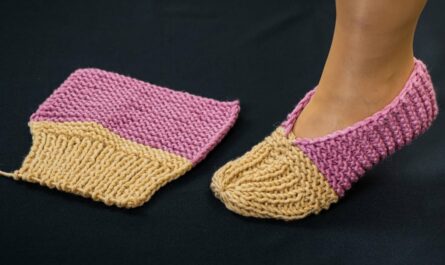
We’ll make simple slip-on slippers. The slipper will consist of two main parts:
-
Sole (bottom part)
-
Top/upper (the part that covers your foot)
We’ll knit the sole first, then the upper, and sew them together. This method works in garter stitch (knit every row) for simplicity.
🔹 Step 1: Measure and Cast On
-
Measure your foot length in cm/inches.
-
Cast on enough stitches to match the width of your foot. For an average adult, usually 30–40 stitches depending on your yarn thickness and needle size.
-
Knit in garter stitch (knit every row) until the piece measures the length of your foot minus about 2–3 cm for shaping.
🔹 Step 2: Shape the Sole
-
To create a rounded toe:
-
Knit 2 stitches together at the beginning and end of every other row for the first few rows (reduces stitches gradually).
-
-
Stop decreasing when the sole reaches your desired toe shape.
This gives you a slightly rounded sole that fits the foot nicely.
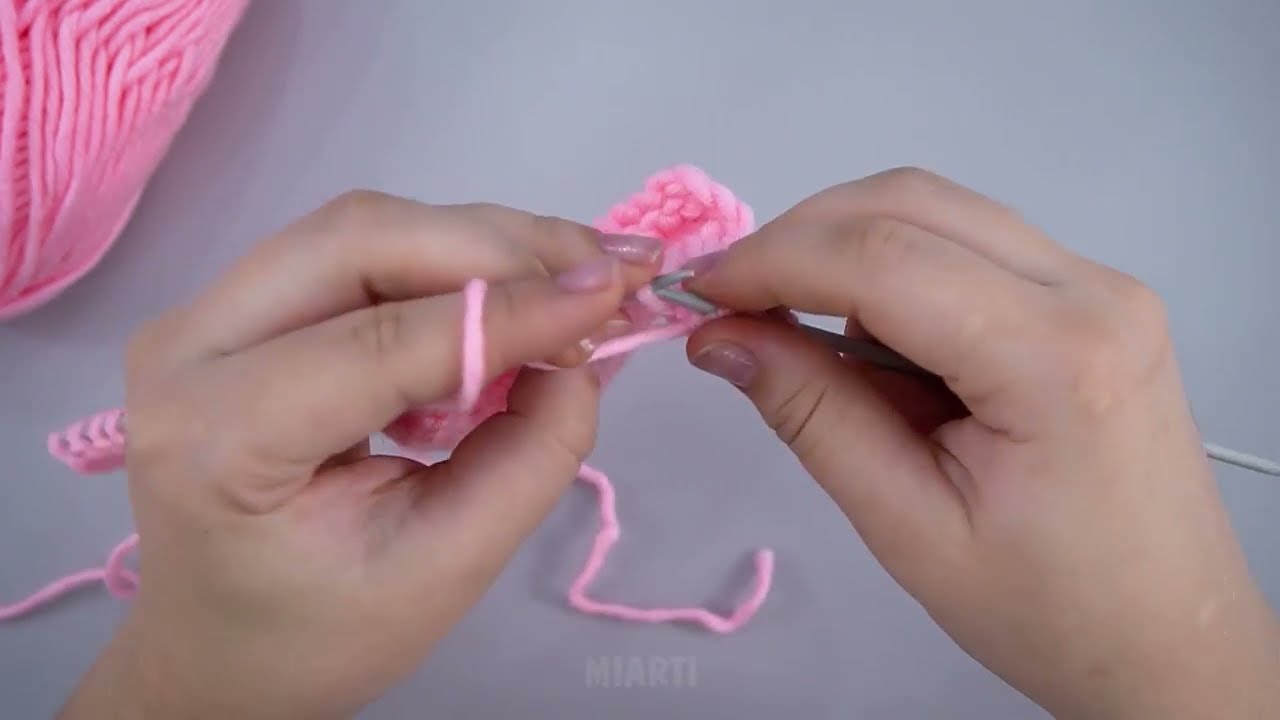
🔹 Step 3: Knit the Upper
-
Pick up stitches along the sides of the sole (using the same yarn) or knit a rectangle separately.
-
Knit in garter stitch until the piece covers the top of your foot.
-
Optional: Make it slightly taller at the front for a slipper that stays on better.
-
-
You can also shape the front:
-
For a rounded front, decrease 1 stitch at each edge every 2–3 rows.
-
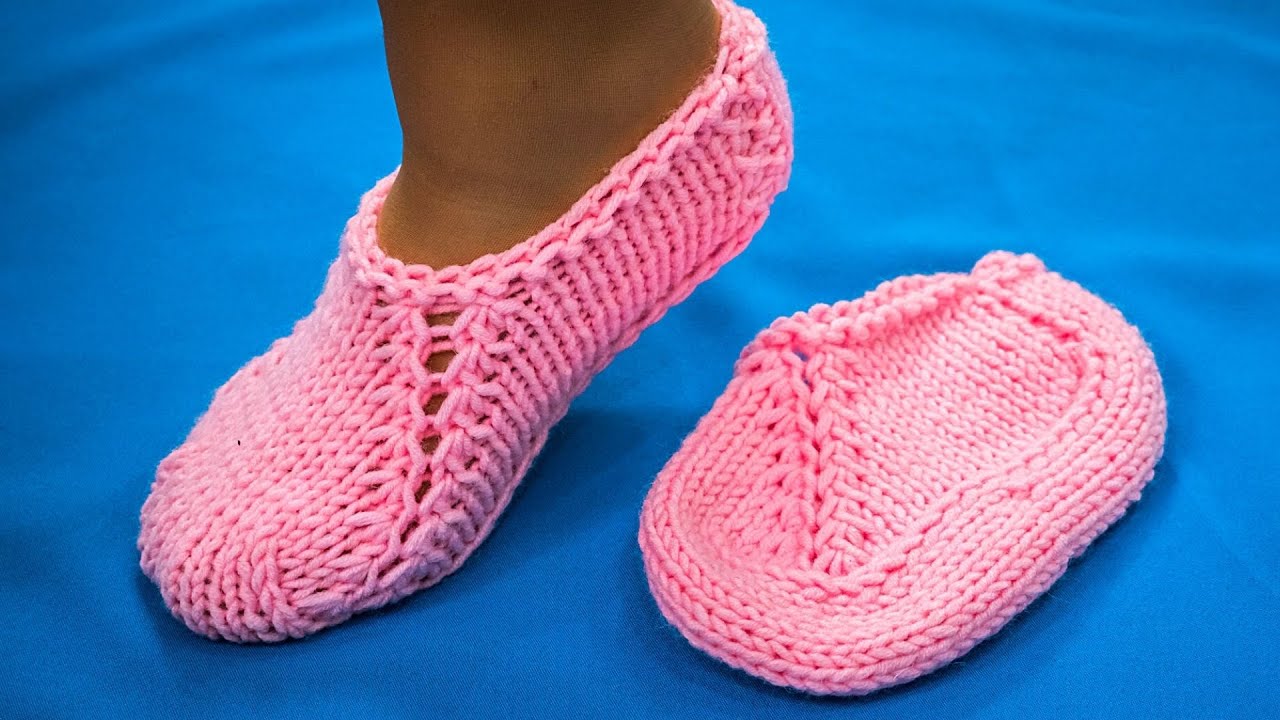
🔹 Step 4: Assemble the Slipper
-
Fold the upper over the sole.
-
Use your tapestry needle to sew the sides together.
-
Use a simple mattress stitch or whip stitch.
-
-
Try on your slipper before finishing to adjust tightness.
🔹 Step 5: Finishing Touches
-
Weave in any loose ends.
-
Optionally, add a non-slip sole using fabric paint or rubber pads.
-
You can also add a decorative edge with single crochet if you like.
⏱ Time Estimate
-
Beginner: 2–3 hours for one pair
-
Intermediate: 1–2 hours
🔹 Tips for Quick Results:
-
Use chunky yarn and big needles — it will knit faster and give a cozy slipper.
-
Keep it simple with garter stitch — no need for fancy patterns unless you want.
-
Make one test slipper first to check sizing before making the pair.
If you want, I can also draw a simple diagram showing the shape and stitch placement so it’s much easier to follow visually.
Watch video: