 by
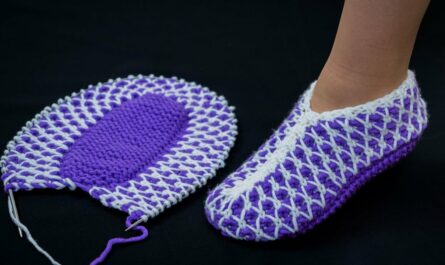
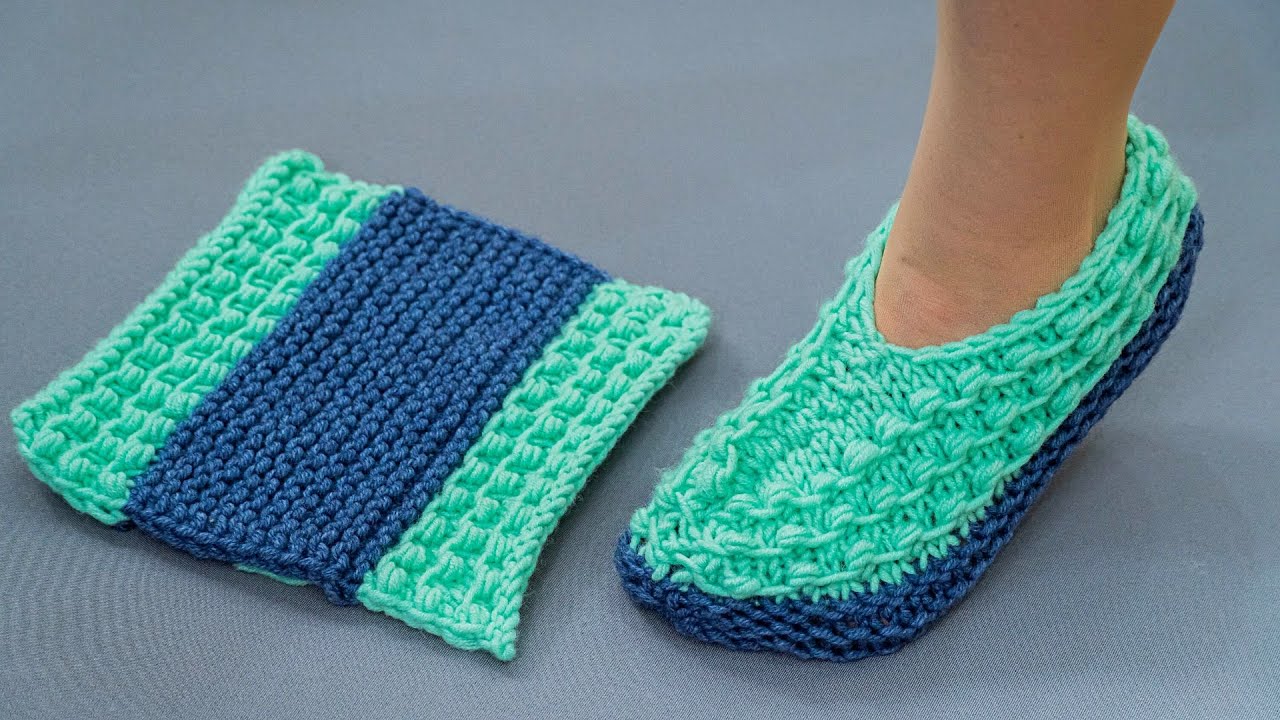
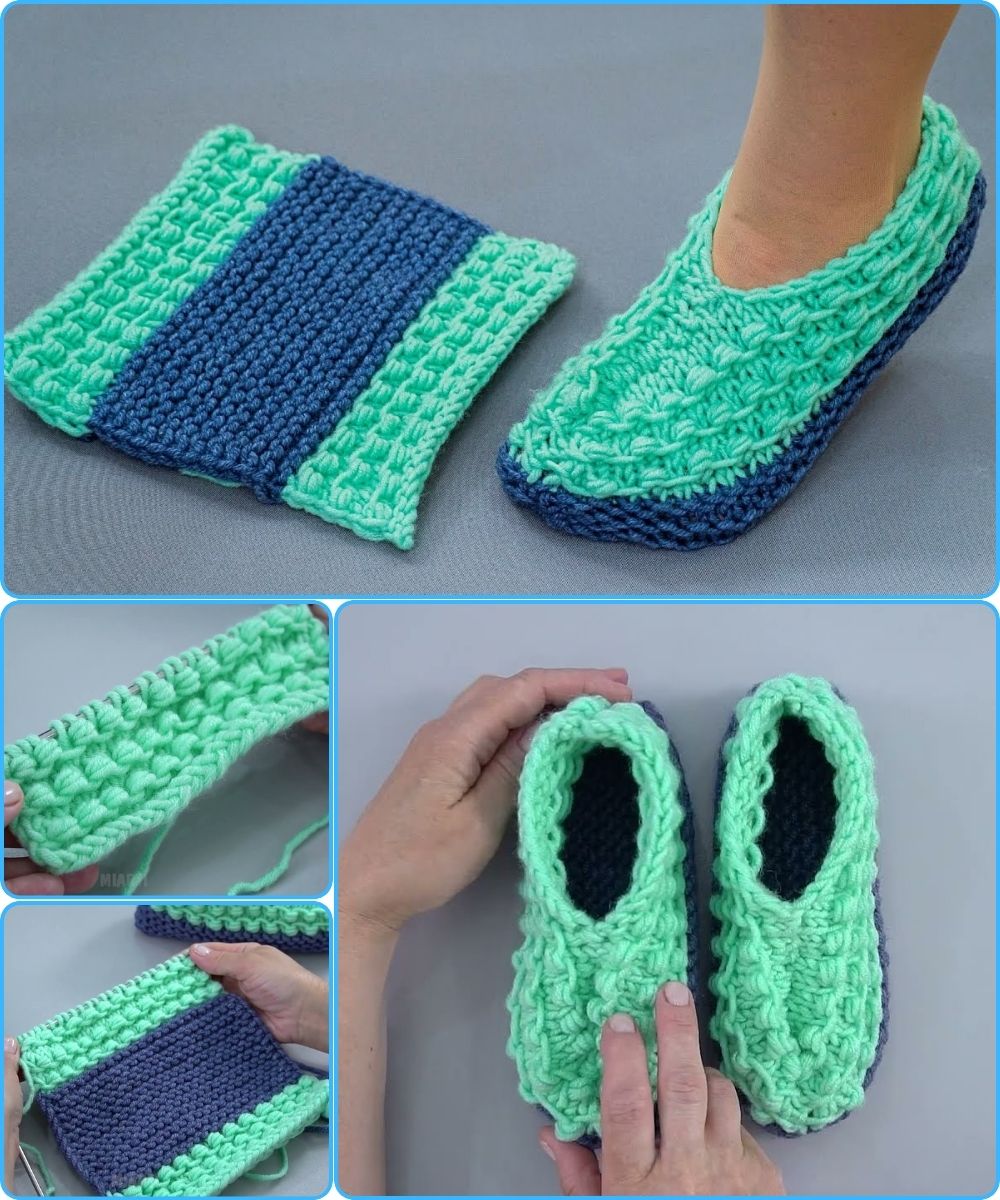
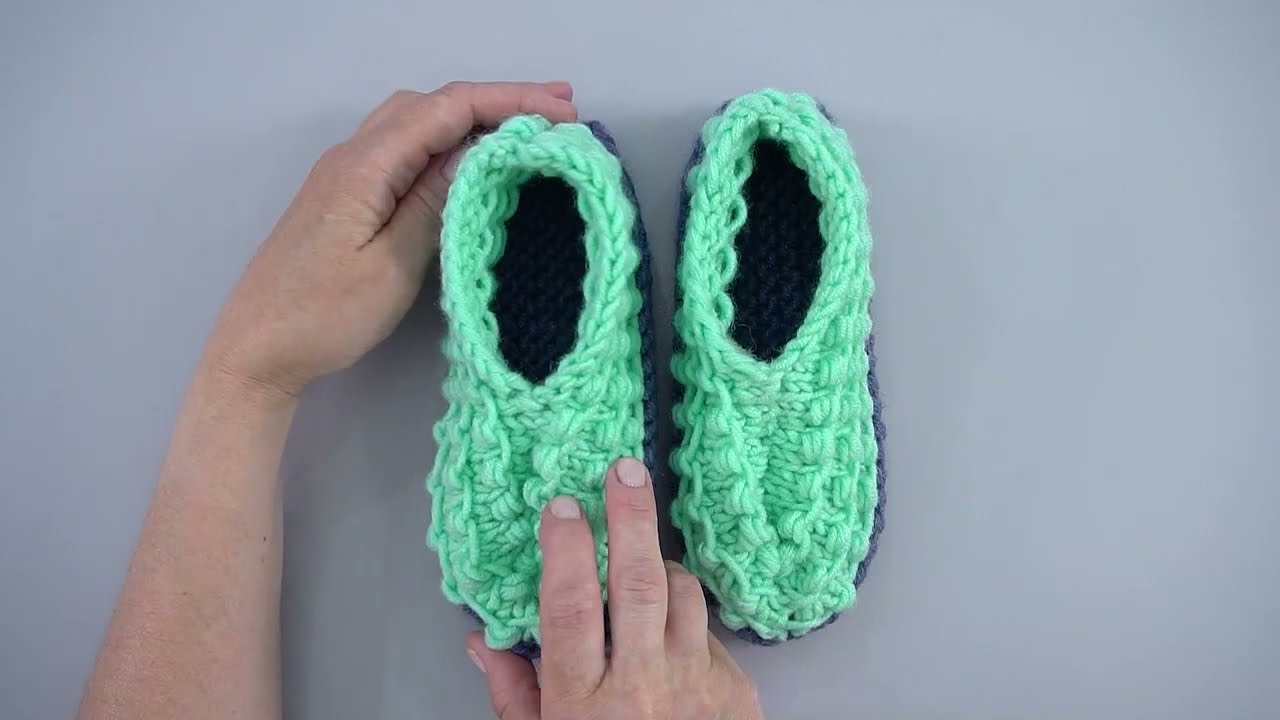
by Absolutely! Let’s go step by step. I’ll explain how to make a simple knitted slipper that has no seam on the sole, which makes it comfortable to wear. This is a beginner-friendly project, but I’ll include details so you can visualize it clearly.
Materials Needed
-
Yarn: Medium weight yarn (like worsted) works best.
-
Knitting needles: Size suitable for your yarn (usually US 7–9 / 4.5–5.5 mm).
-
Stitch markers
-
Tapestry needle (for weaving in ends)
-
Optional: Non-slip sole paint or fabric glue for slipper bottoms.
Concept
To make slippers without a seam on the sole, we knit them in the round using short rows for shaping the heel and toe. That way, everything is smooth, and you don’t have a line across the sole.
Step 1: Cast On
-
Measure the width of your foot.
-
Using circular needles or double-pointed needles (DPNs), cast on stitches to fit the widest part of your foot (the ball).
-
Example: 40–50 stitches depending on foot size and yarn thickness.
-
-
Join in the round carefully, making sure the stitches are not twisted. Use a stitch marker to mark the beginning of the round.
Step 2: Knit the Sole
-
Work in stockinette stitch (knit every round) for the sole.
-
Knit until the length reaches just before the heel of the foot.
Step 3: Shape the Heel with Short Rows
Short rows allow you to create a cup shape for the heel without seams.
-
Divide the stitches into three sections:
-
Heel stitches (back of the foot)
-
Foot stitches (sides)
-
-
Work short rows:
-
Knit to the end of the heel stitches minus a few, then turn.
-
Purl back to the other end minus a few, then turn.
-
Repeat, decreasing the gap each time until the heel is curved.
-
-
This creates a smooth, rounded heel with no seam.
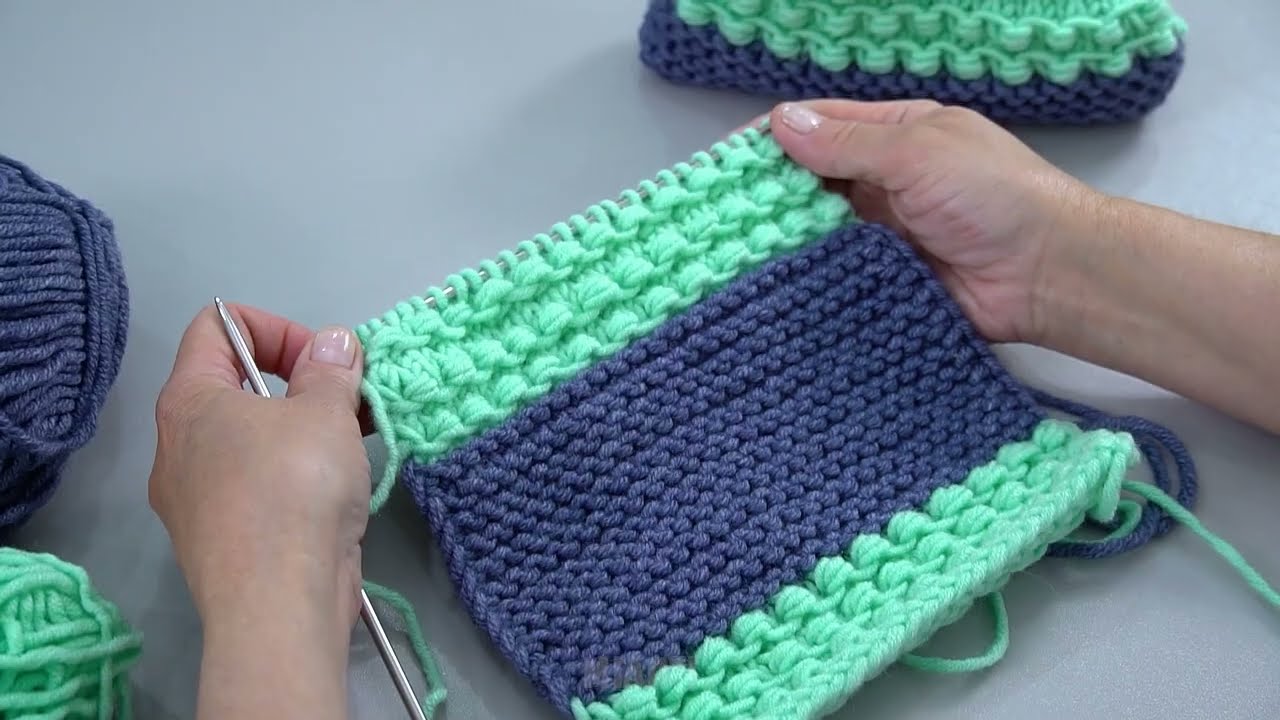
Step 4: Knit the Upper Part of the Slipper
-
Once the heel is shaped, continue knitting in the round over all stitches.
-
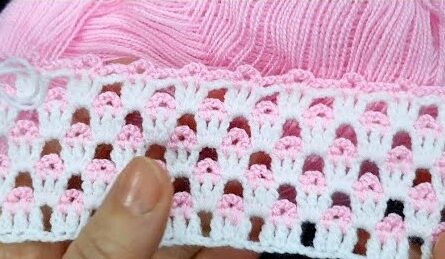
You can knit the upper foot as stockinette, ribbing, or a simple pattern.
-
Decide on the height of the slipper (ankle-high or just covering the foot).
Step 5: Shape the Toe (with Short Rows)
-
Like the heel, use short rows to shape the toe.
-
Start decreasing gradually over the toe stitches by knitting partial rows and turning early, until the toe is rounded and smooth.
-
This ensures the sole stays seamless.
Step 6: Finish the Slipper
-
Bind off loosely to keep the slipper stretchy.
-
Weave in all ends using a tapestry needle.
-
Optional: Add non-slip dots or fabric paint to the sole for grip.
Tips
-
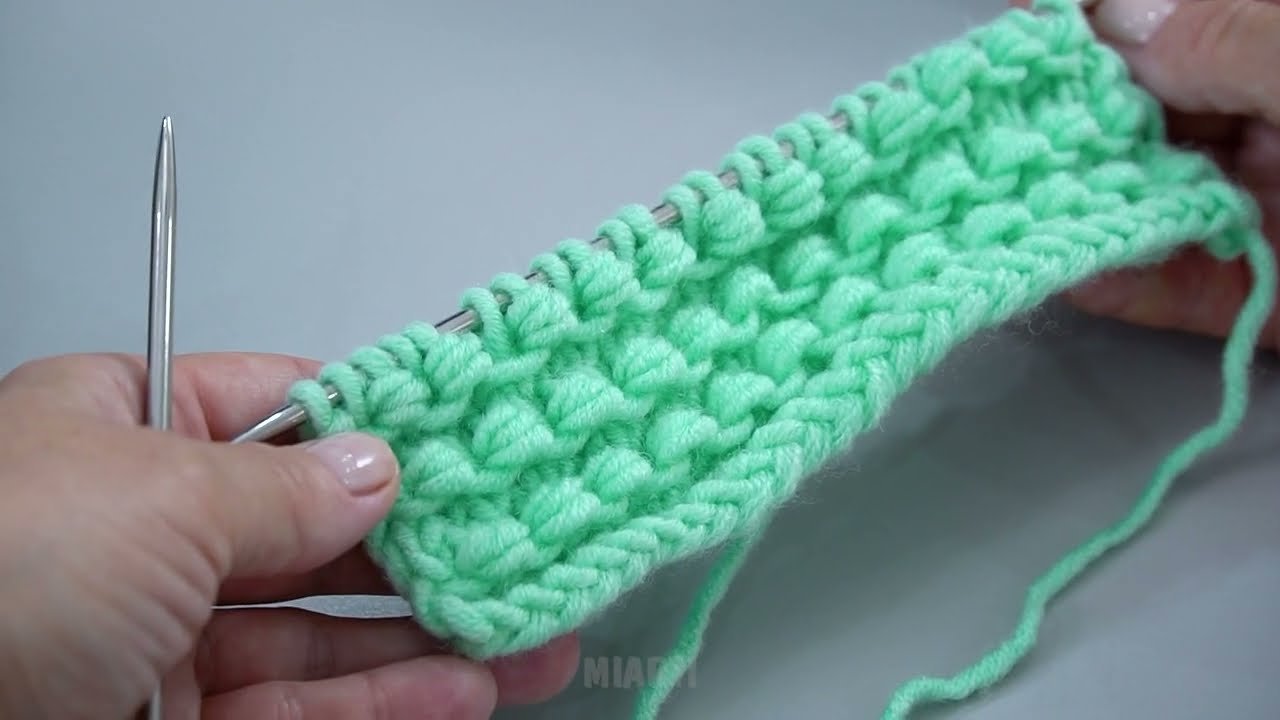
Use elastic yarn or ribbing at the top for a snug fit.
-
Try the slipper on as you go to adjust length and width.
-
Practice short rows separately if you’ve never done them—they’re key for a seam-free sole.
Result
You get a slipper that is soft, cozy, and comfortable, with no irritating seam on the bottom, perfect for wearing around the house.
If you want, I can draw a simple diagram showing exactly how to shape the heel and toe with short rows—this makes it super easy to follow for beginners.
Watch video: