 by
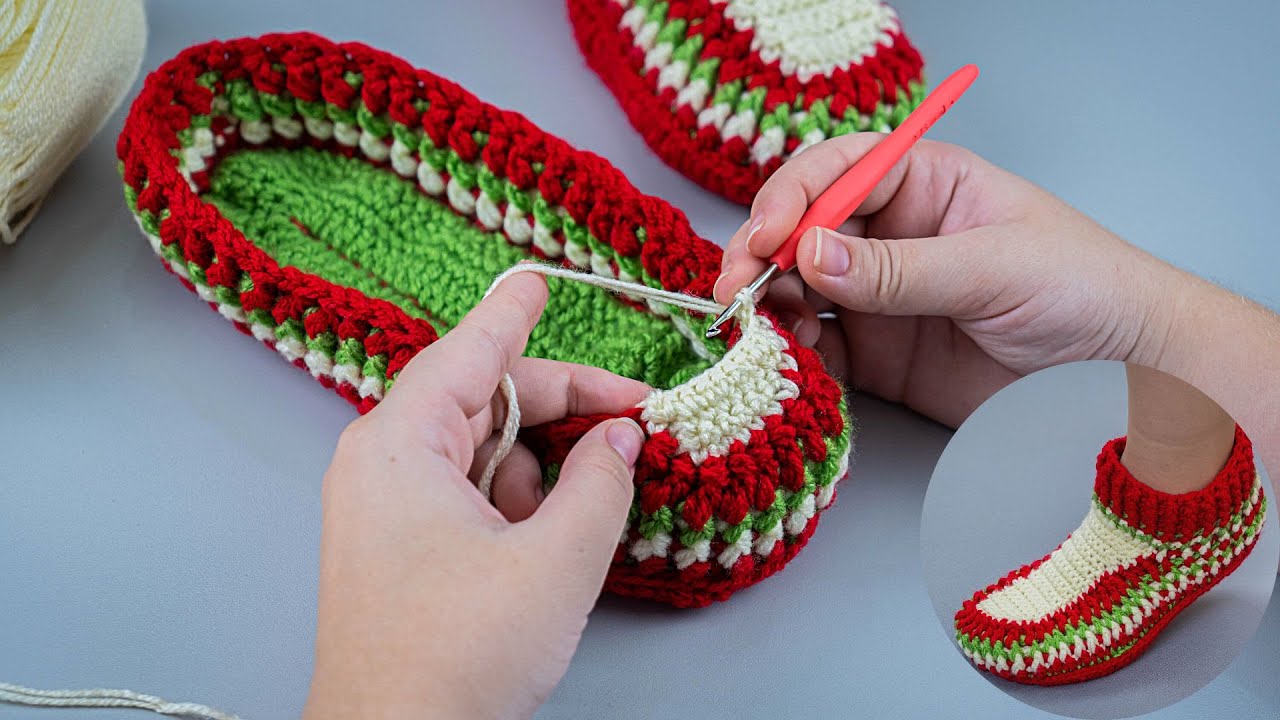
by Absolutely! I can give you a step-by-step guide to make elegant, simple crochet slippers with a sole that can be adapted to any size. I’ll include materials, instructions, and tips for sizing. I’ll make it detailed but easy to follow, even if you’re a beginner.

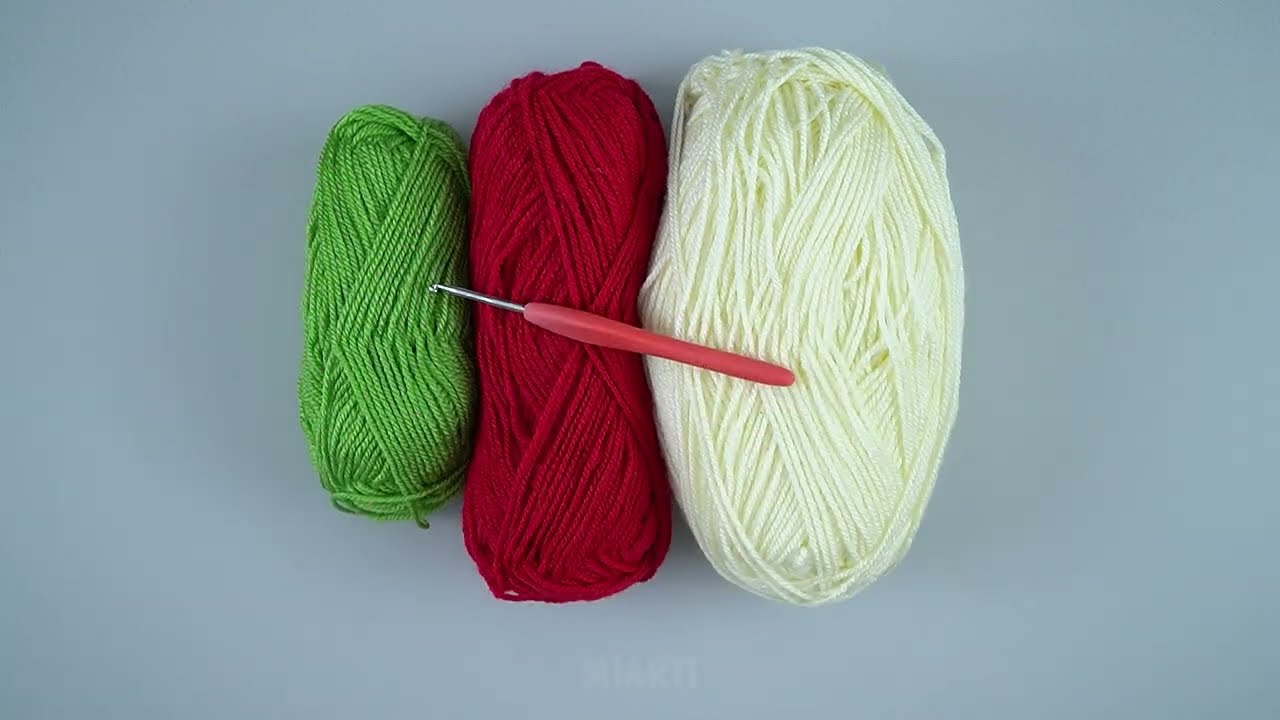
Materials You’ll Need
-
Yarn: Medium weight (worsted #4) yarn works well. You can choose cotton for summer or acrylic/wool for warmth.
-
Crochet hook: Usually 5.0 mm (H) works with worsted weight yarn. Adjust based on yarn thickness.
-
Scissors
-
Yarn needle for weaving in ends
-
Measuring tape for sizing
-
Optional: Non-slip sole pads or puffy paint if you want grip on slippery floors.
Step 1: Measure the Foot
-
Measure the length of the foot from heel to toe.
-
Measure the width of the foot at the widest point (usually around the ball of the foot).
-
Note these measurements — you’ll use them to make the sole fit perfectly.
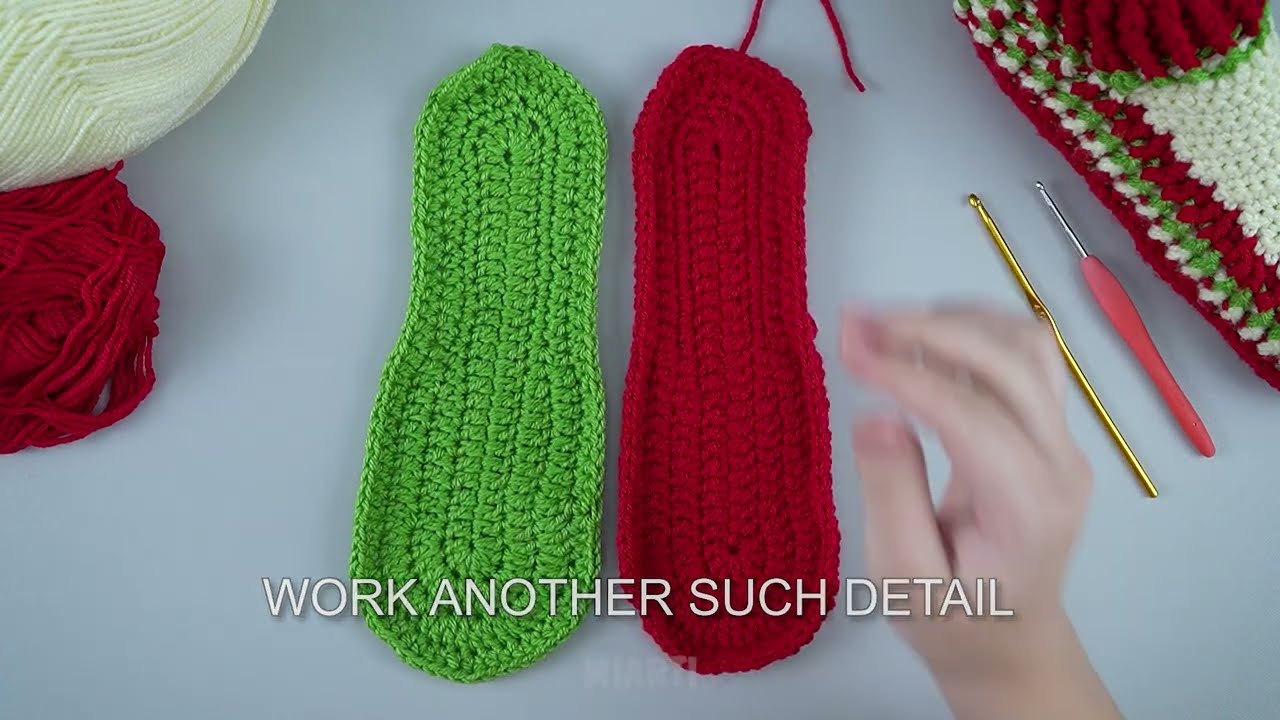
Step 2: Make the Sole
We’ll use a simple oval shape that can be expanded for any size.
Instructions:
-
Foundation Chain:
-
Chain the number of stitches equal to the length of the foot (use your measurement in inches, then chain a stitch for each cm or inch depending on your gauge).
-
Example: For a 9-inch foot, chain about 12–15 stitches depending on yarn thickness.
-
-
First Row (Start the Oval):
-
Single crochet (sc) in the 2nd chain from hook and across until 3 chains remain.
-
In the last 3 chains, make 3 sc in the last chain (this creates a rounded tip).
-
Continue on the other side of the chain foundation (sc across), making 3 sc in the first chain to round the other tip.
-
Join with a slip stitch at the start of the row.
-
-
Next Rows (Widen the Sole):
-
Round 2: Single crochet around, increasing 1 sc on each rounded tip evenly.
-
Round 3–5: Continue sc around, adding increases at the rounded ends as needed to match the width of the foot.
-
Keep checking against the foot for proper width and length.
-
Tip: The sole should feel slightly snug but comfortable.
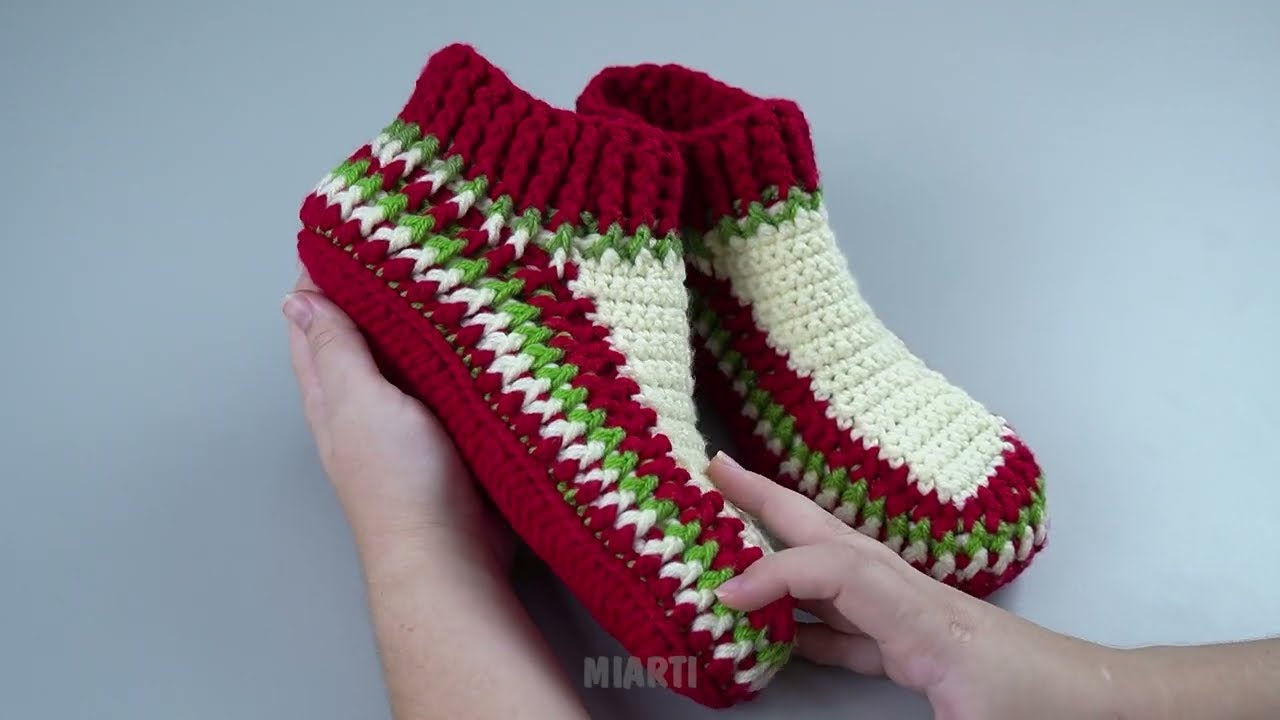
Step 3: Make the Upper Part
The upper part can be simple and elegant with a basic stitch.
-
Decide if you want a slip-on style or slightly open toe.
-
Simple Slip-On:
-
Attach yarn at one side of the sole, near the arch.
-
Work single crochet or half double crochet (hdc) across the top part of the foot.
-
Work in rows until the upper covers about 2/3 of the foot.
-
Make the last row a bit tighter to hold the foot comfortably.
-
-
Optional Decorative Edge:
-
Add a scallop or shell stitch around the slipper opening for elegance.
-
Step 4: Finishing
-
Weave in all ends using a yarn needle.
-
Check the fit by trying the slippers on.
-
Optionally, sew on non-slip pads or use fabric paint dots on the sole for safety.
Tips for Adjusting Size
-
Length: Change the starting chain to match foot length.
-
Width: Add or remove increases on the rounded ends of the sole.
-
Upper Fit: Make more or fewer rows for the top depending on how snug or loose you want it.
-
Yarn & Hook: Thicker yarn gives a chunkier slipper; thinner yarn makes it lighter and more delicate.
Optional Elegant Touches
-
Use variegated or pastel yarn for a chic look.
-
Add a small bow or crochet flower on the upper front.
-
Use a slightly glossy yarn (like cotton-blend) for a classy finish.
If you want, I can draw a simple diagram showing the sole and upper layout with stitch placement, so it’s visually clear how to make these slippers for any size. It makes this pattern super beginner-friendly.
Watch video: