 by
by Absolutely! Let’s make a detailed, beginner-friendly tutorial for knitting a simple scarf-snood (a cozy circular scarf). I’ll break it down step by step, including tips for absolute beginners.
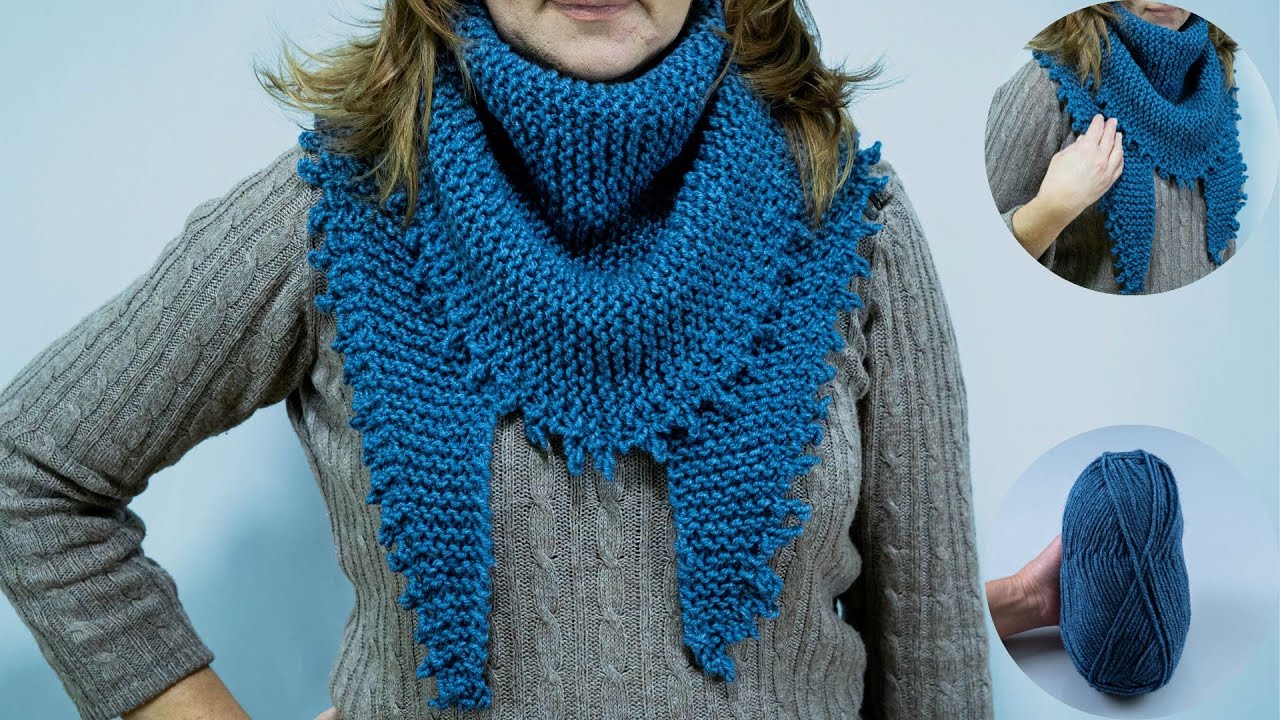
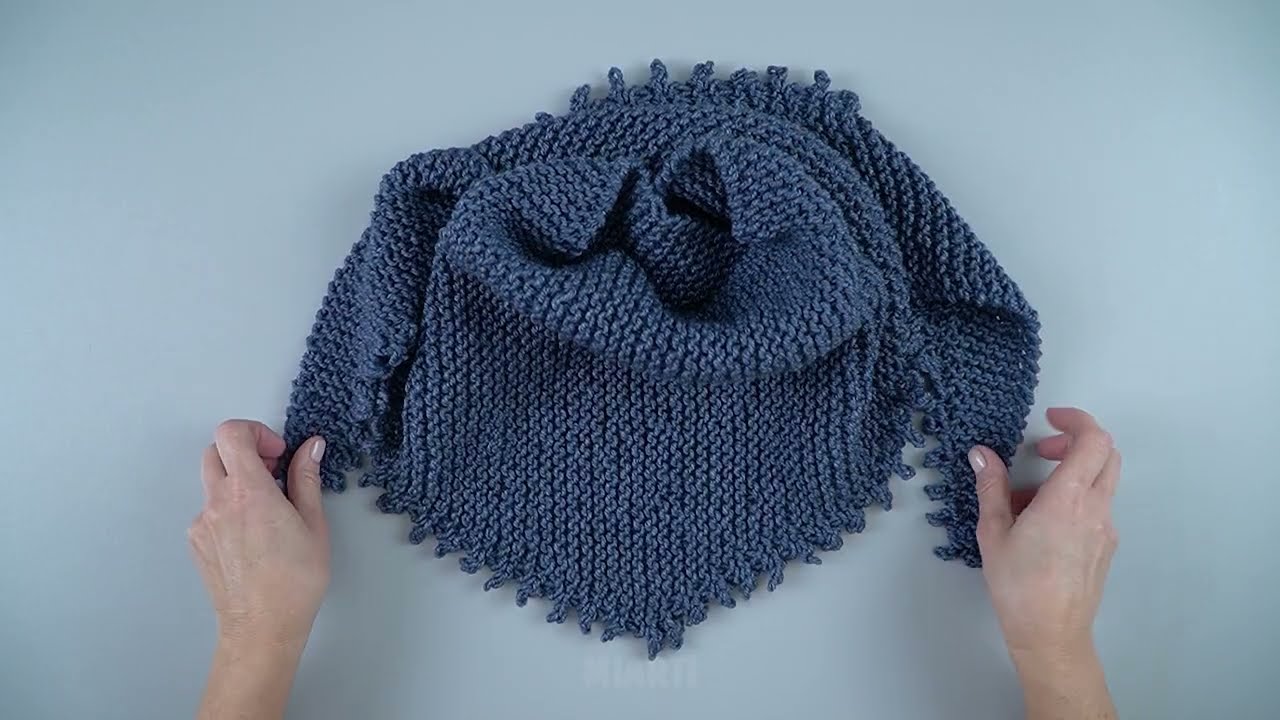
🧶 How to Make a Simple Knitted Scarf-Snood: Beginner Tutorial
A snood is basically a loop scarf—it’s warm, stylish, and super easy to make. Here’s how to create your own original snood.
Materials You’ll Need
-
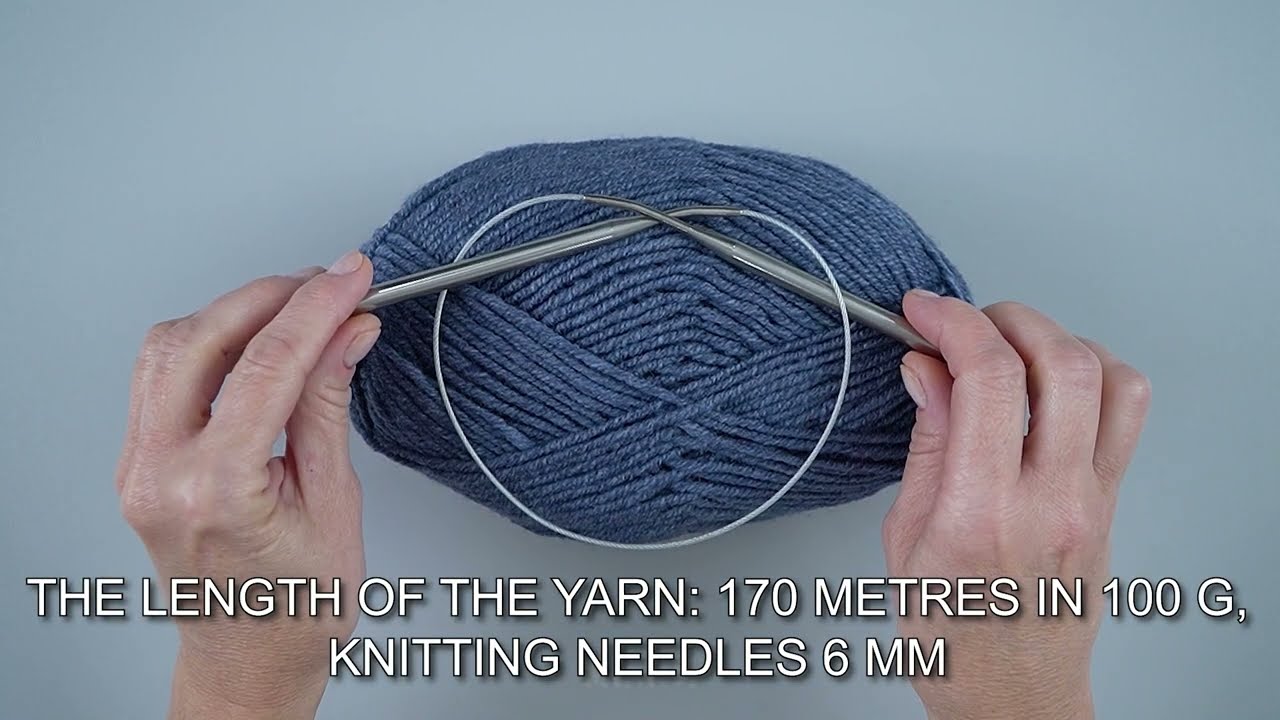
Yarn:
-
Choose a chunky or bulky yarn for faster knitting and extra warmth.
-
Approx. 200–300 grams (depends on your snood size and yarn thickness).
-
-
Knitting needles:
-
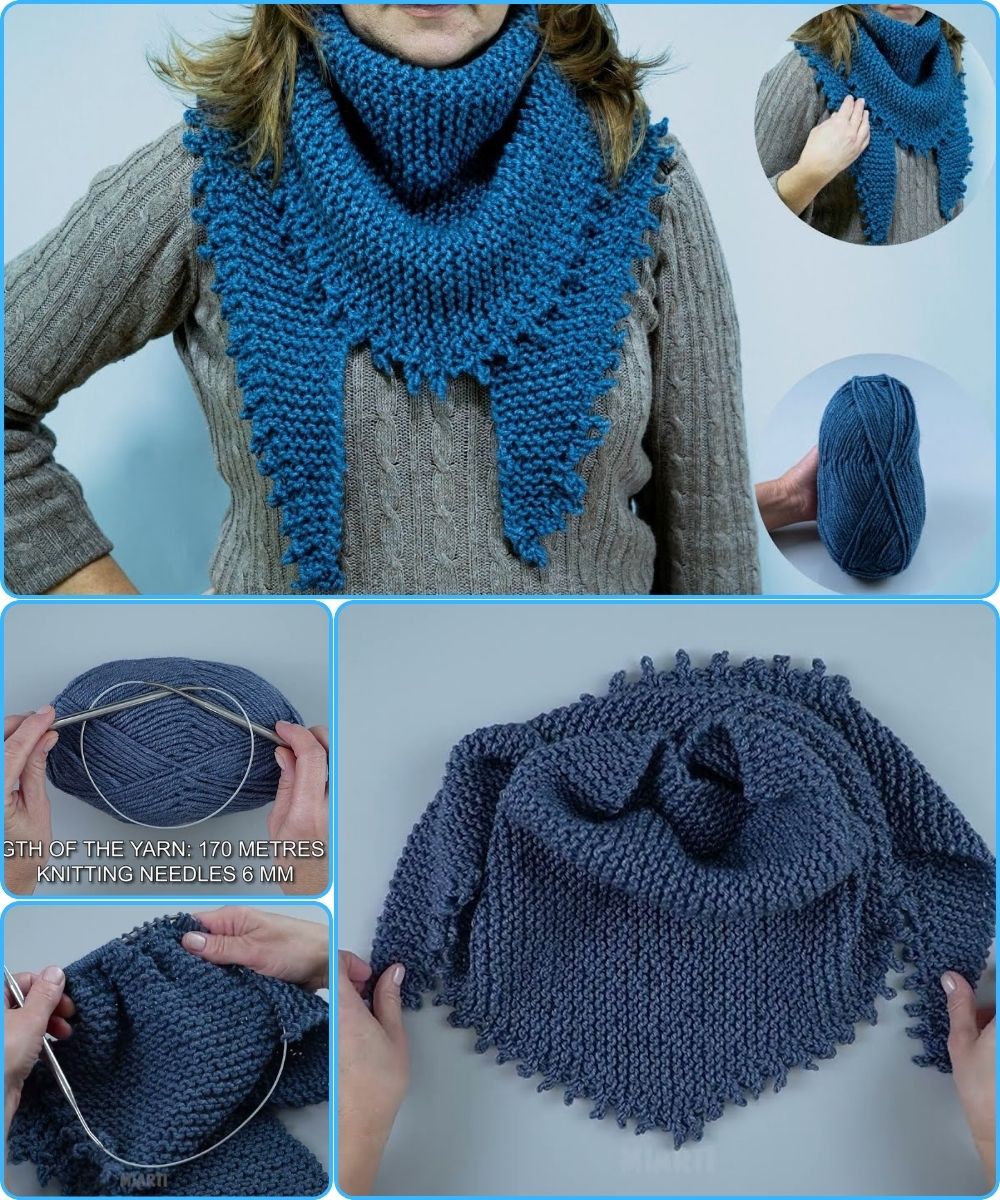
Circular needles (around 8–10 mm) work well for chunky yarn.
-
You can also use straight needles, but circular makes it easier to knit in the round.
-
-
Accessories:
-
Yarn needle (for weaving in ends)
-
Scissors
-
Stitch markers (optional)
-
Step 1: Decide the Size
-
Width: ~25–30 cm (10–12 inches)
-
Length: ~120–150 cm (48–60 inches) if knitting a flat scarf to sew into a loop, or directly in the round to desired loop size (~60–70 cm circumference).
For beginners, I recommend knitting flat and sewing. Circular knitting can be slightly tricky if you’re new.
Step 2: Cast On
-
Cast on the number of stitches needed for your width.
-
Example: For chunky yarn and 25 cm width, you might need 30–40 stitches.
-
-
Use the long-tail cast-on for a neat edge (easy for beginners to learn from tutorials).
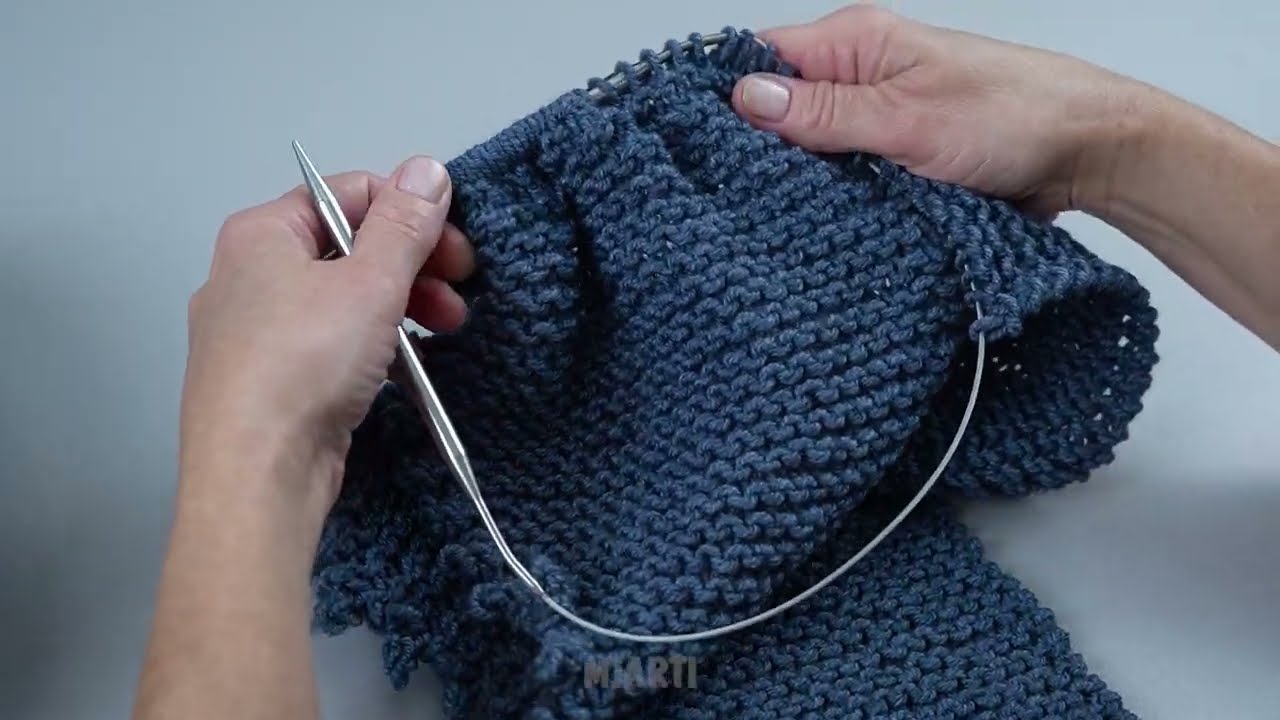
Step 3: Pick a Simple Stitch
For a beginner-friendly but stylish snood, here are two options:
Option A: Garter Stitch (all rows knit)
-
Row 1: Knit all stitches
-
Row 2: Knit all stitches
-
Repeat until scarf reaches desired length
✅ Pros: Very simple, stretchy, cozy
Option B: Rib Stitch (knit + purl)
-
Row 1: Knit 2, Purl 2 across
-
Row 2: Repeat Row 1
✅ Pros: Elastic, snug, visually appealing
Tip: Chunky yarn makes patterns pop even in simple stitches.
Step 4: Knit Until Desired Length
-
Keep knitting until your piece reaches the length needed to loop around your neck comfortably (usually 120–150 cm if flat).
-
Check the width and comfort as you go.
Step 5: Bind Off
-
Bind off loosely so the edge isn’t too tight.
-
Use the same stitch method as your main stitch for consistency.
Step 6: Make It a Loop
Option A: Flat Piece → Sew Together
-
Fold the scarf in half, with right sides facing each other.
-
Use a yarn needle to sew the short edges together.
-
Turn it right side out.
Option B: Knit in the Round (advanced beginner)
-
Join the cast-on stitches in a circle.
-
Knit in the round until desired width.
-
Bind off and finish.
Step 7: Finishing Touches
-
Weave in all loose ends using a yarn needle.
-
Stretch gently to shape the snood.
-
Optional: Add pom-poms or a fringe for a fun twist.
Tips for Beginners
-
Tension is key – don’t pull too tight or too loose.
-
Count your rows to keep even length.
-
Chunky yarn = quick results → motivating for beginners.
-
Experiment with colors: You can alternate two yarn colors every few rows for stripes.
-
Keep it simple – textures like garter stitch look great without complications.
✅ Quick Summary
-
Cast on enough stitches for width
-
Pick a simple stitch (garter or rib)
-
Knit until desired length
-
Bind off loosely
-
Sew short ends to make a loop
-
Weave in ends, add optional decorations
-
Enjoy your cozy homemade snood!
If you want, I can draw a simple diagram showing the whole process visually—it’ll make it super easy to follow even if you’ve never knitted before.
Watch video: