 by
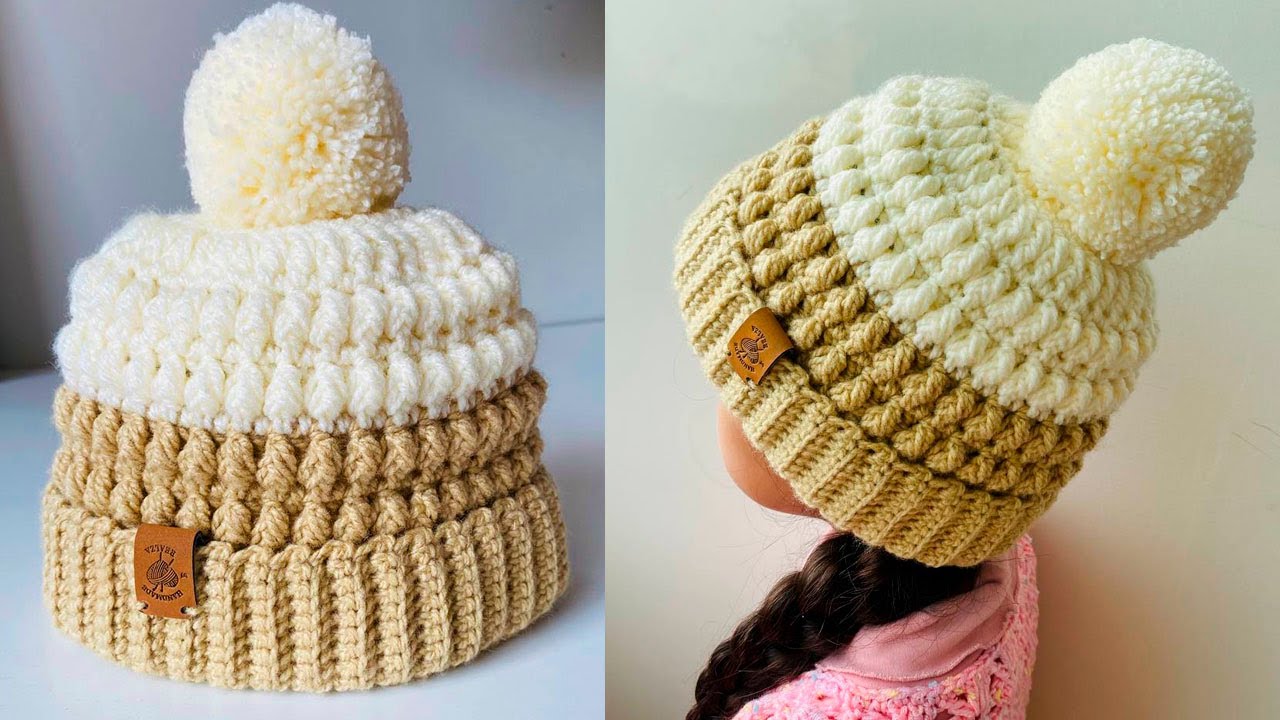
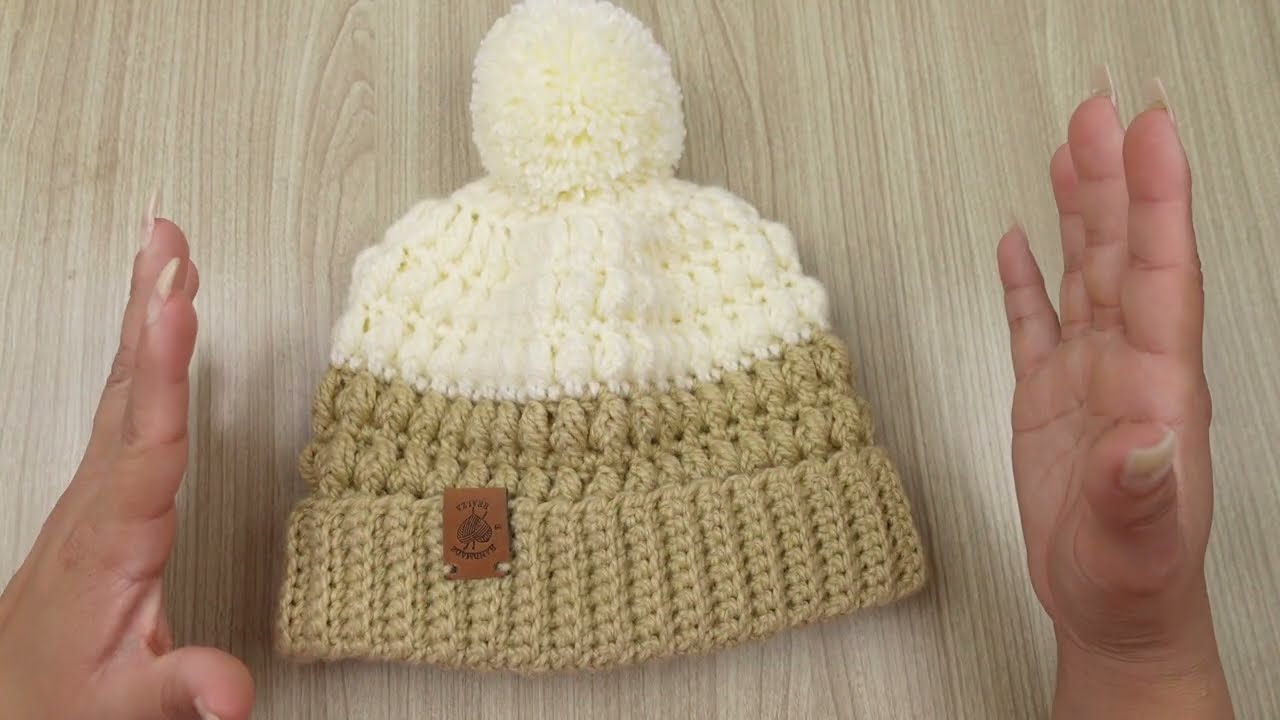
by Sure! Here’s a detailed guide on how to make a 😍 Relief Stitch Crochet Hat for Winter suitable for babies, children, and adults. The relief stitch (also known as the front post/back post double crochet) adds both texture and warmth, making it ideal for cozy winter hats.
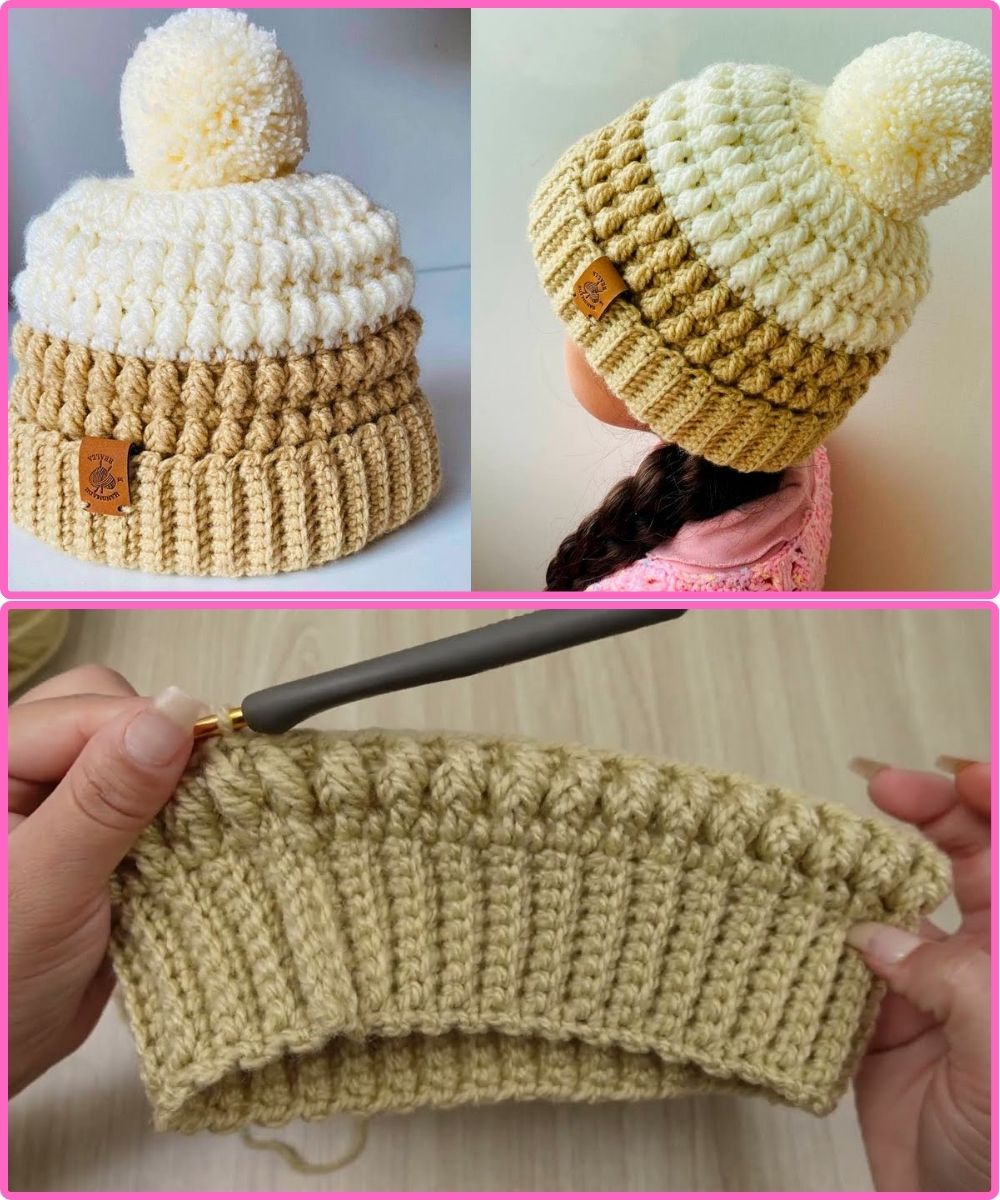
🧶 How to Make a Relief Stitch Crochet Hat for Winter
Sizes: Baby (0–6 mo, 6–12 mo), Child, Adult
Skill Level: Intermediate (Basic knowledge of crochet stitches required)
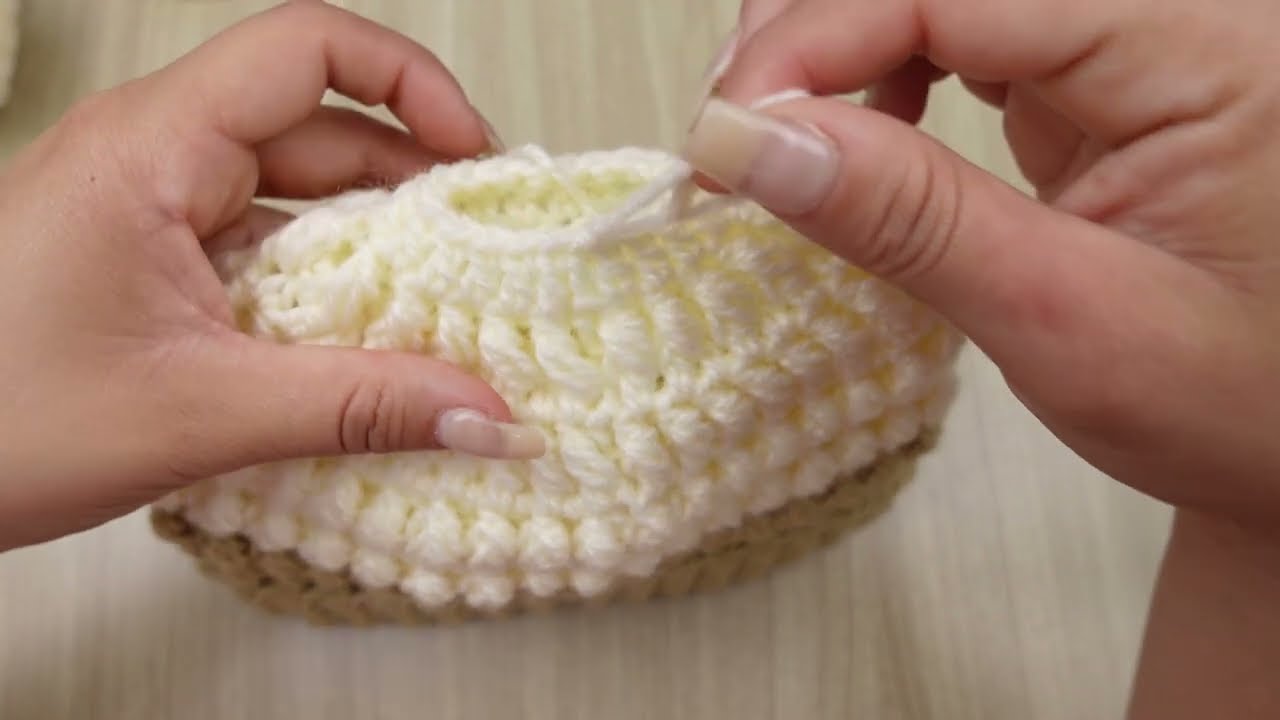
Stitch Used: Relief Stitch (Front Post Double Crochet – FPdc, and Back Post Double Crochet – BPdc)
🧵 Materials Needed
| Item | Description |
|---|---|
| Yarn | Worsted weight yarn (medium #4); soft acrylic or wool blend |
| Hook | 5.0mm (H/8) or size needed for gauge |
| Tapestry Needle | For weaving in ends |
| Stitch Marker (optional) | To mark beginning of rounds |
| Scissors | Sharp for cutting yarn |
📏 Sizing Guide (Head Circumference)
| Size | Circumference | Hat Height |
|---|---|---|
| 0–6 months | 14–16 in (35–40 cm) | 5.5 in (14 cm) |
| 6–12 months | 16–18 in (40–46 cm) | 6.5 in (16.5 cm) |
| Child | 18–20 in (46–51 cm) | 7.5 in (19 cm) |
| Adult | 21–23 in (53–58 cm) | 8.5 in (21.5 cm) |
🧶 Key Stitches & Abbreviations
| Abbreviation | Stitch |
|---|---|
| ch | chain |
| sl st | slip stitch |
| dc | double crochet |
| FPdc | front post double crochet |
| BPdc | back post double crochet |
| st(s) | stitch(es) |
| rnd | round |
🎯 Gauge (Approximate)
-
14 dc and 8 rows = 4″ (10 cm) using 5.0 mm hook
🔄 Instructions
🔹 Step 1: Crochet the Crown (Top)
This is worked in the round from the top down.
Rnd 1: Make a magic ring, ch 2 (counts as first dc), 11 dc into the ring. Join with sl st. (12 sts)
Rnd 2: Ch 2, 2 dc in each st. Repeat around. Join. (24 sts)
Rnd 3: Ch 2, (1 dc, 2 dc in next st) around. Join. (36 sts)
Rnd 4: Ch 2, (2 dc, 2 dc in next st) around. Join. (48 sts)
Continue increasing until your circle matches the crown diameter for your size:
-
Baby: ~4.5″ (11.5 cm)
-
Child: ~6″ (15 cm)
-
Adult: ~7″ (18 cm)
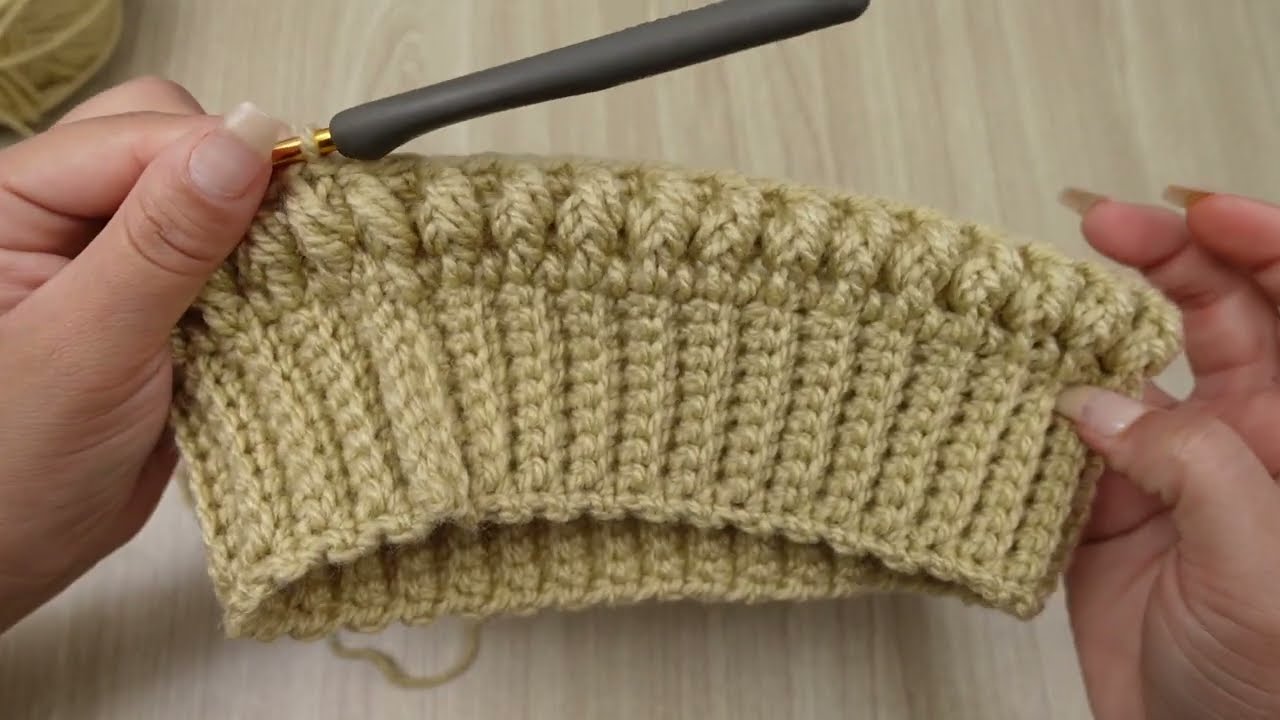
🔹 Step 2: Body of the Hat (with Relief Stitch)
Rnd 1: Ch 2, 1 FPdc in next st, 1 BPdc in next st. Repeat around. Join.
Rnd 2–X: Repeat Rnd 1, alternating FPdc and BPdc to create the ribbed relief texture.
Repeat until the hat measures the desired height from crown:
-
Baby: 5.5–6.5 in
-
Child: 7–7.5 in
-
Adult: 8–8.5 in
Tip: If you’d like a brim, make the hat 1–1.5 inches longer so you can fold it up.
🔹 Step 3: Optional Ribbed Brim
You can extend the hat with a few more rounds for a fold-over brim:
Brim (Optional): Work an additional 3–5 rounds of FPdc, BPdc to add more length and make it extra warm.
🔹 Step 4: Finishing
-
Fasten off and weave in all ends with a tapestry needle.
-
Add a pom-pom (optional but cute, especially for babies and kids).
-
You can sew in a fleece lining for extra warmth (especially for babies).
🌟 Customization Tips
-
🧸 For Babies: Use extra soft yarn (like baby acrylic or bamboo blends).
-
🌈 For Kids: Try bright, variegated yarn or themed colors (like their favorite superhero).
-
❄️ For Adults: Go with neutral, earth tones or chunky yarn for a trendy look.
📸 Bonus Ideas
-
Add a leather or suede tag with a name/initial.
-
Add buttons or earflaps for a vintage look.
-
Try mixing solid and variegated yarns for a marbled effect.
Watch video: