 by
by Sure! Here’s a detailed, beginner-friendly guide on how to make a crochet hat for winter — perfect for keeping warm or giving as a handmade gift.
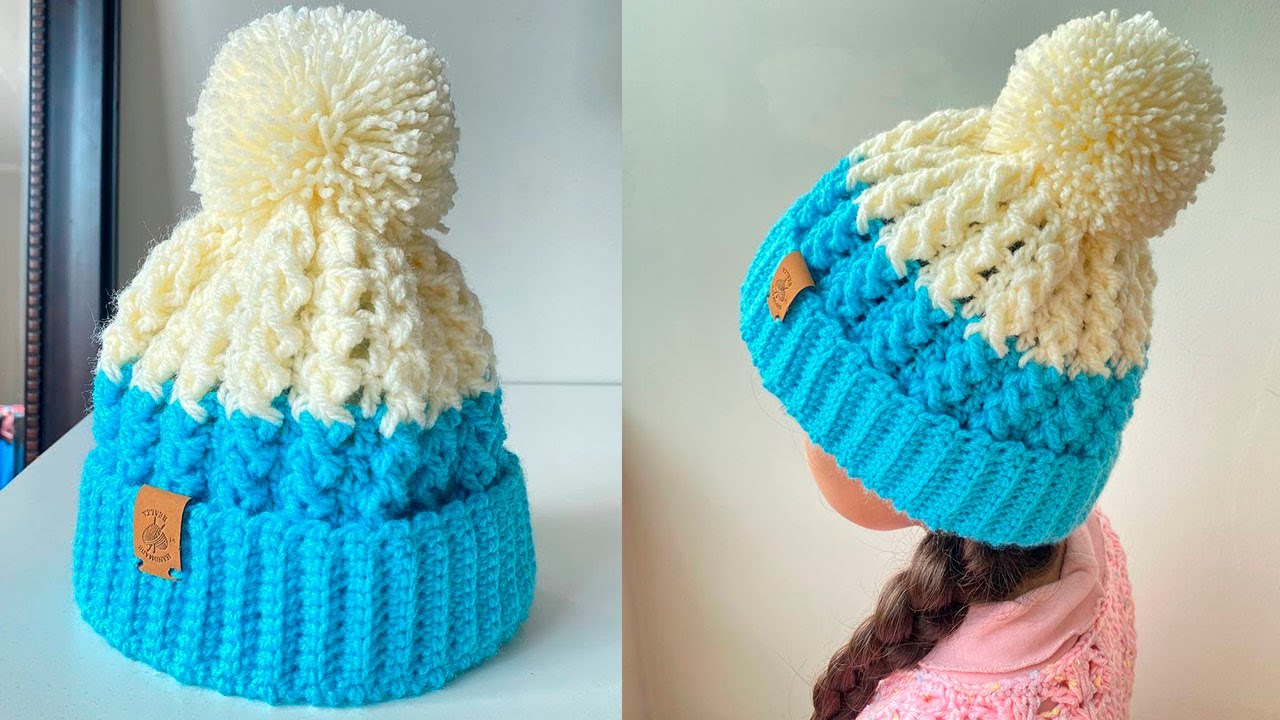
🧶 How to Make a Crochet Hat for Winter (Beginner-Friendly Guide)
🪡 Materials You’ll Need:
| Item | Details |
|---|---|
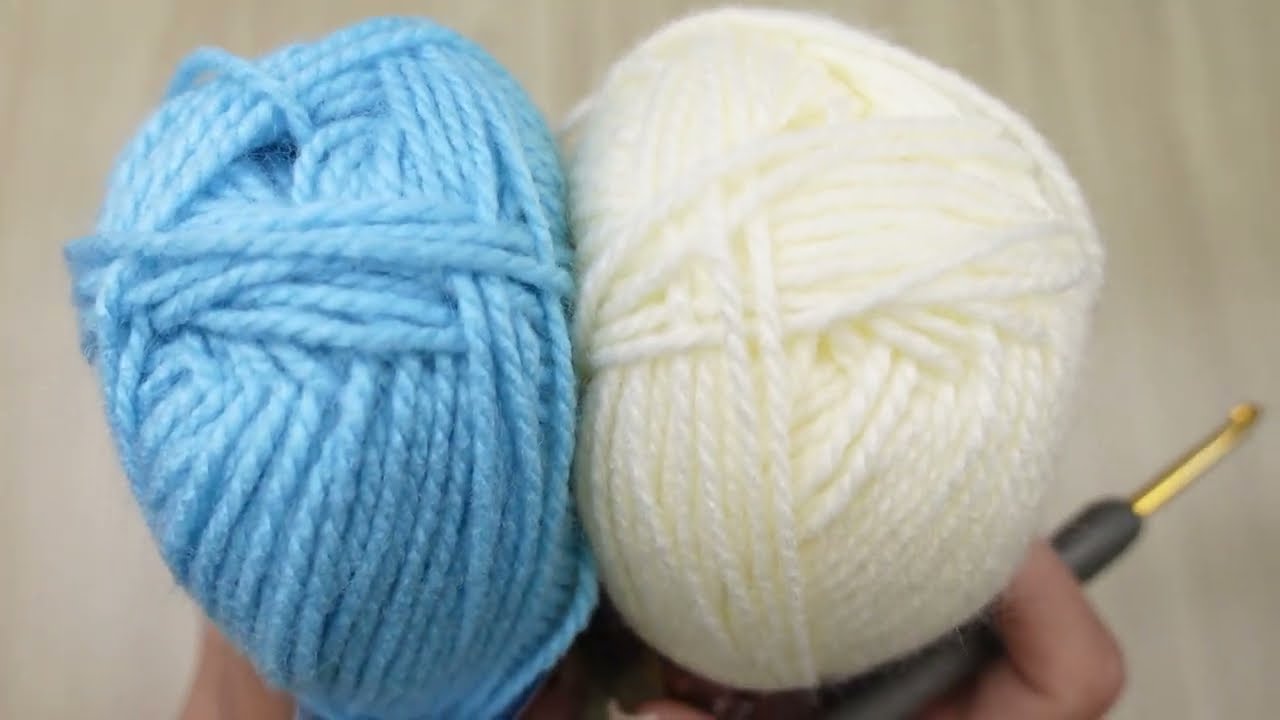
| Yarn | Bulky or worsted weight yarn (acrylic/wool blend is warm) |
| Hook | Size H/8 (5.0 mm) or I/9 (5.5 mm) for worsted yarn |
| Scissors | For cutting yarn |
| Yarn needle | For weaving in ends |
| Measuring tape | To check dimensions |
| Stitch markers | Optional, but helpful |
🧵 Step-by-Step Instructions
🔹 Step 1: Choose a Hat Style
There are 3 common types of crochet hat shapes:
-
Top-Down (start at the crown and work down to the brim)
-
Bottom-Up (start at the brim and work up)
-
Rectangle + Seam (crochet a rectangle and sew it into a hat)
👉 For beginners, Top-Down or Rectangle method is easiest.
🧢 Option 1: Top-Down Crochet Hat (In the Round)
🧭 Basic Pattern Outline (for adult size):
💡 Stitches Used:
-
ch – chain
-
sl st – slip stitch
-
sc – single crochet
-
hdc – half double crochet
-
dc – double crochet
-
inc – increase (2 stitches in one stitch)
🔄 Rounds Pattern (Adult Size)
Round 1:
Make a magic ring. Ch 2 (doesn’t count as stitch), work 10 dc into the ring. Sl st to join. (10 sts)
Round 2:
Ch 2, 2 dc in each stitch around. Join. (20 sts)
Round 3:
Ch 2, 1 dc in next stitch, 2 dc in next. Repeat around. Join. (30 sts)
Round 4:
Ch 2, 1 dc in next 2 sts, 2 dc in next. Repeat. Join. (40 sts)
Keep increasing this way until you reach about 6.5 inches in diameter (for average adult head size).
Rounds 6–14 (or until desired height):
1 dc in each stitch around (no more increases). Join. (Stitch count stays the same)
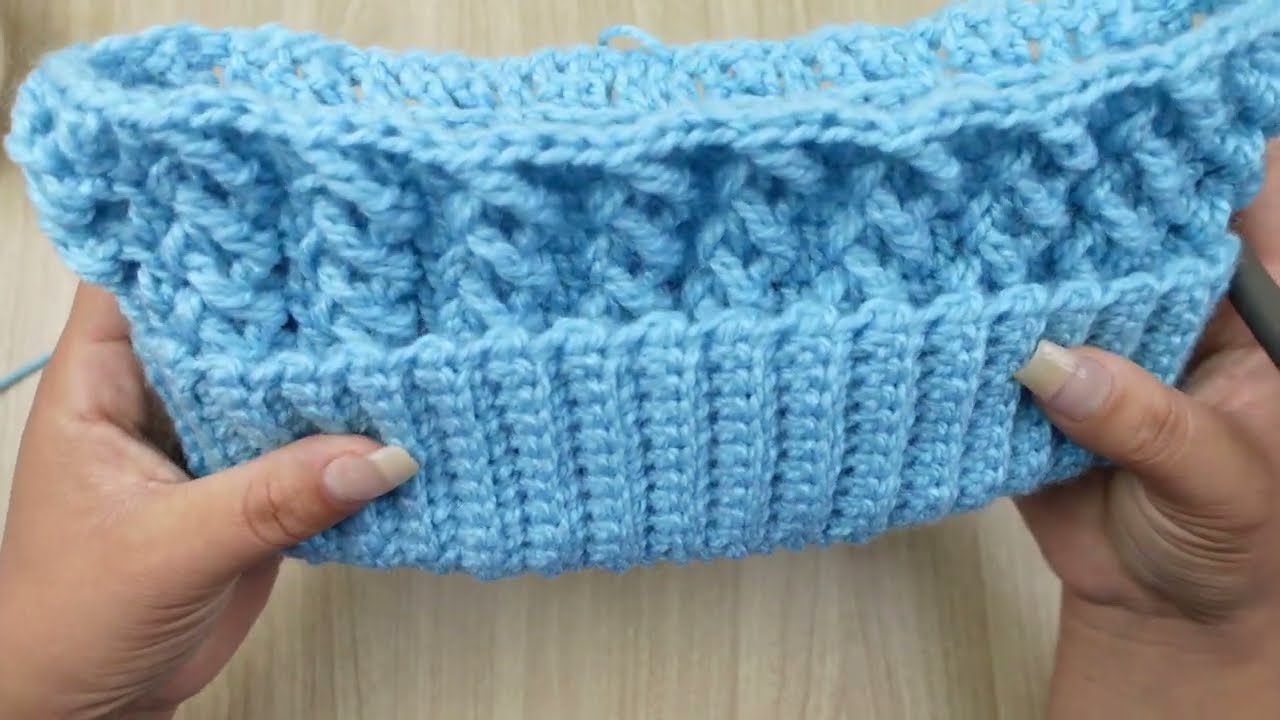
Final 2 Rounds (Brim):
Switch to hdc or sc to make the brim snug. Optional: Do 1 round of fpdc/bpdc for ribbing texture.
🪢 Finish:
-
Fasten off.
-
Use a yarn needle to weave in ends.
-
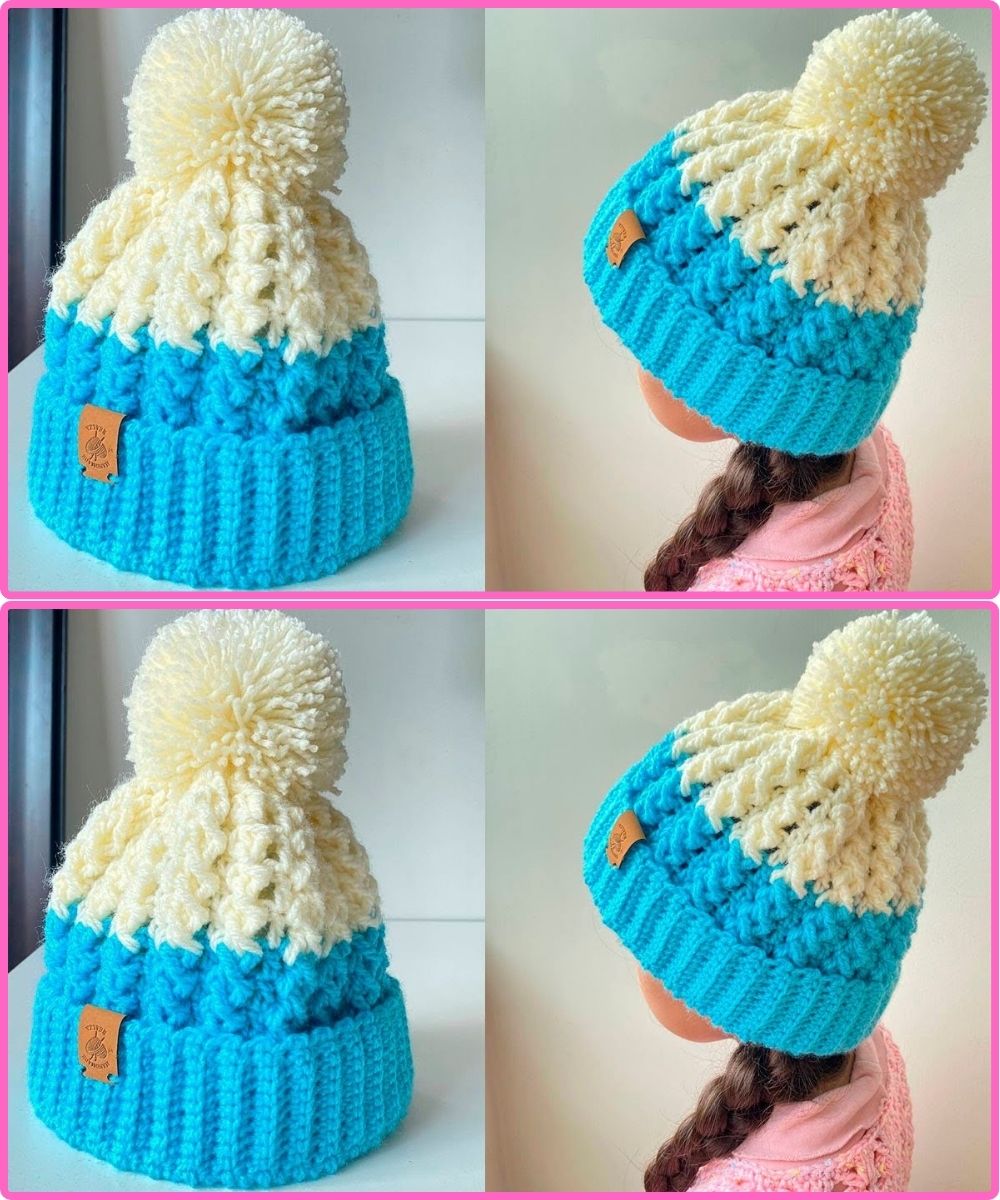
Optional: Add a pom-pom or fold brim up for a cuffed look!
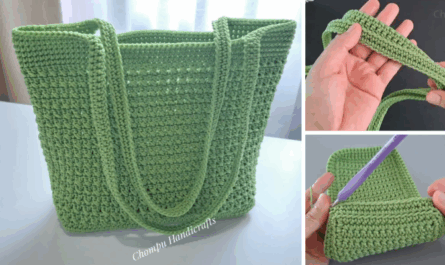
🧢 Option 2: Rectangle Hat (Easiest)
📏 Pattern:
-
Ch 31 (or desired hat height)
-
Row 1: Hdc in 2nd ch from hook, and across (30 hdc)
-
Row 2–55: Ch 1, turn. Hdc in back loops only across.
-
This makes stretchy ribbing.
-
Continue until your rectangle is 17–20 inches wide (wraps around head snugly).
-
🧷 Assembly:
-
Fold rectangle in half, short ends together.
-
Use slip stitch or whipstitch to sew the side seam (creates a tube).
-
Sew the top closed by weaving the yarn around the top edge and pulling tight like a drawstring.
-
Fasten and weave in ends.
-
Optional: Add pom-pom!
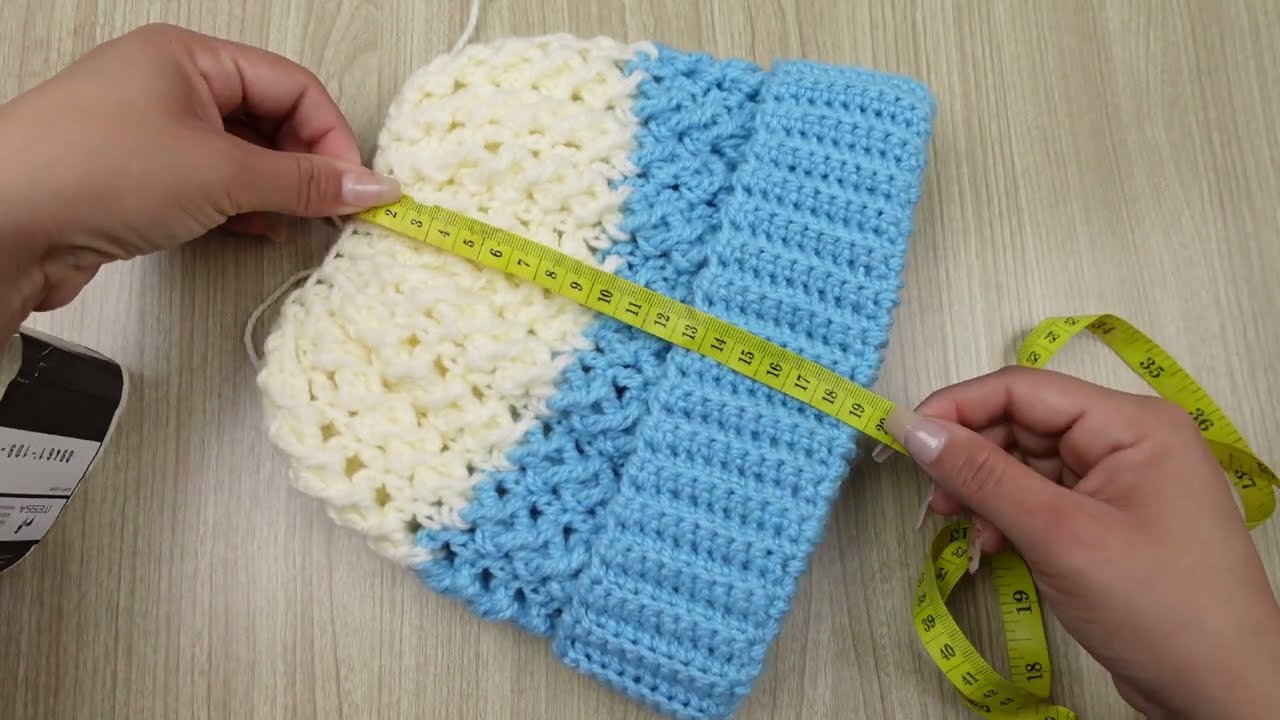
📐 Size Guide (approximate)
| Age/Size | Hat Circumference | Height |
|---|---|---|
| Baby (0–6 mo) | 14–15″ | 6″ |
| Child | 18–20″ | 7–8″ |
| Adult | 21–23″ | 8–10″ |
🌟 Tips for Success
-
Gauge matters: Always check your gauge if following a specific pattern.
-
Use warm yarn: Wool or wool blends are warmer than 100% acrylic.
-
Add a fleece lining: Sew in a fleece band for extra warmth.
-
Customize: Try stripes, earflaps, or textures (like puff stitches or cables).
🎁 Optional Additions
-
Pom-poms (yarn, faux fur)
-
Buttons or labels
-
Braided ties or earflaps
-
Color changes (use stripes or ombré yarn)
Watch video: