 by
by Absolutely! Let’s make this a detailed, beginner-friendly tutorial for creating simple, original knitted slippers. I’ll guide you step by step, including materials, techniques, and tips to make them unique. 🧶
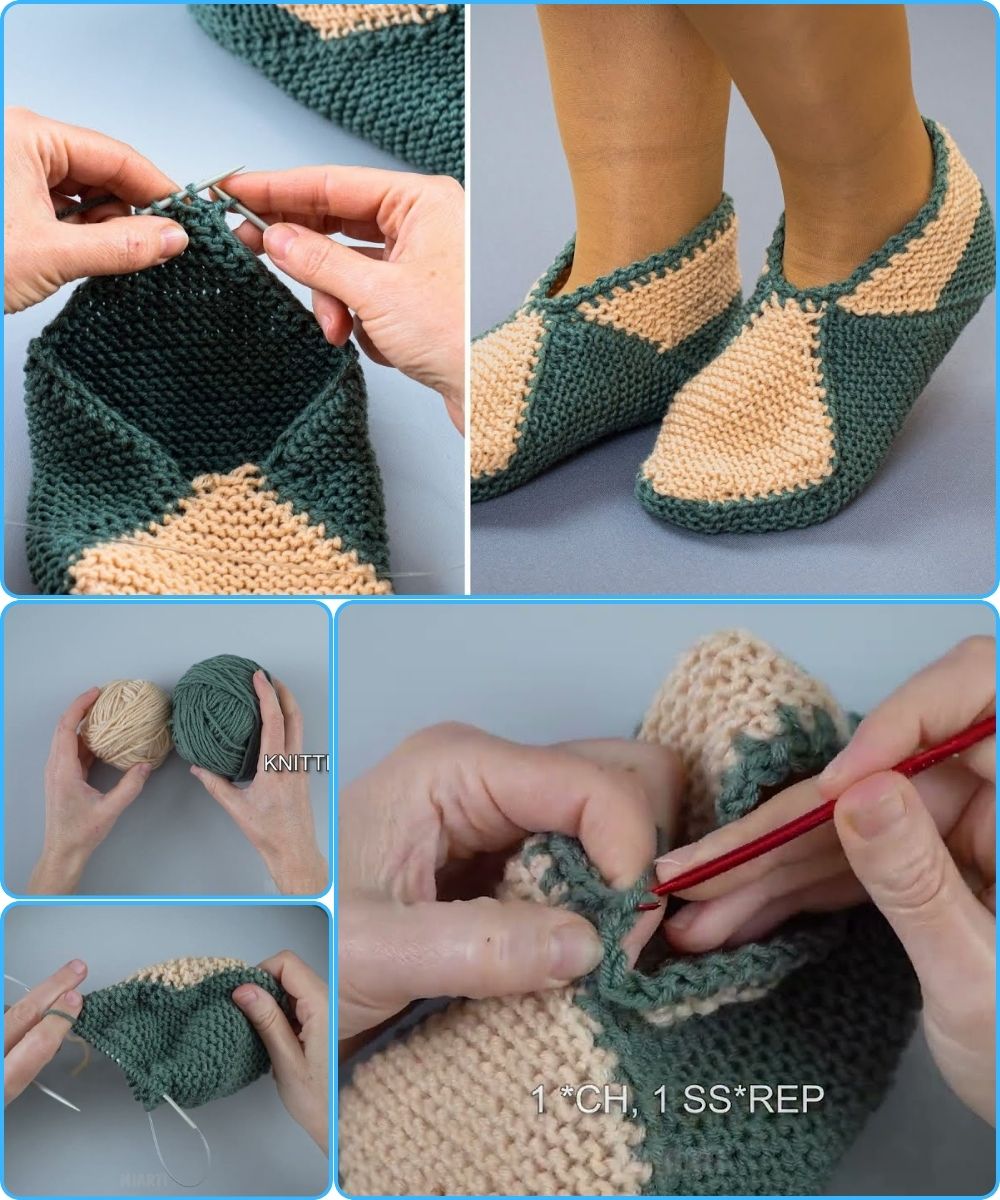
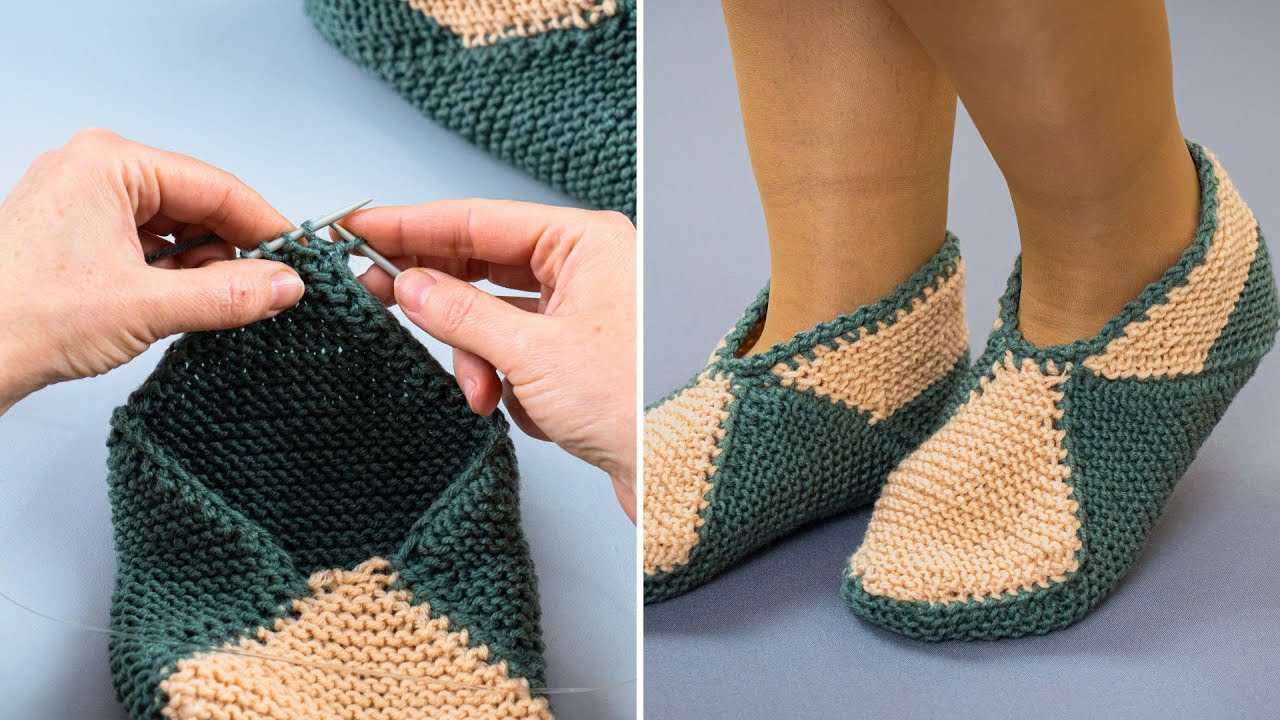
How to Make Simple and Original Knitted Slippers
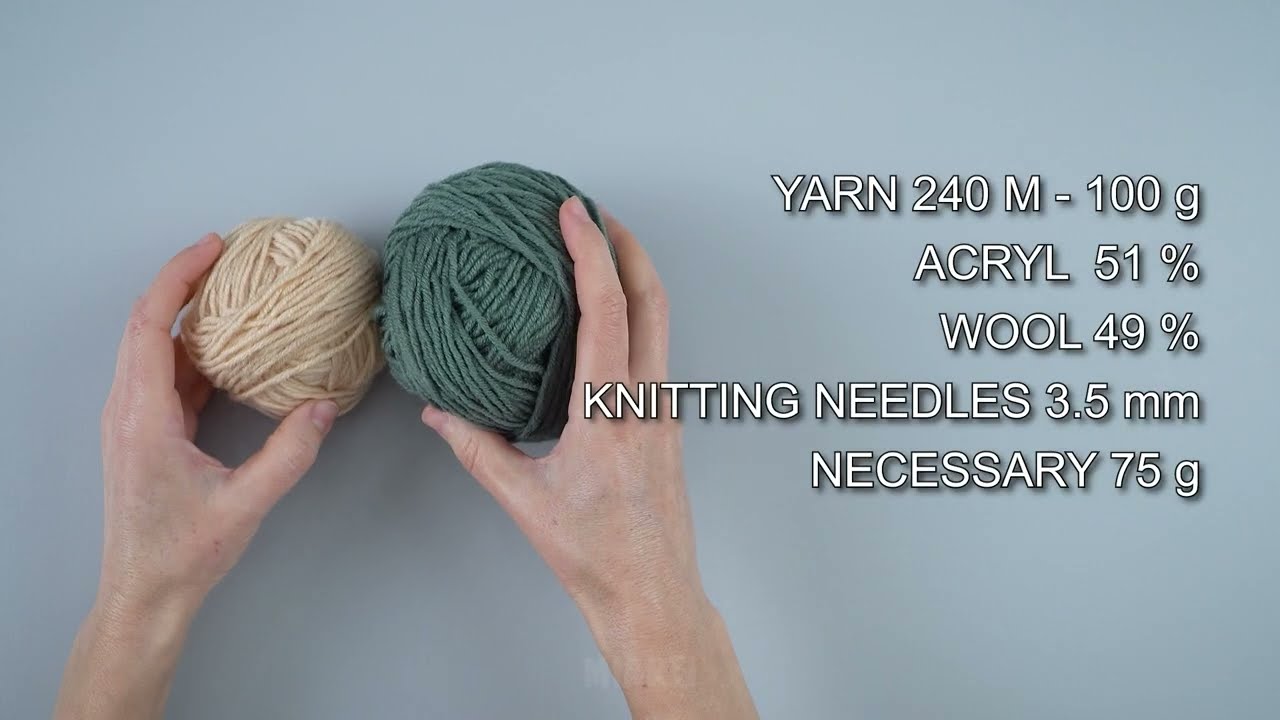
Materials You’ll Need
-
Yarn: Medium-weight (worsted weight) yarn is perfect for cozy slippers. Choose a soft, durable yarn like acrylic or wool blends.
-
Knitting needles: Use the size recommended for your yarn (usually US 8 / 5 mm for worsted weight). Circular needles or double-pointed needles (DPNs) work if you prefer knitting in the round.
-
Scissors
-
Tapestry needle: For sewing and weaving in ends.
-
Measuring tape
-
Optional: Non-slip sole pads or fabric glue if you want anti-slip bottoms.
Step 1: Measure Your Foot
-
Measure your foot length from heel to toe and width at the widest point.
-
Add 1–2 cm (½ inch) for comfort and ease.
-
This will help you customize the slipper to your size.
Step 2: Cast On Stitches
-
Using your knitting needles, cast on enough stitches to match the width of your foot.
-
Example: For an average adult foot, 36–40 stitches are usually enough.
-
-
If you want original slippers, you can cast on fewer or more stitches depending on whether you want them tighter or looser.
Step 3: Knit the Sole
-
Garter Stitch Sole (Beginner-friendly):
-
Knit every row until your piece reaches the length of your foot (measured earlier).
-
This creates a flat, comfortable sole.
-
-
You can add texture:
-
Ribbed Sole: Alternate knit and purl (K1, P1) for a stretchy sole.
-
Seed Stitch: Alternate K1, P1 on one row, then P1, K1 on the next row.
-
Step 4: Shape the Slipper
-
Divide the stitches in half for the top of the foot.
-
Start decreasing for the toe:
-
Knit 2 together (k2tog) at the start and end of every other row until you have about 8–10 stitches left.
-
-
Bind off the remaining stitches.
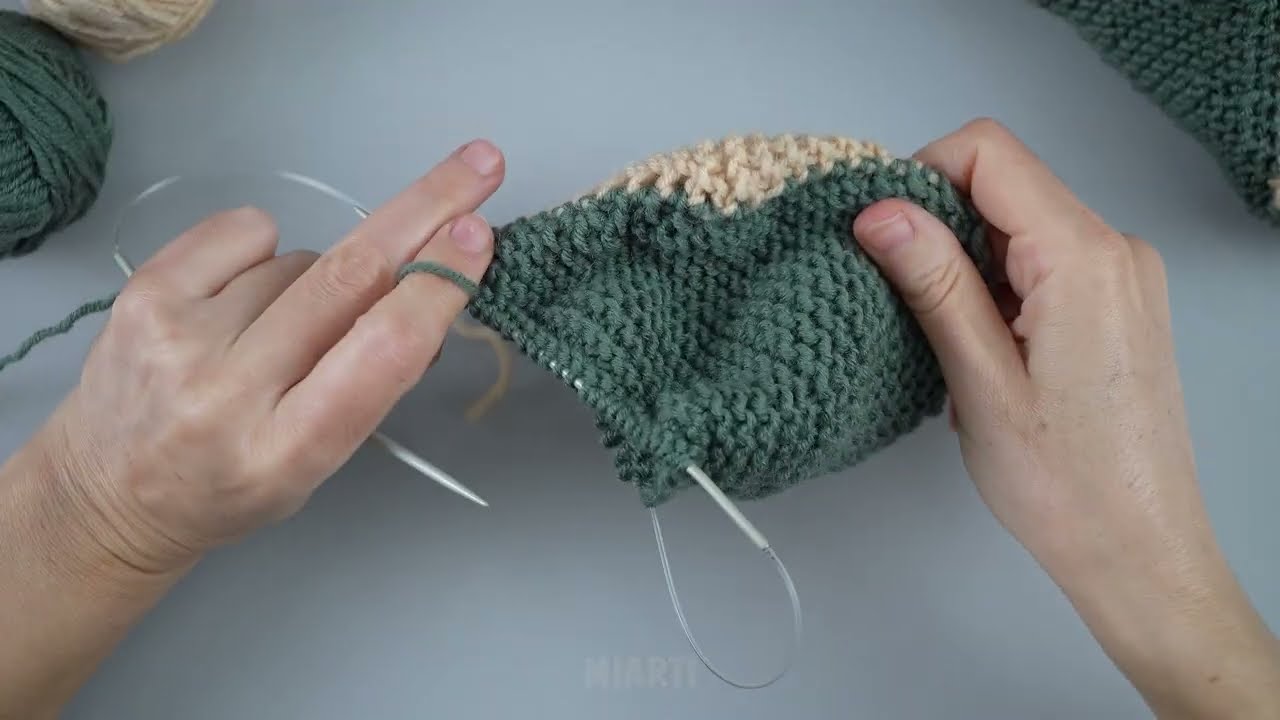
Step 5: Knit the Sides / Upper Part
-
Pick up stitches along the sides of the sole (use your tapestry needle if necessary).
-
Knit the upper part using your favorite stitch:
-
Stockinette stitch (smooth, classic look)
-
Garter stitch (cozy and stretchy)
-
Cable or lace stitch for a unique design
-
-
Knit until the slipper reaches the top of your foot.
Step 6: Seam the Slipper
-
Fold the slipper so the sole is underneath.
-
Use mattress stitch to sew the sides and the toe together neatly.
-
Weave in all loose ends with the tapestry needle.

Step 7: Finishing Touches
-
Optional anti-slip soles:
-
Sew on felt pads, or use fabric glue with non-slip dots.
-
-
Add originality:
-
Embroider initials or simple designs on top.
-
Use contrasting colors for stripes or patterns.
-
Add pom-poms, buttons, or a small knitted flower.
-
Tips for Originality
-
Mix and match yarn textures (soft + fuzzy, smooth + thick).
-
Experiment with patterns: cables, chevrons, or ribbing.
-
Try slouchy vs. fitted slippers by adjusting the upper height.
-
Use bright or multicolor yarns to make them playful.
Time & Difficulty
-
Time: 3–5 hours for beginners, faster with experience.
-
Skill Level: Beginner–Intermediate (if you stick with basic stitches, it’s very beginner-friendly).
✅ Result: Cozy, original, handmade slippers that fit your feet perfectly and let your creativity shine!
If you want, I can also make a diagram with step-by-step visuals for this tutorial—it would be like a knitting blueprint for slippers, super easy to follow.
Watch video: