 by
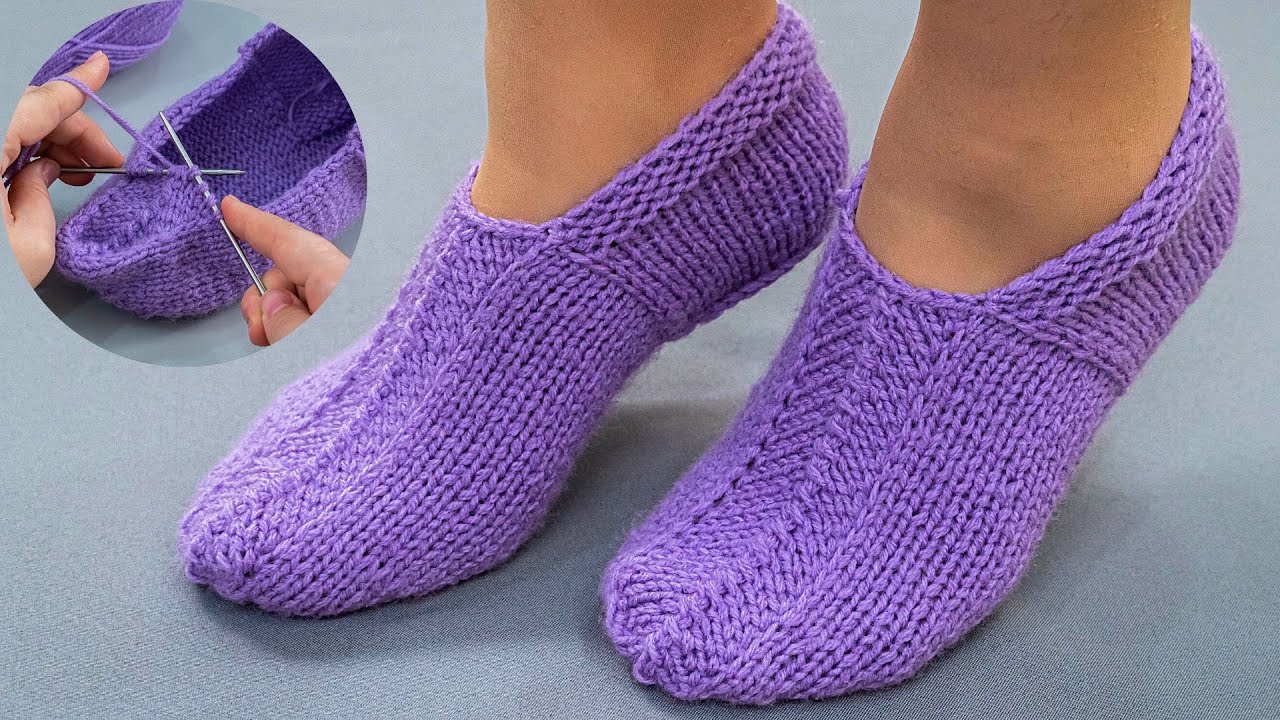
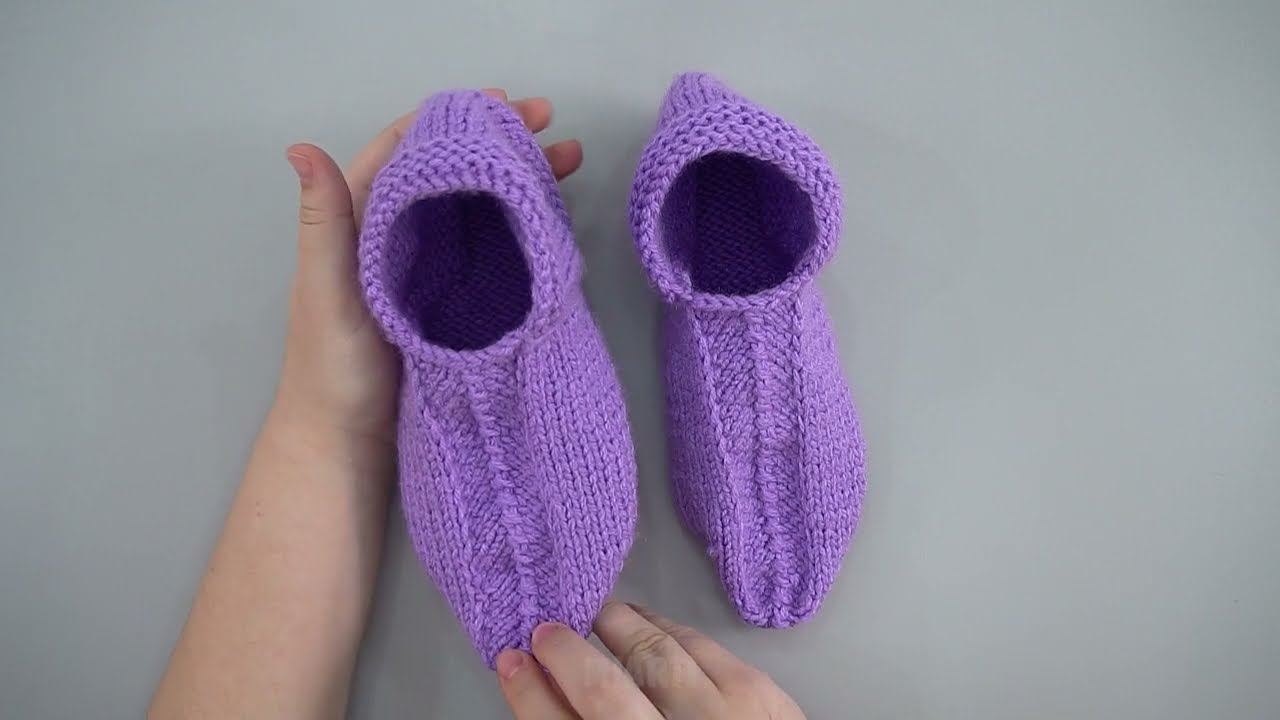
by Absolutely! Let’s make a detailed, beginner-friendly guide for creating easy knitted slippers using just two knitting needles. I’ll break it down step by step so it’s easy to follow, even if this is your first time knitting slippers. 🧦
Materials You’ll Need
-
Yarn: Medium weight (#4, worsted) yarn. Acrylic or wool blends work well.
-
Knitting needles: One pair of straight needles, size recommended for your yarn (usually US 8 / 5 mm for worsted weight).
-
Scissors
-
Tapestry needle (for sewing seams)
-
Measuring tape
-
Optional: Non-slip sole fabric or puff paint for grip
Step 1: Measure Your Foot
Before casting on, you need the size of your foot.
-
Measure the length from heel to toe.
-
Measure the width at the widest part of your foot.
-
This helps determine how many stitches to cast on.
Tip: For beginners, a standard adult slipper might use 30–40 stitches for width, but adjust based on your gauge.
Step 2: Cast On Stitches
-
Use a long-tail cast-on for elasticity.
-
Cast on enough stitches to match the width of the slipper (foot width measurement).
-
For example: If your foot width is 4 inches, you might cast on 30 stitches with worsted weight yarn.
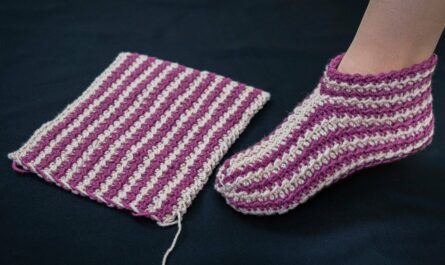
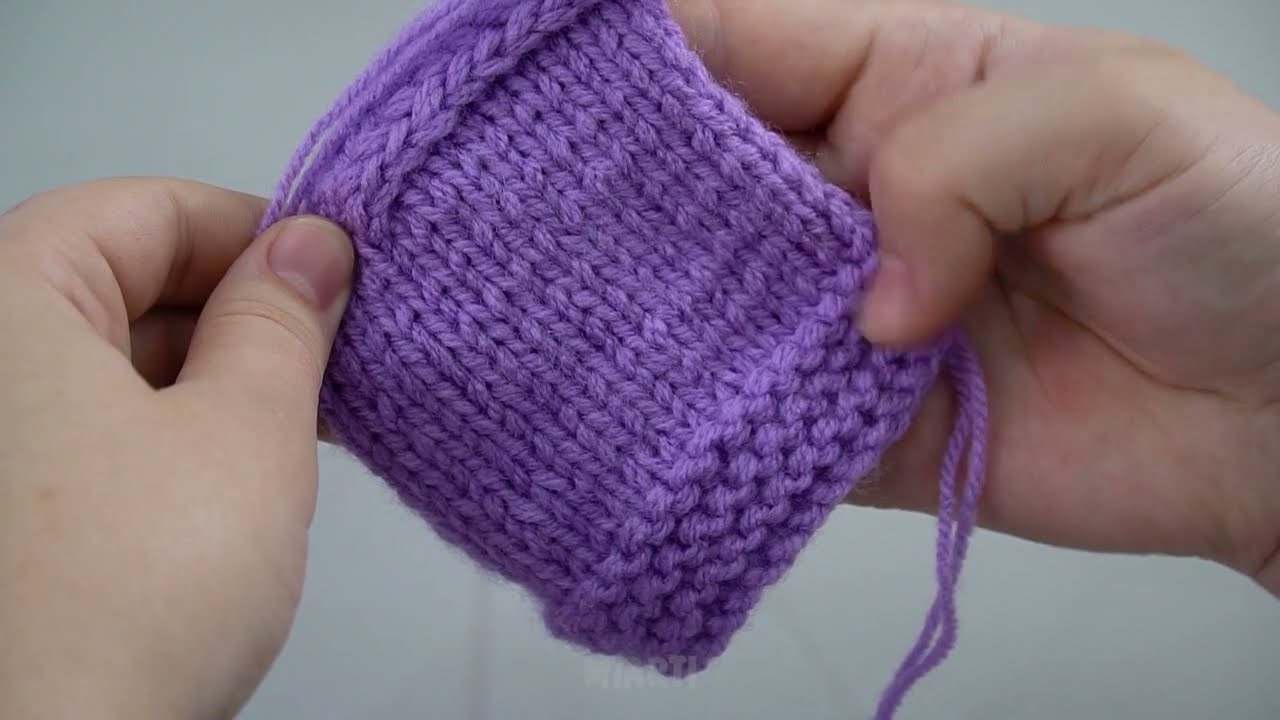
Step 3: Knit the Sole
-
Work in Garter Stitch (knit every row) for simplicity.
-
Continue until the piece reaches the length of your foot minus 1–2 inches for the toe shaping.
-
This is the bottom of the slipper.
-
Optional: You can alternate knit and purl rows (Stockinette stitch) if you like a smoother finish, but garter stitch is less likely to curl.
Step 4: Shape the Toe
We will make the toe slightly rounded.
-
Decrease at the beginning and end of each row:
-
Row 1: Knit 2 together (K2tog) at the start and end of row.
-
Row 2: Knit all stitches.
-
-
Repeat until about 6–10 stitches remain.
Tip: This will create a gentle slope for the toe.
Step 5: Knit the Upper Part of the Slipper
-
From the top of the sole, you can pick up stitches along the edges or simply continue knitting in rows, depending on your design.
-
Knit straight up for the top of your foot, around 2–3 inches or until it covers the instep comfortably.
-
You can use ribbing (K1, P1) at the top edge for a snug fit.
Step 6: Bind Off
-
Once your slipper reaches the desired height, bind off loosely so the edge isn’t tight.
-
Make sure the slipper can slide onto your foot comfortably.
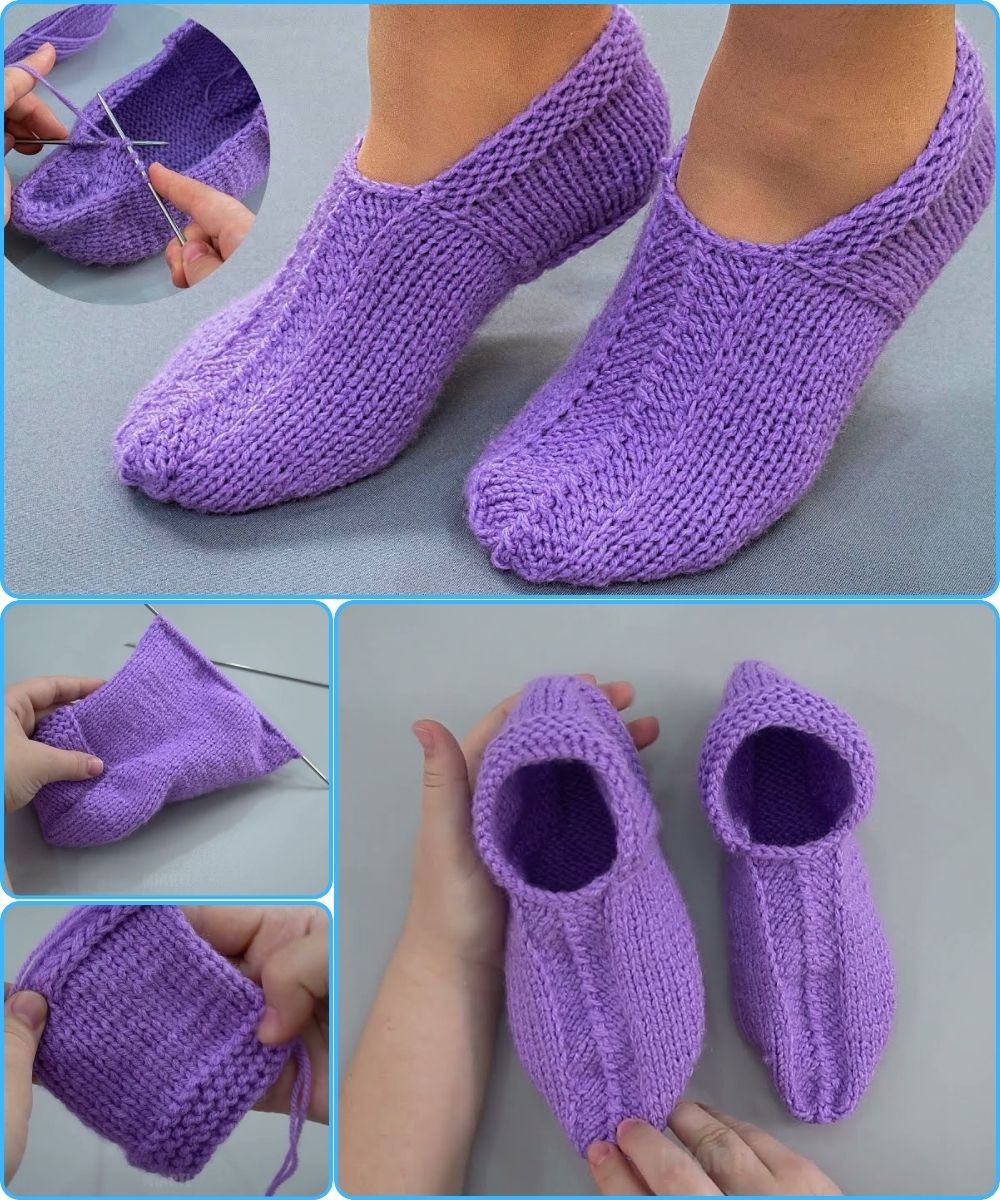
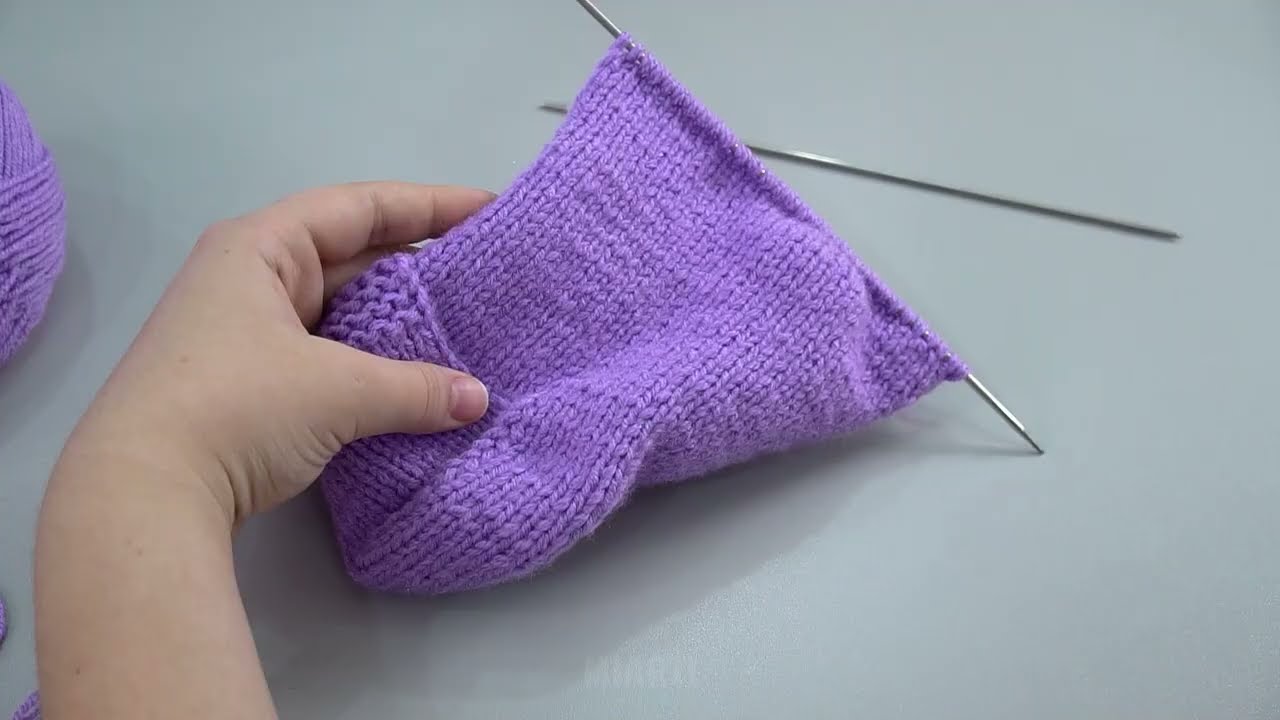
Step 7: Sew the Slipper Together
-
Fold the slipper so that the sole forms the bottom, and the sides wrap around your foot.
-
Use a tapestry needle to sew the back seam of the heel and the toe if needed.
-
Weave in all yarn ends.
Step 8: Optional Finishing Touches
-
Add a non-slip grip: puff paint dots or felt glued to the sole.
-
Embellish: Knit a small pom-pom or button on top if desired.
Tips for Beginners
-
Gauge: Make a small swatch first to see how many stitches per inch your yarn/needle combo makes.
-
Try on as you go: Helps to adjust width and length before finishing.
-
Keep it simple: Garter stitch is forgiving and looks great for slippers.
-
Stretch test: Ensure the slipper is stretchy enough to put on without stretching out too much.
Summary
-
Cast on stitches for width.
-
Knit the sole in garter stitch.
-
Decrease to shape the toe.
-
Knit the top of the foot.
-
Bind off and sew seams.
-
Add finishing touches (grip, decoration).
And voilà! You have your cozy, handmade slippers made with just two needles. 🧶✨
If you want, I can also make a simple diagram showing exactly how the slipper is shaped and sewn—this makes it super beginner-friendly.
Watch video: