 by
by Absolutely! 🧶 Let’s go through the easiest way to crochet slippers, step-by-step — perfect for beginners who want a cozy, quick project.
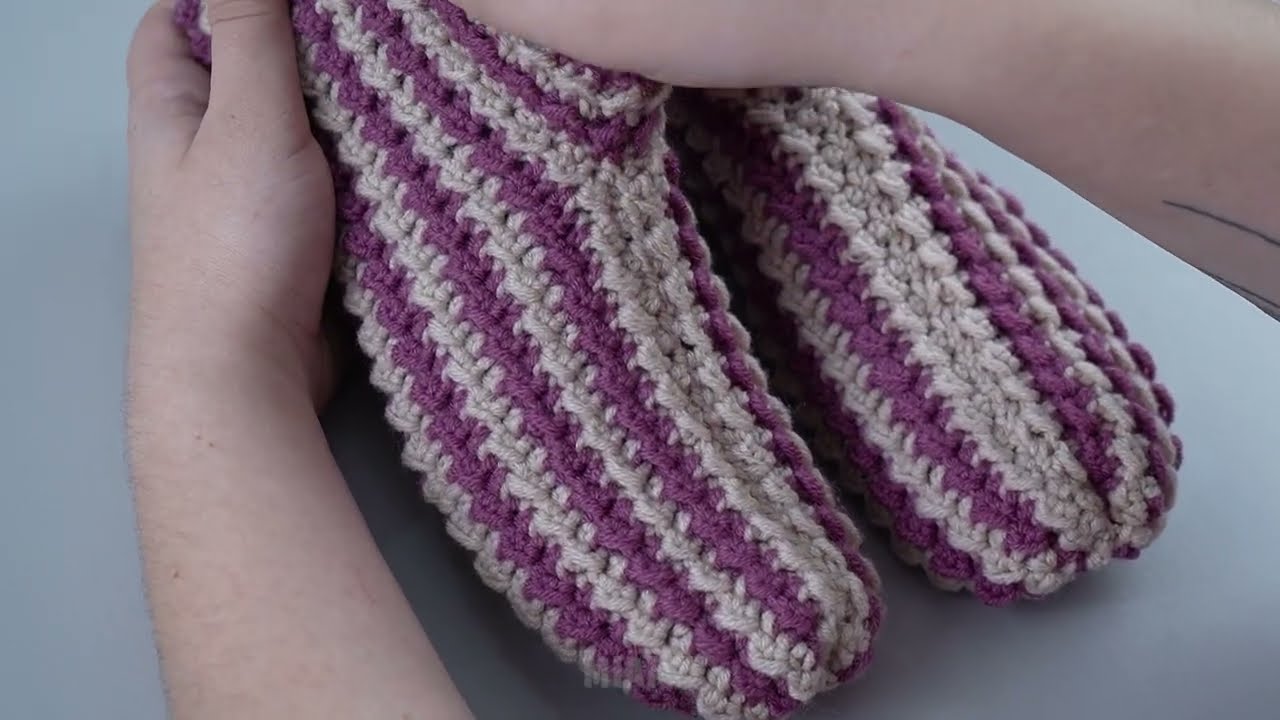
🩴 The Easiest Way to Crochet Slippers (Beginner Friendly)
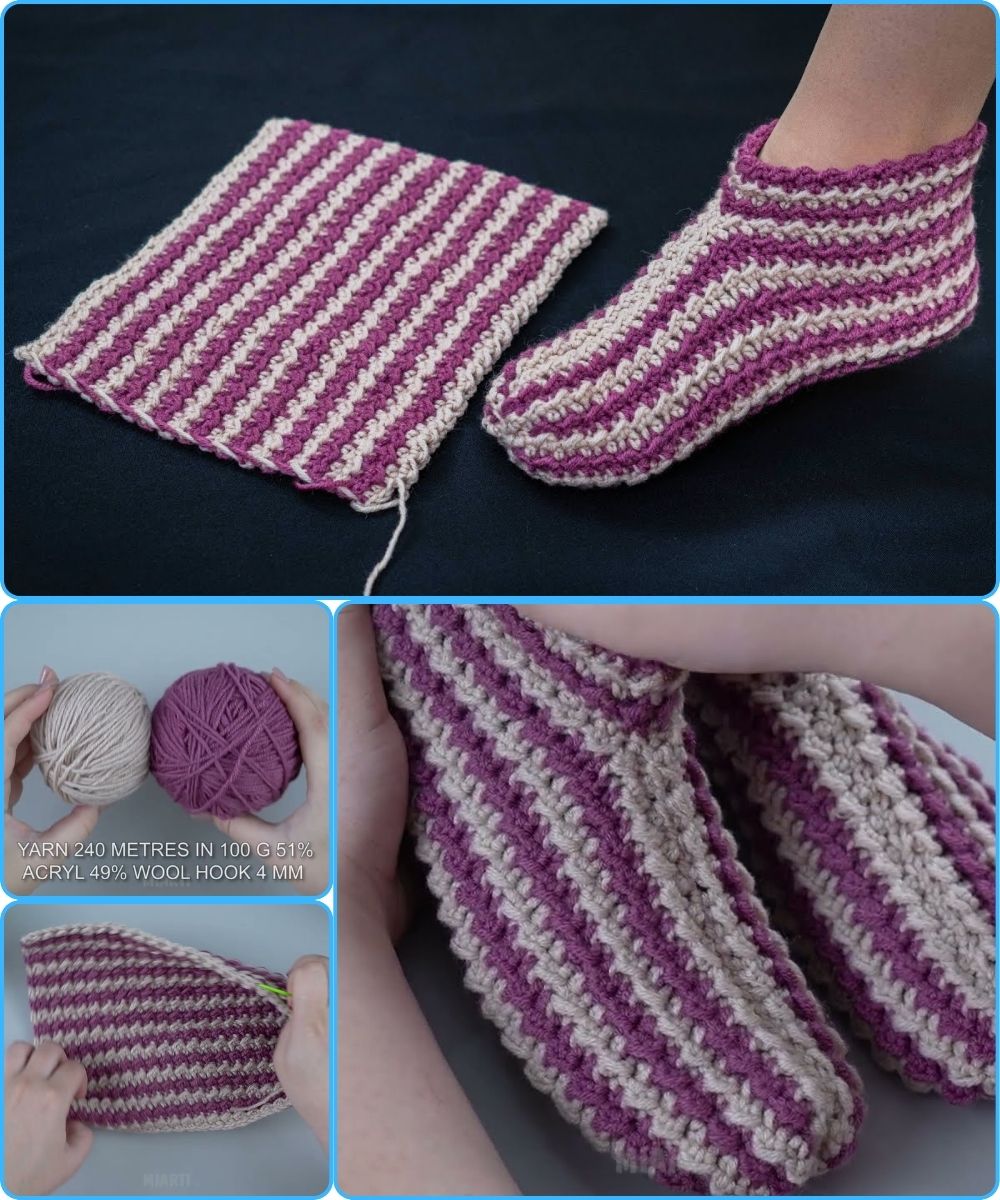
🧶 Materials You’ll Need
-
Yarn: Medium-weight (worsted weight, category 4) acrylic or cotton yarn.
(About 100–150g for a pair of adult slippers) -
Crochet Hook: Size H/8 (5 mm) or size recommended on your yarn label.
-
Yarn Needle: For sewing and weaving in ends.
-
Scissors
📏 Step 1: Measure Your Foot
To get the perfect fit:
-
Measure your foot length from heel to toe.
-
Measure your foot width at the widest point.
You’ll use these measurements to adjust the slipper’s length and width.

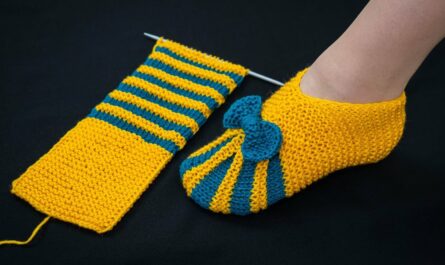
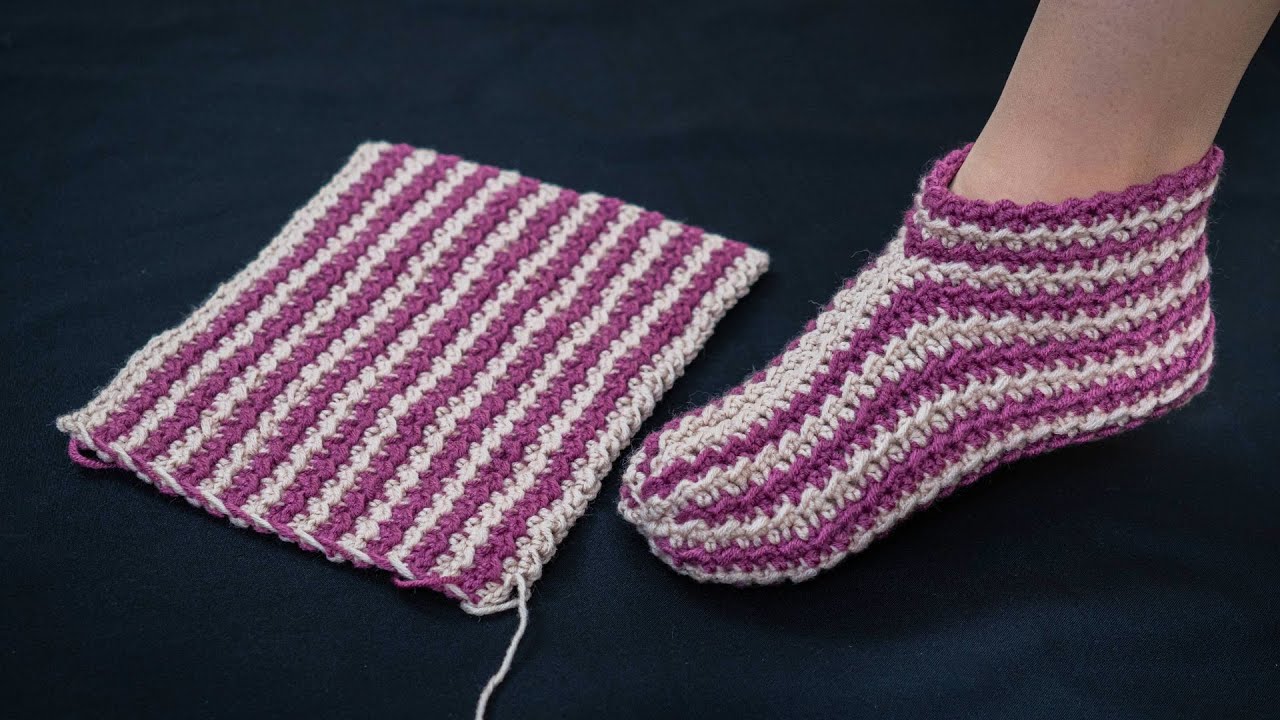
🧩 Step 2: Make the Base (Sole)
You’ll make a simple rectangle or oval that matches your foot length.
Pattern (Rectangle Method)
-
Chain (CH) the length of your foot (e.g., 25–30 chains for adult size).
-
Row 1: In the 2nd chain from the hook, single crochet (SC) in each chain across. Chain 1, turn.
-
Row 2–10: SC across each stitch. Chain 1, turn.
-
Continue until your rectangle is wide enough to wrap halfway up your foot sides.
-
💡 For a softer, thicker base, you can double the yarn strand.
🧵 Step 3: Shape the Slipper
Now we’ll fold and seam it into slipper form.
-
Fold the rectangle in half (like a taco) so the short sides meet at your toes.
-
Using your yarn needle and yarn:
-
Sew the toe seam along one short edge. (This becomes the front.)
-
-
Leave an opening on the other side for your heel.
Optional Heel Shaping
If you want a more fitted heel:
-
Fold the heel opening flat and sew about half the opening closed, leaving enough room to slip your foot in.
🧶 Step 4: Finish the Edges
-
Attach yarn at the slipper opening.
-
Work single crochet evenly around the top edge to tidy it up.
-
You can switch to a different color for a decorative trim.
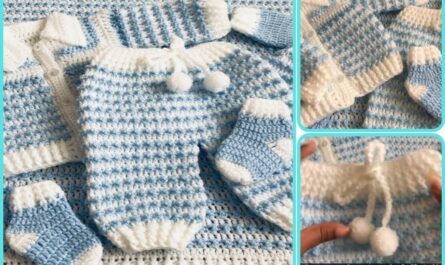
🌟 Optional Add-ons
-
Pom-poms or buttons for decoration.
-
Felt soles (hot glue or sew them on for grip).
-
Double sole for extra warmth — just make two rectangles and stitch them together before shaping.
🕒 Time Estimate
🕓 30–60 minutes per slipper, depending on your speed and experience.

👣 Simple Size Adjustments
-
For smaller sizes: Start with fewer chains and fewer rows.
-
For larger sizes: Add more chains for length and more rows for width.
-
To make the slippers stretchier, use half double crochet (HDC) instead of single crochet.
🧵 Example Quick Pattern (Adult Medium)
Would you like me to include a picture guide or crochet diagram to go with this pattern? I can generate a clear step-by-step image layout to help you visualize each step.
Watch tutorial: