 by
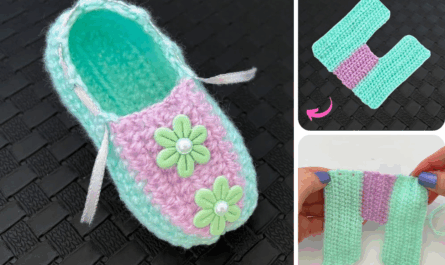
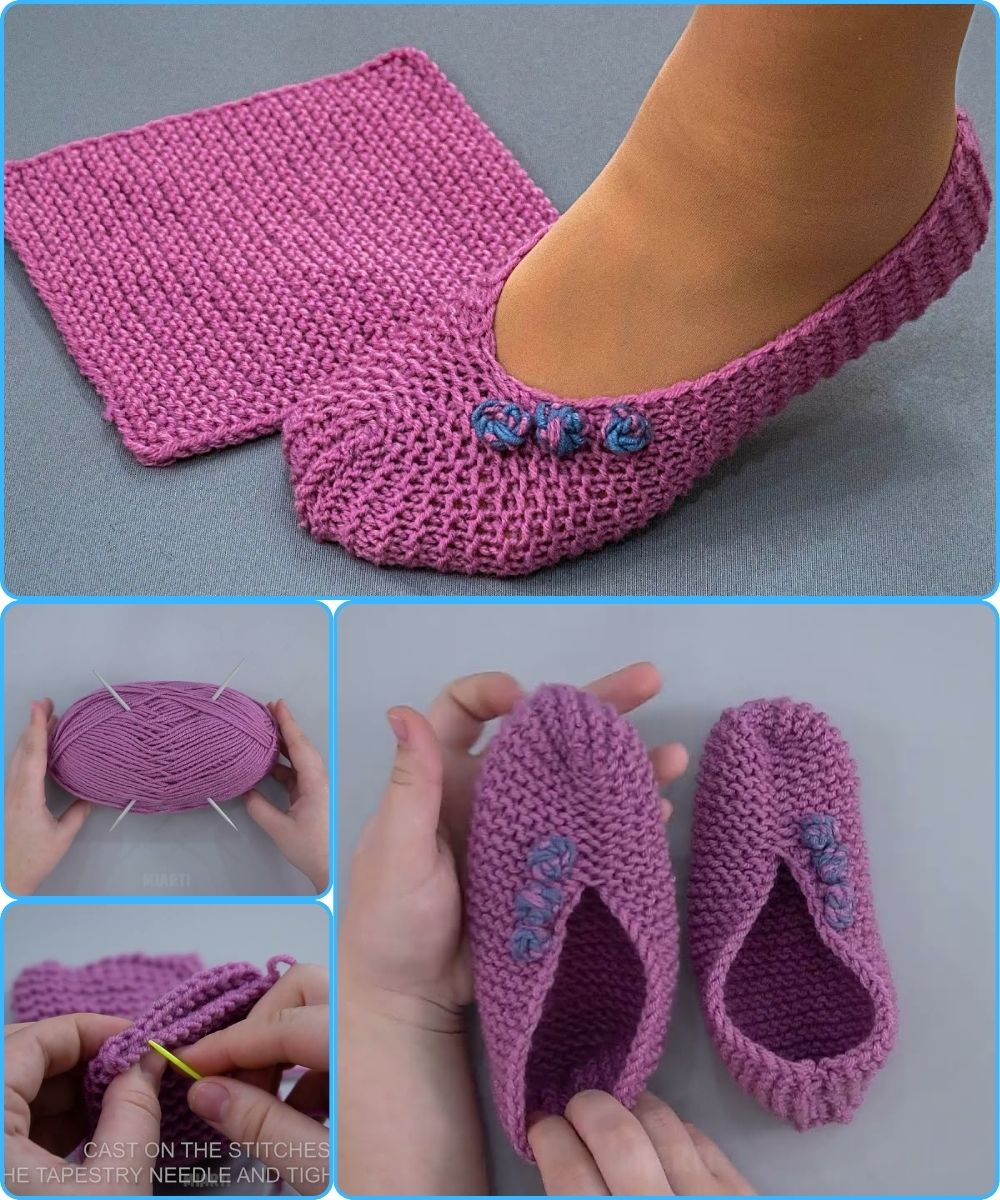
by Absolutely! Knitting slippers from a square is one of the easiest and most satisfying beginner projects — especially because it doesn’t require complicated shaping or sewing seams along the sole. Below is a step-by-step guide for making seamless knitted slippers from a square, suitable for knitters of all levels.
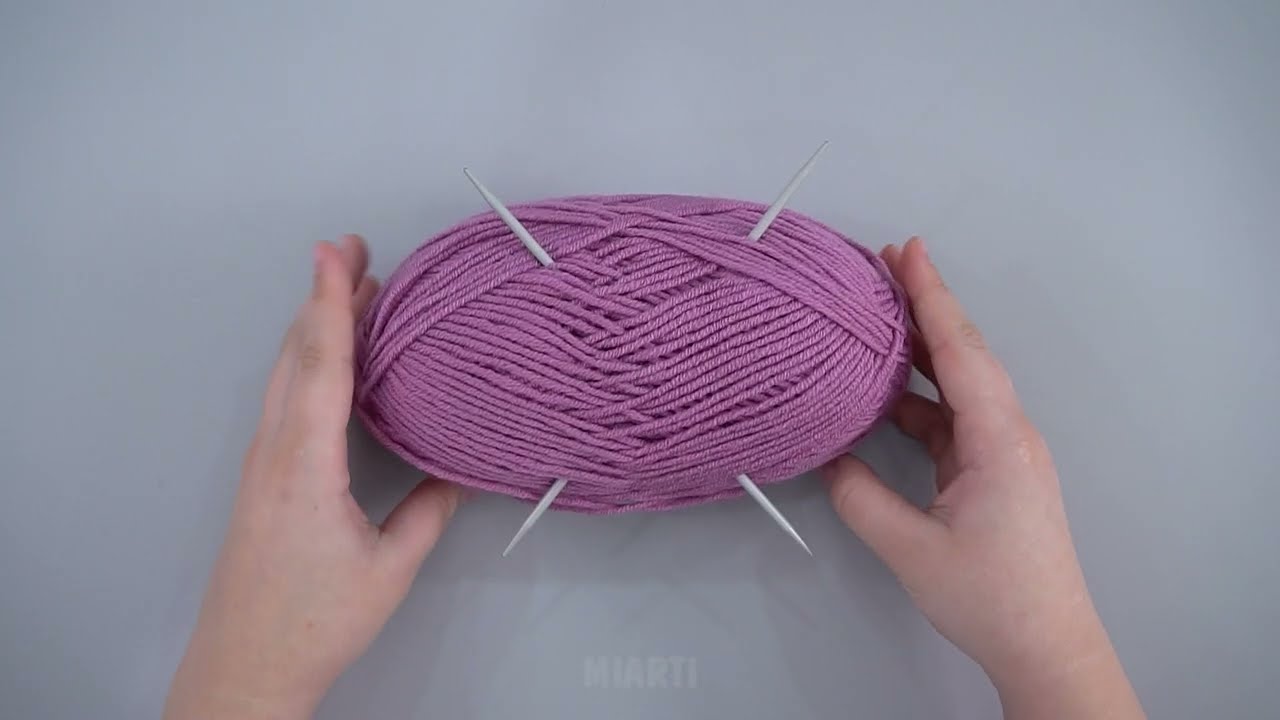
🧶 Materials Needed
-
Yarn: Medium (worsted) weight yarn — about 100–150 g for a pair
-
Knitting needles: Size suitable for your yarn (usually 4–5 mm / US 6–8)
-
Tapestry needle for sewing top seams
-
Scissors
-
Measuring tape
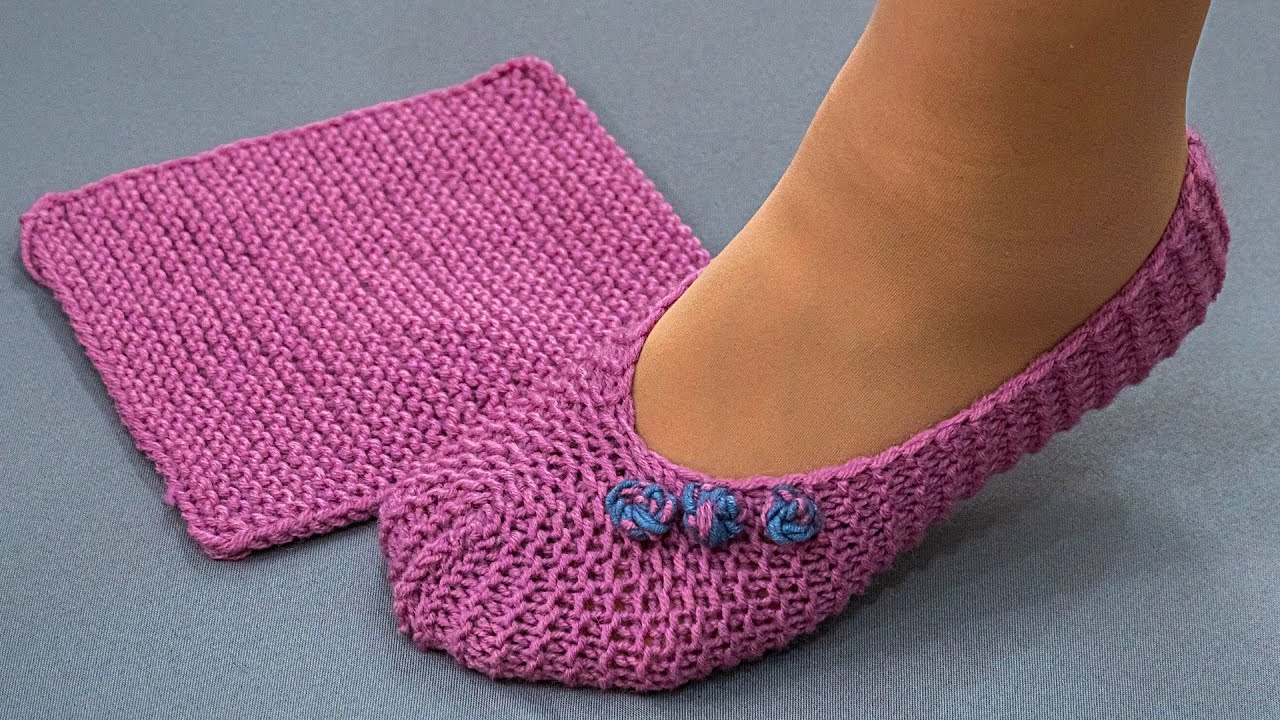
📏 Step 1: Knit the Square
You’ll start by knitting one large square for each slipper.
1. Cast on stitches:
Measure the width of your foot from the heel to the tip of your toes (for most adults, about 20–24 cm / 8–9.5 inches).
Cast on enough stitches to make a square of that size.
👉 For example:
-
With worsted yarn and 5 mm needles, you’ll get about 4 stitches per inch,
so for a 9-inch square, cast on 36 stitches.
2. Knit the square:
Use garter stitch (knit every row) — this creates a stretchy, squishy fabric perfect for slippers.
Continue knitting until your piece is square — length equals width.
3. Bind off all stitches loosely and cut the yarn, leaving a 20–25 cm (8–10 inch) tail for sewing.
✂️ Step 2: Folding the Square
Here’s the magic part — no complicated shaping!
-
Lay the square flat like a diamond (so one corner points up).
It should look like a diamond with one point at the top, one at the bottom, and one on each side. -
Fold the bottom corner up so that it meets the center of the square.
-
Fold the side corners in so that they overlap slightly over the folded bottom corner.
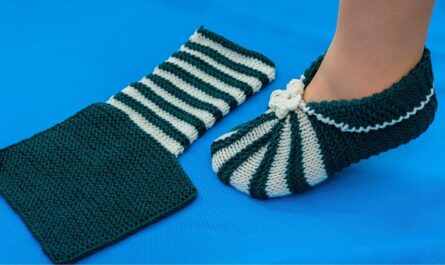
This will form a slipper shape, with an opening at the top for your foot.
You’ll see that the folds naturally create the toe and heel sections.
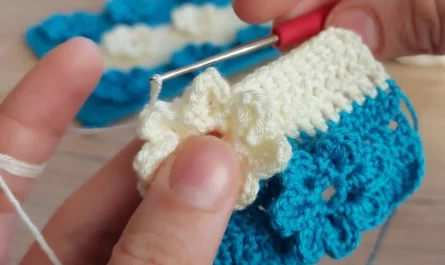
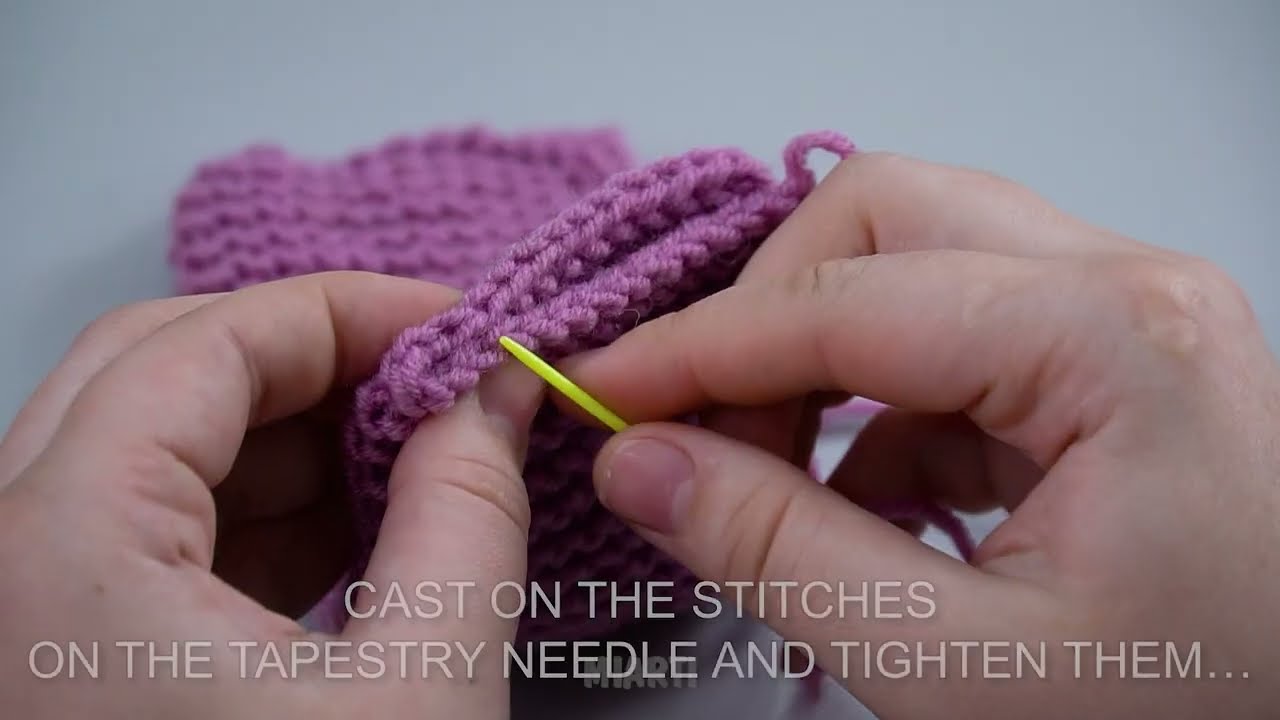
🧵 Step 3: Sewing (No Seam on the Sole!)
Now we’ll stitch the slipper so the seam stays on top and sides — not underneath.
-
Toe seam:
Using your yarn tail and a tapestry needle, sew from the front tip of the slipper (the toe point) up about halfway toward the ankle.
Pull gently to gather the toe a little if you like a rounded front. -
Heel seam:
Fold the back of the slipper together and stitch up the heel, about halfway as well.
✅ That’s it! The sole stays seamless because the folds and stitches all stay along the upper edges.
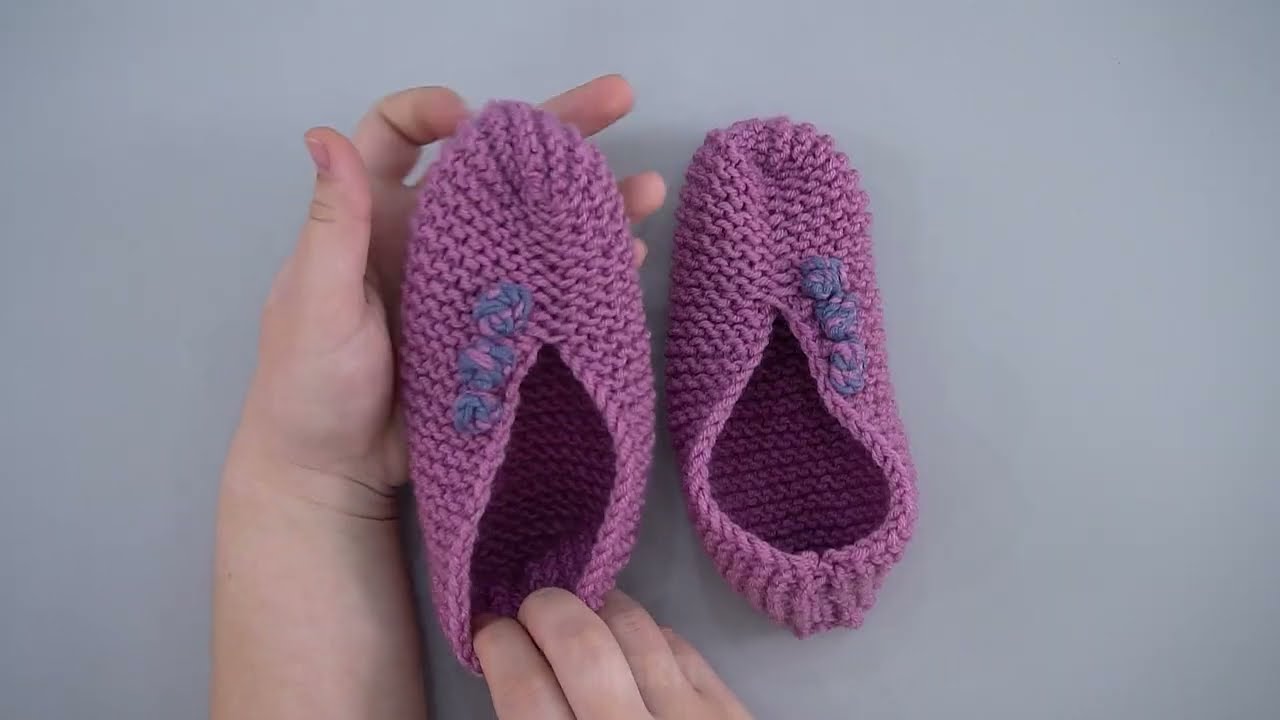
👣 Step 4: Finishing Touches
-
Weave in all yarn ends neatly on the inside.
-
Try them on and adjust fit — if too loose, you can thread a small cord or elastic around the ankle opening.
-
(Optional) Add a pom-pom, button, or decorative cuff at the top.
-
If desired, attach non-slip pads or fabric paint dots to the soles for traction.
🧤 Optional Variations
-
Two colors: Knit the square with stripes — they’ll form diagonal patterns when folded.
-
Ribbed version: Use knit 2, purl 2 instead of garter for a snugger fit.
-
Textured look: Try seed stitch or basketweave for a cozy design.
🩴 Simple Sizing Guide
| Foot Size | Approx. Square Size | Stitches to Cast On (Worsted yarn, 5 mm needles) |
|---|---|---|
| Small (US 5–6 / EU 36–37) | 8 in / 20 cm | 32 sts |
| Medium (US 7–8 / EU 38–39) | 9 in / 23 cm | 36 sts |
| Large (US 9–10 / EU 40–41) | 10 in / 25 cm | 40 sts |
| XL (US 11–12 / EU 42–43) | 10.5 in / 27 cm | 42–44 sts |
Would you like me to include illustrations or folding diagrams (top view and step-by-step fold) to make the shaping clearer?
I can generate simple labeled images to go along with this tutorial.
Watch tutorial: