by
by Absolutely! I can break this down step by step for you with a beginner-friendly approach. I’ll make it detailed so you can follow along even if it’s your first time crocheting socks.
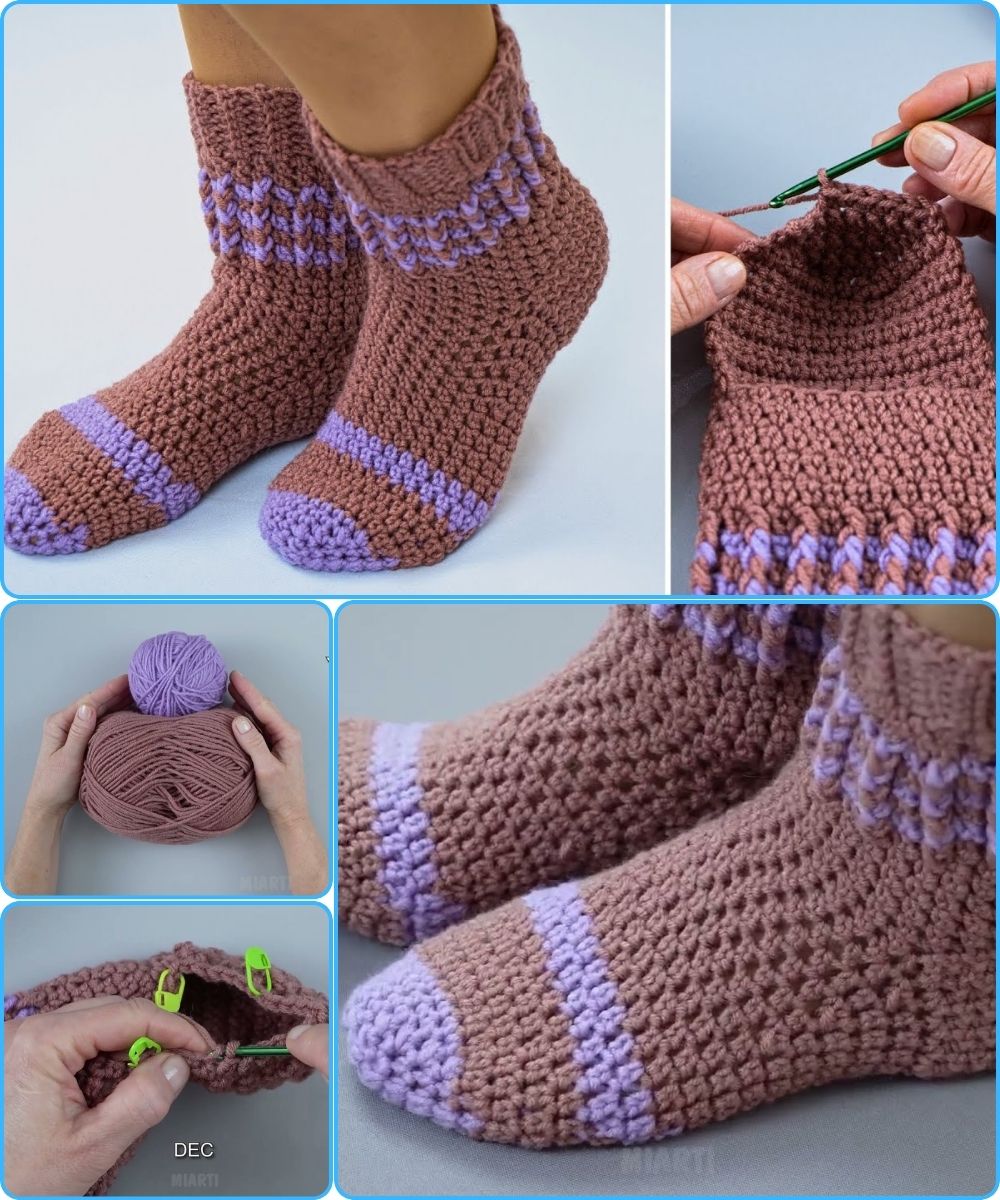
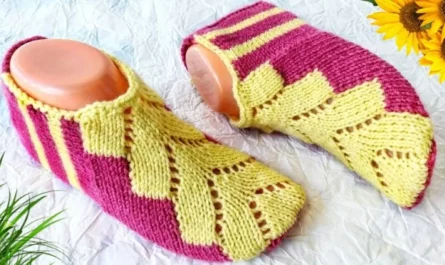
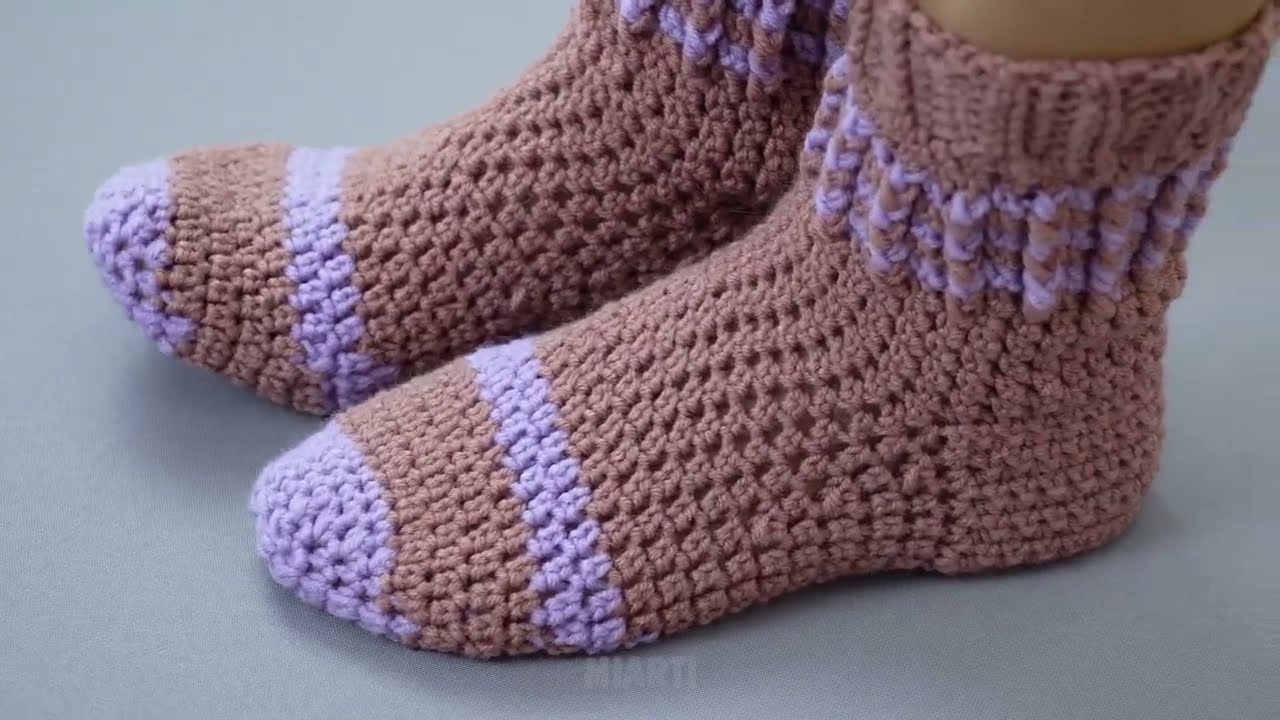
Easiest Crochet Socks for Beginners – Step-by-Step Tutorial
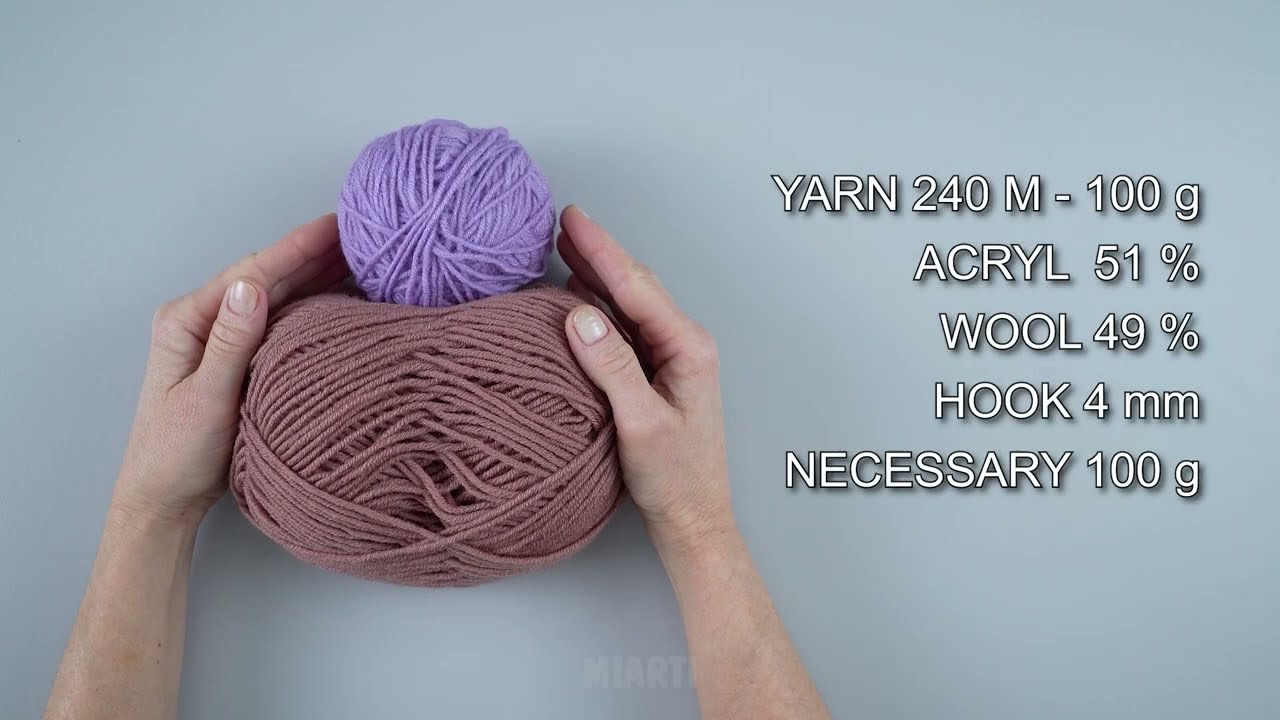
Materials You’ll Need
-
Yarn – Medium-weight yarn (like worsted weight) is perfect for beginners.
-
Crochet Hook – Size recommended for your yarn (usually 4mm–5mm).
-
Scissors
-
Yarn needle – For weaving in ends.
-
Measuring tape – Optional but helpful for sizing.
Step 1: Take Measurements
Before you start, it’s good to know the size of your foot.
-
Measure from the tip of your toe to the back of your heel (foot length).
-
Measure around the widest part of your foot (foot circumference).
We’ll use these measurements to adjust the number of stitches.
Step 2: Make the Sole (Bottom of the Sock)
The easiest way for beginners is to start from the toe:
-
Make a magic ring (or chain 2 and work in the second chain).
-
Round 1: Crochet 6 single crochets (sc) into the ring.
-
Round 2: 2 sc in each stitch around → 12 stitches.
-
Round 3: 1 sc in next stitch, 2 sc in next stitch, repeat around → 18 stitches.
-
Round 4: 1 sc in next 2 stitches, 2 sc in next stitch, repeat around → 24 stitches.
-
Continue increasing until the sole width matches your foot measurement.
Tip: Keep trying the sock on your foot as you go to make sure it fits.
Step 3: Work the Foot
Once the sole is wide enough:
-
Stop increasing and start crocheting in rounds without increasing.
-
Continue crocheting sc (or half double crochet for a slightly taller stitch) until the length from the toe to the heel is just before your heel.
Step 4: Make the Heel
The heel can be tricky, but here’s the simplest method:
-
Stop working in rounds and crochet back and forth over half of the stitches (the part that will cover the heel).
-
Work 1 sc in each stitch for several rows until it reaches the back of your heel.
-
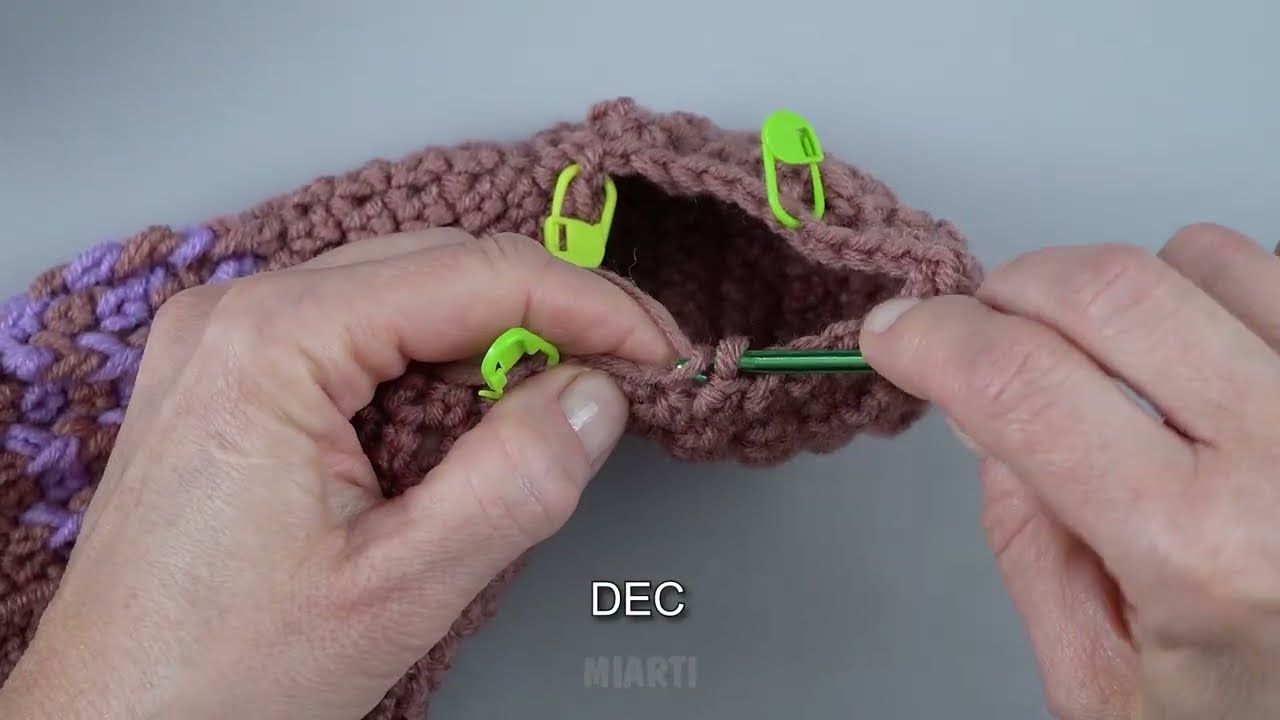
Now, start decreasing for the heel:
-
Row 1: sc2tog (single crochet 2 together) at the ends of the row.
-
Repeat until the heel forms a triangle shape.
-
-
Rejoin to the rest of the sock and continue crocheting in rounds for the ankle.
Step 5: Work the Ankle & Cuff
-
Continue crocheting in rounds until the sock reaches your desired ankle height.
-
For a stretchy cuff:
-
Use ribbing: alternate front post and back post stitches or just do sc in the back loop only.
-
-
Usually, 10–15 rows of ribbing are enough.
Step 6: Finishing
-
Fasten off and weave in all ends with a yarn needle.
-
Repeat all steps for the second sock.
Tips for Beginners
-
Use a stitch marker to mark the start of each round so you don’t lose your place.
-
Try on your sock often to make sure it fits.
-
Tension matters: not too tight, not too loose.
-
Practice on scraps first if you’re new to increasing and decreasing stitches.
✅ Optional: If you want, I can also make a simple visual diagram showing the toe, sole, heel, and cuff step by step. That makes it much easier to follow than just text instructions.
Watch video: