 by
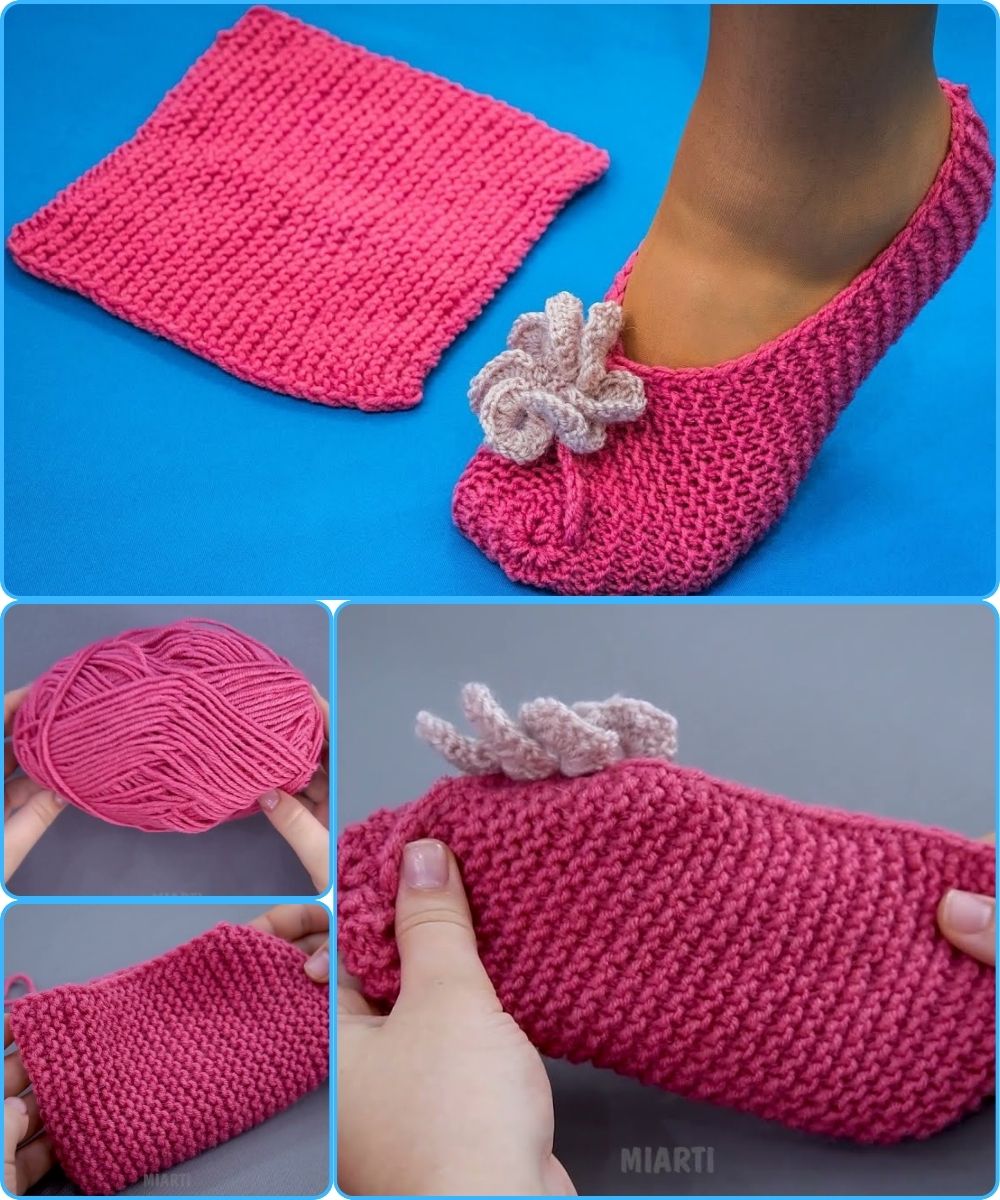
by Here’s a clear, beginner-friendly, detailed guide for making super easy knitted slippers from a simple square using only basic knitting needles. These are sometimes called “grandma slippers” because they’re so quick and clever!
🧶 How to Make Very Easy Knitted Slippers From a Square
(Beginner Friendly – Uses Only Knit Stitch!)
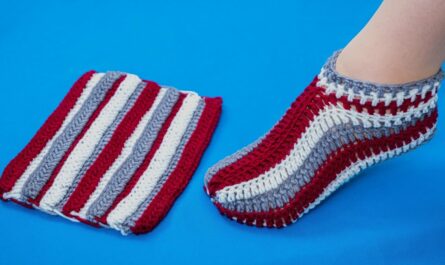
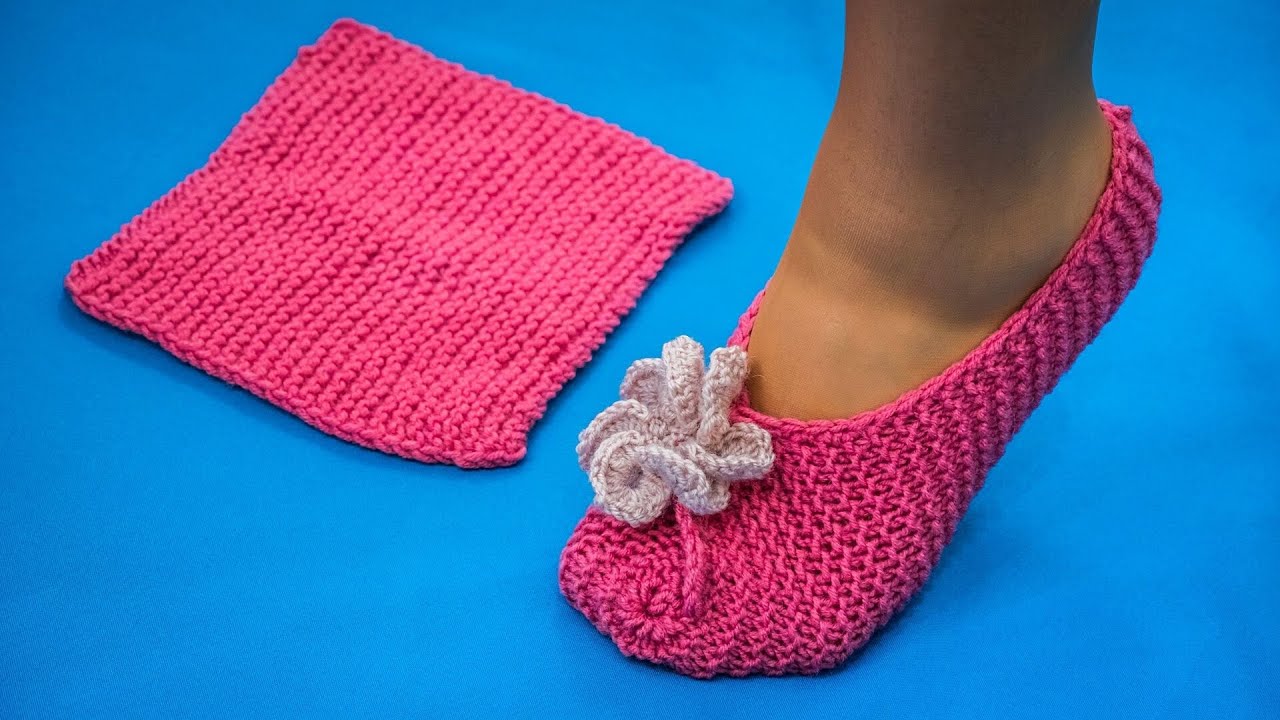
These slippers are created by knitting one square, folding it in a special way, and sewing just a few seams. No shaping, no advanced stitches!
✔️ Materials You Need
-
Yarn: Medium weight (worsted) or chunky yarn
-
Knitting needles: Size recommended for your yarn (usually 4.5 mm–6 mm for worsted)
-
Yarn needle for sewing seams
-
Scissors
📏 Step 1 — Decide Your Size
Your slipper is made from a square. The length of one side of the square equals the length of your foot.
Square size guide
| Foot Size | Length of Square |
|---|---|
| Small (US 5–6 / EU 35–36) | ~8.5 in / 22 cm |
| Medium (US 7–8 / EU 37–38) | ~9–9.5 in / 23–24 cm |
| Large (US 9–10 / EU 39–40) | ~10 in / 25–26 cm |
| Extra Large | ~11 in / 27–28 cm |
You can measure your foot and use that exact number.
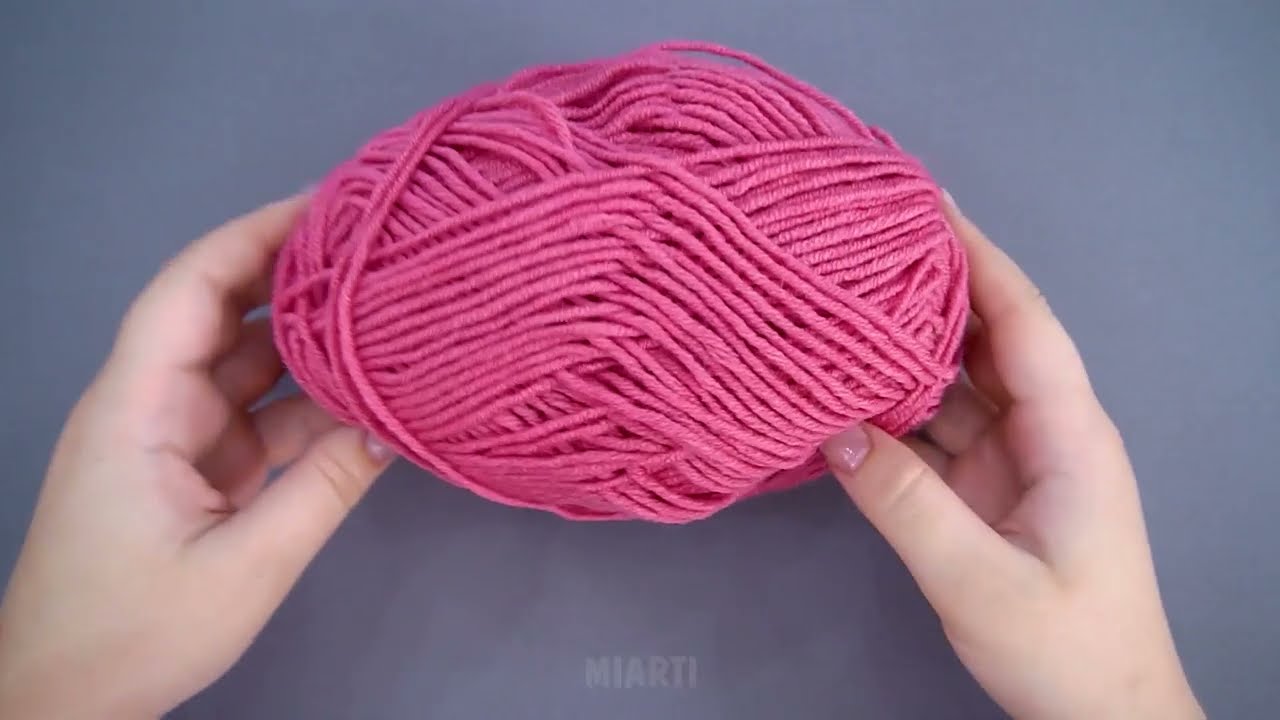
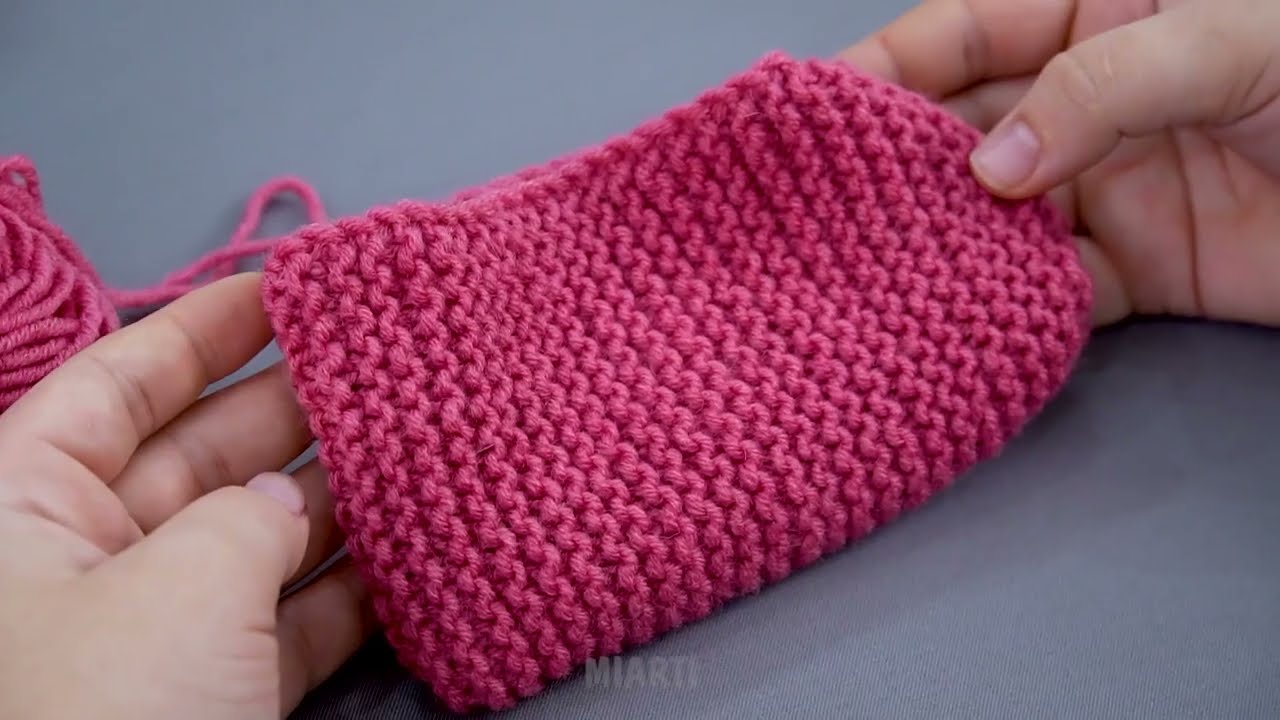
🧵 Step 2 — Knit the Square
Cast on
Cast on enough stitches to make your knitting around as wide as your foot length.
Example:
If your foot is 24 cm, cast on enough stitches so the width is 24 cm.
Most people need 30–40 stitches with worsted yarn.
Knit the square
-
Knit every row (garter stitch)
-
Keep knitting until your work is as long as it is wide (forming a square)
💡 Tip: Fold your work diagonally into a triangle. If the edges match, it’s a perfect square!
Bind off
Bind off loosely so the edge doesn’t tighten.
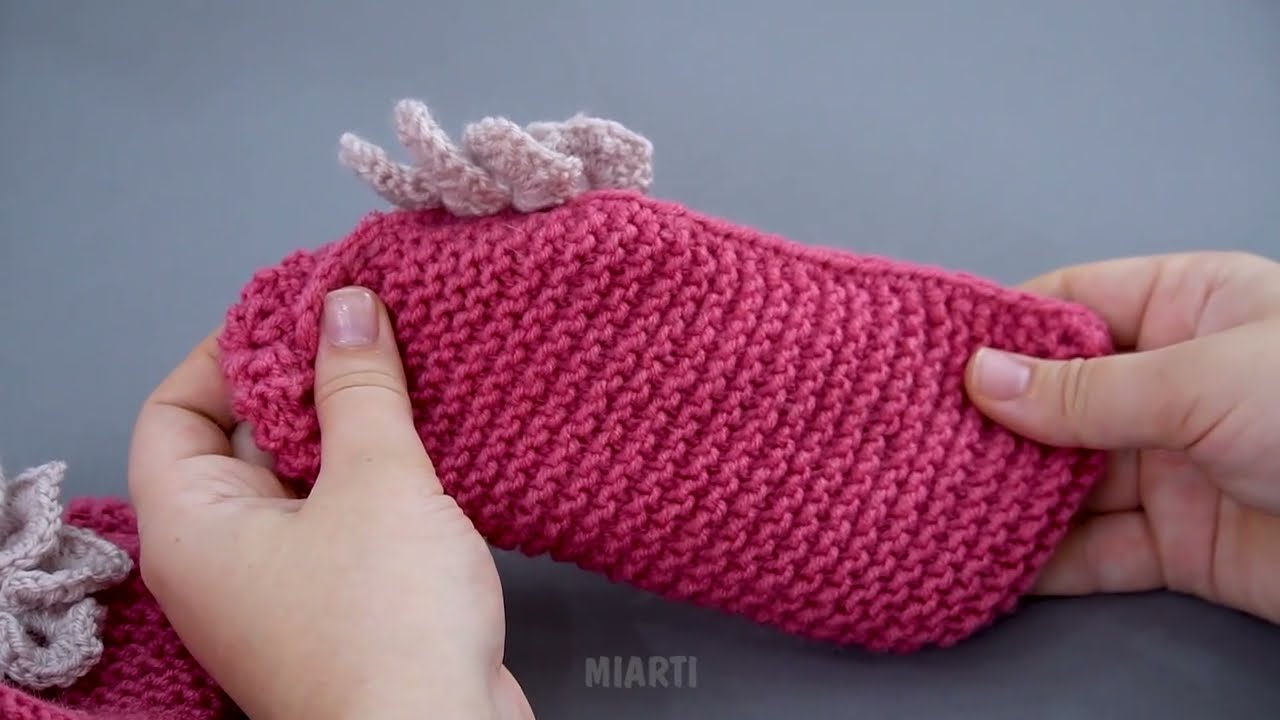
🪡 Step 3 — Folding the Square Into a Slipper
This is the fun part!
Place your knitted square flat in front of you like a diamond shape:
Step 3A — Fold the left and right corners in
Bring the left corner and right corner toward each other so they overlap in the middle.
Step 3B — Toes
Sew from the top corner down to the center where the two side points meet.
This closes the toe of the slipper.
Step 3C — Heel
Now locate the bottom corner of the square.
This becomes the heel.
Fold it up and sew about 1/3 to halfway up to form the heel cup.
🩴 Step 4 — Try On and Adjust
Slip it onto your foot:
-
If the slipper feels loose → sew the heel seam a little higher
-
If it feels tight → loosen the toe seam slightly
You can add:
-
A pom-pom
-
A button
-
Ribbing around the ankle
-
A decorative seam on top
🌟 That’s It! You Made a Slipper From One Square!
This project is perfect for:
-
Beginners
-
Gift making
-
Using leftover yarn
-
Quick weekend projects
If you’d like, I can also provide:
✨ A printable pattern
✨ Step-by-step photos/diagrams
✨ Instructions for ribbed cuffs or two-color versions
Would you like any of those?
Watch video: