by
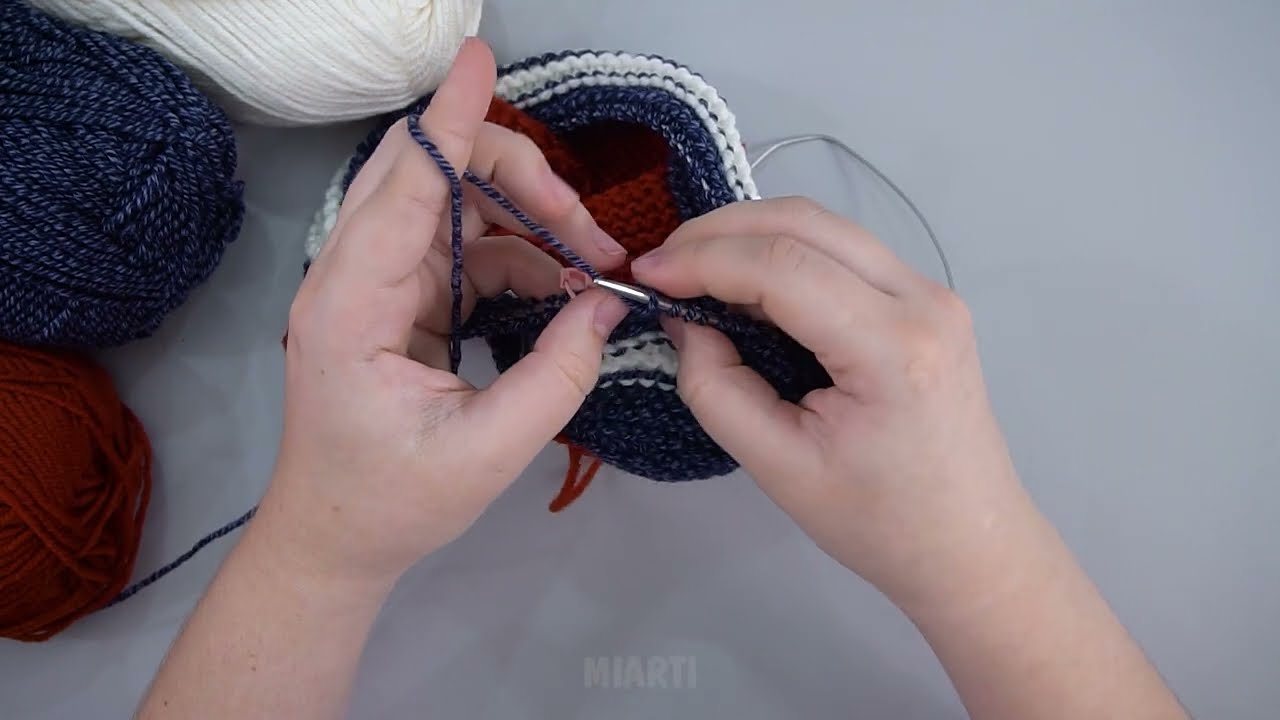
by Below is a clear, beginner-friendly, detailed guide on how to knit seamless slippers that look like sneakers. This method is great for new knitters because it uses only basic stitches and clever shaping—no sewing required.

🧶 Knitted “Sneaker” Slippers With NO Seams
A simple, comfortable, modern design anyone can knit—even total beginners!
These slippers are made in one continuous piece, shaped as you go, and closed using knitted techniques rather than sewing. When finished, they resemble sporty little sneakers with a snug, foot-hugging fit.
✅ What You Need
-
Yarn: Medium weight (Category 4) acrylic or wool blend; ~100–150g
(Two colors if you want “sneaker” accents) -
Needles:
-
Option A: Straight needles, 4–4.5 mm
-
Option B: Circular needles for magic-loop (easier for seamless finish)
-
-
Extras: stitch markers, tapestry needle (for weaving in ends only)
🧵 Skill Level: Beginner
You only need to know:
-
Cast on
-
Knit stitch
-
Purl stitch
-
K2tog (knit two together)
-
Yarn over (YO) (optional, depending on style)
-
Bind off
If you can do these, you can make these slippers!

🧶 Pattern Overview (Why It’s Seamless)
This construction works like this:
-
Start at the heel and knit flat.
-
Add stitches to shape the sides and top of the foot, forming a “U” around the heel.
-
Work the instep (top of the slipper) in one piece.
-
Knit in the round or continue in a single rectangle-like shape that folds around the foot.
-
Decrease toward the toe so the fabric closes itself—no sewing!
✨ Step-by-Step Instructions
⭐ Step 1: Cast On the Heel
Cast on:
-
28 stitches for women’s size (adjust +/− 2–4 stitches for larger/smaller fits)
Knit in garter stitch (knit every row) for:
-
12–14 rows → this forms the heel cup.
⭐ Step 2: Shape the Heel Sides (Sneaker “rib”)
Pick up stitches along the sides of the heel so the work forms a “U” shape.
On the next row:
-
Knit across the 28 stitches.
-
Pick up 10–12 stitches along the right side.
-
Cast on or pick up 16–18 stitches for the toe top.
-
Pick up 10–12 along the left side.
Now you have a wide piece that will wrap around the foot.

⭐ Step 3: Knit the Foot Section
Work in stockinette (knit 1 row, purl 1 row) OR garter stitch (knit every row).
Garter is stretchier and better for beginners.
Work 16–22 rows (depending on foot length) until the slipper reaches the ball of the foot.
⭐ Step 4: Form the “Sneaker” Look (Optional Color Change)
Switch colors if you want a sneaker stripe or toe cap.
You can:
-
Knit 2–4 rows in a contrasting color for a sole line
-
Add a colored “toe cap” by switching yarn for the last 6–10 rows
⭐ Step 5: Seamless Toe Decrease
This is what eliminates sewing.
Every right-side row:
-
Knit to last 2 stitches on the right side → K2tog
-
Knit to last 2 stitches on the left side → K2tog
You are decreasing symmetrically.
Repeat until you have:
-
12 stitches left for a rounded toe
or -
8 stitches for a sharp sneaker-style toe
Then:
Close the toe with Kitchener stitch (seamless finish)
OR
if very beginner:
-
Thread yarn through the remaining stitches and pull tight (still nearly invisible).
⭐ Step 6: Add “Sneaker” Elements (Optional)
You can enhance the look with:
-
I-cord laces
-
A crocheted or knitted tongue flap
-
A fake “sole edge” using surface slip stitching
-
Duplicate-stitch stripes
🧶 Sizes
To adapt for size, measure the foot:
Heel width
Average: 5–6.5 inches
→ increase or reduce the heel cast-on stitches.
Foot length
Knit the foot section until the slipper measures:
Foot length minus 4 cm (toe decreases fill the last area)
✨ Tips for Beginners
-
Use non-slippery yarn so stitches stay even.
-
Garter stitch makes the slipper stretchy and forgiving.
-
Use circular needles if possible—they prevent losing stitches.
-
Try the slipper on as you go! This pattern is very flexible.
❤️ Final Result
You’ll have warm, stretchy, sporty slippers that:
-
Fit snugly like socks
-
Look like casual sneakers
-
Require zero seams (just weave in ends)
-
Are fast—experienced knitters finish in 2–3 hours
If you want, I can also provide:
✔ a printable PDF version
✔ a visual diagram of the construction
✔ a child-size version
✔ a crochet version
✔ step-by-step photos or ASCII illustrations
Would you like any of these?
Watch video: