 by
by Here’s a clear, beginner-friendly, step-by-step guide you can use as an article, blog post, or pattern description.
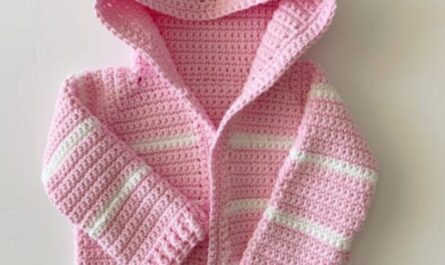
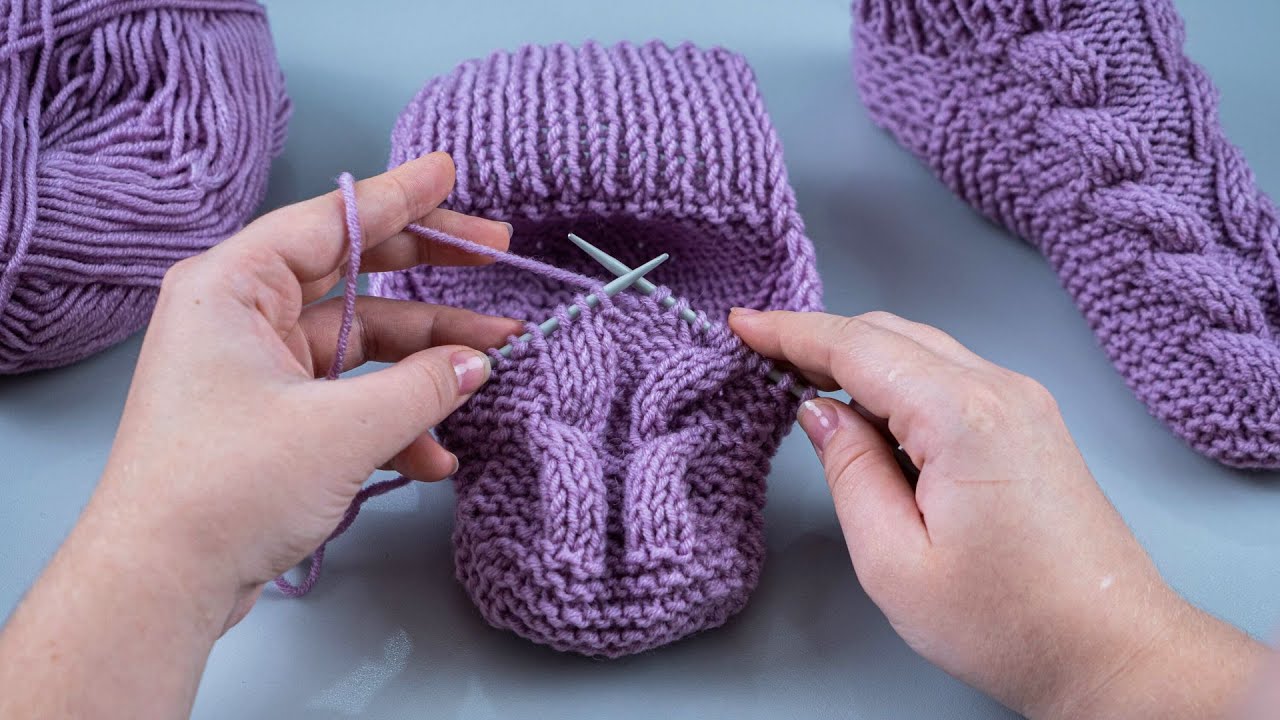
How to Make Slippers / Socks on 2 Knitting Needles (No Seam!)
Even a Beginner Can Handle It
Knitting slippers or socks can sound complicated, especially when you hear about double-pointed needles, circular needles, or sewing seams at the end. The good news is that you can make comfortable, stretchy slippers or socks using just two straight knitting needles, with no seam at all. This method is perfect for beginners and gives a neat, professional finish.
Why Choose Seamless Slippers on 2 Needles?
-
✔ No sewing at the end
-
✔ Only two needles needed
-
✔ Easy construction and clear steps
-
✔ Comfortable fit with no bulky seam
-
✔ Great for beginners and quick gifts
These slippers are knitted flat, then shaped using clever decreases and a smooth finishing technique that avoids a traditional seam.
Materials You Will Need
-
Yarn: Medium (worsted / DK) weight yarn
(Choose wool or wool blend for warmth and stretch) -
Knitting needles: Two straight needles (4–5 mm / US 6–8)
-
Yarn needle
-
Scissors
Basic Skills Required
This project is beginner-friendly. You only need to know:
-
Cast on
-
Knit stitch
-
Purl stitch
-
Knit two together (k2tog)
-
Slip stitches
-
Binding off
If you can knit a simple scarf, you can make these slippers.
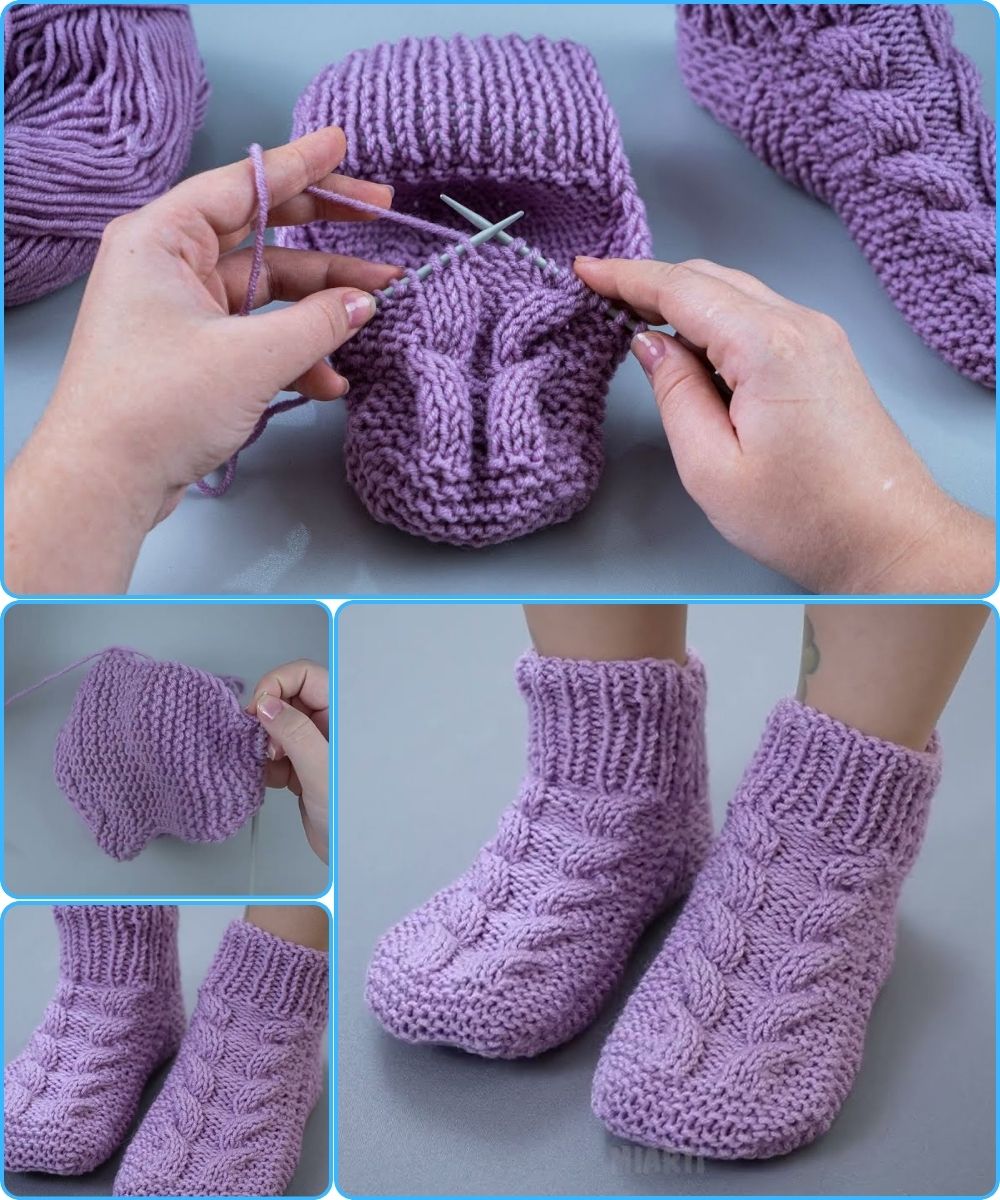
Step 1: Cast On and Knit the Sole
-
Cast on stitches according to the foot size (example: 36–40 stitches for an adult).
-
Knit in garter stitch (knit every row) or stockinette stitch (knit one row, purl one row).
-
Continue knitting until the piece measures the length of the foot from heel to toes.
This flat rectangle will form the sole of the slipper.
Step 2: Shape the Toe (No Seam!)
-
Begin decreasing stitches evenly across the row:
-
Knit 2 together at regular intervals.
-
-
Continue decreasing on every right-side row.
-
As stitches reduce, the fabric naturally curves to form the toe.
This shaping replaces sewing and creates a smooth, rounded front.
Step 3: Shape the Heel
-
Work short rows or gentle decreases at the edges.
-
This creates a snug heel cup.
-
Keep knitting until the slipper fits comfortably around the heel.
The heel is formed directly on the needles—no sewing required.
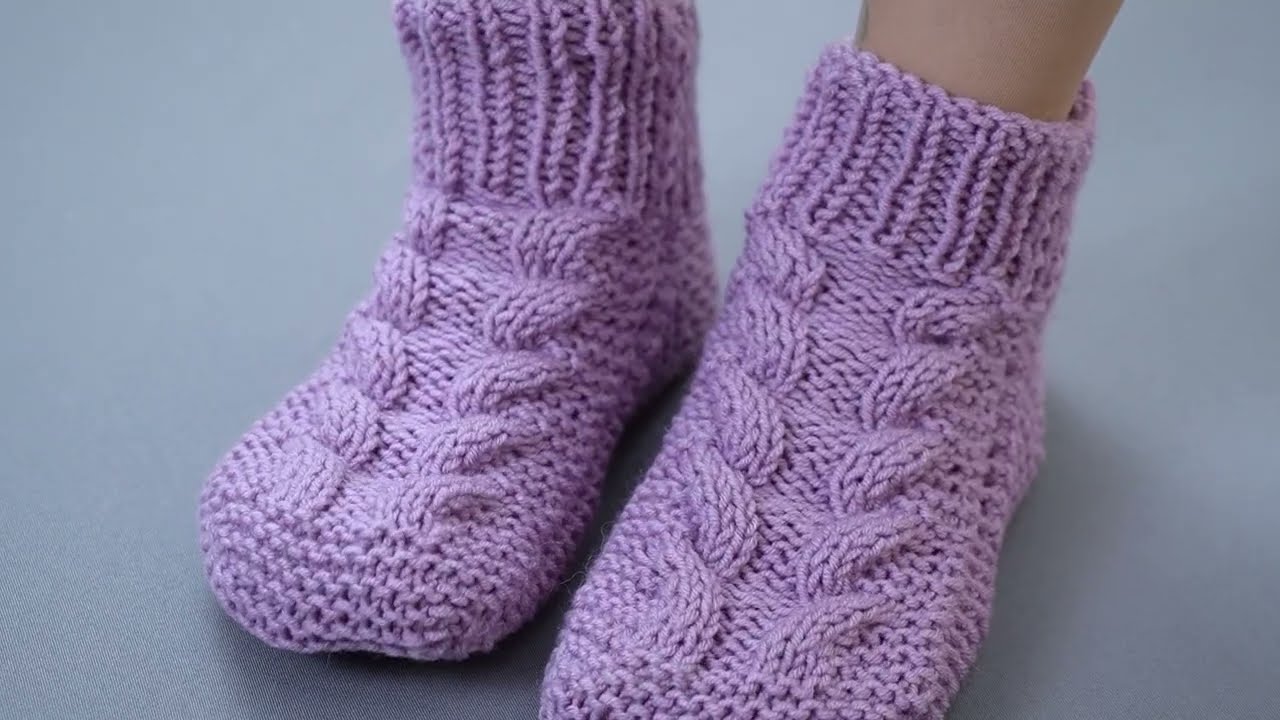
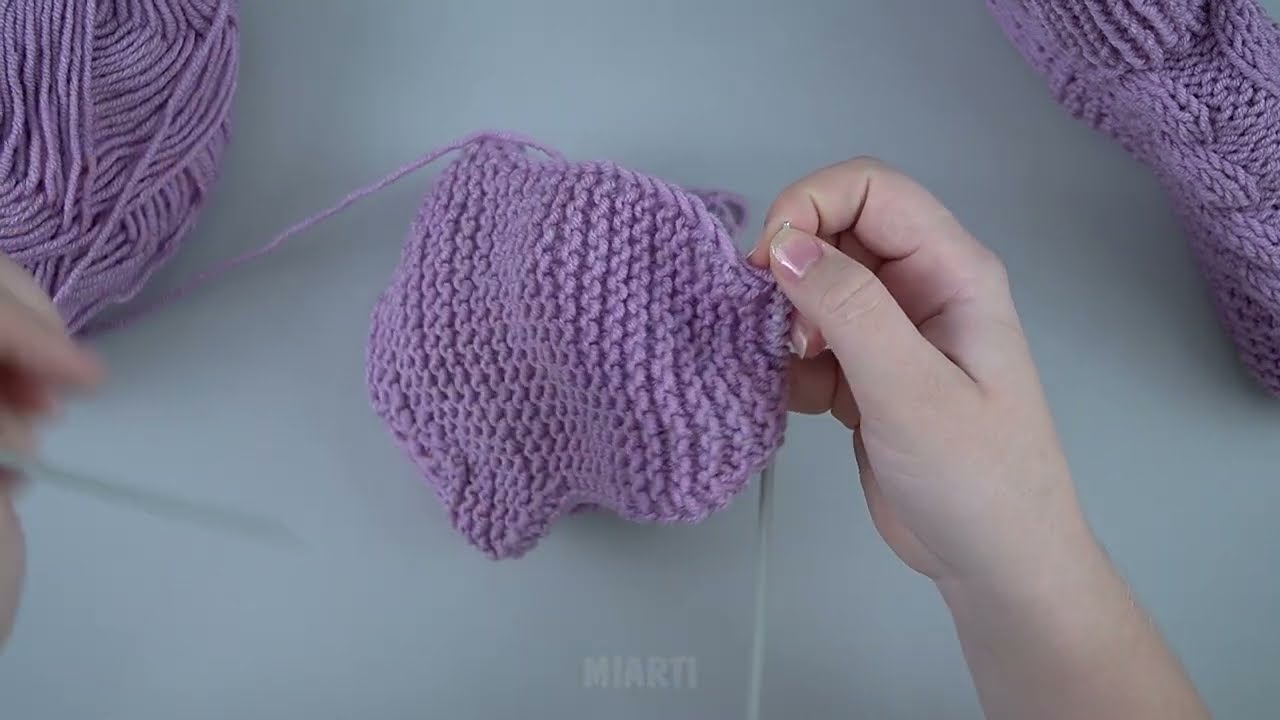
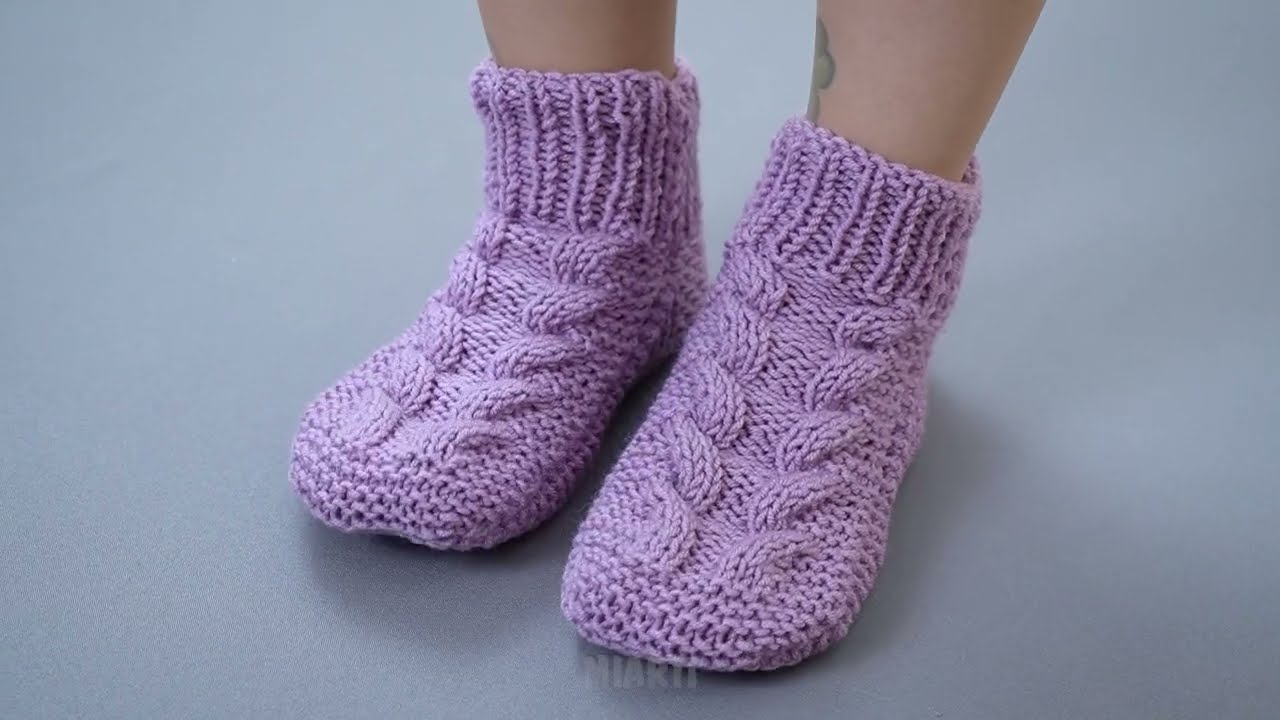
Step 4: Finish Without a Seam
-
When only a small number of stitches remain, cut the yarn, leaving a long tail.
-
Thread the yarn through the remaining stitches using a yarn needle.
-
Pull gently to close and secure.
Because the shaping is done while knitting, the finish looks clean and seamless.
Step 5: Add Optional Details
You can personalize your slippers by adding:
-
Ribbed cuffs
-
Decorative borders
-
Buttons or pom-poms
-
Anti-slip dots on the sole
Tips for Beginners
-
Choose light-colored yarn to see stitches clearly
-
Practice decreases on a small swatch first
-
Try the slipper on as you knit
-
Don’t worry about perfection—comfort matters most
Final Thoughts
Making slippers or socks on two knitting needles without a seam is a wonderful project for beginners. It’s simple, practical, and rewarding. Once you make your first pair, you’ll want to knit them for everyone in the family!
With just basic stitches and a little patience, you can create warm, cozy, handmade slippers that look beautiful and feel great to wear.
Happy knitting! 🧶
Watch tutorial: