 by
by Here is a clear, beginner-friendly, and detailed guide you can use for a blog post, handout, or pattern description.

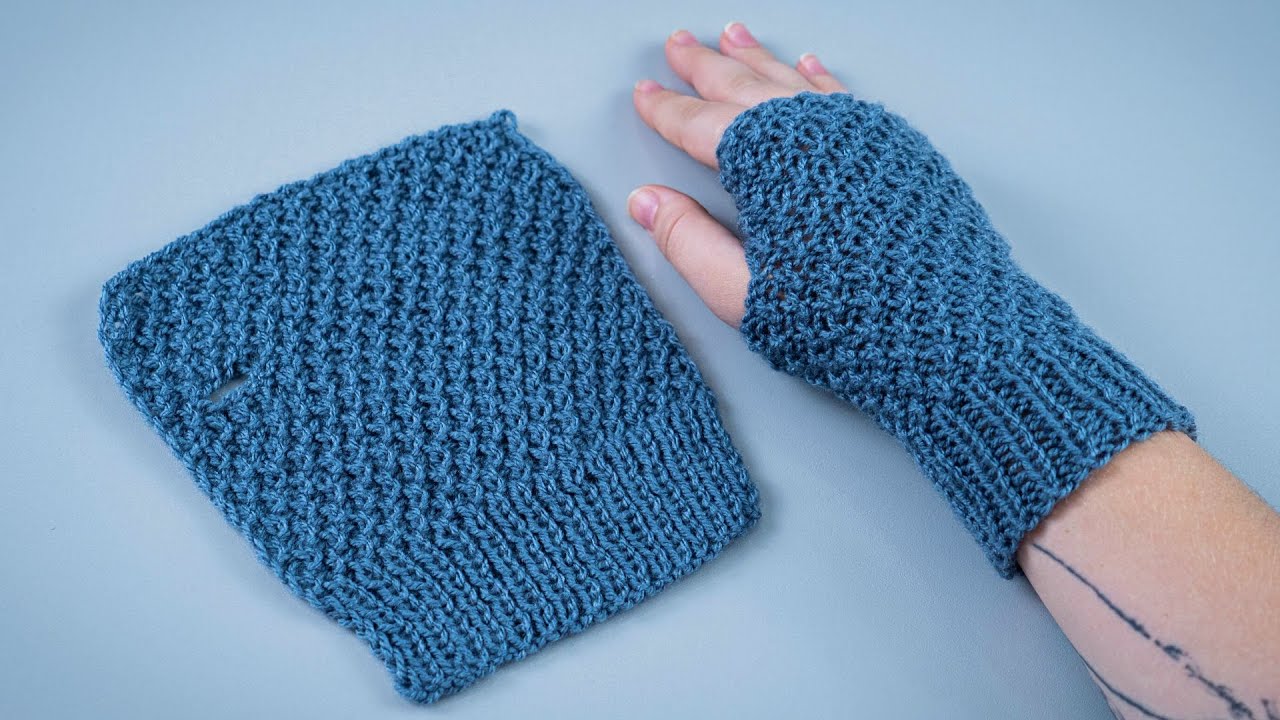
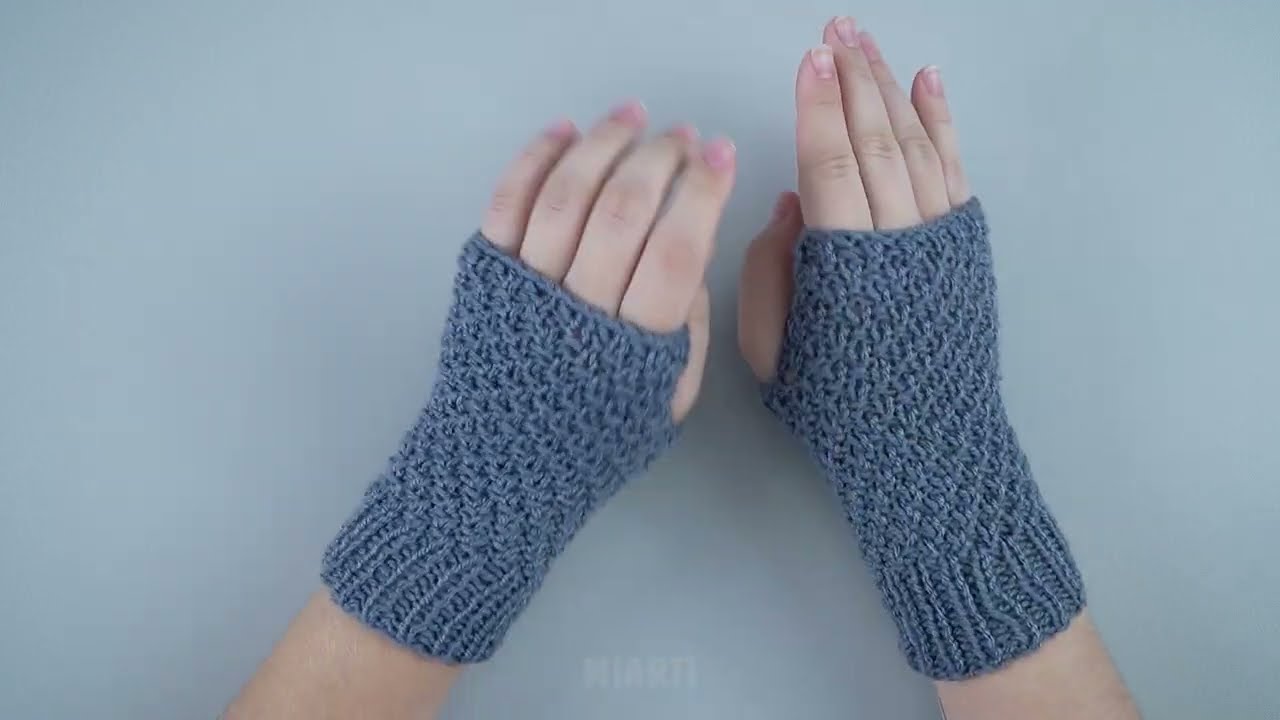
How to Make Simple Fingerless Mittens on Two Knitting Needles
A Perfect Beginner Project
Fingerless mittens (also called wrist warmers) are one of the best projects for new knitters. They are small, quick to finish, and forgiving—no complicated shaping or circular needles required. This pattern is worked flat on two straight needles, then seamed, making it ideal for beginners who want to practice basic stitches and techniques.
Why This Project Is Beginner-Friendly
-
Uses only two straight needles
-
Requires basic stitches: knit and purl
-
No complicated patterns or charts
-
Simple construction with minimal shaping
-
Fast results—great for gifts or first projects
Materials You’ll Need
-
Yarn:
Medium (worsted) weight yarn
Approx. 100–120 yards (90–110 m) -
Knitting Needles:
Size US 8 (5 mm) straight needles
(Adjust size for tighter or looser fit) -
Other Supplies:
-
Yarn needle (for seaming)
-
Scissors
-
Stitch markers (optional)
-
Measuring tape
-
Basic Skills Required
Before starting, you should be comfortable with:
-
Casting on
-
Knit stitch (K)
-
Purl stitch (P)
-
Binding off
-
Simple seaming
Finished Size
Fits an average adult hand.
You can easily adjust the width by casting on more or fewer stitches.
Step-by-Step Instructions
1. Cast On
Cast on 32–36 stitches, depending on how snug you want the mittens.
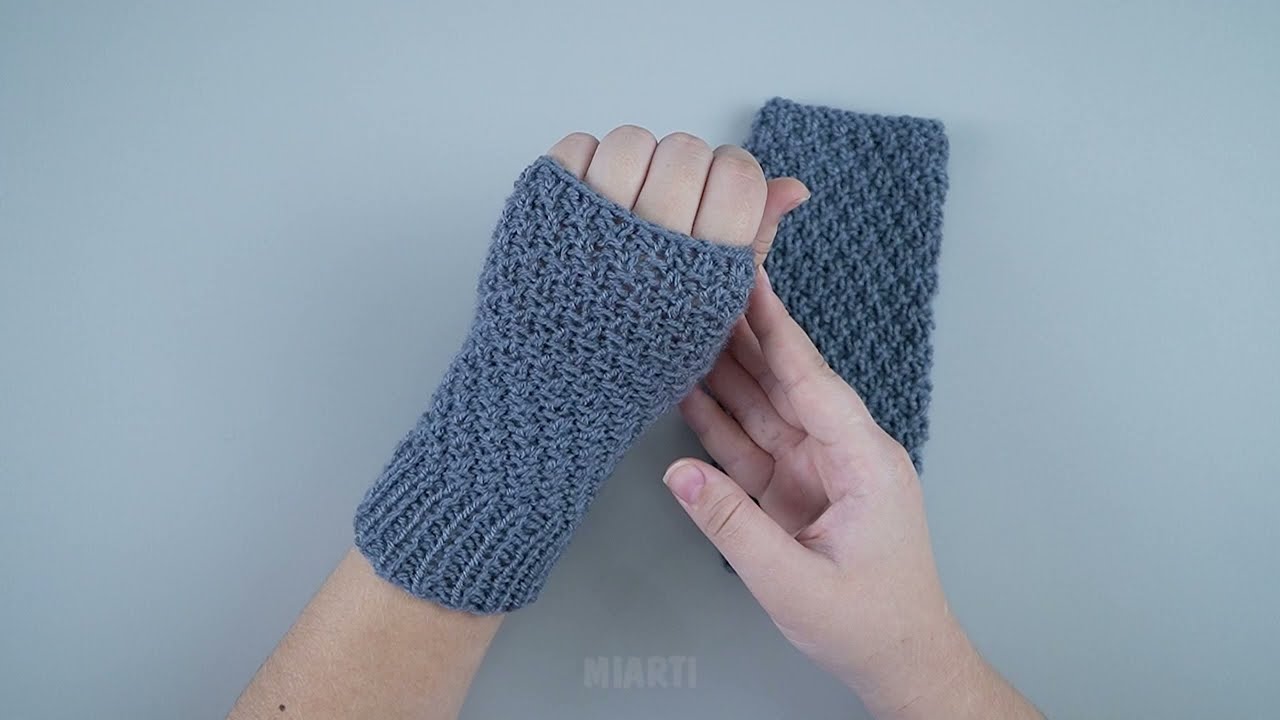
2. Knit the Cuff
The cuff gives stretch and keeps the mitten in place.
Row Pattern (Ribbing):
K2, P2 across the row
Repeat this pattern for 2–3 inches (5–7 cm).
3. Knit the Hand Section
Switch to stockinette stitch:
-
Row 1: Knit all stitches
-
Row 2: Purl all stitches
Repeat these two rows until the piece measures about 5 inches (12–13 cm) from the cast-on edge.
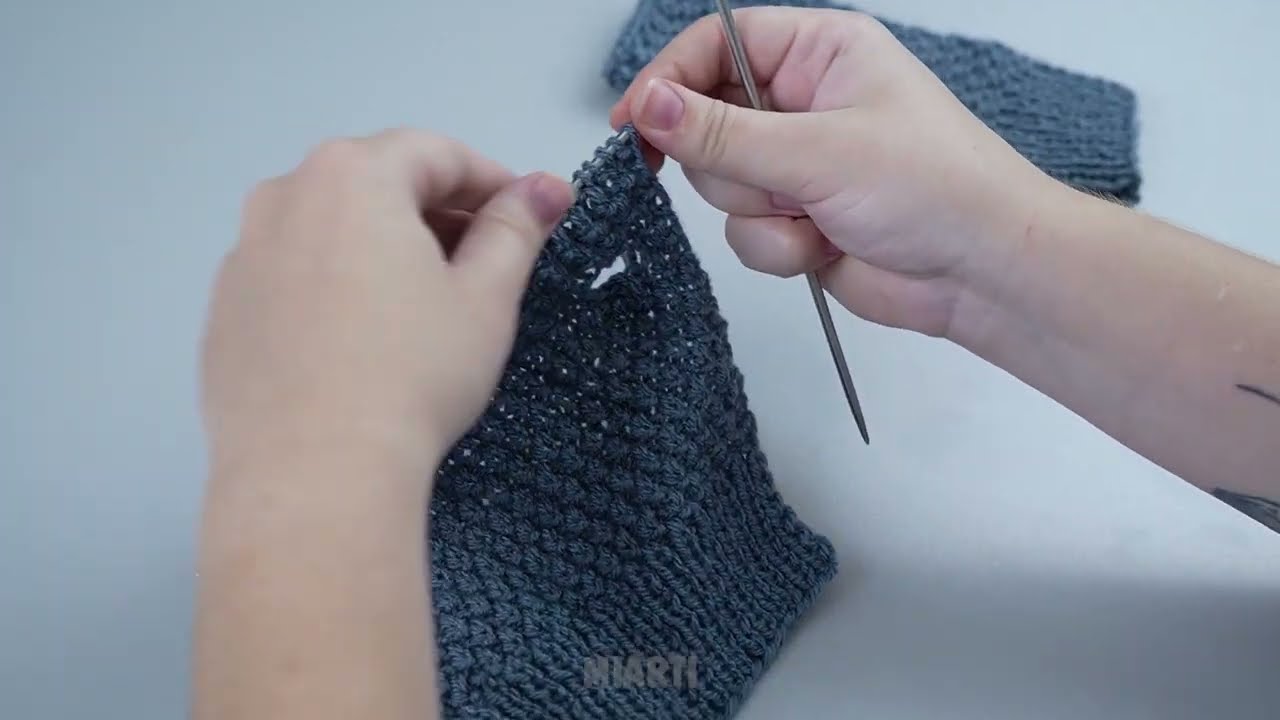
4. Create the Thumb Opening
Instead of shaping, we leave a gap for the thumb.
-
Knit half of the stitches
-
Bind off 4–6 stitches
-
Knit the remaining stitches
Next row:
-
Knit to the gap
-
Cast on the same number of stitches you bound off
-
Continue across the row
This creates a simple thumb opening.
5. Finish the Hand
Continue knitting in stockinette stitch until the piece reaches about 7–8 inches (18–20 cm) total length.
6. Bind Off
Bind off all stitches loosely to ensure comfort.
Assembly (Seaming)
-
Fold the piece in half, right sides together
-
Sew the side seams using a yarn needle
-
Leave the thumb opening unsewn
-
Turn right side out and weave in all loose ends
Repeat for the Second Mitten
Make a second identical piece, ensuring the thumb opening is positioned the same way.
Tips for Success
-
Try the mitten on before binding off to check the length
-
Use stretchy bind-off for comfort
-
Add buttons, embroidery, or color stripes for decoration
-
For warmth, choose wool or wool-blend yarn
Final Thoughts
These simple fingerless mittens are an excellent way for beginners to build confidence and practice essential knitting skills. With just two needles and a little yarn, you can create something practical, cozy, and handmade. Once you master this pattern, you can easily experiment with textures, cables, or longer cuffs.
Happy knitting! 🧶
Watch tutorial: