 by
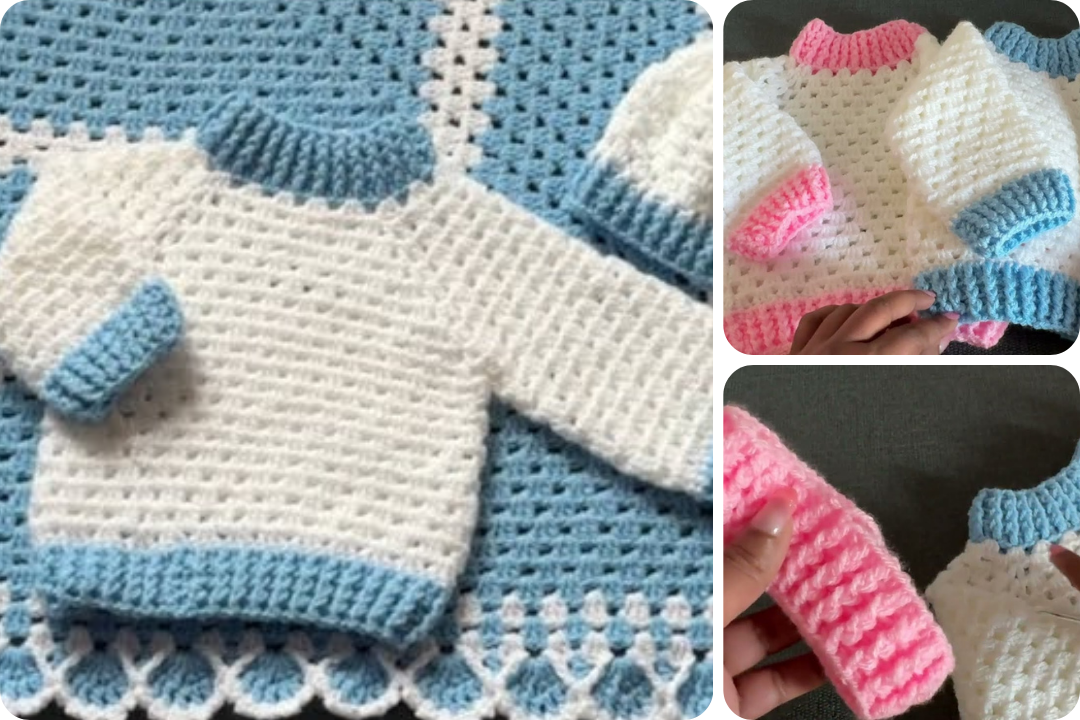
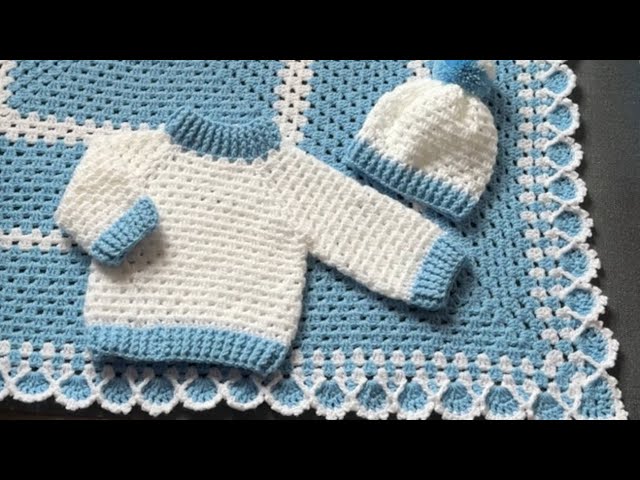
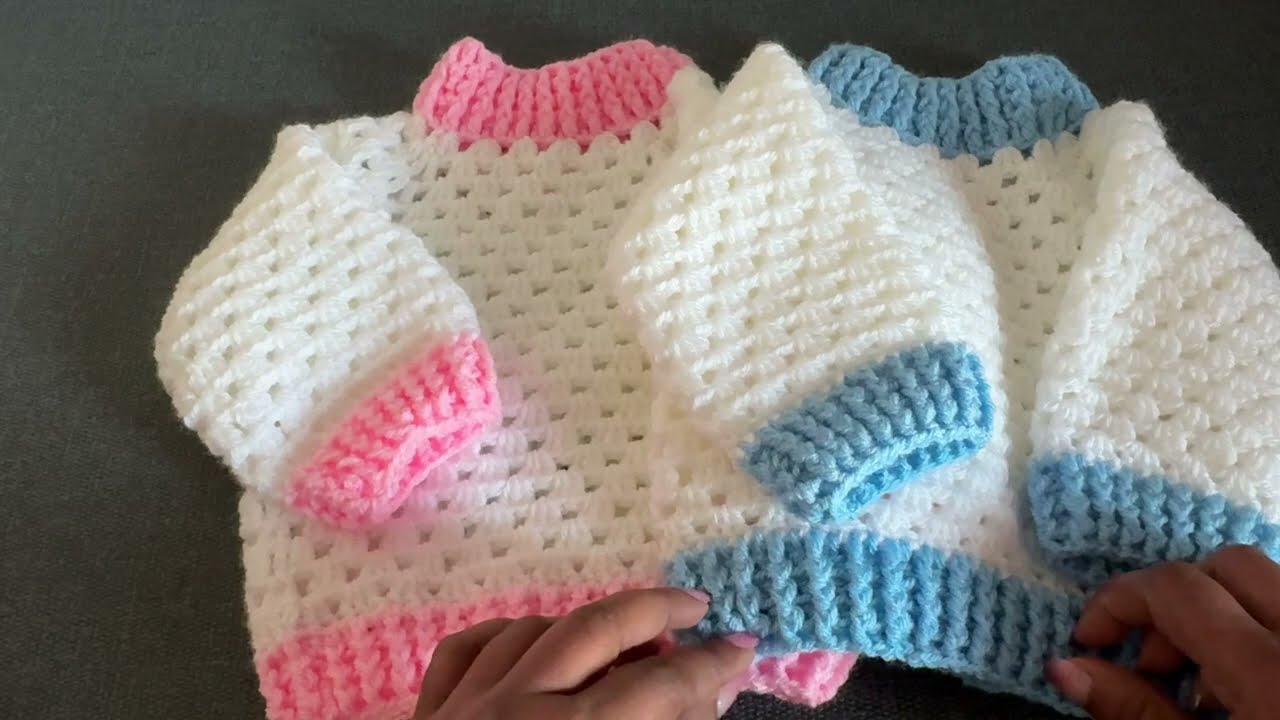
by Sure! Here’s a detailed guide on how to make an easy crochet baby cardigan sweater, perfect for beginners. This step-by-step tutorial assumes you have basic crochet skills like chaining, single crochet, and double crochet.
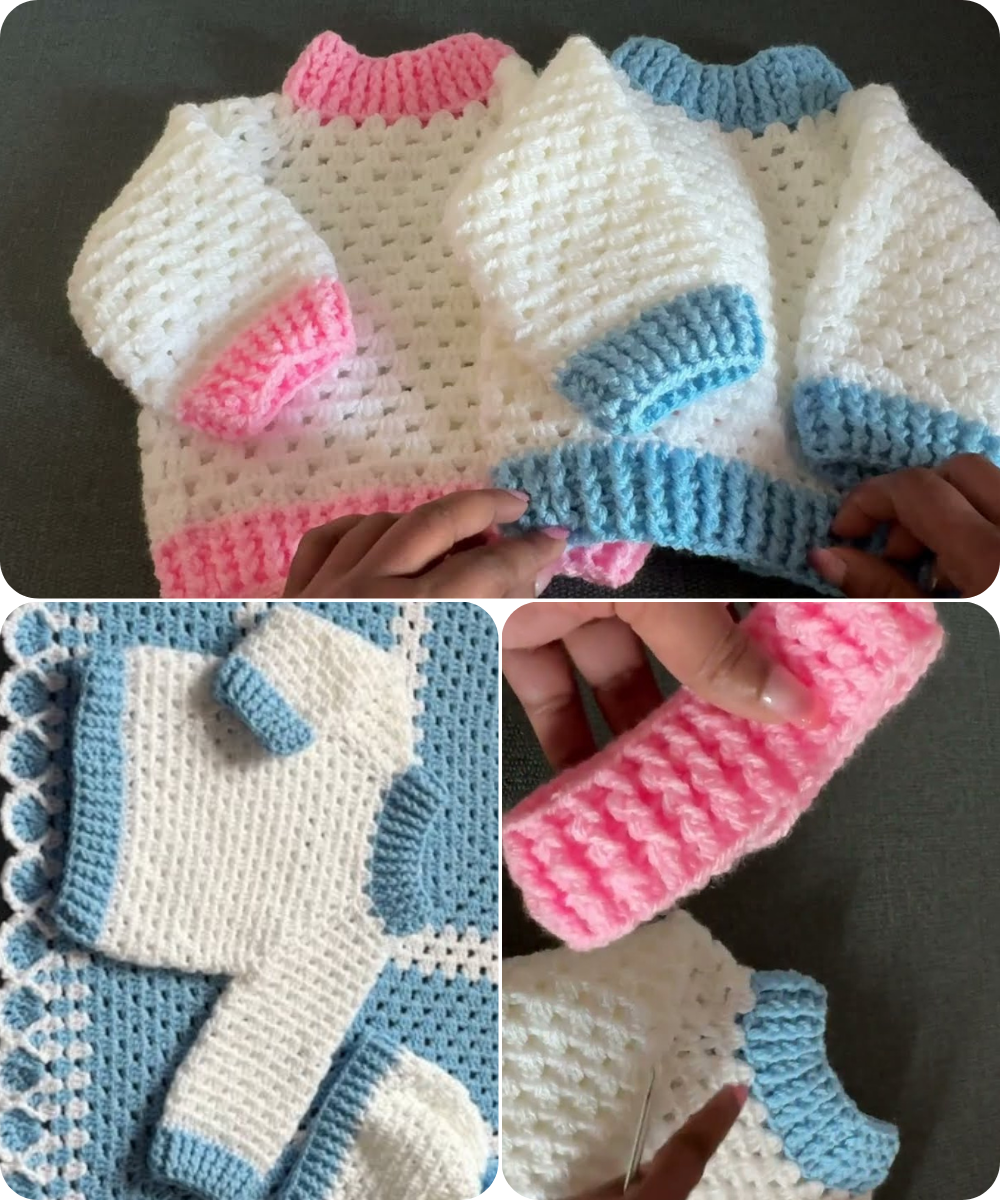
🧶 Easy Crochet Baby Cardigan Sweater (Beginner Friendly)
📏 Size:
This pattern is for a 0–3 month old baby, but you can adjust the size by using thicker yarn, a larger hook, or adding more rows and stitches.
✅ Materials Needed:
-
Yarn: Medium weight (Category 4) acrylic or cotton yarn (approx. 200g)
-
Hook: 4.0 mm (G-6) or 4.5 mm crochet hook
-
Scissors
-
Yarn needle (for weaving in ends)
-
Stitch markers (optional)
-
Buttons (2–3 small buttons, optional)
🔤 Abbreviations (US Terms):
| Abbreviation | Meaning |
|---|---|
| ch | chain |
| sc | single crochet |
| dc | double crochet |
| sl st | slip stitch |
| st(s) | stitch(es) |
| rep | repeat |
| inc | increase (2 sts in one) |
🧵 Instructions: Top-Down Raglan Style
This pattern is made in one piece from the top down, then the sleeves are worked in the round.
✨ Step 1: Yoke
Foundation chain:
Ch 52
Row 1 (Setup row):
Dc in 3rd ch from hook and in each ch across. (50 dc)
Turn.
Row 2 (Increasing row):
Ch 2 (counts as dc), dc in each of next 7 sts, 2 dc in next st – repeat across row.
You will now have 56 dc.
Turn.
Row 3–8 (More increases):
Continue working dc across with increases at raglan points (every 8–10 sts) until the yoke reaches approx. 4.5–5 inches.
📌 Use stitch markers to mark raglan increase points to help keep track.
✨ Step 2: Divide for Body & Sleeves
Row 9:
-
Dc across to the first stitch marker.
-
Skip all stitches between the first and second stitch marker (these are sleeve stitches).
-
Ch 4 (creates underarm).
-
Dc across back section to the third stitch marker.
-
Skip to the fourth stitch marker (2nd sleeve).
-
Ch 4 again.
-
Dc to the end.
You should now have a “U” shaped piece — only the body part.
✨ Step 3: Body
Rows 10–18 (or desired length):
Dc in each st across (including the 4 ch underarms).
Repeat until the cardigan reaches the desired body length (about 6–7 inches total from neck).
Fasten off and weave in the end.
✨ Step 4: Sleeves
Attach yarn to the armpit area.
Round 1:
Dc evenly around the sleeve hole. Join with sl st.
Rounds 2–8:
Dc around. Repeat until sleeve is ~4 inches long.
(You can make them short or long-sleeved.)
Fasten off and weave in ends. Repeat for second sleeve.
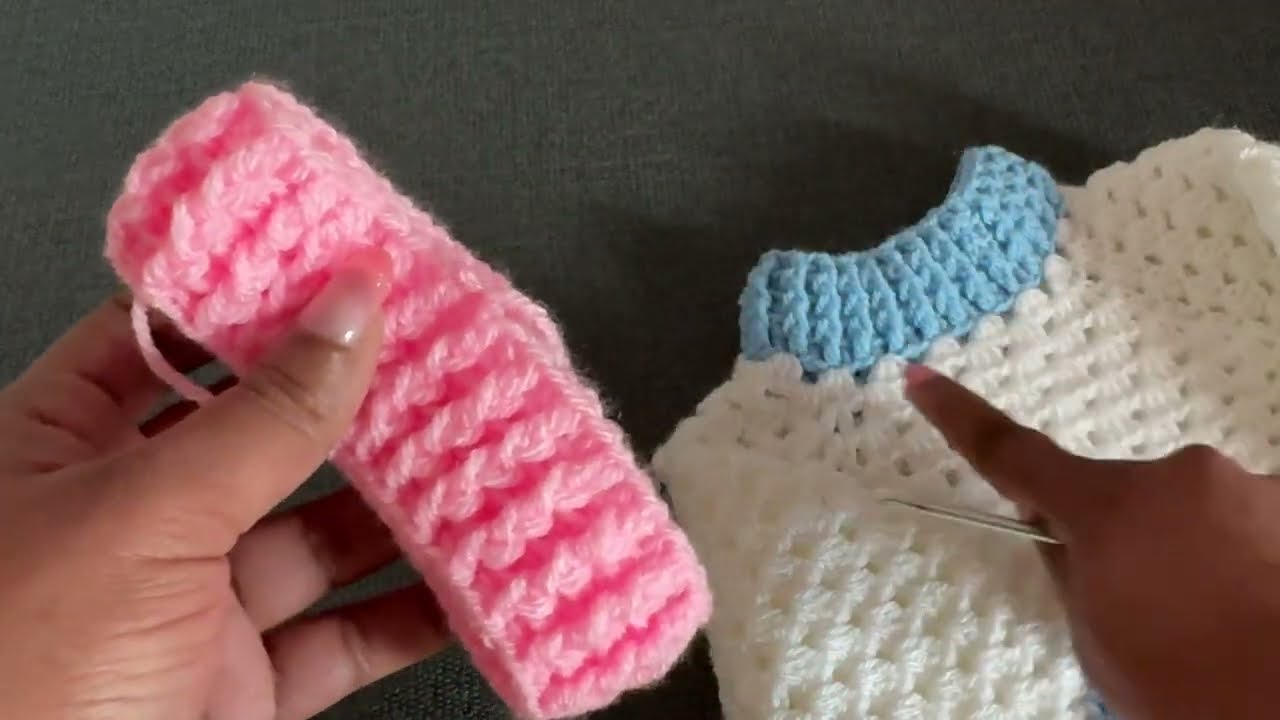
✨ Step 5: Collar and Button Band (Optional)
Collar:
Attach yarn at neck. Sc or dc evenly around neckline (1–2 rows).
Button Band (Optional):
-
On the front edge, sc evenly down.
-
On the opposite side, repeat but add buttonholes (ch 2, skip 2 stitches) at even intervals.
-
Sew buttons on opposite side.
🧼 Finishing:
-
Weave in all loose ends.
-
Block lightly if needed.
-
Sew on buttons securely.
✅ Tips:
-
Use soft, washable baby yarn.
-
You can stripe with different colors for cuteness.
-
Add edging with picot or shell stitch for a decorative touch.
Watch video: