 by
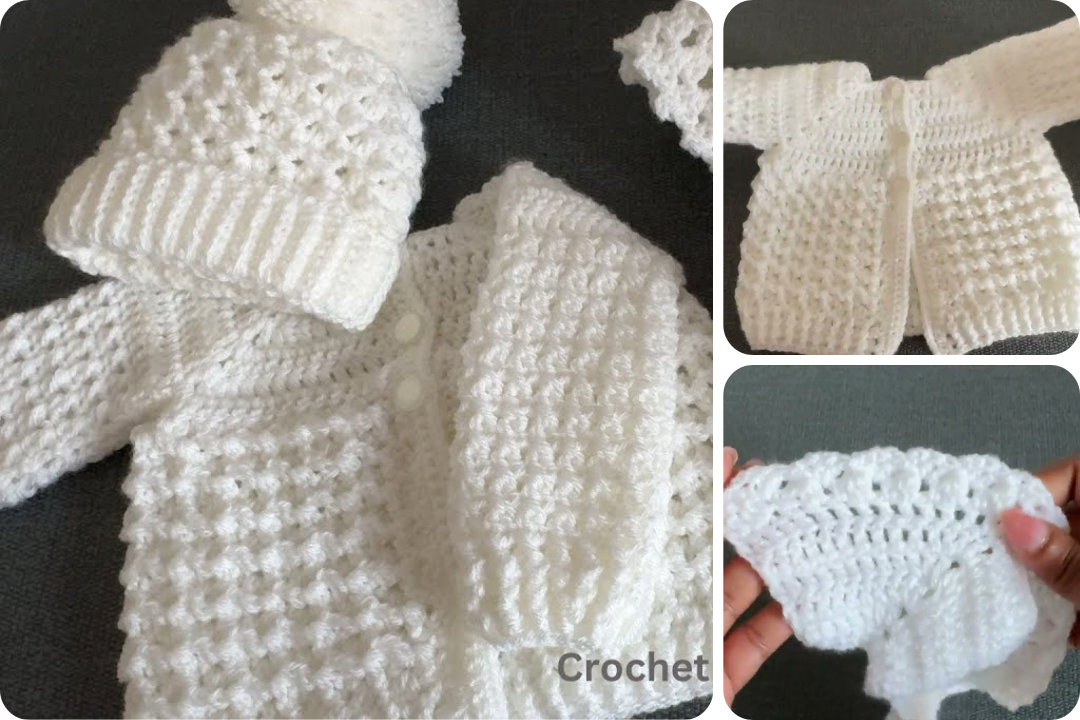
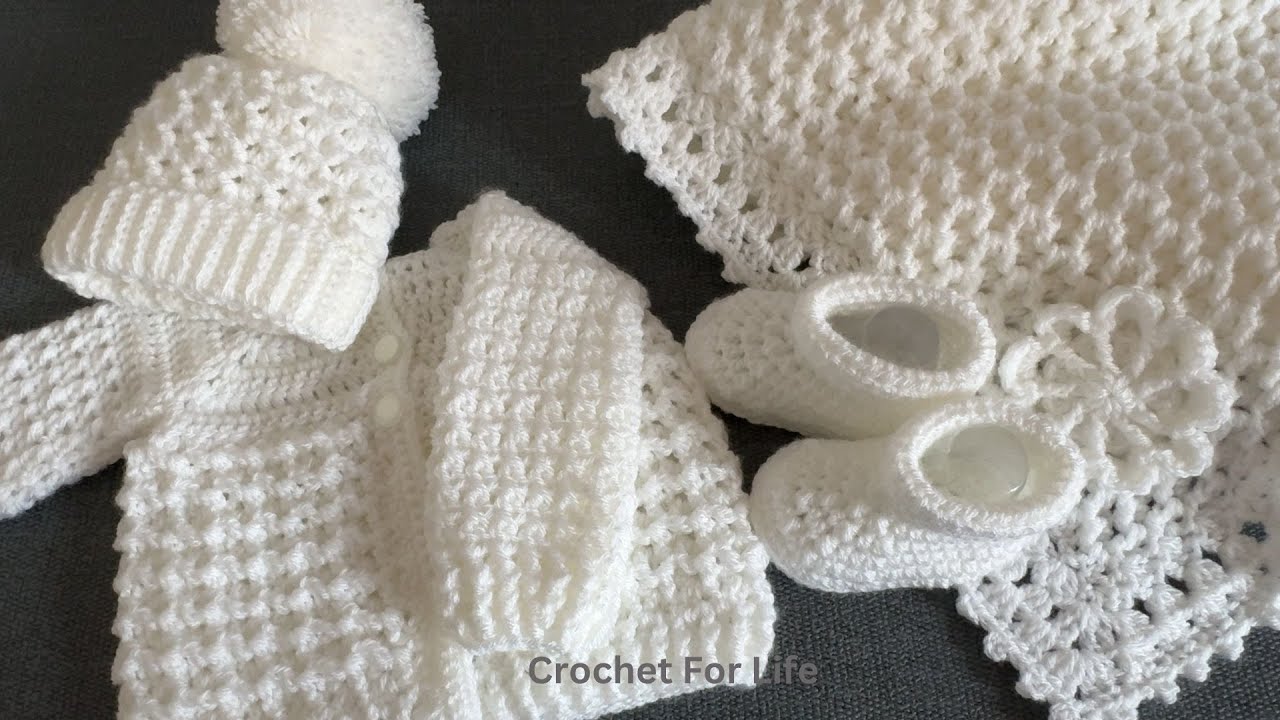
by Sure! Here’s a detailed, step-by-step guide on how to make an easy crochet baby cardigan, suitable for beginners or intermediate crocheters. This pattern is designed for a baby aged 0–3 months, but you can adjust the size by changing your hook size or yarn weight.
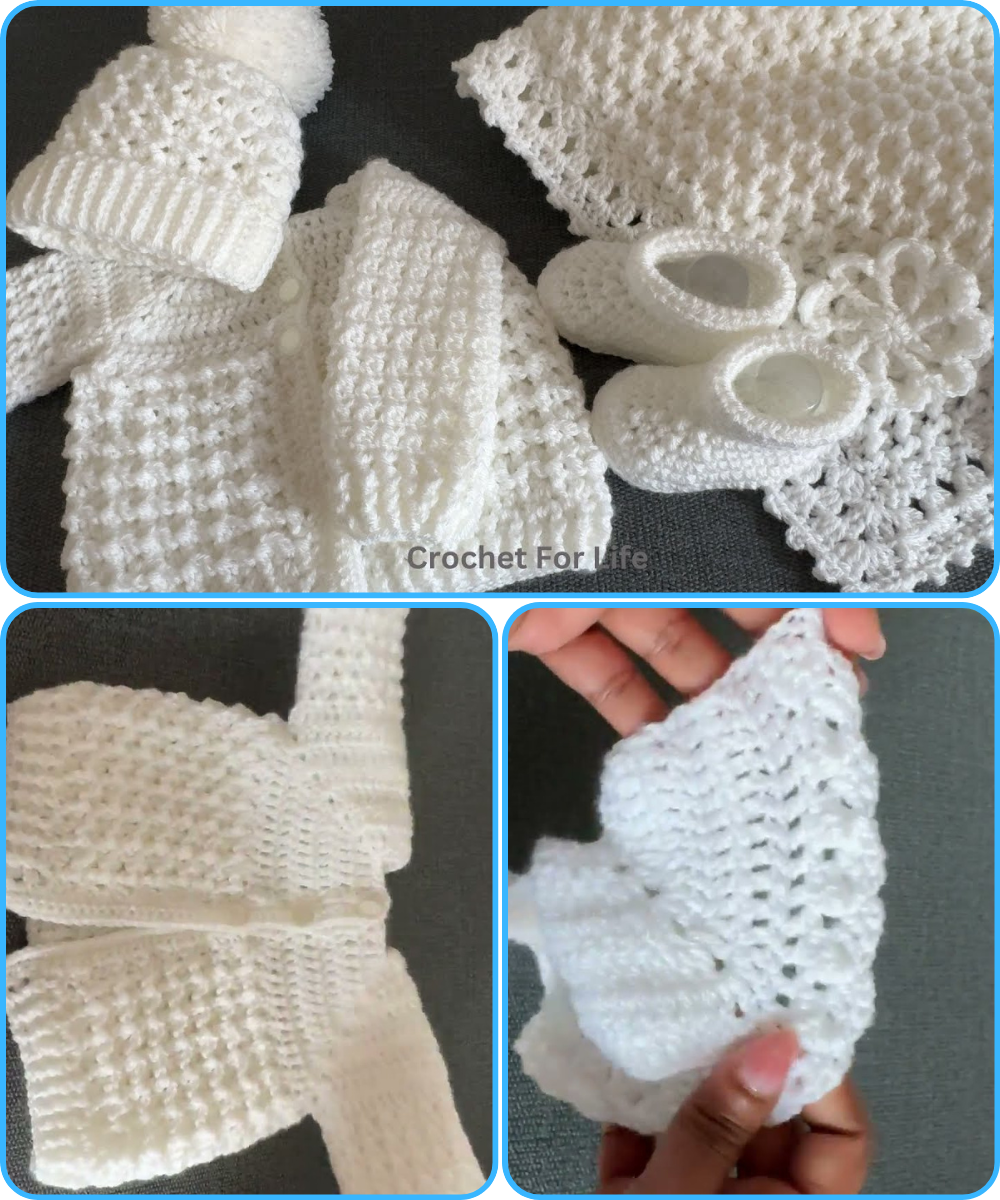
🧶 Easy Crochet Baby Cardigan Tutorial (0–3 Months)
✨ Skill Level:
Beginner to Intermediate
📏 Finished Size:
For a baby approximately 0–3 months old (chest ~16″, length ~9″)
🧵 Materials Needed:
-
Yarn: DK (Double Knit) or Light worsted weight yarn (size 3) – approx. 200–250 yards
-
Hook size: 4.0 mm (G/6) or size needed for gauge
-
Buttons: 3–5 small buttons (optional)
-
Yarn needle
-
Scissors
-
Measuring tape
-
Stitch markers (optional)
🔄 Abbreviations (U.S. Terms):
-
ch – chain
-
sc – single crochet
-
dc – double crochet
-
sl st – slip stitch
-
st(s) – stitch(es)
-
sk – skip
-
rep – repeat
-
RS – right side
-
WS – wrong side
🧣 Pattern Overview:
This cardigan is worked top-down, meaning you begin at the neck and work your way downward. It is made in one piece until the armholes, then the sleeves and body are completed separately.
🪡 Instructions:
🟨 Step 1: Yoke (Top of the cardigan)
-
Foundation chain:
Ch 52 (leave a tail for weaving in). -
Row 1 (RS):
Dc in 4th ch from hook and in each ch across. (50 dc) -
Row 2:
Ch 2 (counts as first dc), turn.
Dc in next 6 sts, [2 dc in next st (inc), dc in next 7 sts] x 5, 2 dc in next st, dc in remaining 6 sts. (58 dc) -
Rows 3–6:
Continue increasing every 8 sts (space increases at the “raglan” points). Each row adds stitches to the width.Mark raglan increases if needed for clarity.
After Row 6, you should have about 82 stitches (adjust depending on the yarn and gauge).
🟩 Step 2: Splitting for Body and Sleeves
-
Row 7:
Ch 2, turn.
Dc across to first raglan increase (armhole start), skip the armhole stitches (around 14), ch 5 (for underarm), dc across back section, skip next 14 armhole sts, ch 5, dc to end.You are now working just the body.
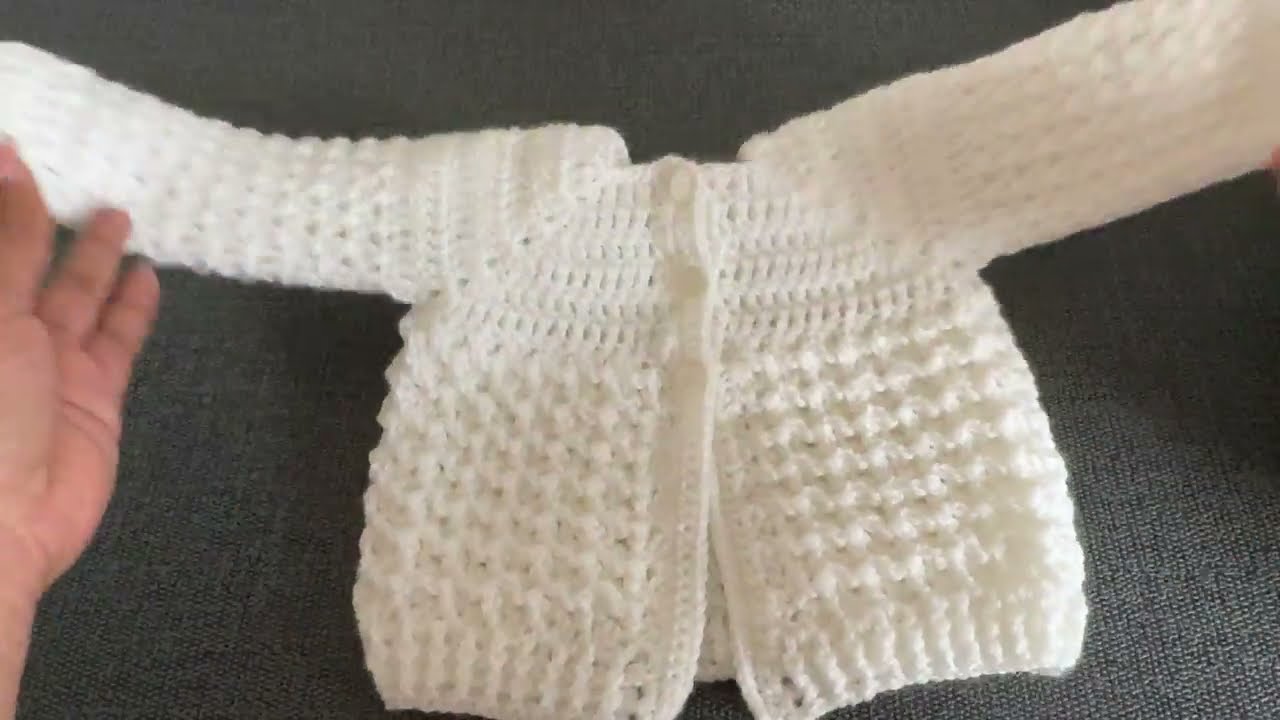
🟥 Step 3: Body
-
Rows 8–18 (or desired length):
Ch 2, turn. Dc in each st and ch across the row. -
Last Row (Optional Border):
Ch 1, turn. Sc in each st across for a clean edge. -
Fasten off and weave in ends.
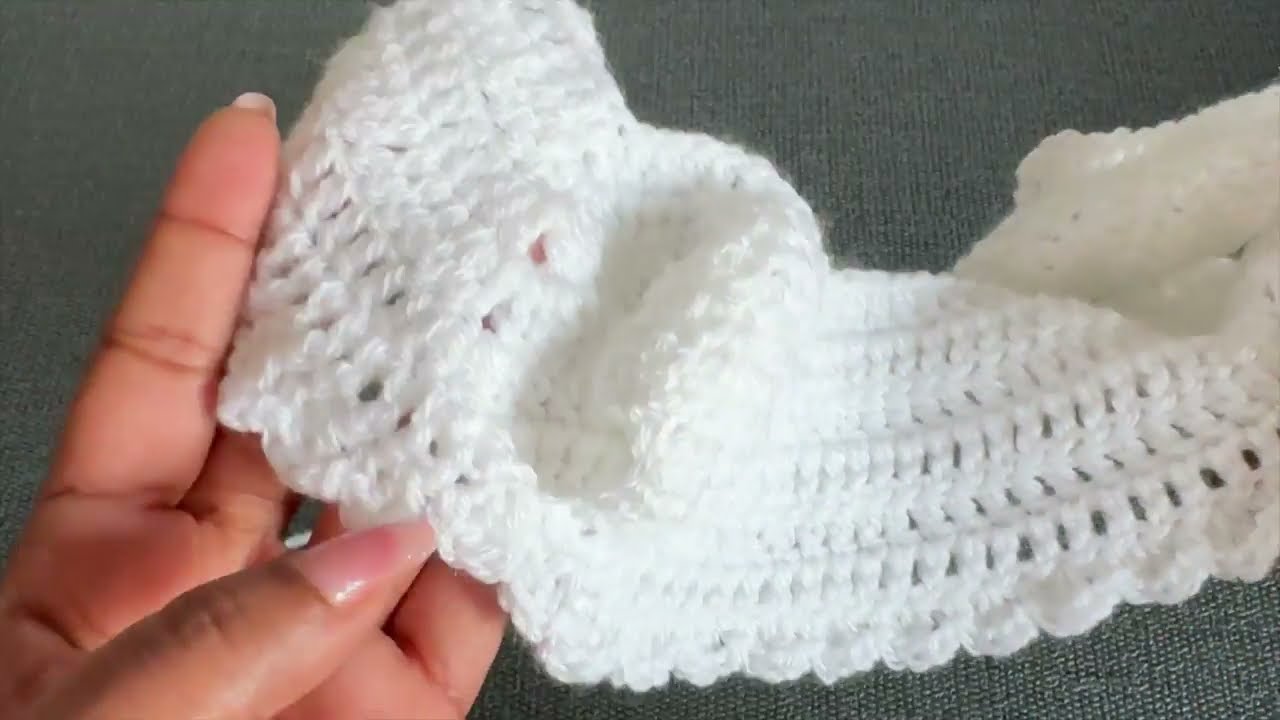
🟦 Step 4: Sleeves (Make 2)
-
Join yarn at underarm.
-
Round 1:
Ch 2, dc around armhole opening, join with sl st to first dc. (~24–28 dc) -
Rounds 2–6 (or desired length):
Ch 2, dc in each st around, join. -
Optional Cuff:
Ch 1, sc in each st around, join. Fasten off and weave in ends.
🟪 Step 5: Front Border & Buttonholes
-
Attach yarn to lower corner of front opening.
-
Row 1 (Right side):
Sc evenly up one side, around the neck, and down the other side. -
Row 2 (Optional buttonholes):
For button side: Ch 1, sc across, placing buttonholes (ch 2, sk 2) where desired (usually 3–5 evenly spaced). -
Final Row:
Ch 1, sc across, working 2 sc in each buttonhole space. -
Fasten off and sew on buttons opposite the buttonholes.
🌟 Tips:
-
Always check your gauge if sizing is important.
-
Add decorative edging like picot, shell stitch, or crab stitch for a fancier finish.
-
Use soft baby-friendly yarn (cotton blends or acrylic baby yarn).
-
Customize with colors, stripes, or a hood if desired!
🧵 Optional Variations:
-
Larger size: Increase your starting chain and add more rows to the yoke.
-
Hooded version: After body is complete, join yarn at the neckline and work back and forth in dc rows to desired hood length. Fold in half and seam.
Watch video: