 by
by Here’s a detailed guide on how to knit a baby cardigan or jacket using the facial stitch (also known as front post double crochet) with crochet techniques, suitable for newborns and scalable for larger baby sizes:
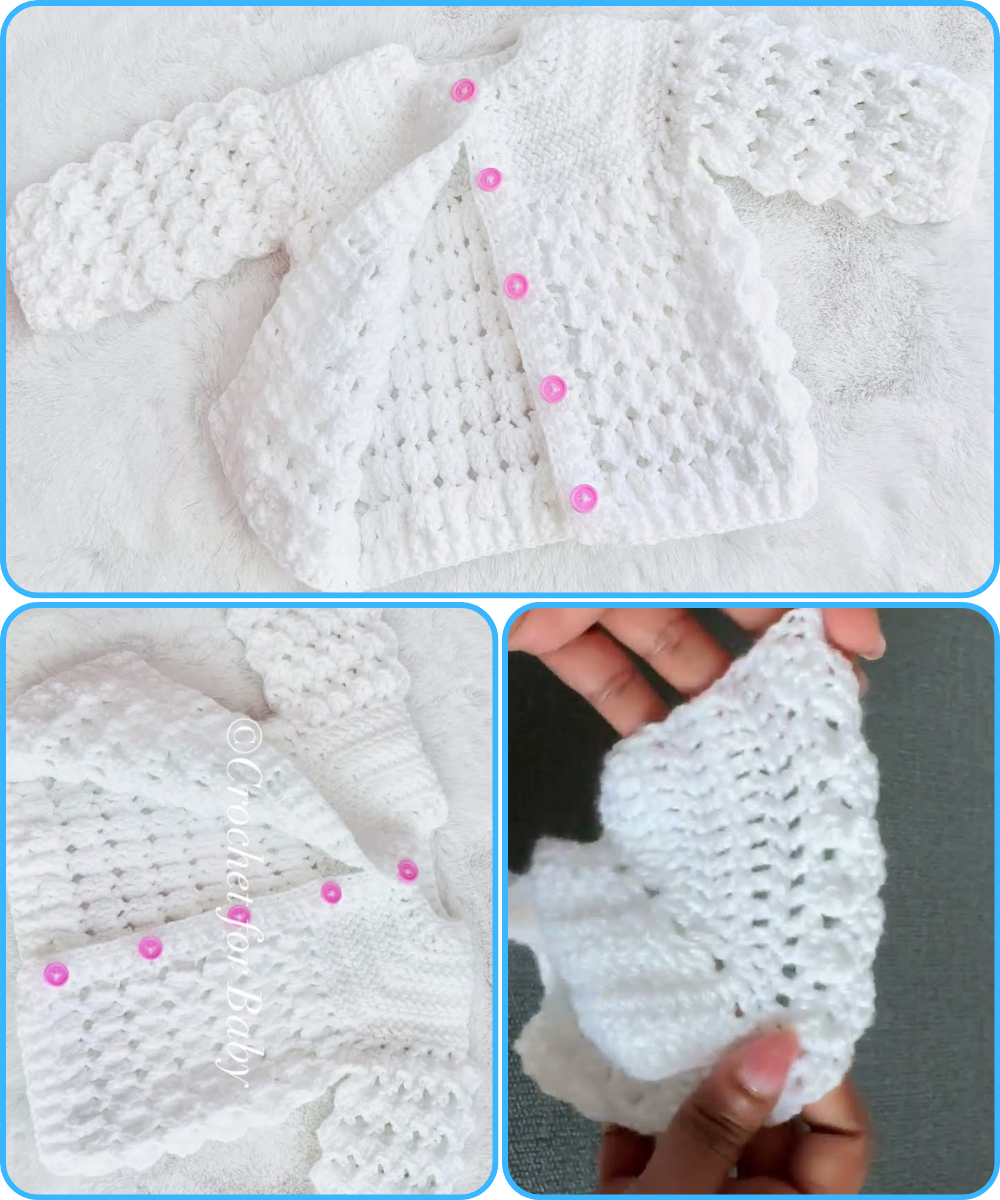
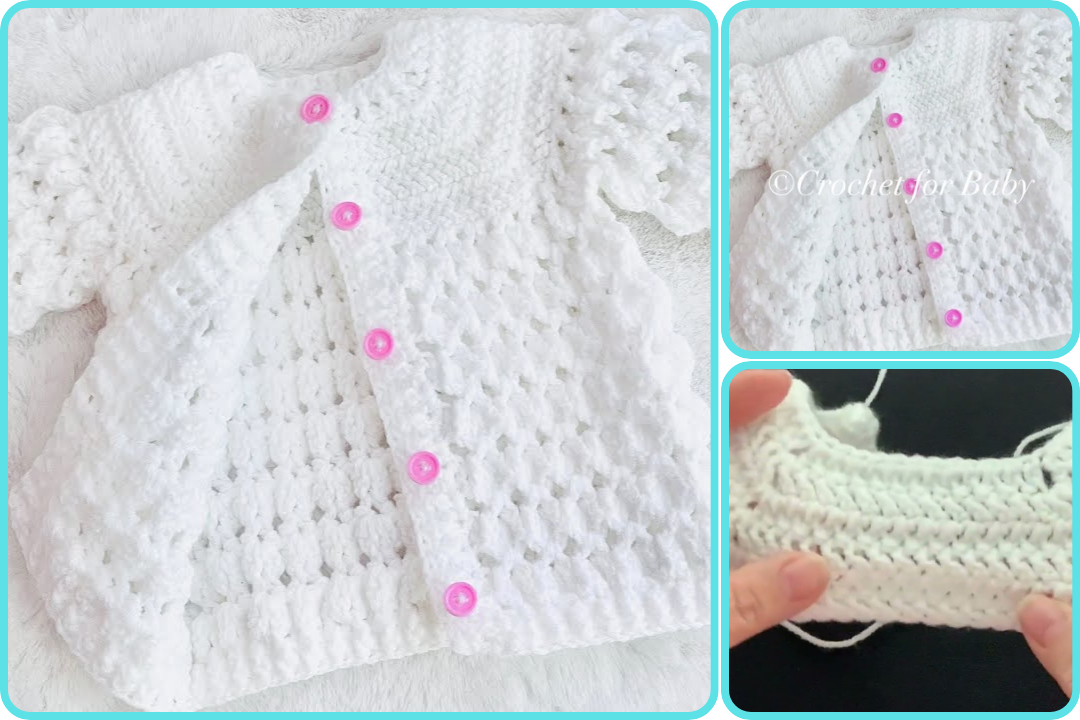
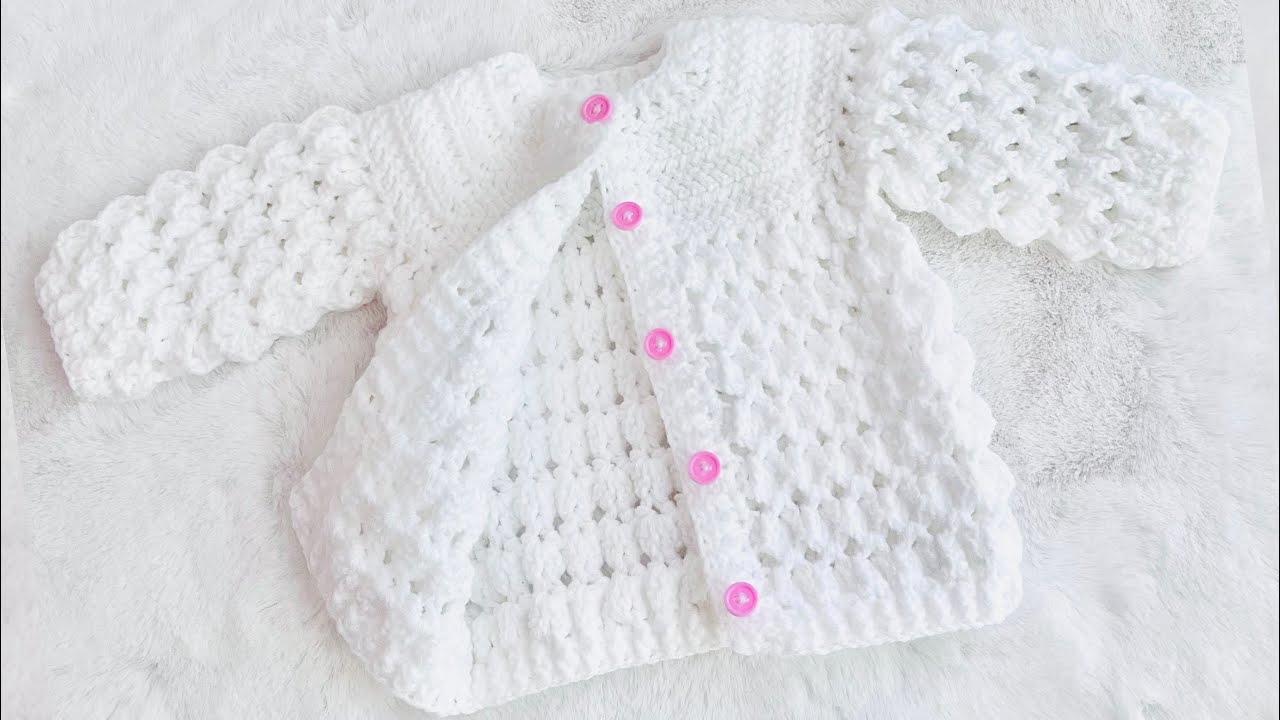
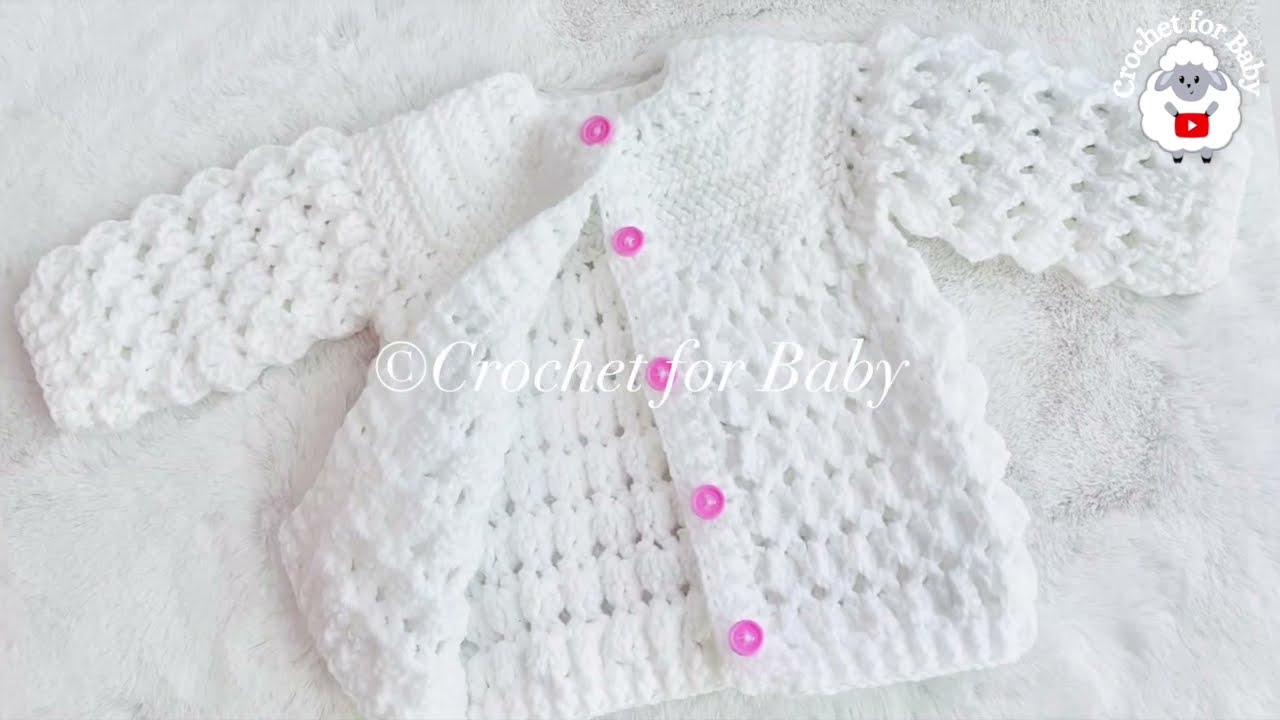
🧶 How to Knit a Baby Cardigan or Jacket (Facial Stitch with Crochet) for Newborns and More
👶 Ideal for:
-
Newborns to 12-month-olds
-
You can size up with yarn weight, hook size, or stitch counts.
✨ Materials You Will Need:
-
Yarn: Soft baby-friendly yarn (acrylic, bamboo, or cotton blends are best). Use lightweight (3) or DK yarn for newborns.
-
Hook: 3.5 mm to 4.5 mm crochet hook (depending on yarn label).
-
Tapestry needle: For sewing parts.
-
Buttons (optional): 3-5 small buttons if you’re making a buttoned cardigan.
-
Scissors
-
Measuring tape
🧵 Understanding the Facial Stitch (Front Post Double Crochet – FPdc)
Facial stitch in this context refers to front post double crochet (FPdc). It creates a raised, textured rib that resembles knitwear.
To make a FPdc:
-
Yarn over (yo), insert your hook from front to back to front around the post of the indicated stitch.
-
Yo and pull up a loop (3 loops on hook).
-
Yo and pull through 2 loops, then again through the last 2 loops.
This stitch is often used in ribbing and gives a beautiful texture to jackets and cardigans.
📏 Sizing Guidelines (Approximate Chest Measurements)
| Size | Chest Circumference | Length (Body) | Sleeve Length |
|---|---|---|---|
| Newborn | 14″–15″ | 8″ | 5″ |
| 3–6 months | 16″–17″ | 9″ | 6″ |
| 6–12 months | 18″–19″ | 10″ | 7″ |
🧶 Pattern Outline (Top-Down Raglan Cardigan with FPdc Trim)
This is a basic raglan-style baby cardigan worked top-down, with facial (FPdc) stitches used on the trim or body for texture.
✅ Step-by-Step Instructions:
🔹 Step 1: Yoke (Top of Cardigan)
-
Foundation Chain: Chain 52 (adjust depending on size).
-
Row 1 (Set-up Row): DC in the 3rd ch from hook and across. (50 DC)
-
Row 2–6: Begin raglan shaping.
-
Place stitch markers to separate back, fronts, and sleeves.
-
Increase at raglan points (dc, ch1, dc at each corner).
-
-
Maintain symmetry. Repeat until the yoke measures ~3.5” for newborn.
🔹 Step 2: Separate Sleeves
-
Work body stitches only, skip sleeve stitches, and chain underarm stitches.
-
Join front and back with underarm chains.
🔹 Step 3: Body Section
-
Continue in DC rows or alternate rows of DC and FPdc for texture.
-
Optional: Do the last 4-6 rows in alternating FPdc and BPdc (back post double crochet) for a ribbed bottom edge.
🔹 Step 4: Sleeves
-
Join yarn at the underarm and work in rounds or rows.
-
Make each sleeve about 5” for newborns.
-
Add ribbing with FPdc/BPdc at cuff.
🔹 Step 5: Edging and Button Band
-
Use FPdc for vertical edging (button bands).
-
Do 1 row SC around the entire front and neckline.
-
Add buttonholes on one side: (ch 2, skip 2, SC in next stitch).
-
Sew on buttons on the opposite side.

🧼 Finishing
-
Weave in all ends using tapestry needle.
-
Gently wash and block the cardigan to shape.
-
Add any appliqué or trim if desired.
🧵 Tips:
-
Keep checking fit against a baby garment if unsure.
-
Use stitch markers liberally when shaping raglan or sleeves.
-
Keep stitches loose to allow stretch and comfort.
🧒 To Size Up:
-
Use a thicker yarn and larger hook.
-
Add more stitches to foundation chain and more rows to body and sleeves.
-
Adjust raglan increases proportionally.
Watch video: