 by
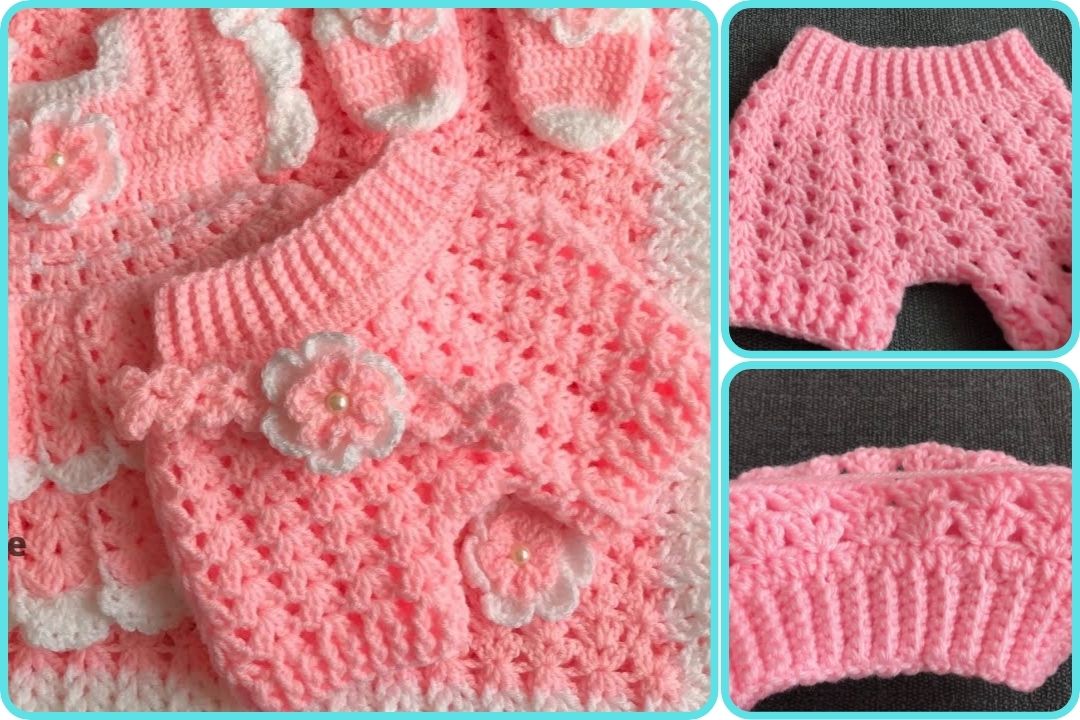
by Sure! Here’s a detailed step-by-step guide on how to make an easy crochet diaper cover or baby pants. This is a great beginner-friendly project and pairs beautifully with a matching hat or baby top.
🧶 How to Make an Easy Crochet Diaper Cover / Baby Pants
🪡 Skill Level:
Beginner to Easy
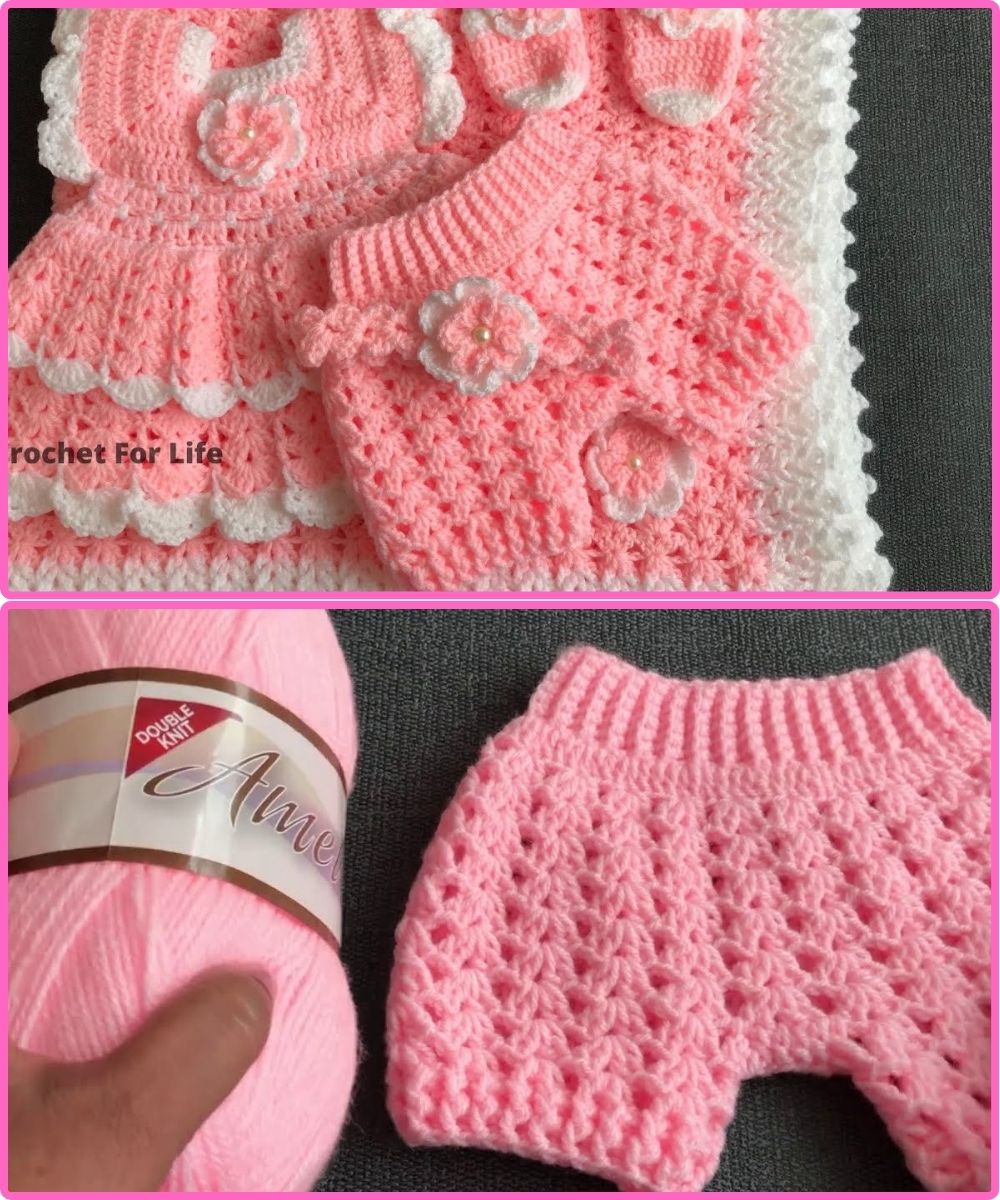
✂️ Materials Needed:
-
Worsted weight yarn (Category 4; soft cotton or acrylic is best for baby)
-
Crochet hook size H/5.0mm or I/5.5mm
-
Yarn needle
-
Scissors
-
Stitch markers (optional)
-
1–2 buttons (for diaper cover)
-
Measuring tape

📏 Sizes (General Guide):
| Size | Waist Circumference | Rise (front to back) | Leg Opening |
|---|---|---|---|
| Newborn | 13 in (33 cm) | 13 in (33 cm) | 6 in (15 cm) |
| 0–3 Months | 14 in (36 cm) | 14 in (36 cm) | 6.5 in (16.5 cm) |
| 3–6 Months | 15–16 in (38–41 cm) | 15 in (38 cm) | 7 in (18 cm) |
| 6–12 Months | 17–18 in (43–46 cm) | 17 in (43 cm) | 8 in (20 cm) |
🧵 Abbreviations (US Terms):
-
ch – chain
-
sc – single crochet
-
hdc – half double crochet
-
dc – double crochet
-
sl st – slip stitch
-
st(s) – stitch(es)
-
inc – increase (2 sts in one st)
-
dec – decrease (join 2 sts into 1)

🌼 Easy Crochet Diaper Cover – Pattern Instructions
👶 For Newborn to 3 Months (Adjustable size)
⭐ STEP 1: Waistband
Row 1:
Ch 52 (or enough to reach 13–14 in around).
Sl st to first ch to form a ring (be careful not to twist).
Round 1-3:
Ch 1, hdc in each st around. Sl st to join.
(Adjust to more rounds if you want a higher waistband.)
⭐ STEP 2: Body
Row 1:
Ch 1, hdc in next 22 sts, turn (leaving the rest unworked).
→ You’ll be working back-and-forth now for the crotch area.
Row 2-6:
Ch 1, hdc across. Turn.
Row 7:
Ch 1, hdc2tog (dec), hdc across to last 2 sts, hdc2tog. Turn.
(Repeat this row 2-3 more times to shape the crotch.)
You should now have a narrow strip (about 3.5–4 inches wide).
⭐ STEP 3: Shaping the Back
Now increase again to create the back flap.
Row 1 (Back Increase):
Ch 1, 2 hdc in first st, hdc across, 2 hdc in last st. Turn.
Repeat this increase row until you have the same number of sts you started with (22 sts).
⭐ STEP 4: Rejoin for Rounds
Once back width is reached, rejoin in the round to make leg holes:
Rnd 1:
Ch 1, hdc evenly around the entire leg opening. Sl st to join.
Repeat 2–3 rounds to create a neat leg cuff.
Do this for both leg openings.
⭐ STEP 5: Add Button Flap (Optional)
If making a true diaper cover:
-
Fold front panel up.
-
Attach 1–2 buttons to front waistband.
-
Create small buttonholes in flap by skipping a stitch and chaining one in the hdc rows.
If making baby pants, skip this step and keep going with leg rounds for longer pants.
🩳 To Make Baby Pants Instead of a Diaper Cover:
After waistband:
-
Divide stitches in half and work in the round for each leg separately.
-
Add 10–15 rows of hdc per leg (depending on desired length).
-
Optionally add a ribbed cuff at the bottom using sc or fpdc/bpdc.
🎀 Finishing Touches
-
Weave in all yarn ends with a tapestry needle.
-
Block if necessary (especially for cotton yarn).
-
Add decorative bows, appliqués, or trim if desired.
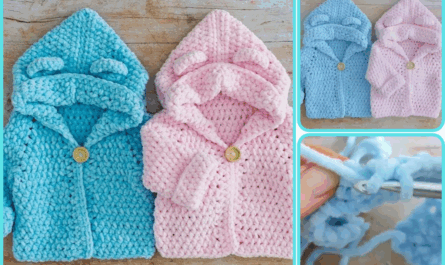
👕 Matching Idea:
Want to complete the outfit?
-
Make a matching hat (use guide above)
-
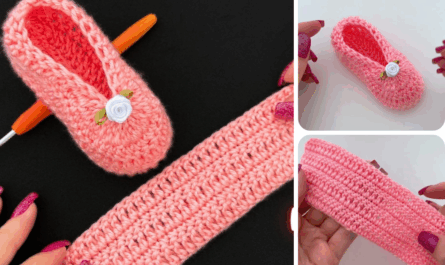
Add a simple baby sweater or booties
🧺 Washing Tips:
-
Wash on delicate or hand wash in lukewarm water
-
Lay flat to dry
-
Avoid fabric softener for baby items (can irritate skin)
Watch video: