 by
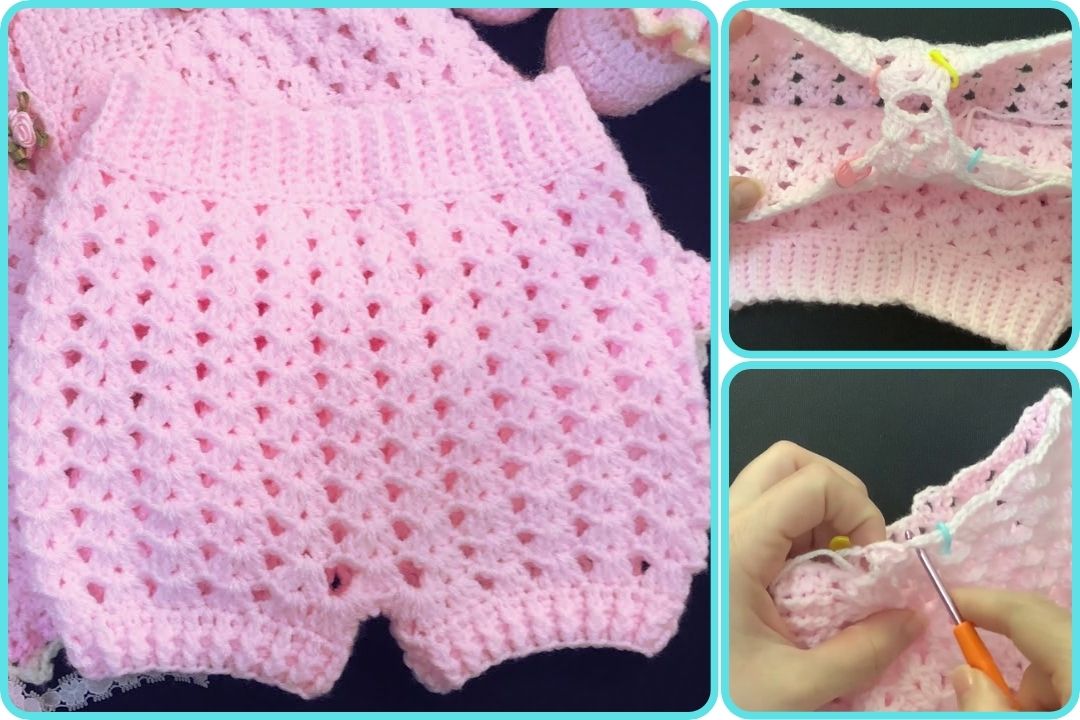
by Sure! Here’s a detailed guide on how to make a crochet diaper cover, baby bloomers, and baby shorts—ideal for beginners and intermediate crocheters. Each project is similar in construction but with small variations in shape and detailing.
🧶 Materials Needed (for all 3 projects)
-
Yarn: Soft, worsted weight yarn (e.g., cotton or baby acrylic yarn)
-
Hook: Size H (5.0 mm) or as recommended by yarn label
-
Yarn needle: For weaving in ends
-
Scissors
-
Stitch markers (optional)
-
Buttons (optional – for diaper covers)
1. 🌟 Crochet Diaper Cover
✅ Size: 0–6 months (adjustable with gauge and rows)
🪡 Pattern Steps:
Waistband
-
Chain 41 (or enough to fit baby’s waist).
-
Row 1: SC (single crochet) in second chain from hook and across. Ch 1, turn. (40 SC)
-
Rows 2–5: SC in each st across. Ch 1, turn.
Main Body
-
Row 6: SC in each of next 10 sts, HDC in next 20 sts, SC in last 10 sts. Ch 1, turn.
-
Rows 7–10: Repeat row 6.
Shaping the Leg Holes
-
Row 11: SC in first 12 sts, leave rest unworked. Ch 1, turn.
-
Rows 12–14: SC across (12 sts), Ch 1, turn.
-
Fasten off. Reattach yarn to last 12 stitches of Row 11 on opposite side and repeat rows 11–14.
Back Rise
-
Reattach yarn to side and SC evenly across both leg hole edges and center section (approx. 40–45 sts).
-
Work 3–4 rows in HDC or SC across, shaping slightly with decreases at the edges to curve.
Edge Finishing
-
SC evenly around the entire diaper cover.
-
Optional: Add buttons to the front flap or use snaps/Velcro.
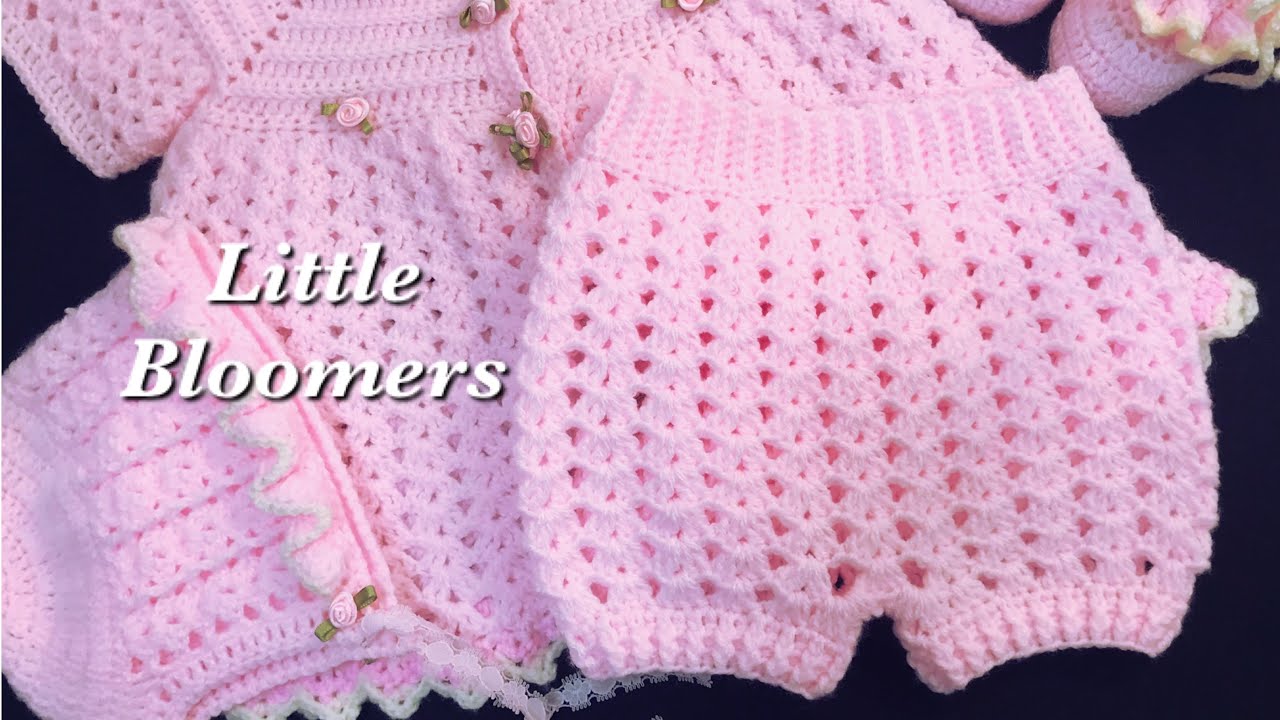
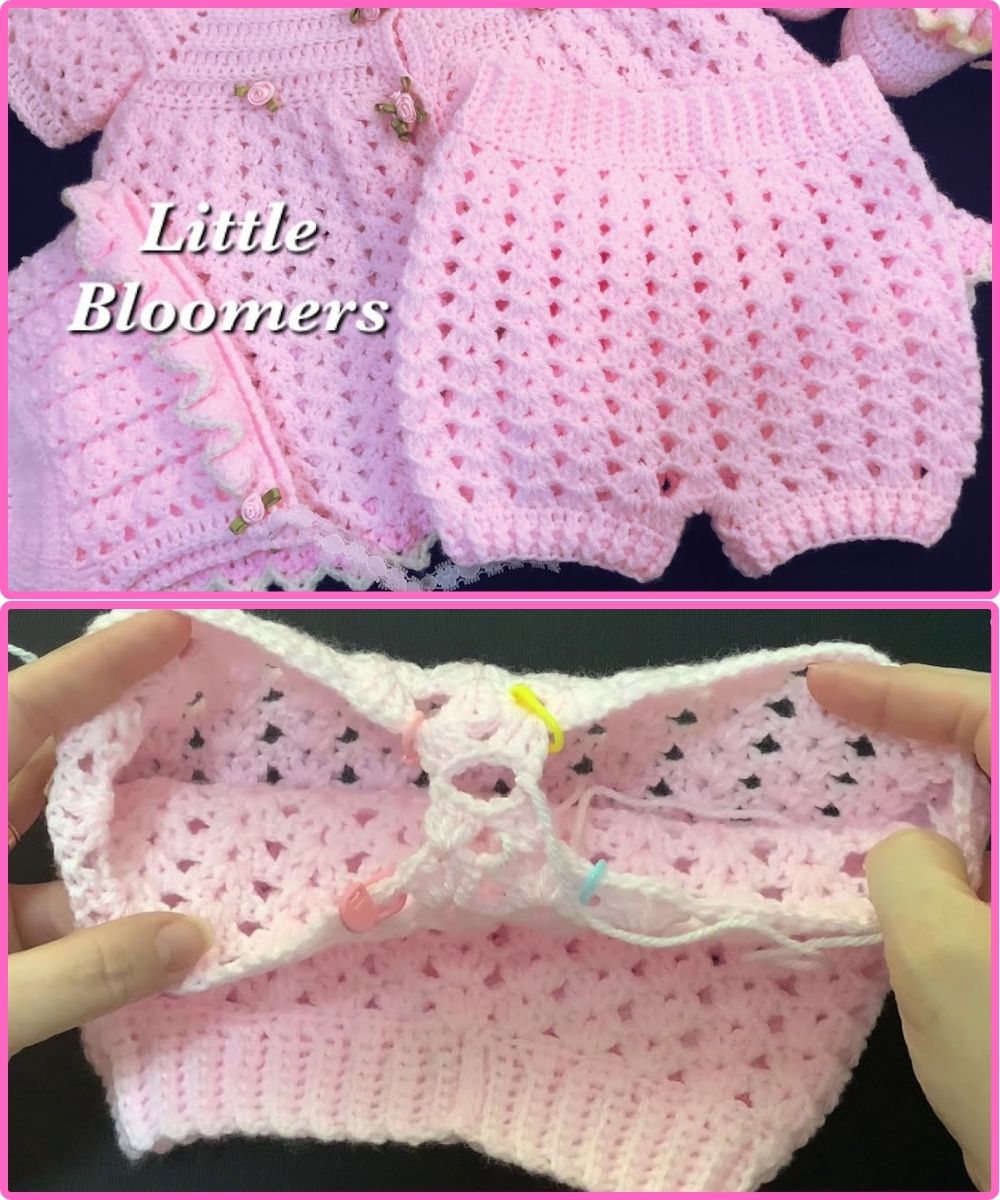
2. 🎀 Crochet Baby Bloomers
✅ Size: 0–6 months (adjustable)
🪡 Pattern Steps:
Waistband
-
Chain 60, join with sl st to form a ring (make sure not twisted).
-
Rounds 1–4: SC in each stitch around. (60 SC)
Body
-
Round 5: HDC in each stitch around.
-
Rounds 6–12: Repeat HDC around (or increase rows for length).
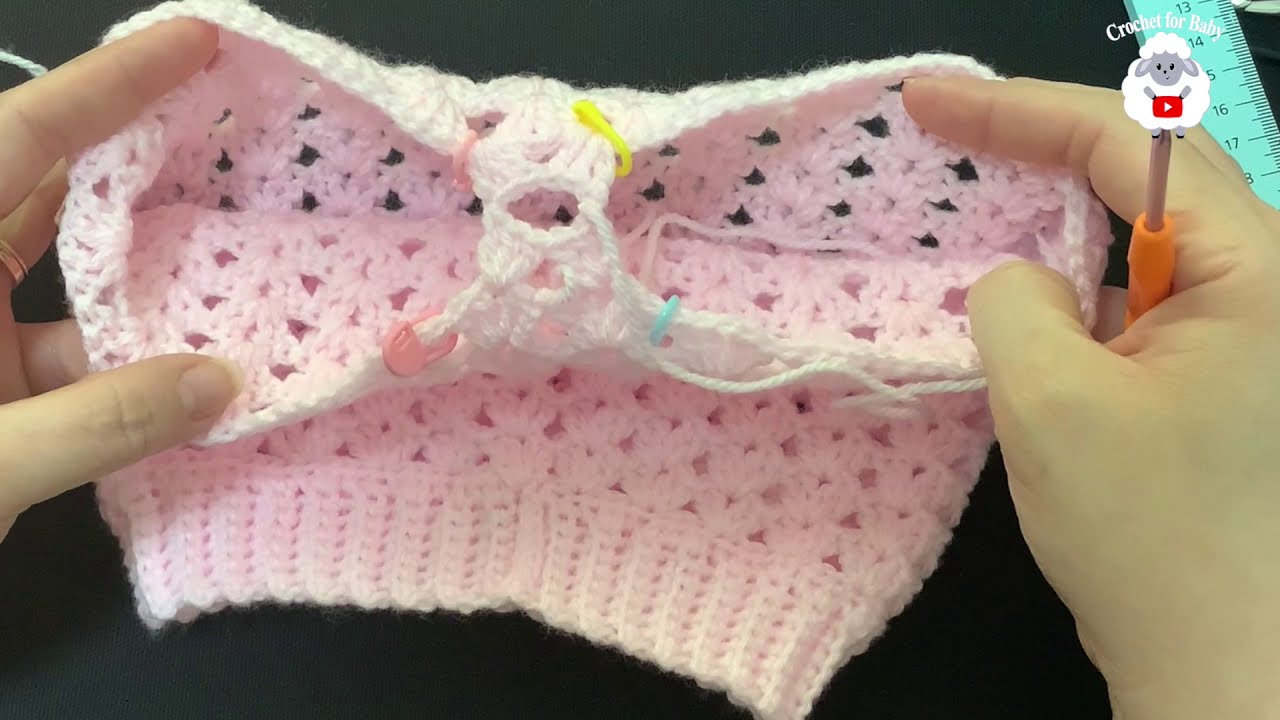
Leg Shaping
-
Divide stitches: Mark 30 stitches on each side.
-
Work one leg hole at a time.
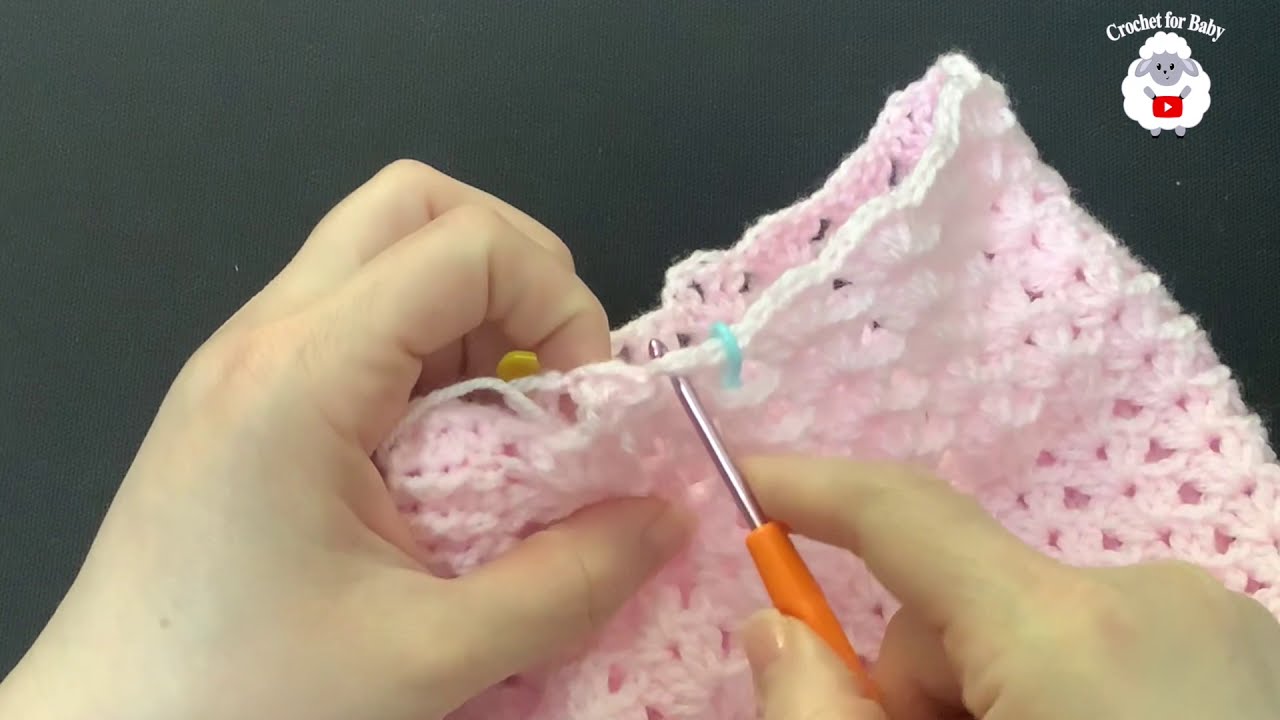
Leg Hole (each side):
-
Attach yarn to first marked stitch. SC around that half (30 sts).
-
Rounds 1–4: SC or HDC around for a short cuff.
-
Optional: Add ruffle (Ch 3, 2 DC in same st, skip 1 st, repeat around).
Finishing
-
Weave in all ends.
-
Optional: Add ribbon, ruffles, or edging for decoration.
3. 🩳 Crochet Baby Shorts
✅ Size: 3–6 months
🪡 Pattern Steps:
Waistband
-
Chain 60, join with a slip stitch (or adjust based on waist size).
-
Rounds 1–4: SC in each st around.
Body
-
Rounds 5–15: HDC in each stitch around (increase rows for longer shorts).
Divide for Legs
-
Split the stitches evenly: 30 for each leg.
-
Join to work in the round for each leg hole.
Legs (each side):
-
Rounds 1–4: HDC around.
-
Optional: SC for last row to tighten cuff.
Optional Details
-
Add pockets by crocheting a square and sewing it on.
-
Create drawstring by chaining 80 and weaving through waistband.
📏 Sizing Tips
-
Adjust chain count for waist.
-
Add or remove rows for body length.
-
Always check gauge for accurate sizing (e.g., 4″ = 16 sc and 20 rows in SC for worsted yarn).
🧵 Yarn Recommendations
-
Bernat Softee Baby
-
Lion Brand Baby Soft
-
Cotton yarns like Paintbox Cotton or Lily Sugar’n Cream for summer
🧽 Care Instructions
-
Use baby-safe, machine-washable yarns.
-
Wash cold, gentle cycle; lay flat to dry.
Would you like a printable PDF pattern or photos/diagrams with these instructions? I can also help you customize a size (e.g., newborn, 3–6 months, 6–12 months) or add cute extras like ruffles, ties, or animal faces.
Watch video: