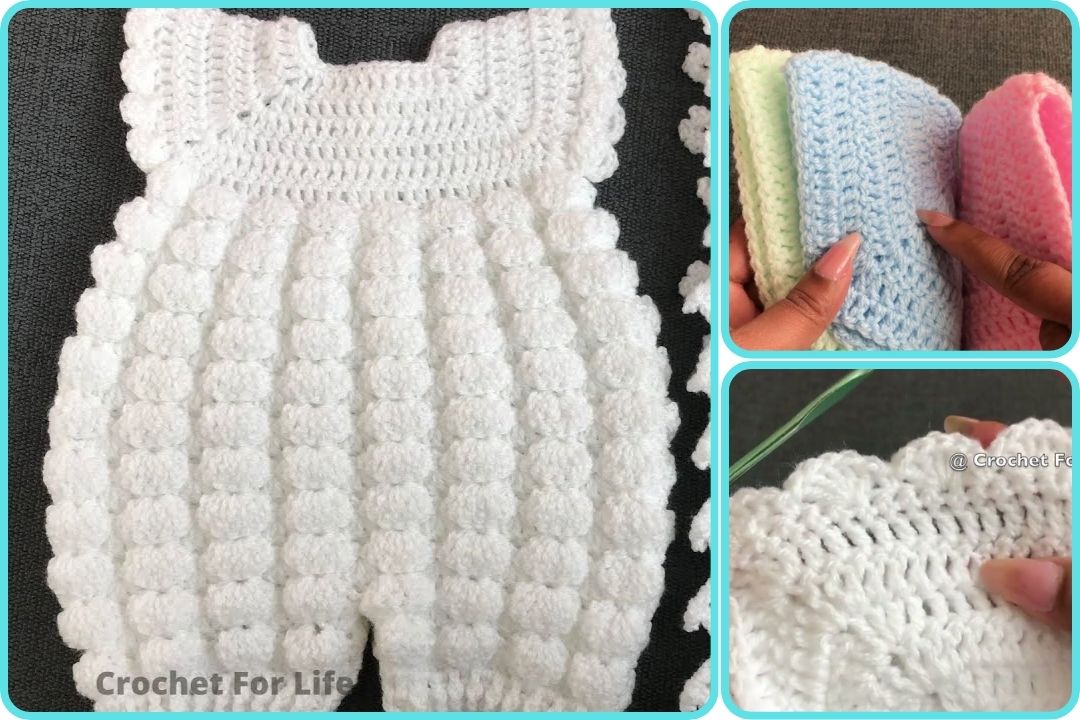
You’re looking to crochet a baby romper! This is a fantastic project that can seem a bit more involved than a hat or headband, but with the right pattern and approach, it can be quite beginner-friendly. The key to an “easy” crochet baby romper often lies in its construction: using simple stitches and minimizing complex shaping or seaming. Here’s a detailed guide on how to approach making an easy crochet baby romper, often by working it in sections or with minimal seaming:
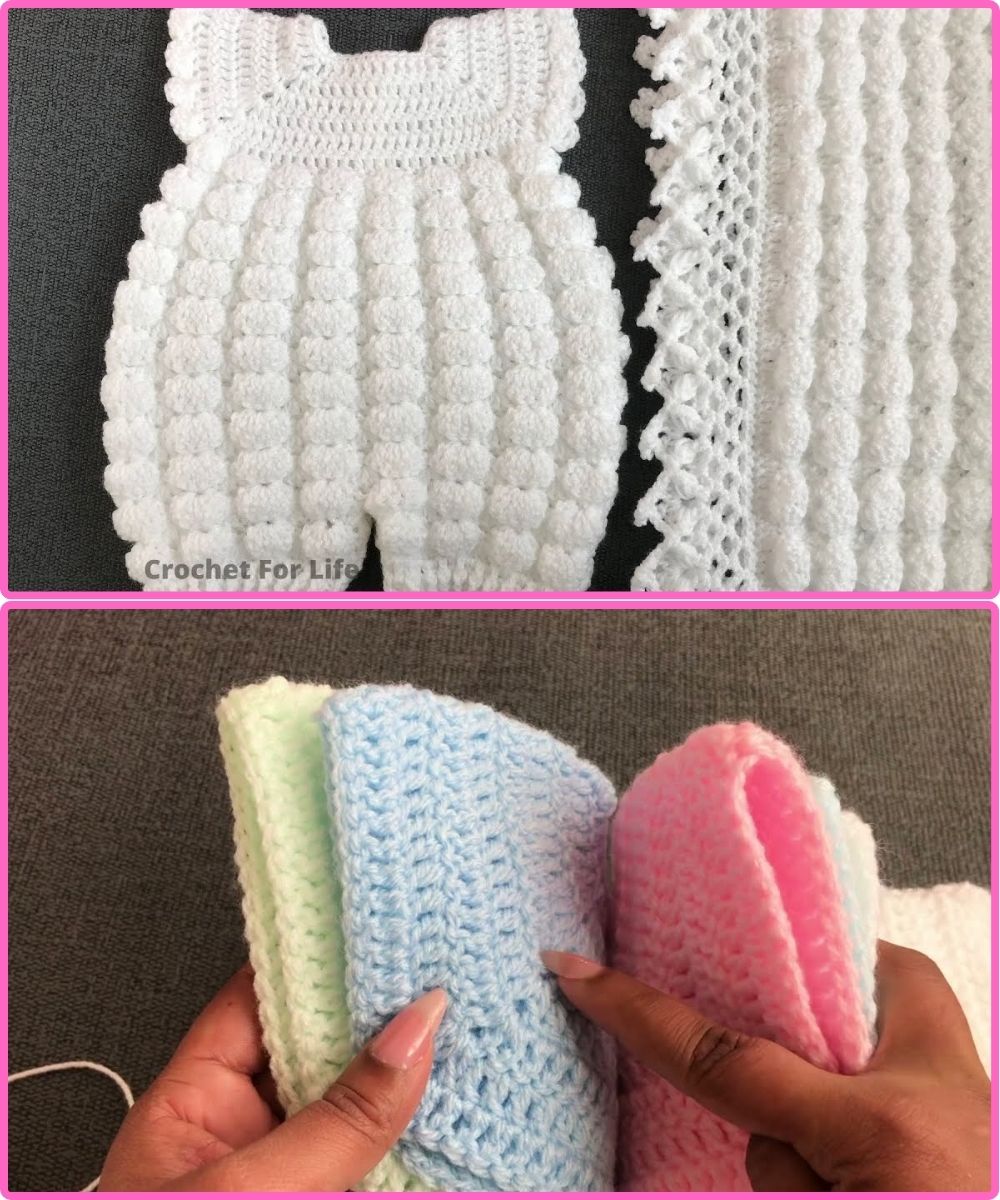
Understanding the “Easy” Concept for Baby Rompers:
- Top-Down or Bottom-Up in Panels: Many easy romper patterns are worked either from the top down (like a cardigan, then splitting for legs), or from the bottom up in separate pieces (front, back, leg panels) that are then sewn together. Some even involve starting with a rectangle for the body and adding legs and straps.
- Simple Stitches: Relying on basic stitches like single crochet (sc), half double crochet (hdc), or double crochet (dc) throughout the majority of the romper.
- Minimal Shaping: Avoiding complex decreases, increases, or intricate stitch patterns.
- Snap or Button Closure: Designing for simple closures at the crotch and/or shoulders.
Materials You’ll Need:
- Yarn:
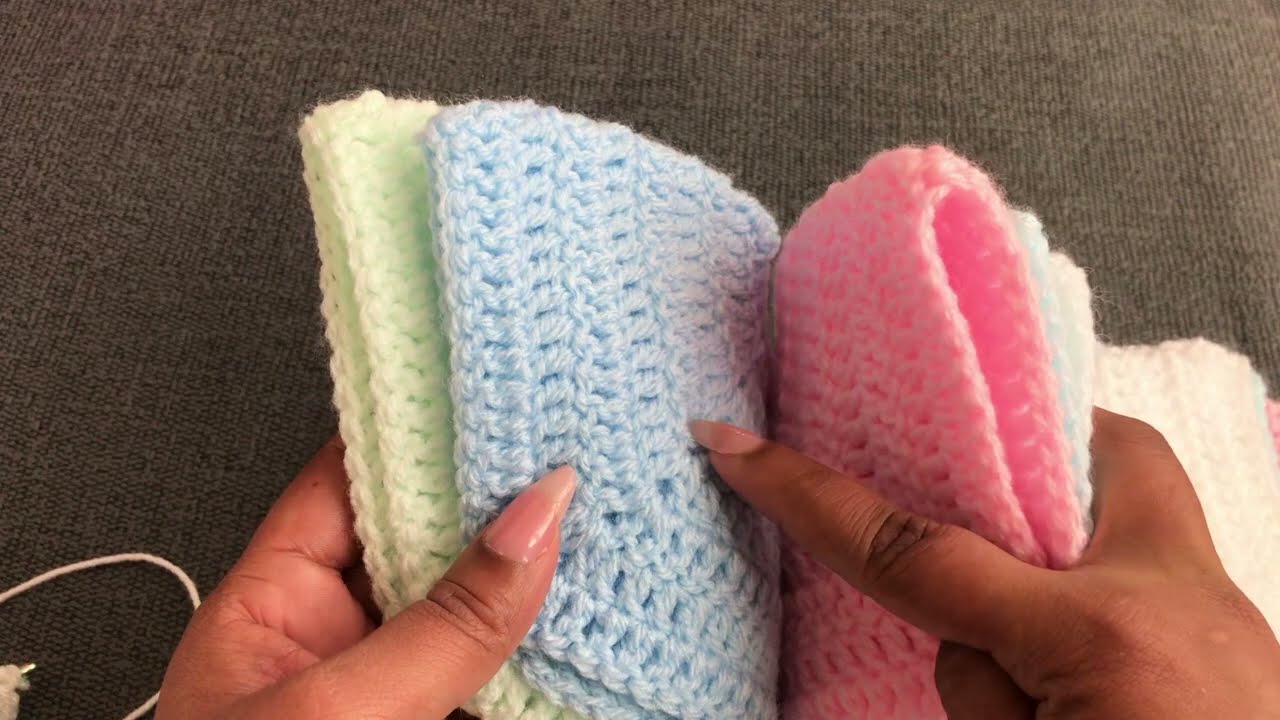
- Weight: DK (Double Knitting / #3) or Light Worsted (#3) is often preferred for a lighter, softer romper. Worsted Weight (#4) can also be used for a slightly thicker, warmer garment.
- Fiber: Choose soft, baby-friendly yarns like acrylic, cotton, or a blend. Look for yarns that are machine washable for easy care.
- Quantity: This will vary significantly by size, but generally expect 300-600 yards for a newborn to 12-month size. Always check your chosen pattern’s specific recommendations.
- Crochet Hook: The hook size will depend on your yarn weight and desired gauge. A common range is 4.0mm (G) to 5.5mm (I). Always check your chosen pattern’s recommended hook size.
- Stitch Markers: Very helpful for marking armholes, leg openings, or the start of rounds.
- Yarn Needle (Tapestry Needle): For weaving in ends and seaming.
- Scissors: For cutting yarn.
- Buttons or Snaps:
- Shoulders: 2-4 buttons (or snaps) for shoulder straps.
- Crotch: 3-5 buttons (or snaps) for easy diaper changes.
- Sewing Needle and Thread: For attaching snaps (if not sew-on snaps) or for sewing on buttons securely.

General Approaches to an Easy Crochet Baby Romper:
There are a few common easy constructions. We’ll outline a popular one: Bottom-Up with Separate Legs and Body.
Approach 1: Bottom-Up, Separate Legs, then Join for Body
This method is popular because it allows you to shape the legs first, then join them to work the body, and finally add shoulder straps.
Phase 1: Crocheting the Legs (Make 2 identical)
- Starting Chain: Begin by chaining enough stitches to go around the baby’s thigh comfortably. Join with a slip stitch to form a ring, being careful not to twist.
- Tip: Consider making the leg opening slightly wider than needed, as babies’ thighs vary, and it’s easier to add a simple elastic or draw-string later if it’s too loose than to make it bigger.
- Work in Rounds: Work in rounds (using sc, hdc, or dc) without increasing, creating the length of one leg. Continue until the leg reaches just above the knee or to the desired romper leg length.
- Fasten Off: For the first leg, fasten off. For the second leg, do not fasten off; you will continue with this hook for joining.
Phase 2: Joining Legs and Working the Body
- Join Legs: With your hook still in the second leg, chain a few stitches (e.g., 3-5 chains) – this will be the crotch seam. Then, single crochet or slip stitch into a stitch on the first leg to join the two leg openings.
- Work Around Both Legs: Now, you will work in continuous rounds, going around the first leg, across the chain stitches, around the second leg, and across the other side of the chain stitches. This creates the main body opening.
- Body Length: Continue working in rounds for the body of the romper, from the crotch upwards towards the chest/armpits. Keep working until the romper reaches the armpit level.
- Divide for Armholes/Neckline:
- Now, you’ll work in rows instead of rounds. Decide on the width of the front and back panels.
- Work across the stitches designated for the back panel. Chain 1 (or 2) and turn. Continue working in rows for the back panel until it reaches the desired height for the shoulders. Fasten off.
- Join yarn to the stitches designated for the front panel. Work across these stitches, chain 1 (or 2) and turn. You’ll likely need to shape the neckline here, often by skipping center stitches or working decreases on the inner edges. Continue until the front panel reaches the desired height for the shoulders. Fasten off.
Phase 3: Creating Shoulder Straps
- Attach Yarn: Join yarn to one corner of the front panel (where a shoulder strap will begin).
- Chain & Work: Chain a length long enough to form a shoulder strap that reaches the back panel, allowing for a bit of stretch and a buttonhole (if applicable).
- Work Back: Work back down the chain with slip stitches or single crochets to create a sturdy strap.
- Join/Secure: Sl st into a stitch on the back panel or leave a tail for sewing.
- Repeat: Make a second identical strap for the other side.
- Buttonholes (Optional): If you’re adding buttons, you’ll either incorporate buttonholes into the strap itself (by chaining and skipping stitches) or create separate button loops on the back panel.
Phase 4: Finishing Touches
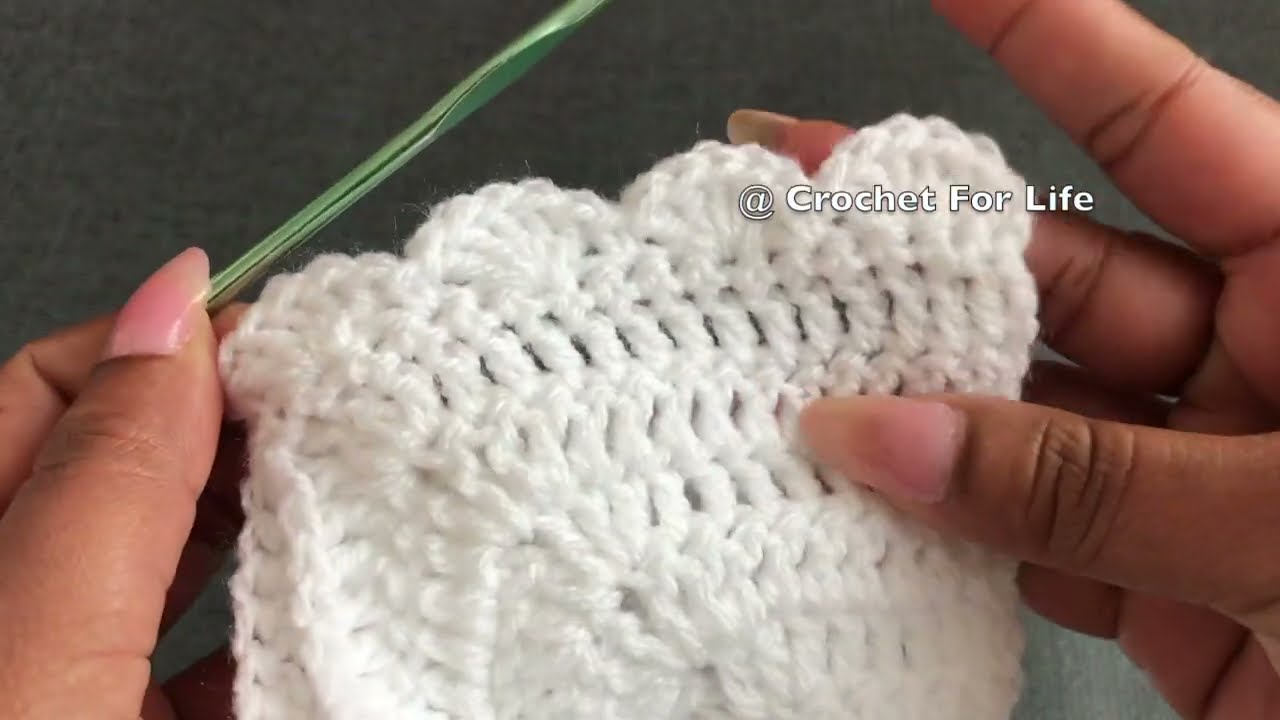
- Edging (Optional but Recommended): Work a round of single crochet (sc) or a simple border around all raw edges:
- Neckline
- Armholes
- Leg openings (if you want to neaten them or add a gentle elastic casing)
- Crotch Closure:
- Identify the opening at the bottom of the romper. You’ll need to create two flaps that will overlap for the snap/button closure.
- Work a few rows of single crochet (or hdc) on one side of the crotch opening to create a button/snap placket.
- On the opposite side, create a matching placket, incorporating buttonholes (by chaining and skipping stitches) or preparing for snaps.
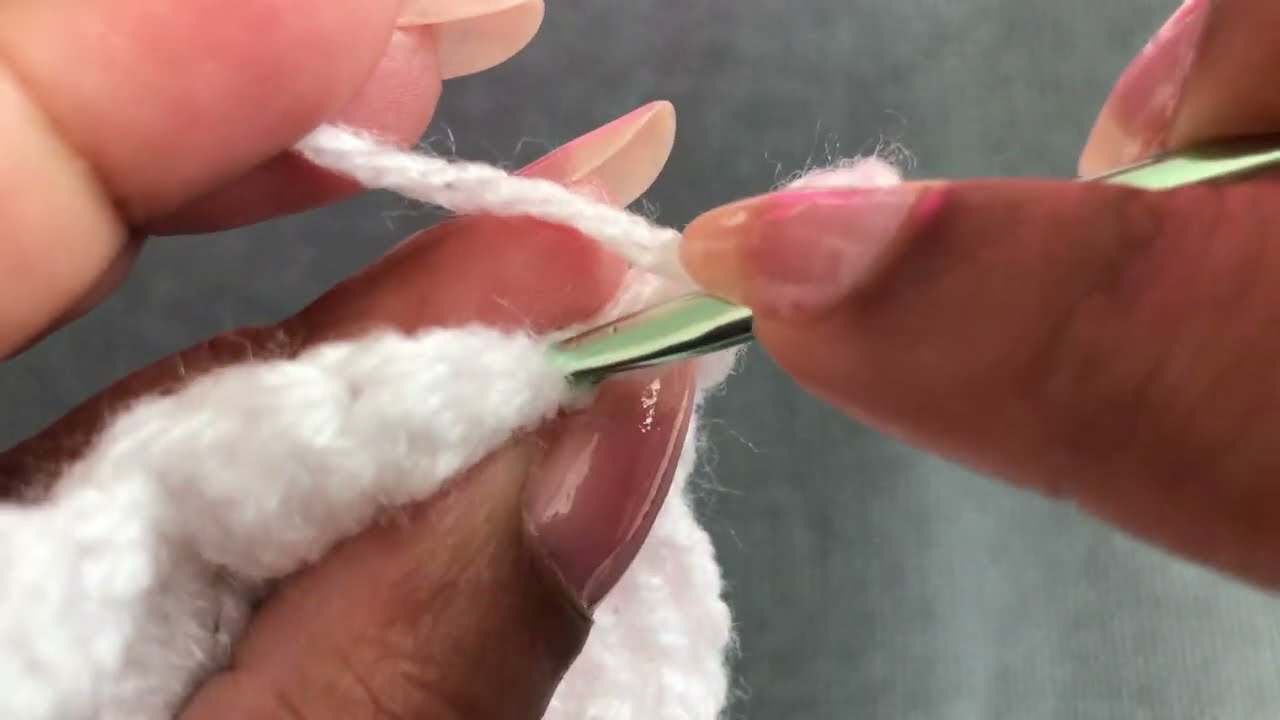
- Attach Buttons/Snaps:
- Sew buttons onto the shoulder straps (if the buttonholes are on the back panel) or onto the front panel (if buttonholes are on the straps).
- Sew buttons/snaps onto the crotch plackets, ensuring they align.
- Weave in Ends: Securely weave in all loose yarn tails using your yarn needle.
Approach 2: Simple Rectangle Body with Added Legs
This is arguably even easier for a very basic romper, though it might involve more seaming.
- Main Body Panel: Crochet a large rectangle that will form the front and back of the romper. The width will be the circumference of the baby’s chest, and the length will be from shoulder to crotch (doubled).
- You might fold this in half and seam up the sides to create a tube for the body.
- Leg Panels: Crochet two smaller rectangles for the legs. Seam each into a tube.
- Attach Legs: Sew the leg tubes to the bottom of the main body tube, creating the crotch area.
- Shoulder Straps: Crochet two long strips for shoulder straps and sew them to the front and back of the romper.
- Crotch Opening: This method often requires cutting a slit in the crotch area and adding plackets with buttons/snaps for diaper changes.
Tips for Beginners Making a Romper:
- Choose a Specific Pattern: While this guide provides a general overview, ALWAYS start with a specific, well-written pattern designed for beginners. Ravelry.com is an excellent resource with thousands of free and paid patterns. Look for terms like “easy,” “beginner-friendly,” “one-piece,” or “no-sew.”
- Gauge Swatch is Essential: For garments like rompers, making a gauge swatch is crucial. It ensures your finished romper will be the correct size. If your gauge is off, adjust your hook size.
- Measurements are Key: Know the approximate measurements of the baby you’re making it for (chest circumference, shoulder-to-crotch length, leg circumference).
- Stitch Markers: Use them liberally to mark armholes, leg divisions, and the beginning of rounds.
- Yarn Choice: Stick to soft, washable yarns. Variegated yarns can hide minor imperfections if you’re worried about consistency.
- Read Through Entire Pattern First: Before you even pick up your hook, read the entire pattern from start to finish. This helps you understand the construction and anticipate steps.
- Don’t Rush the Seaming/Finishing: Neat seams and securely attached buttons make a huge difference in the final look and durability of your romper.
- Video Tutorials: Many patterns have accompanying video tutorials, which are invaluable for visual learners. Search for the pattern name on YouTube.
- Practice Basic Stitches: Ensure you are confident with chain, slip stitch, single crochet, half double crochet, and double crochet.
Making a baby romper is a bit more of a commitment than a simple hat, but the result is incredibly satisfying and a truly special handmade gift!
Watch video:
