 by
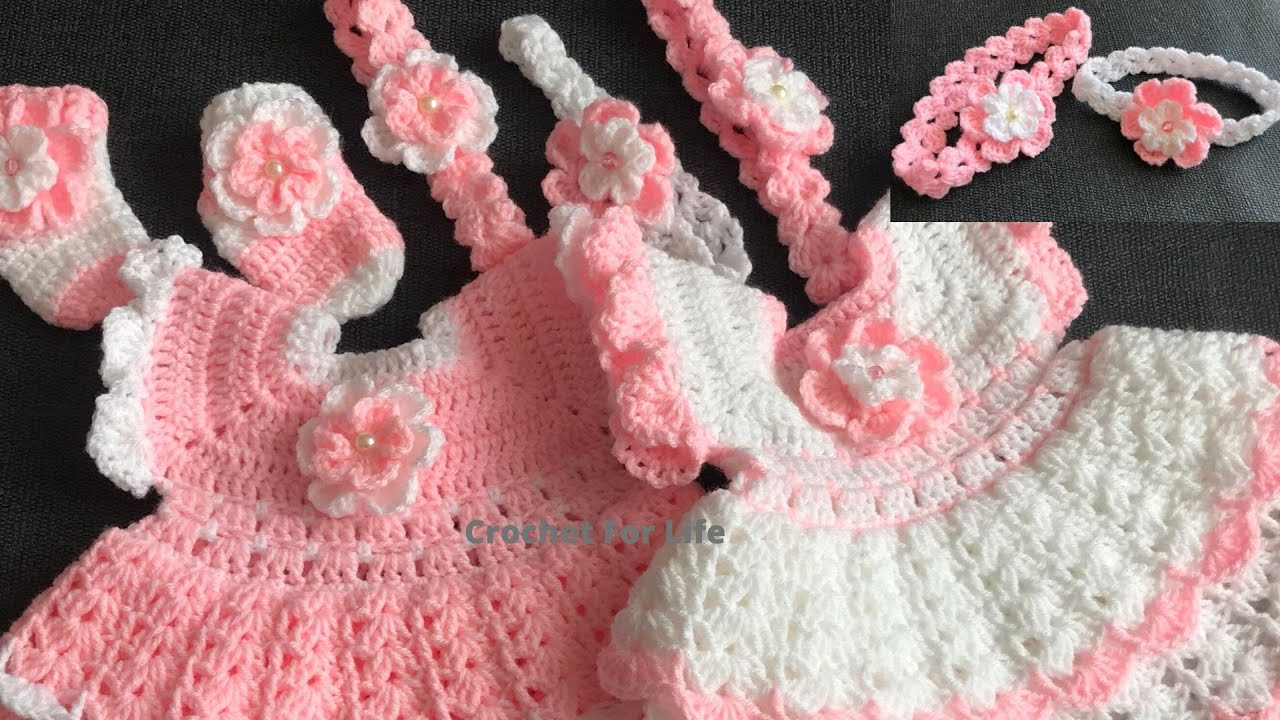
by Sure, let’s break down how to make an easy crochet baby headband and then how to make a simple crochet flower to adorn it! Both are excellent projects for beginners and work up quickly.
How to Make an Easy Crochet Baby Headband
Baby headbands are super quick and easy, often made from a simple strip of crochet that is then joined. They can be thin or wide, depending on preference.
Materials You’ll Need:
- Yarn:
- Weight: DK (Double Knitting) or Light Worsted (#3) is ideal. It’s soft and creates a nice, delicate headband. Worsted Weight (#4) can also be used for a slightly thicker band.
- Fiber: Soft, baby-friendly yarns like acrylic, cotton, or a blend. Machine washable is a plus.
- Quantity: Very little! Often less than 50 yards, so it’s a great stash-buster.
- Crochet Hook: A 3.5mm (E) or 4.0mm (G) hook is common for DK/Light Worsted yarn. Match it to your yarn’s recommendation.
- Yarn Needle (Tapestry Needle): For weaving in ends and seaming.
- Scissors: For cutting yarn.
Measurements for Baby Headbands:
It’s best to measure the baby’s head if possible, but here are general circumference guidelines for a finished headband length (it should be slightly smaller than the head circumference to allow for stretch and a snug fit):
- Preemie: 10-12 inches (25-30 cm)
- Newborn: 12-13 inches (30-33 cm)
- 0-3 Months: 13-14 inches (33-35.5 cm)
- 3-6 Months: 14-16 inches (35.5-40.5 cm)
- 6-12 Months: 16-17 inches (40.5-43 cm)
- Toddler (1-3 years): 17-18 inches (43-45.5 cm)
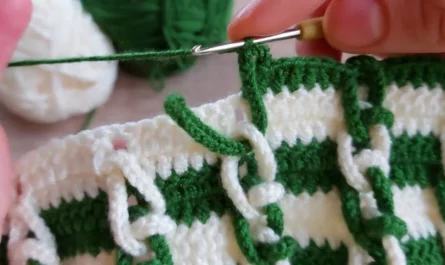
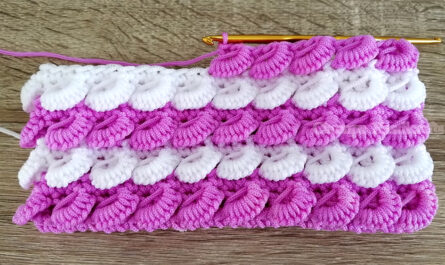
Method 1: Simple Flat Strip (Most Common and Easiest)
This method creates a straight band that is then seamed.
- Determine Width: Decide how wide you want the headband to be. For a thin band, 3-5 rows might be enough. For a wider band, you might do 6-10 rows.
- Starting Chain: Chain enough stitches to achieve your desired width.
- Example (for a 1-inch wide headband using HDC): Chain 6. (Your first row will have 5 HDC).
- Row 1: Work your chosen stitch (e.g., Half Double Crochet (HDC) or Double Crochet (DC)) into the second chain from the hook (for HDC) or third chain from the hook (for DC), and continue across the chain.
- If using HDC, Ch 1 and turn.
- If using DC, Ch 2 and turn.
- Subsequent Rows: Continue working rows in your chosen stitch, working into each stitch across.
- Keep chaining 1 (for HDC) or 2 (for DC) and turning at the end of each row.
- Length: Continue crocheting rows until your strip reaches the desired length for the baby’s head circumference (refer to the measurements above).
- Tip: Gently stretch your work as you measure, as the headband will stretch when worn.
- Seaming:
- Once you’ve reached the desired length, cut your yarn, leaving a long tail (about 8-10 inches) for seaming.
- Fold the strip in half, bringing the two short ends together.
- Using your yarn needle, whip stitch or mattress stitch the two ends together to form a seamless loop.

- Weave in Ends: Securely weave in all remaining yarn tails.
Method 2: Working in the Round (No Seam)
This method creates a continuous loop without a seam, but can be slightly trickier for beginners to maintain even tension.
- Starting Chain: Chain a number of stitches that, when joined, equals the desired length of your headband (refer to measurements). Make sure this chain is stretchy enough to fit over the baby’s head.
- Tip: Chain a few extra, as the chain tends to shrink a little when you work into it.
- Join: Carefully join the last chain to the first chain with a slip stitch (sl st) to form a ring. Be careful not to twist the chain.
- Round 1: Chain 1 (for SC) or 2 (for HDC/DC). Work your chosen stitch into each chain stitch around the ring. Join with a sl st to the first stitch of the round.
- Subsequent Rounds: Chain 1 (or 2) and work your chosen stitch into each stitch around. Join with a sl st.
- Width: Continue working rounds until the headband reaches your desired width.
- Fasten Off & Weave in Ends: Cut yarn, pull through loop, and weave in all tails.
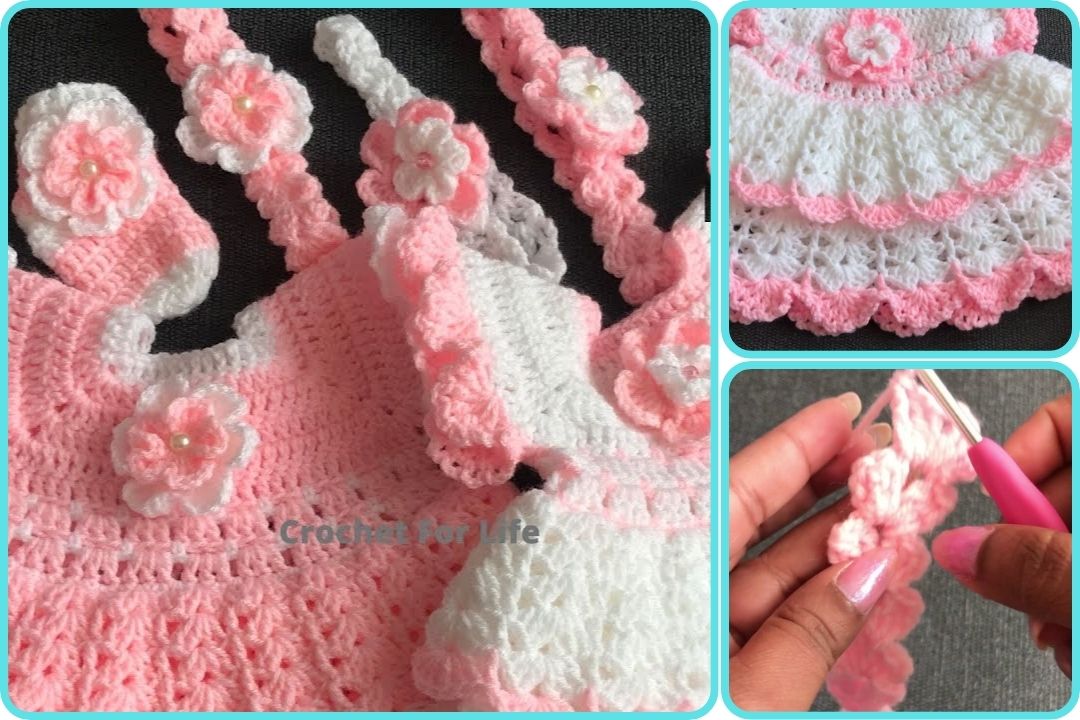
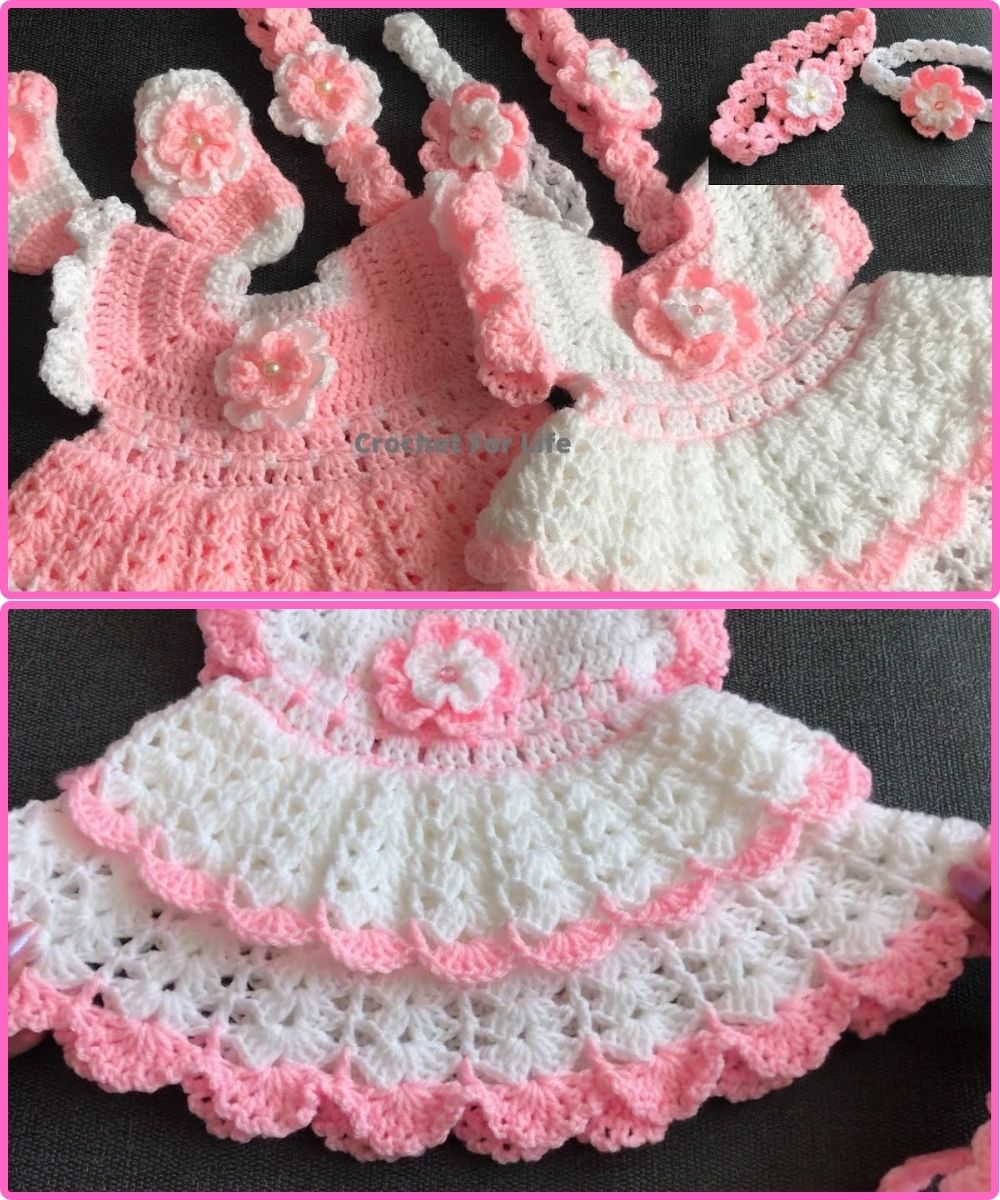
How to Make an Easy Crochet Flower
This simple layered flower is perfect for beginners and adds a charming touch to any headband.
Materials You’ll Need:
- Yarn: Small amount of yarn in your desired flower color. Cotton or acrylic works well. Can be the same weight as the headband or slightly finer.
- Crochet Hook: The same hook you used for the headband, or one size smaller if your yarn is finer.
- Yarn Needle: For weaving in ends.
- Scissors: For cutting yarn.
- Optional: A button, bead, or pearl for the center. Hot glue gun or sewing needle/thread for attaching the flower/center.
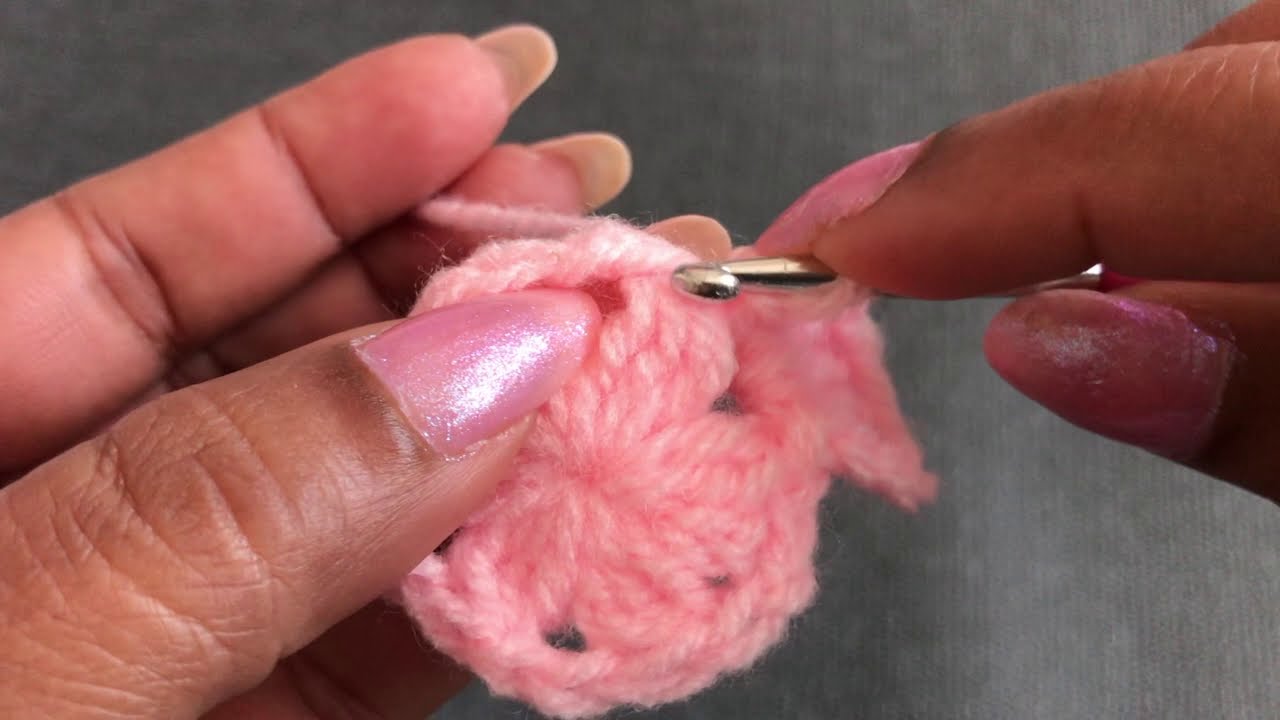
Flower Pattern (Simple 2-Layered Flower):
This flower is worked in the round.
Inner Layer (Small Petals):
- Magic Ring (or Chain 2 method):
- Magic Ring (Recommended): Make a magic ring. Ch 1.
- Chain 2 Method: Ch 2.
- Round 1 (Petals):
- If using Magic Ring: Work (1 Single Crochet (SC), Ch 2, 2 Double Crochet (DC), Ch 2) five times into the magic ring. After the fifth set, work 1 SC into the magic ring. Pull the magic ring tight to close the center. Sl st to the first SC. (5 petals formed by the Ch 2 spaces)
- If using Chain 2 Method: Work (1 SC, Ch 2, 2 DC, Ch 2) five times into the 1st chain. After the fifth set, work 1 SC into the same chain. Sl st to the first SC.
- Fasten Off: Cut yarn, leaving a tail, and pull through the loop. Weave in the starting and ending tails securely on the back of the flower.
Outer Layer (Larger Petals):
This layer is often worked in a contrasting color or simply added to make the flower fuller. You’ll work behind the inner petals.
- Join Yarn: With your new yarn color (or same color for a solid flower), join with a sl st into any of the Ch 2 spaces from the first round of the inner layer (the magic ring/chain 2 hole). You’ll be working behind the small petals.
- Round 1 (Petals):
- Chain 2 (counts as first HDC). Work 2 Half Double Crochet (HDC), Ch 1, 3 HDC into the same Ch 2 space from the previous round. (This forms one petal).
- Repeat: Sl st into the next Ch 2 space from the previous round. Ch 2, 2 HDC, Ch 1, 3 HDC into the same Ch 2 space. Repeat from * until you have 5 petals total.
- Sl st to the first Ch 2 to finish the round.
- Fasten Off: Cut yarn, leaving a tail, and pull through the loop. Weave in all tails securely.
Attaching the Flower to the Headband:
- Placement: Decide where you want to place the flower on the headband. Usually, it’s off-center slightly.
- Sewing: Using a yarn needle, carefully sew the flower onto the headband. Make sure to catch stitches from both the flower and the headband so it’s securely attached. Hide your knots inside the headband.
- Adding a Center (Optional):
- Sew a button or bead to the center of the flower.
- Alternatively, use a small dab of hot glue if the item is for an older child and won’t be put into the mouth. For babies, sewing is always safer to prevent choking hazards.
Tips for Beginners:
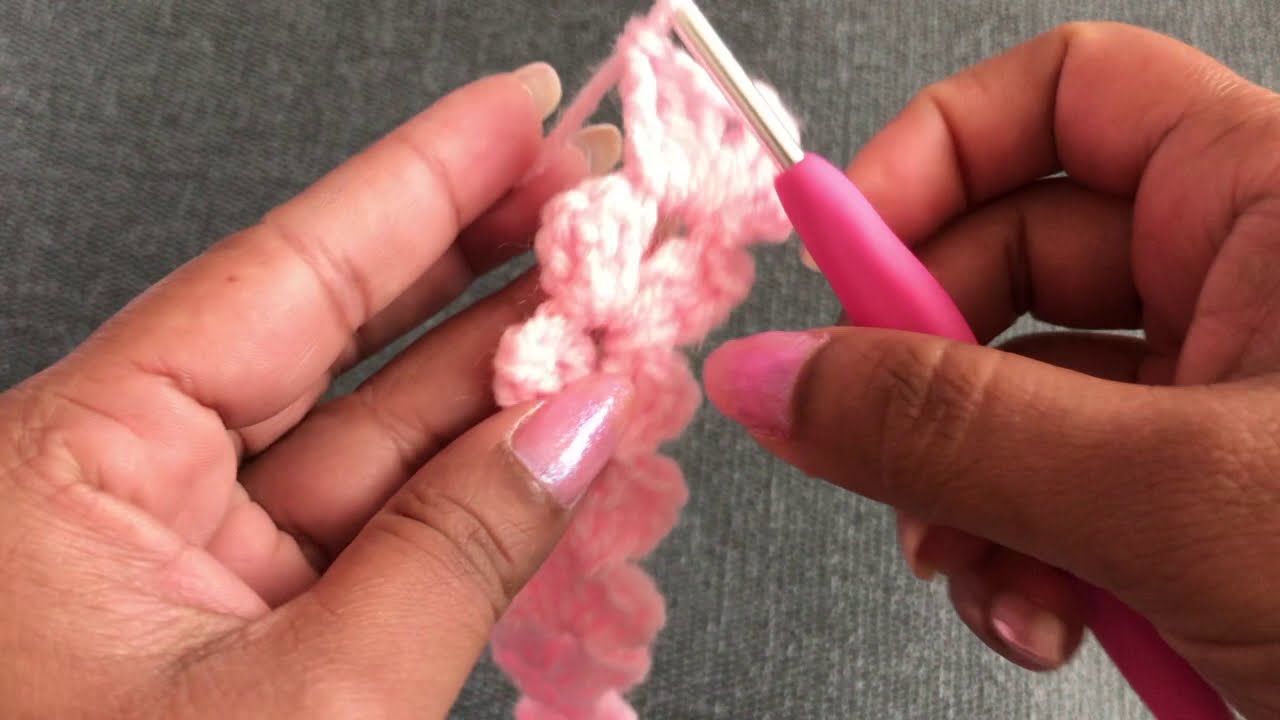
- Watch Videos: Search YouTube for “easy crochet baby headband tutorial” and “easy crochet flower tutorial.” Visual demonstrations are incredibly helpful.
- Practice Stitches: Make sure you’re comfortable with chain, slip stitch, single crochet, half double crochet, and double crochet before you start.
- Gauge is Less Critical for Headbands: While a gauge swatch is always good practice, for headbands, it’s less critical than for garments. You can simply measure as you go.
- Don’t Over-Tighten: For the headband, make sure your tension isn’t too tight, or it won’t be stretchy enough.
- Weave in Ends Neatly: This makes your finished product look professional and prevents it from unraveling.
- Safety First: When making items for babies, always ensure all elements (especially buttons/beads) are securely attached to prevent choking hazards.
Enjoy making these adorable and easy crochet creations!
Watch video: