 by
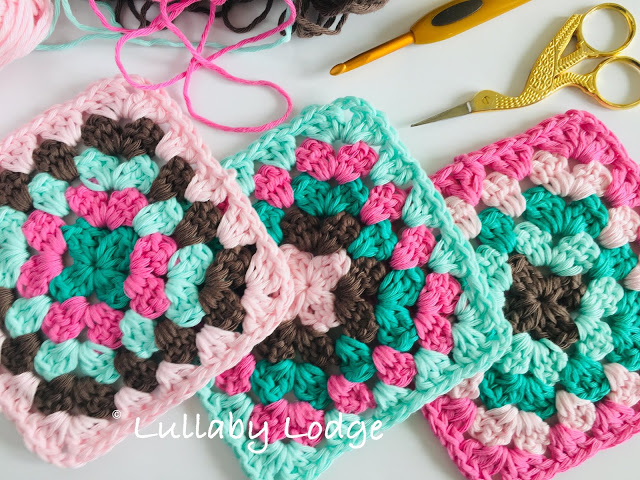
by Everyone loves a granny square and there are many different ways to make them and many tutorials available on the web. This tutorial particularly focuses on avoiding that “twist” you get after working a few rounds in the traditional method. This is particularly helpful when making large granny squares or a giant granny square blanket.
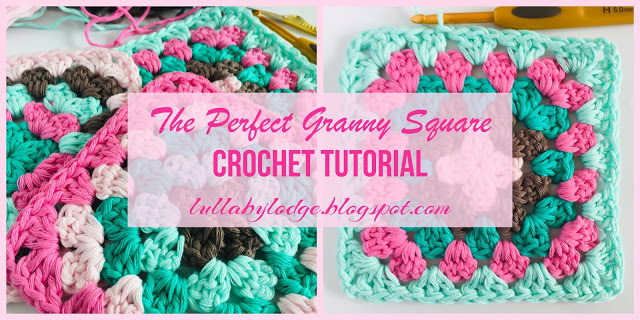
The Perfect Granny Square
Abbreviations (US terms)
sc – single crochet
dc – double crochetsl
st – slip stitch
ch – chain
sp – space
Other notes: I used a 5mm (H) hook with Aran weight cotton yarn to make my squares, but you can use any yarn you like, just use a hook recommended on your yarn ball band. I like to start my rounds with a chainless dc, you can do this too if you wish, or just stick to the traditional ch3. Join new colours with a sl st, if you wish to make your squares a single colour, sl st into the corner sp to start next round.
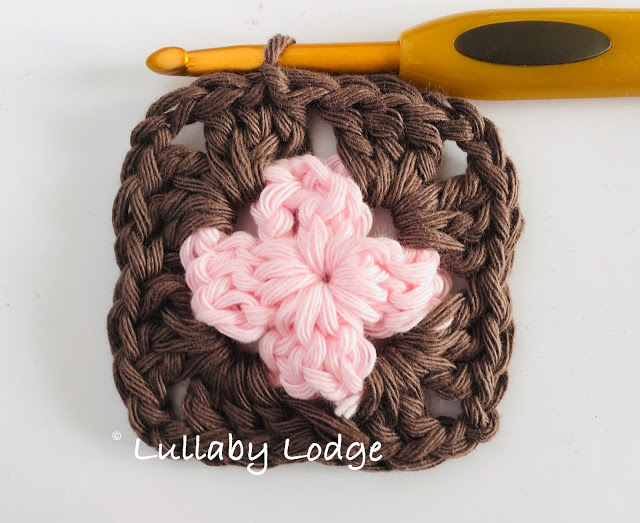
Foundation Chain 4 and join with sl st to form ring
Round 1 (right side) ch3, 2dc into ring, ch2, [ 3dc into the ring, ch2] 3 times, join with sl st to top ch3 and fasten off. Turn.

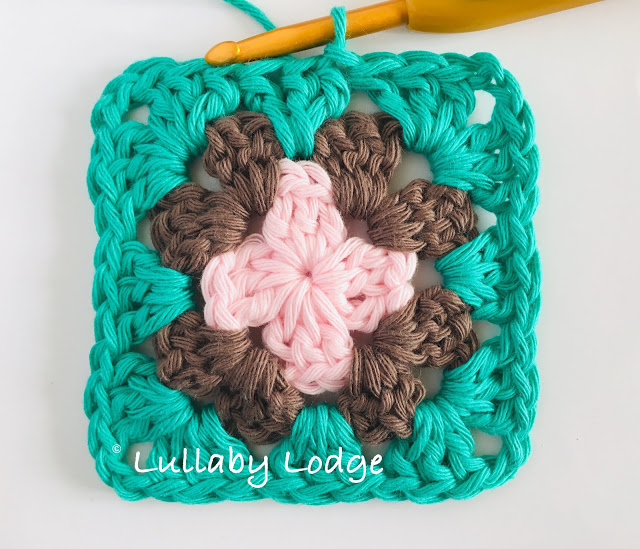
Round 2 join new colour in any corner sp, ch3, 2dc into same sp, ch2, 3dc into same sp (corner formed), [ 3dc into next sp, ch2, 3dc into same sp] 3 times, join with sl st to top ch3 and fasten off. Turn.
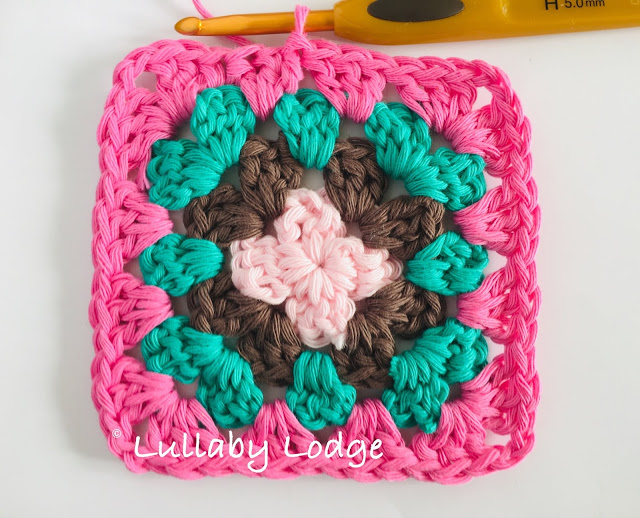
Round 3 join new colour in any corner sp, ch3, 2dc in same sp, ch2, 3dc in same sp, [3dc in next sp, 3dc in next sp, ch2, 3dc in same sp] 3 times, 3dc in next sp, join with sl st to the top ch3 and fasten off. Turn.
Continue in this way…
…round after round…
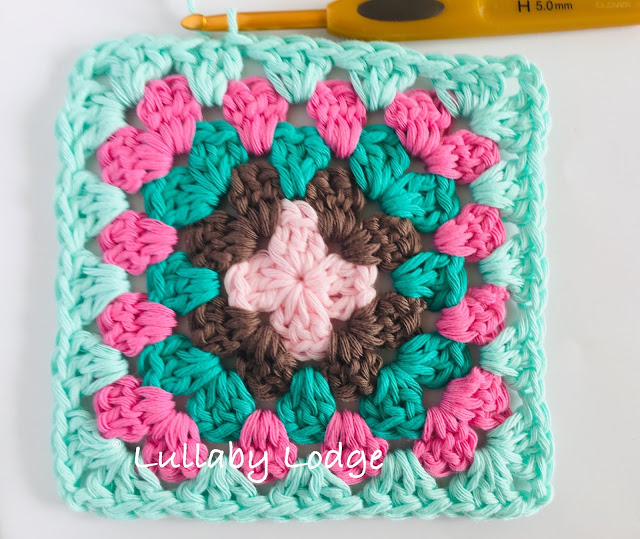
..in the same manner…
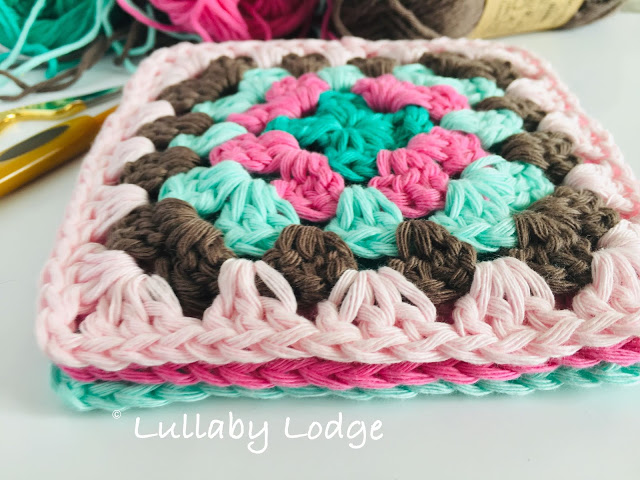
…changing colours and turning your work over after each round (this keeps your squares nice and straight with no twisty corners and adds a lovely texture). Oh and don’t forget to weave in all those pesky ends…