 by
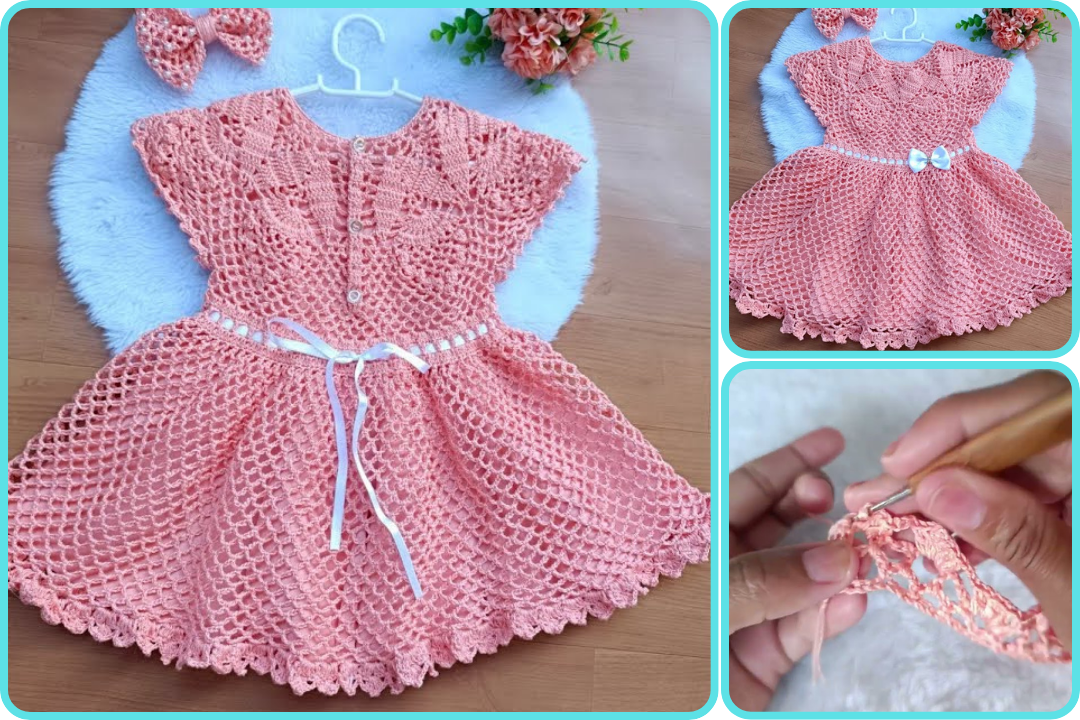
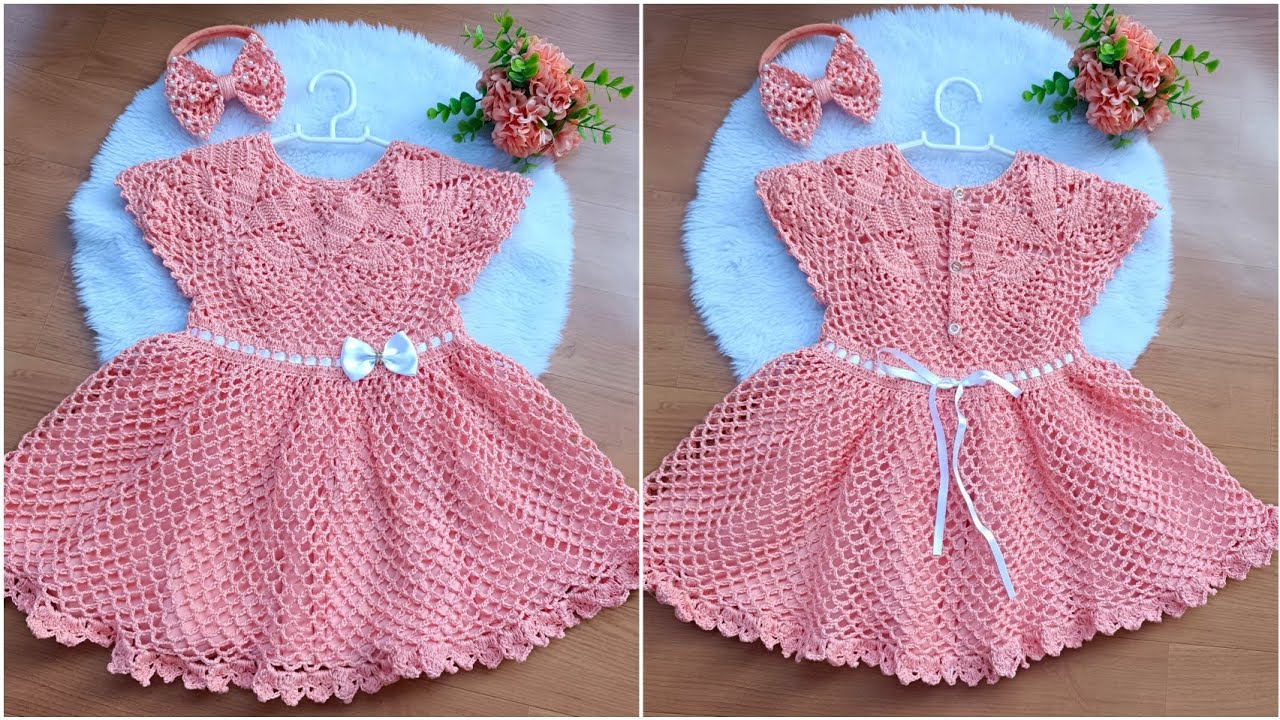
by Creating a crochet dress for a child aged 1 to 3 years is a fun and rewarding project! Below is a detailed guide to help you make a crochet dress suitable for that age range, including materials, sizing tips, and a step-by-step pattern outline.
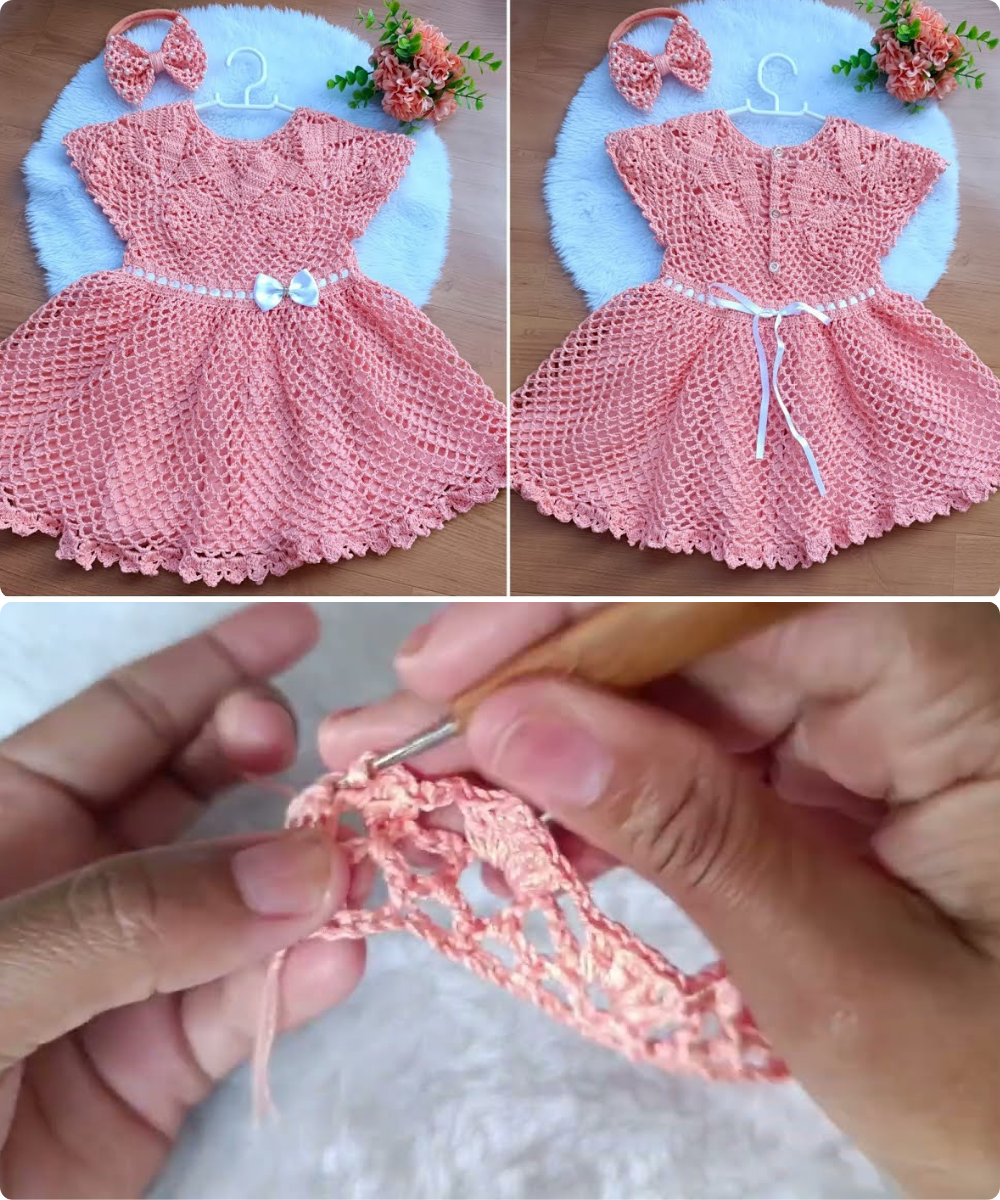
🧶 How to Make a Crochet Dress (Size 1–3 Years)
🧵 Materials Needed:
-
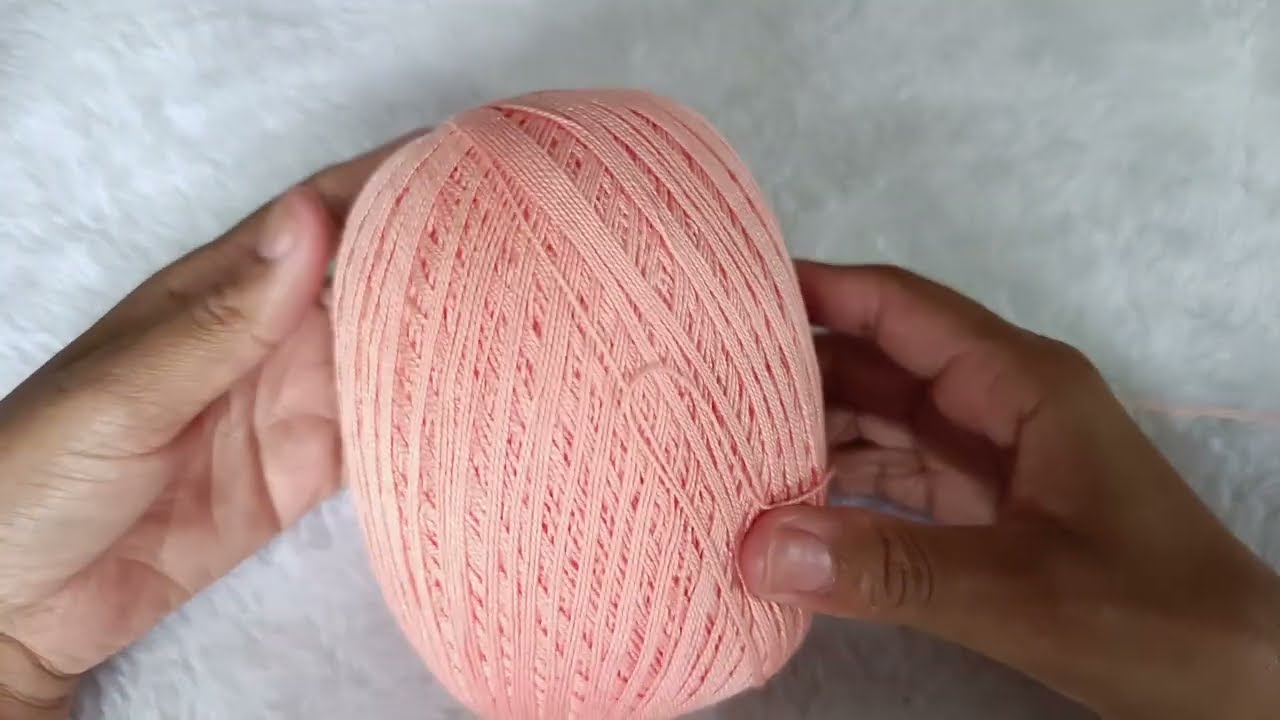
Yarn: Medium weight (worsted #4) or light weight (DK #3) yarn, depending on how light and flowy you want the dress.
-
For worsted yarn: Approx. 300–500g
-
-
Hook: 4.0 mm (G/6) or 4.5 mm (7) crochet hook (adjust depending on yarn)
-
Stitch markers
-
Measuring tape
-
Buttons (optional) if you want a back opening
-
Yarn needle for weaving in ends
-
Scissors
📏 Sizing Reference (1–3 Years)
| Age | Chest Circumference | Dress Length (approx.) |
|---|---|---|
| 1 yr | 19–20 in (48–51 cm) | 16–18 in (40–46 cm) |
| 2 yrs | 20–21 in (51–53 cm) | 18–20 in (46–51 cm) |
| 3 yrs | 21–22 in (53–56 cm) | 20–22 in (51–56 cm) |
Make your foundation chain to match the chest circumference measurement.
🪡 Basic Crochet Dress Construction
The dress can be made in two common ways:
-
Top-down (yoke first) – popular for seamless baby dresses.
-
Bottom-up – good for flared or layered designs.
Here’s a top-down pattern outline, which is beginner-friendly and easily adjustable.
🧶 Top-Down Crochet Dress Pattern Outline
Step 1: Make the Yoke (Bodice)
-
Foundation Chain: Chain enough to go around the upper chest or shoulders, usually 60–80 stitches depending on the yarn and size. Join with a slip stitch to form a circle (if making it round-neck).
-
Alternatively, work in rows for a buttoned-back opening.
-
-
Row 1–6 (Yoke Increase):
-
Use Double Crochet (DC) or Half Double Crochet (HDC).
-
Place increases at 4 evenly spaced points to form a raglan:
-
-
Continue increasing until the yoke reaches underarm width:
-
~4–5 inches tall (10–13 cm)
-
~9–10 inches (23–25 cm) wide when folded
-
-
Separate for sleeves:
-
Chain underarms (e.g., ch 8–12 stitches)
-
Skip stitches for sleeves, join body stitches to work in rounds
-
Step 2: Crochet the Skirt
-
Begin working in rounds under the arms.
-
Skirt Style Options:
-
Straight skirt: continue with DC/HDC
-
Flared skirt: increase every few rows (2DC in one stitch every 5–6 stitches)
-
Shell stitch, V-stitch, or granny-style patterns look pretty
-
-
Continue until desired length:
-
~16–22 inches depending on age and style
-
Step 3: Finish Edges
-
Sleeves: Add a few rows of DC or shell stitch to sleeves if desired.
-
Neckline: SC or picot edging around the neckline.
-
Hem: Finish bottom with shell or lace edging.
Optional Additions
-
Back opening: Leave a gap in yoke, add buttonholes and buttons
-
Bows or flowers: Add crochet embellishments
-
Lining: Add a soft fabric lining if the skirt is openwork
🧷 Sample Stitch Pattern for Skirt (Shell Stitch)
💡 Tips for Adjusting Sizes:
-
Check gauge: Make a swatch to ensure sizing is accurate
-
Try on frequently: If child is available, fit as you go
-
Use stitch markers to track sleeve joins and increases
🪡 Pattern Recommendation (Optional)
If you’d like a ready-made pattern, I can suggest some free or paid options from trusted sources like:
-
Ravelry
-
Yarnspirations
-
LoveCrafts
Let me know your style preference (modern, vintage, lacy, simple) and I can help you pick one!
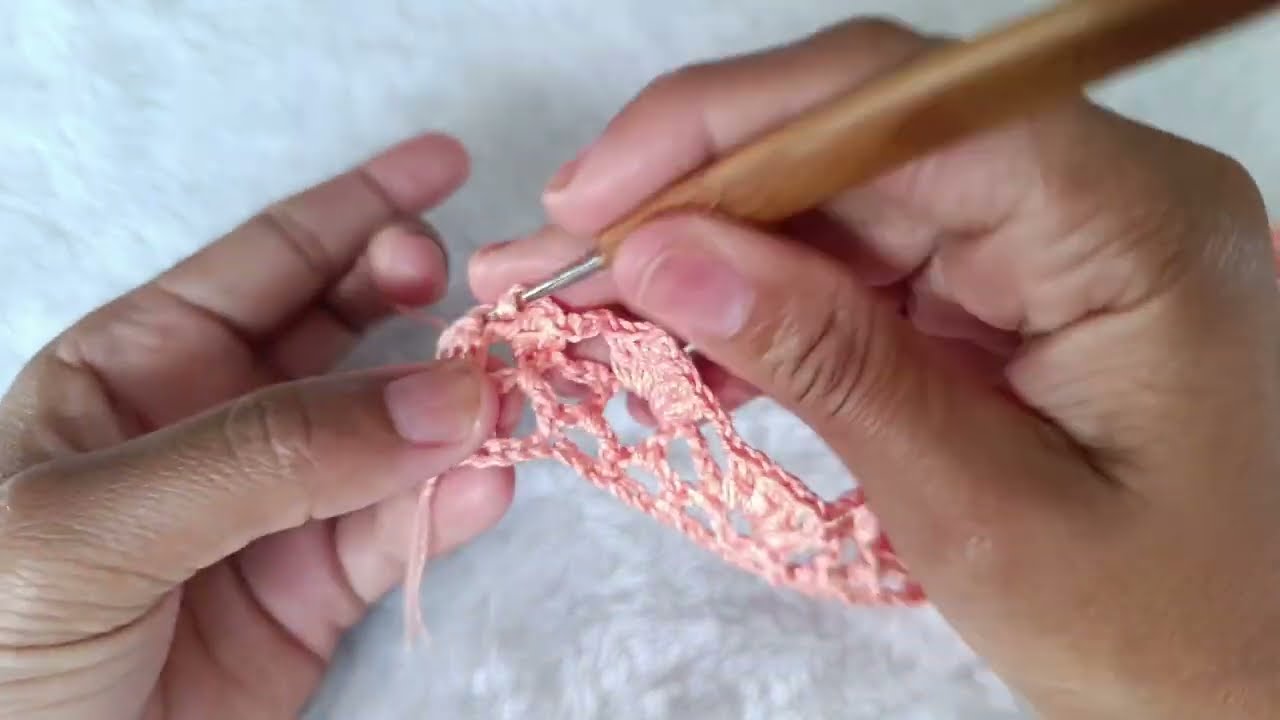
Watch video: