 by
by Absolutely! Here’s a detailed guide based on the idea “💥✅ I Saw This Idea in a Trendy Women’s Store – Sewing Trick for Beginners” – a stylish, beginner-friendly sewing project that looks like it came straight from a boutique. This sewing trick is perfect if you’re new to sewing and want a trendy, quick win!
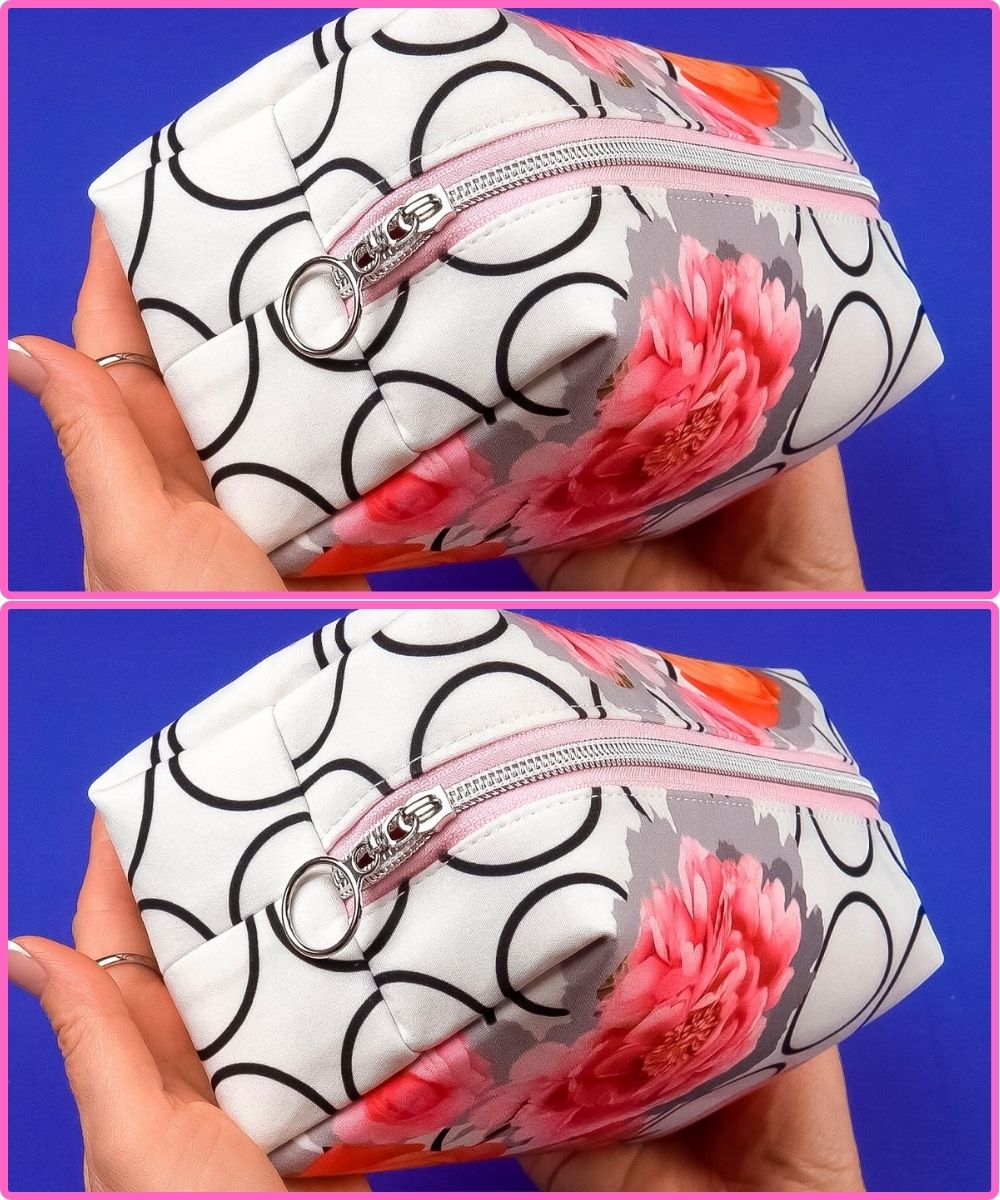
💥✅ I Saw This Idea in a Trendy Women’s Store
🧵 Sewing Trick for Beginners: DIY Fold-Over Clutch or Mini Pouch
This simple yet stylish fold-over clutch or pouch is often sold in high-end women’s stores for big prices—but you can easily sew one at home with basic materials and no zippers or tricky closures.
✂️ Materials You’ll Need:
| Item | Description |
|---|---|
| Outer Fabric | Faux leather, denim, canvas, or cotton – 1 piece (12” x 10”) |
| Lining Fabric | Soft cotton or matching print – 1 piece (12” x 10”) |
| Interfacing | Medium-weight fusible (optional for structure) |
| Snap Button / Velcro / Magnetic Snap | For closure |
| Thread | Matching or contrast |
| Sewing Machine | With universal needle |
| Iron | If using interfacing |
| Clips or Pins | To hold pieces together |
| Scissors or Rotary Cutter | For cutting fabric |
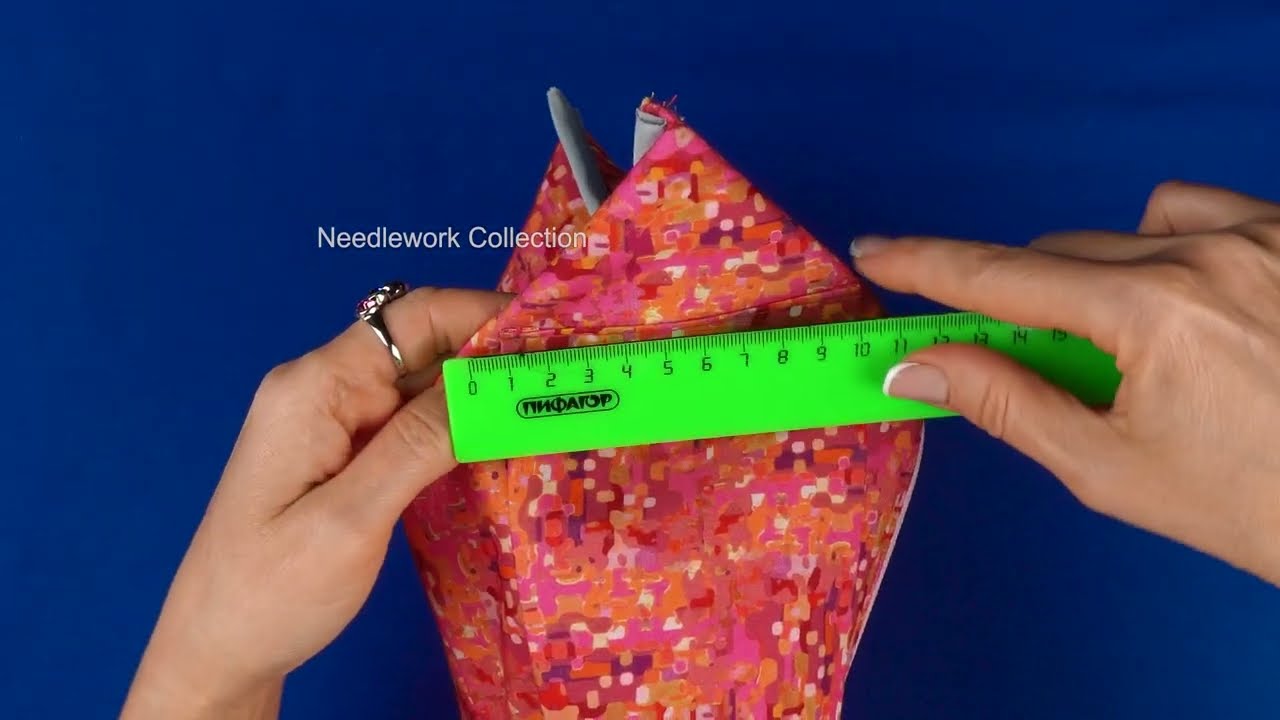
📐 Size:
You can customize the size, but we’ll make a finished clutch of approx. 10” x 6”, which folds over and looks sleek.
🧶 Step-by-Step Instructions:
1. Cut Your Fabric
-
Outer Fabric: 12” wide x 10” tall
-
Lining Fabric: 12” x 10”
-
Optional: Cut interfacing to the same size and fuse to the wrong side of the outer fabric
2. Prepare the Layers
-
Place the outer fabric and lining right sides together.
-
Pin or clip all edges.
3. Sew Around the Edges
-
Using a ⅜” seam allowance, sew around all four sides, leaving a 3” gap at the bottom for turning.
-
Backstitch at the start and end of the seam.
4. Clip Corners & Turn
-
Trim the corners diagonally to reduce bulk.
-
Turn the fabric right side out through the gap.
-
Push out the corners using a chopstick or blunt pencil.
-
Press flat (if your fabric allows; avoid ironing faux leather).
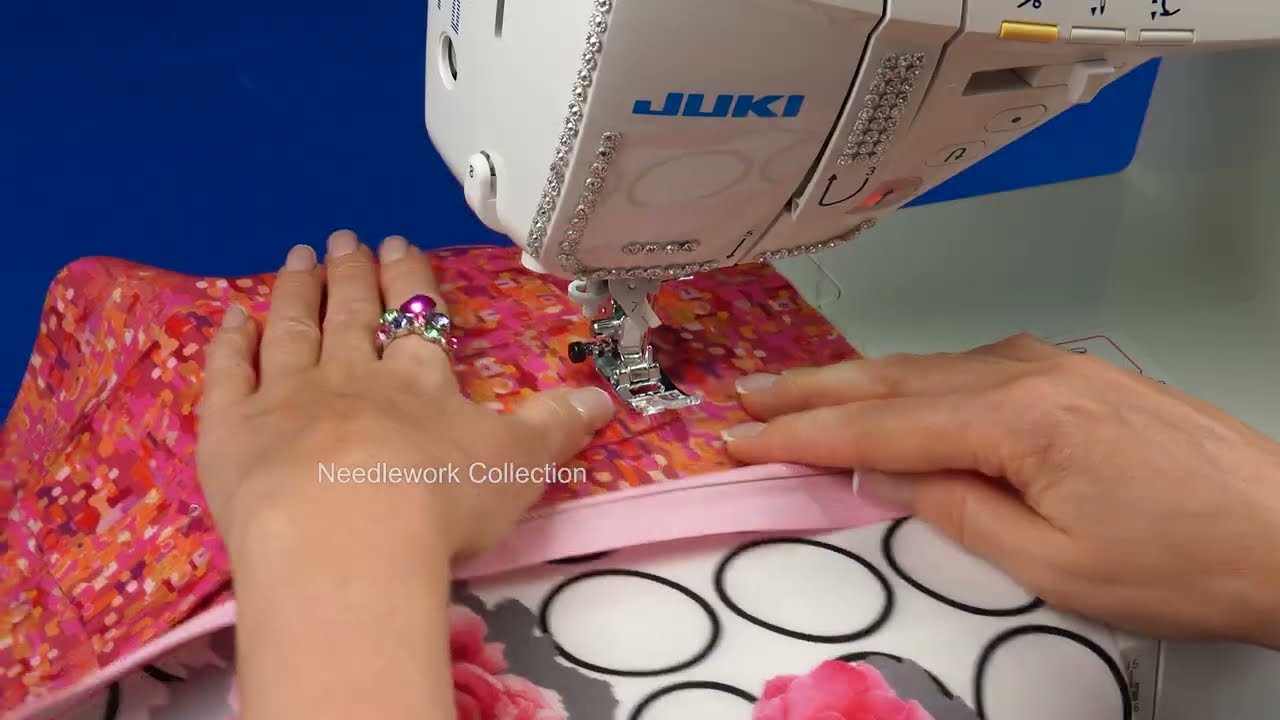
5. Topstitch Around the Edge
-
Topstitch all the way around the edge, closing the gap in the process.
-
This gives it a clean, professional finish and secures the edges.
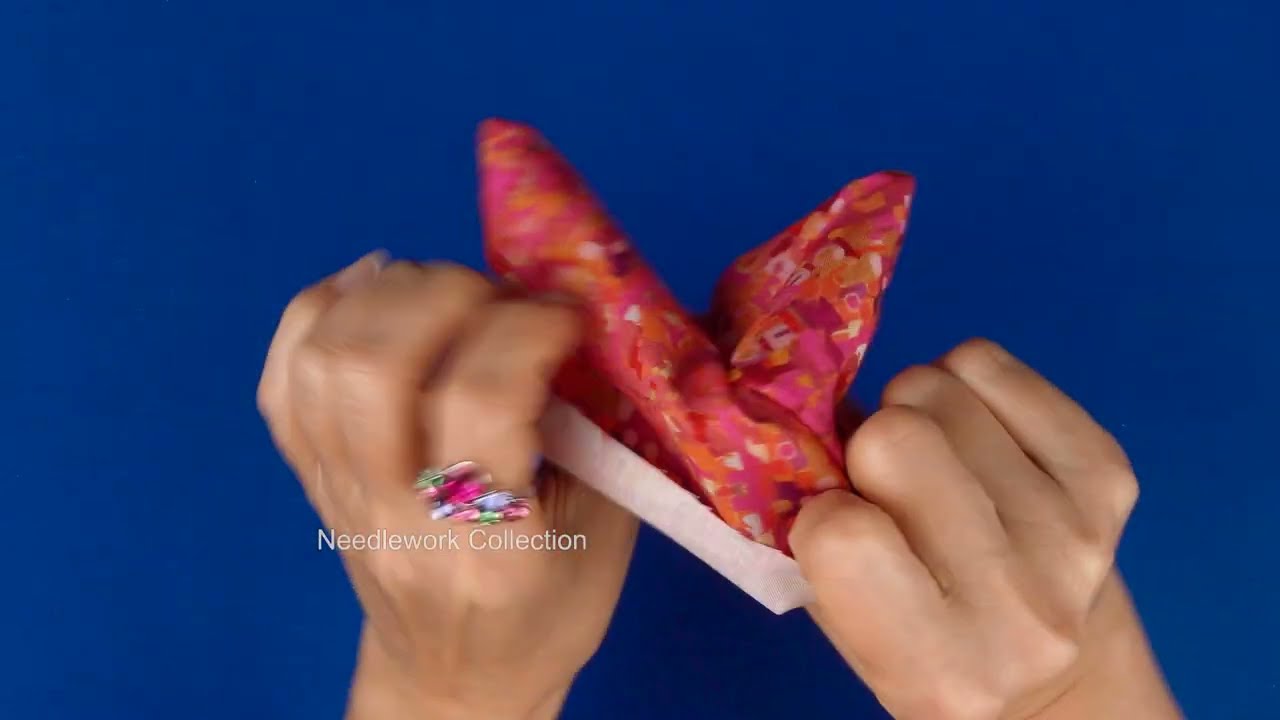
6. Fold and Secure
-
Fold the pouch from the bottom up to about ⅔ of the way (roughly 6” high).
-
Pin the sides of the folded pouch.
-
Topstitch both sides of the fold, about ⅛” from the edge, only along the sides of the folded part. This creates the body of the clutch.
7. Add Closure
-
Attach a snap button, magnetic snap, or even a piece of Velcro to the flap and body.
-
Position it about 1” from the top edge when the flap is folded down.
💡 Beginner-Friendly Sewing Tricks in This Project:
| Trick | Benefit |
|---|---|
| Sewing right sides together and flipping | Hides seams for a clean look |
| Topstitching | Adds strength and professional finish |
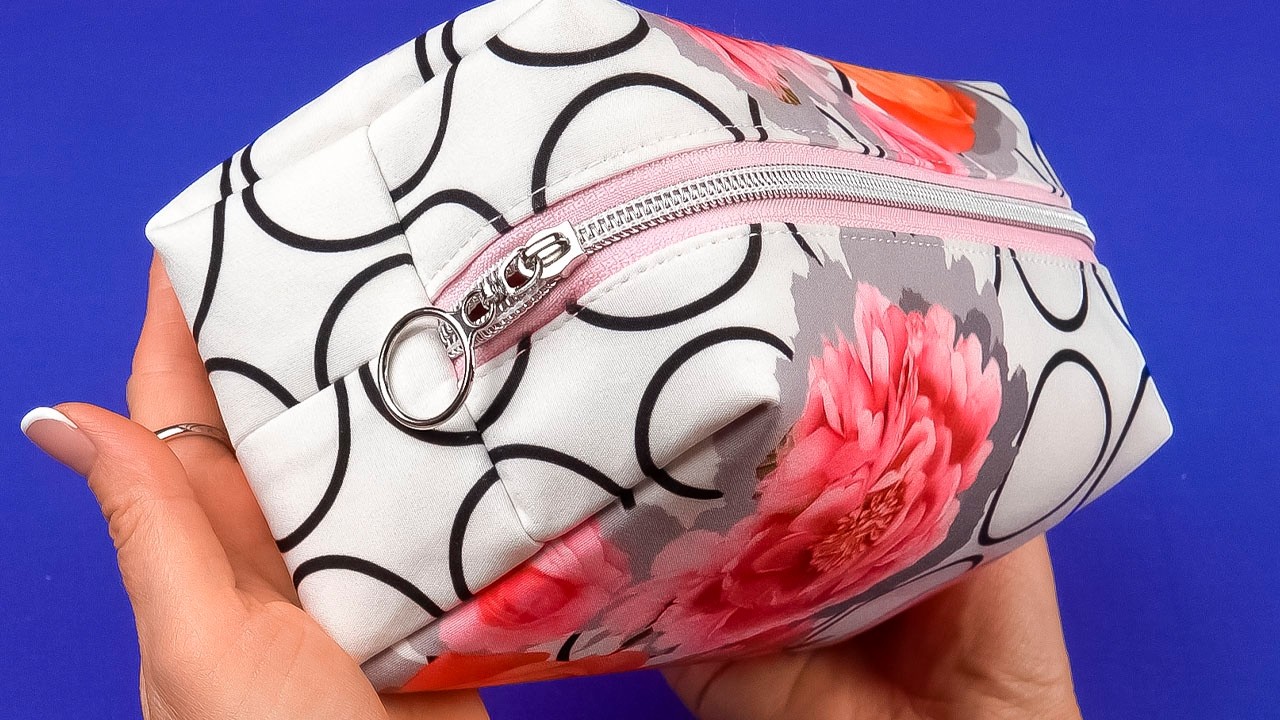
| Using snaps instead of zippers | Easier for beginners, looks elegant |
| Straight seams only | No curves or darts – perfect for learning control |
🌟 Style Ideas:
-
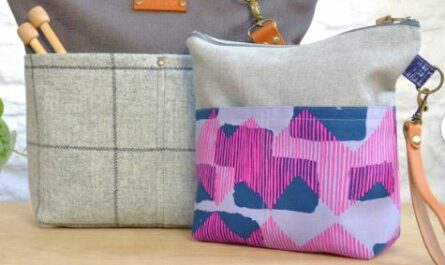
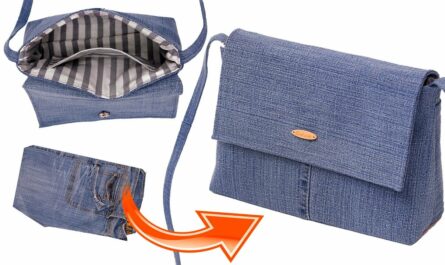
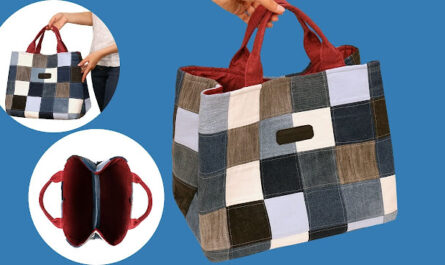
Use trendy fabric combos: denim + floral cotton, faux leather + satin, or canvas + printed cotton.
-
Add a fabric loop or wrist strap before sewing the sides if you want to carry it on your wrist.
-
Use contrast thread for visible stitching detail (like in designer brands).
🧼 Care:
-
Spot clean for faux leather or heavy canvas.
-
Machine wash gently for all-cotton versions.
🧵 Why This Works:
You get a clean, boutique-style finish with no complicated techniques. You’ll learn fundamental sewing skills like topstitching, turning, and basic finishing—all while creating something trendy and useful.
Would you like:
-
A printable pattern layout?
-
A video tutorial recommendation?
-
Variations (like zippered version, wristlet, or crossbody)?
I can help you customize this idea however you like!
Watch video: