 by
by You’re looking to make a stylish zipper bag easily and simply, all in one go! That’s a great goal. While “in one go” might be a slight overstatement for a complete beginner (as there are a few steps involved), I can definitely give you a detailed guide to making a fantastic zipper bag that feels quick and achievable.
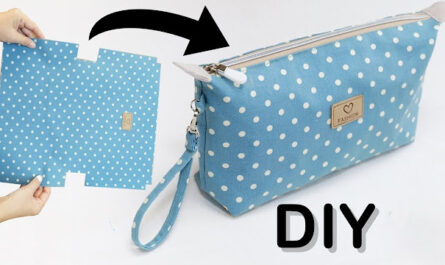
This method focuses on a simple rectangular zipper pouch, perfect for cosmetics, pencils, or even a small clutch.
DIY Stylish Zipper Bag: Easy & Simple in One Go!
This guide is designed for beginners and focuses on a clean, lined zipper pouch. You’ll be amazed at how quickly you can create something functional and chic!
Difficulty: Beginner
Time: 1-2 hours (depending on experience)
Materials You’ll Need:
- Main Fabric:
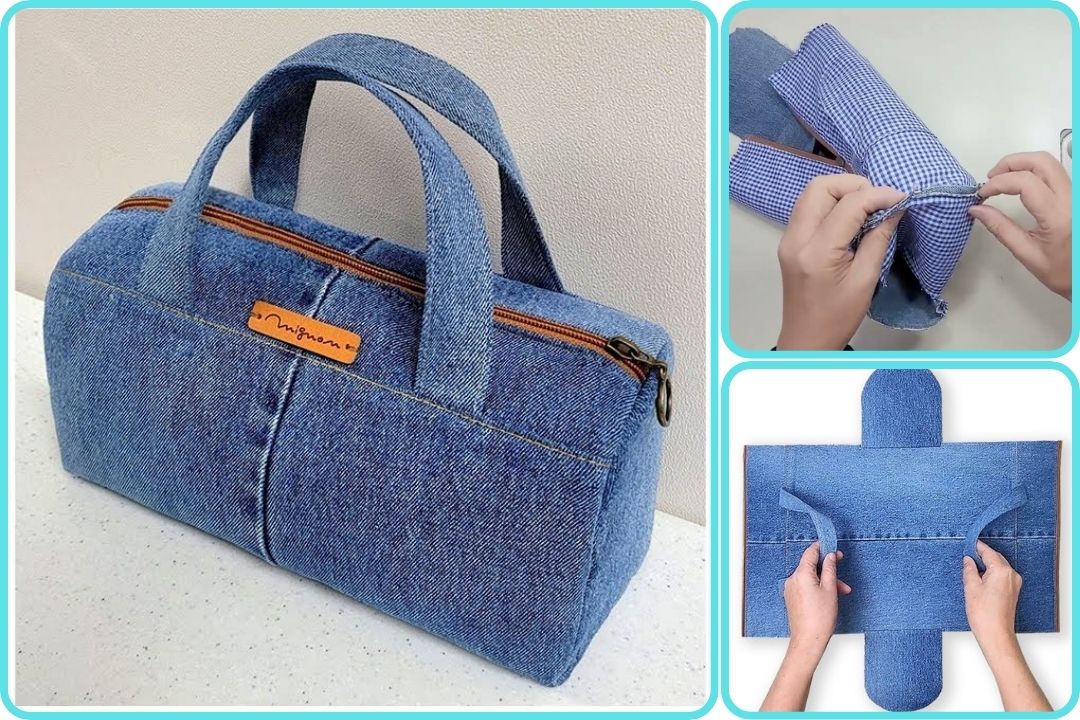
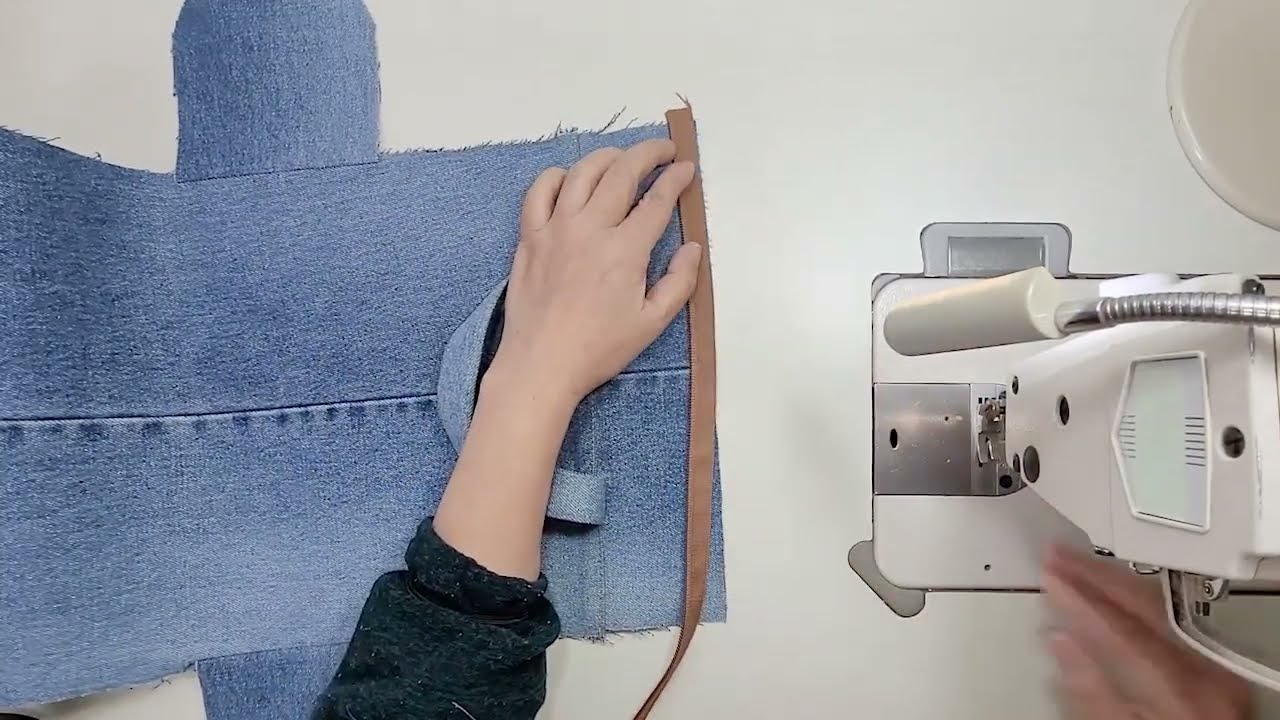
- Outer Fabric: A medium-weight cotton, canvas, denim, or even a faux leather/vinyl for a more structured look. Choose a print or solid that speaks to your style!
- Lining Fabric: A lighter-weight cotton or quilting cotton. Can be a coordinating solid or a fun contrasting print.
- Recommended Quantity: For a bag roughly 9″ x 6″, you’ll need two pieces of each fabric type, approximately 10″ x 7″ each. (It’s always better to cut a little larger and trim down.)
- Zipper:
- A nylon coil zipper is easiest for beginners.
- Length: Needs to be at least 1-2 inches longer than the width of your bag. For a 9″ wide bag, an 11″ or 12″ zipper is perfect. You can trim it down later.
- Interfacing (Optional but Recommended for Structure):
- Fusible Fleece or Medium-Weight Fusible Interfacing: This will give your bag body and a professional feel.
- Quantity: Two pieces, the same size as your outer fabric.
- Basic Sewing Supplies:
- Sewing Machine (with a zipper foot!)
- Matching Thread
- Fabric Scissors or Rotary Cutter and Mat
- Quilting Ruler (very helpful for straight cuts)
- Pins or Fabric Clips
- Iron and Ironing Board
- Seam Ripper (just in case!)
Step-by-Step Instructions:
Preparation is Key!
- Pre-Wash and Press Fabrics: This prevents shrinking later.
- Cut Your Fabric Pieces:
- Outer Fabric: Cut two identical rectangles. (e.g., 10″ wide x 7″ tall for a finished ~9″x6″ bag).
- Lining Fabric: Cut two identical rectangles, the exact same size as your outer fabric.
- Interfacing (if using): Cut two identical rectangles, the exact same size as your outer fabric.
- Apply Interfacing (if using):
- Follow the manufacturer’s instructions for your fusible interfacing.
- Place the fusible side of the interfacing onto the wrong side of each outer fabric piece.
- Press firmly with a hot iron until fused. This adds lovely structure!
Let’s Get Sewing!
Step 1: Attach the Zipper – Side 1
- Lay out your first Outer Fabric piece right side up.
- Place your Zipper on top of the outer fabric, right side down, aligning the top edge of the zipper tape with the top edge of the fabric. The zipper pull should be on the right side if you’re right-handed, or left if you’re left-handed, to make it easier to start sewing.
- Place your first Lining Fabric piece on top of the zipper and outer fabric, right side down. Make sure all three layers are aligned at the top edge.
- Pin or clip all three layers together along that top edge.
- Using your zipper foot, sew along this top edge with a 1/4″ seam allowance. Sew slowly and carefully to get a straight line. Tip: When you get close to the zipper pull, stop with your needle down, lift the presser foot, and slide the zipper pull past the needle, then continue sewing.
- Press: Open up the fabric pieces so the outer fabric and lining fabric are wrong sides together. Press the seam away from the zipper.
Step 2: Attach the Zipper – Side 2
- Lay out your second Outer Fabric piece right side up.
- Take your partially assembled bag (from Step 1) and place the remaining unsewn side of the zipper onto the top edge of this second outer fabric piece, right side down. Ensure the zipper is straight and not twisted.
- Place your second Lining Fabric piece on top of the zipper and outer fabric, right side down, aligning the top edge.
- Pin or clip all three layers together along this top edge.
- Using your zipper foot, sew along this top edge with a 1/4″ seam allowance.
- Press: Open up the fabric pieces so the outer fabric and lining fabric are wrong sides together. Press the seam away from the zipper.
At this point, you should have a tube of fabric with the zipper sewn in the middle. The outer fabric pieces are on the outside, and the lining pieces are on the inside, connected by the zipper.

Step 3: Prepare for Side Seams
- Open the Zipper halfway! DO NOT SKIP THIS STEP! If you forget, you won’t be able to turn your bag right side out.
- Match Outer Fabrics: Bring the two outer fabric pieces right sides together, aligning the raw edges. Pin along the three unsewn sides.
- Match Lining Fabrics: Bring the two lining fabric pieces right sides together, aligning the raw edges. Pin along the three unsewn sides.
- Important Alignment: Make sure the zipper teeth are neatly aligned where the outer and lining fabrics meet. You can even backstitch over the zipper teeth for extra security.
Step 4: Sew the Sides & Bottom
- Starting with the Outer Fabric: Sew along the three pinned sides of the outer fabric with a 3/8″ or 1/2″ seam allowance (whichever you prefer to give a good sturdy seam). DO NOT SEW ACROSS THE OPENING FOR THE LINING.
- Starting with the Lining Fabric: Sew along the three pinned sides of the lining fabric with the same seam allowance. LEAVE A 3-4 INCH OPENING AT THE BOTTOM OF THE LINING for turning. Backstitch at the beginning and end of this opening.
Step 5: Trim Corners & Excess Zipper
- Trim Corners: Clip the corners of both the outer fabric and lining fabric close to the seam allowance, but be careful not to cut through the stitching. This will help them lay flat when turned right side out.
- Trim Zipper: Trim any excess zipper tape flush with the raw edges of your bag.
Step 6: Turn & Finish!
- Turn Right Side Out: Reach into the opening you left in the lining and pull the entire bag right side out through that hole.
- Poke out Corners: Use a turning tool or a blunt object (like a chopstick) to gently push out all the corners so they are crisp.
- Close the Lining Opening:
- Press the raw edges of the opening in the lining towards the inside by the seam allowance.
- You can either topstitch this opening closed by machine (very quick!) or hand-stitch it with a ladder stitch for an invisible finish.
- Final Press: Give your newly made zipper bag a good final press with the iron. Shape it nicely and admire your work!
Tips for Success:
- Go Slow: Especially with the zipper, take your time. Precision pays off.
- Press Often: Pressing your seams at each stage makes a huge difference in the professional look of your finished bag.
- Use a Zipper Foot: This is crucial for sewing close to the zipper teeth without hitting them.
- Practice on Scraps: If you’re nervous, do a quick practice run of sewing the zipper on some scrap fabric first.
- Don’t Fear the Seam Ripper: Even experienced sewers make mistakes. A seam ripper is your friend!
You now have a beautiful, handmade zipper bag that is both stylish and functional. Enjoy showing off your new creation!