 by
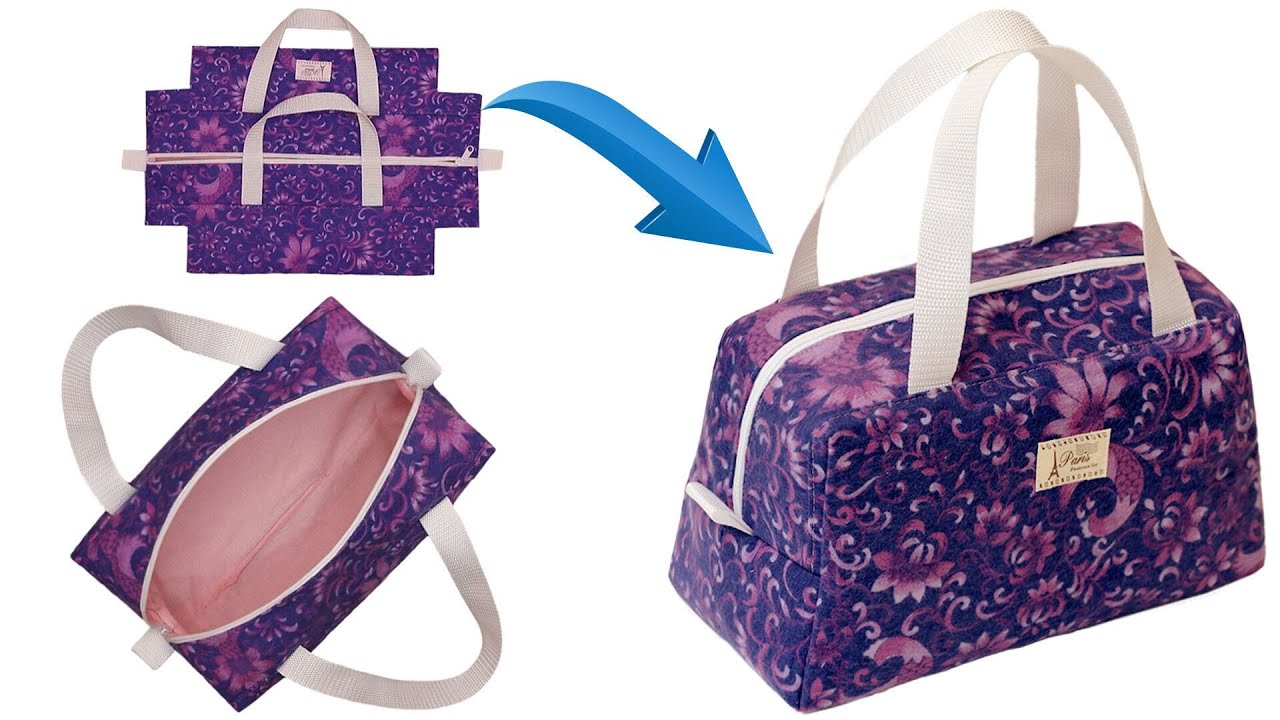
by Sure! Making a stylish bag can be surprisingly easy and quick, even if you’re a beginner. I’ll walk you through a simple yet stylish method to sew a basic bag, using basic materials and tools.
What You’ll Need:
-
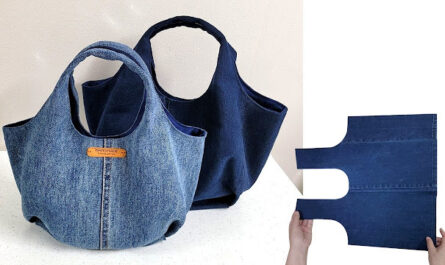
Fabric: Choose a sturdy fabric for the bag. You can use cotton, denim, canvas, or even old clothes. If you’re aiming for a fashionable look, try a fabric with a fun print or texture.
-
Matching Thread: Pick a thread color that matches your fabric.
-
Scissors: A good pair of fabric scissors will make cutting the fabric much easier.
-
Pins: To hold the pieces of fabric together before sewing.
-
Sewing Machine (Optional): If you don’t have a sewing machine, you can also sew by hand, but a machine will speed things up.
-
Measuring Tape or Ruler: For measuring and cutting the fabric pieces.
-
Bag Handles: You can use fabric for the handles or buy pre-made straps. Alternatively, you can recycle an old belt, scarf, or ribbon.
Step-by-Step Guide
1. Prepare Your Fabric
-
Dimensions: Decide the size of your bag. A small handbag can be around 12 inches wide by 10 inches tall. For a larger tote, aim for 16×14 inches or so. Cut out two identical pieces of fabric for the front and back of the bag. If you want a lining, cut two more pieces of the same size from a different fabric (or the same fabric).
2. Create the Handles
-
Cutting the Straps: For the handles, cut two strips of fabric about 22-24 inches long and 2-3 inches wide (you can adjust the length based on how long you want the straps to be).
-
Sewing the Handles: Fold the fabric strips in half lengthwise, with the right sides facing in. Sew along the edge, leaving a small seam allowance (about ¼ inch). Then, turn the straps inside out so the seam is on the inside.
3. Sew the Bag’s Body
-
Attach the Front and Back: Place your two main fabric pieces (the front and back of the bag) right sides together. Pin the edges to keep them in place.
-
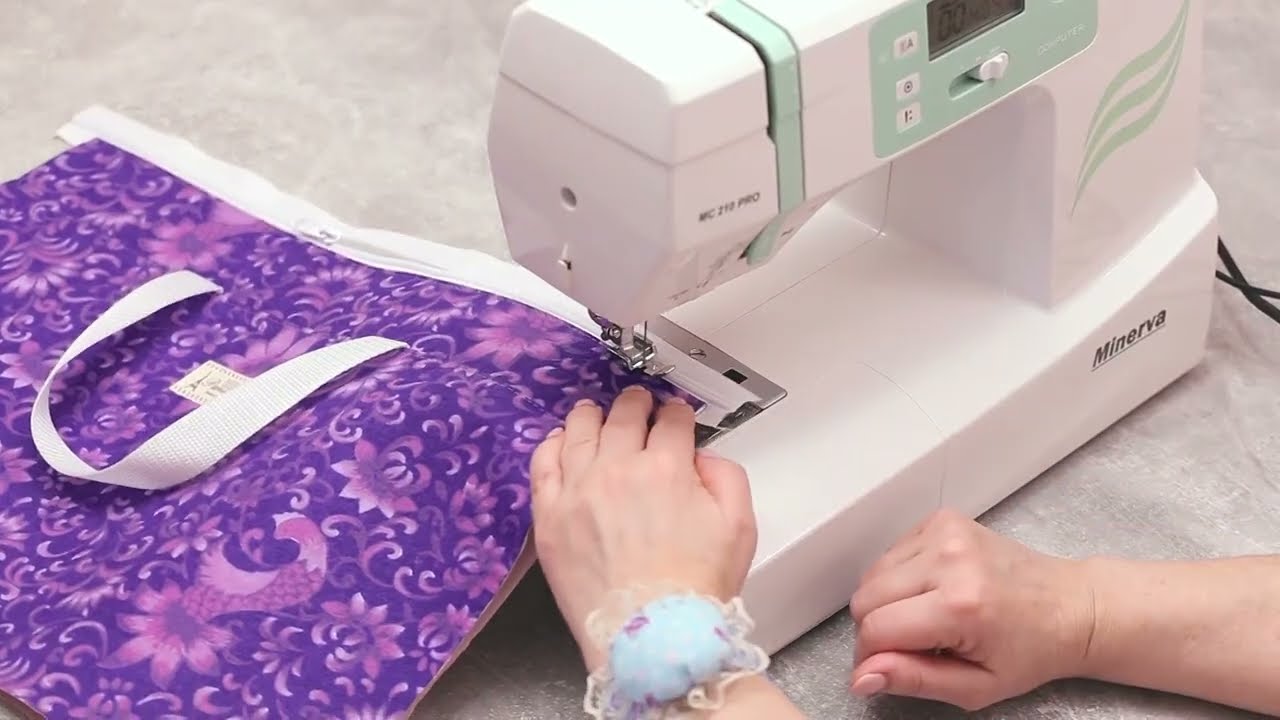
Sew Around the Edges: Using a sewing machine, sew around the edges of the bag with a ¼-inch seam allowance, leaving the top open. You can also reinforce the corners by backstitching.
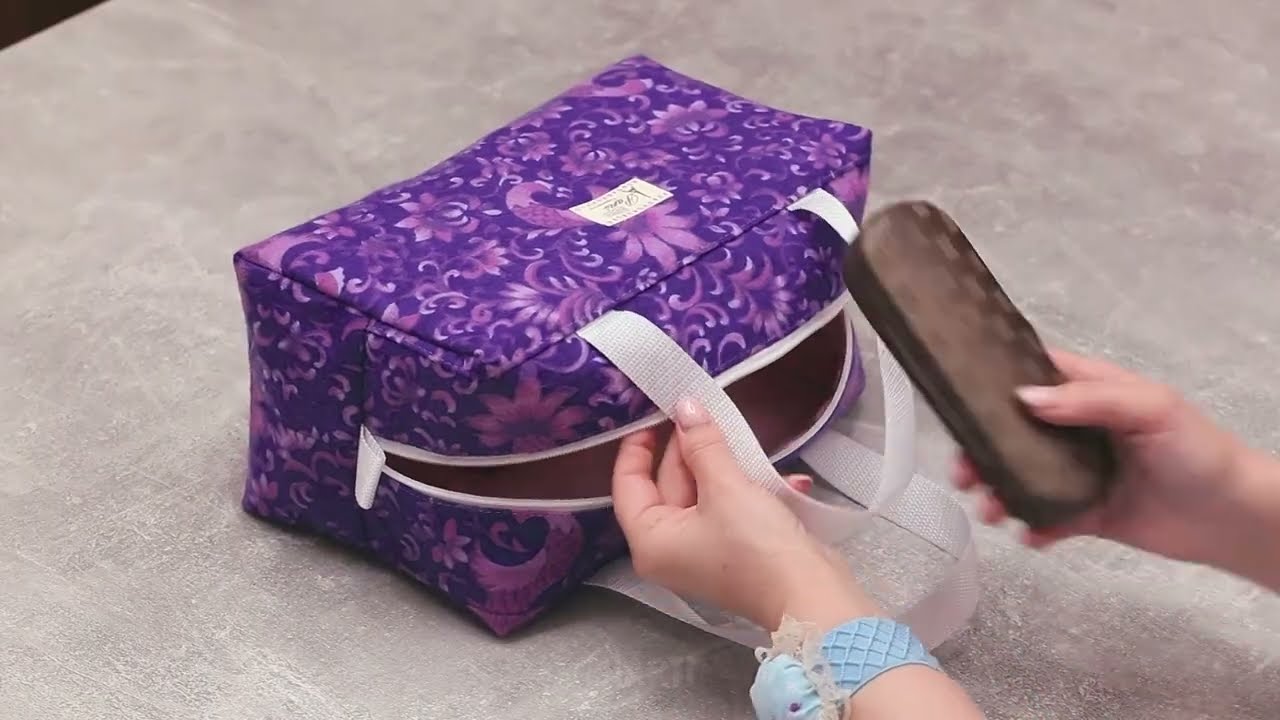
4. Create the Bottom (Optional for a Fuller Bag)
-
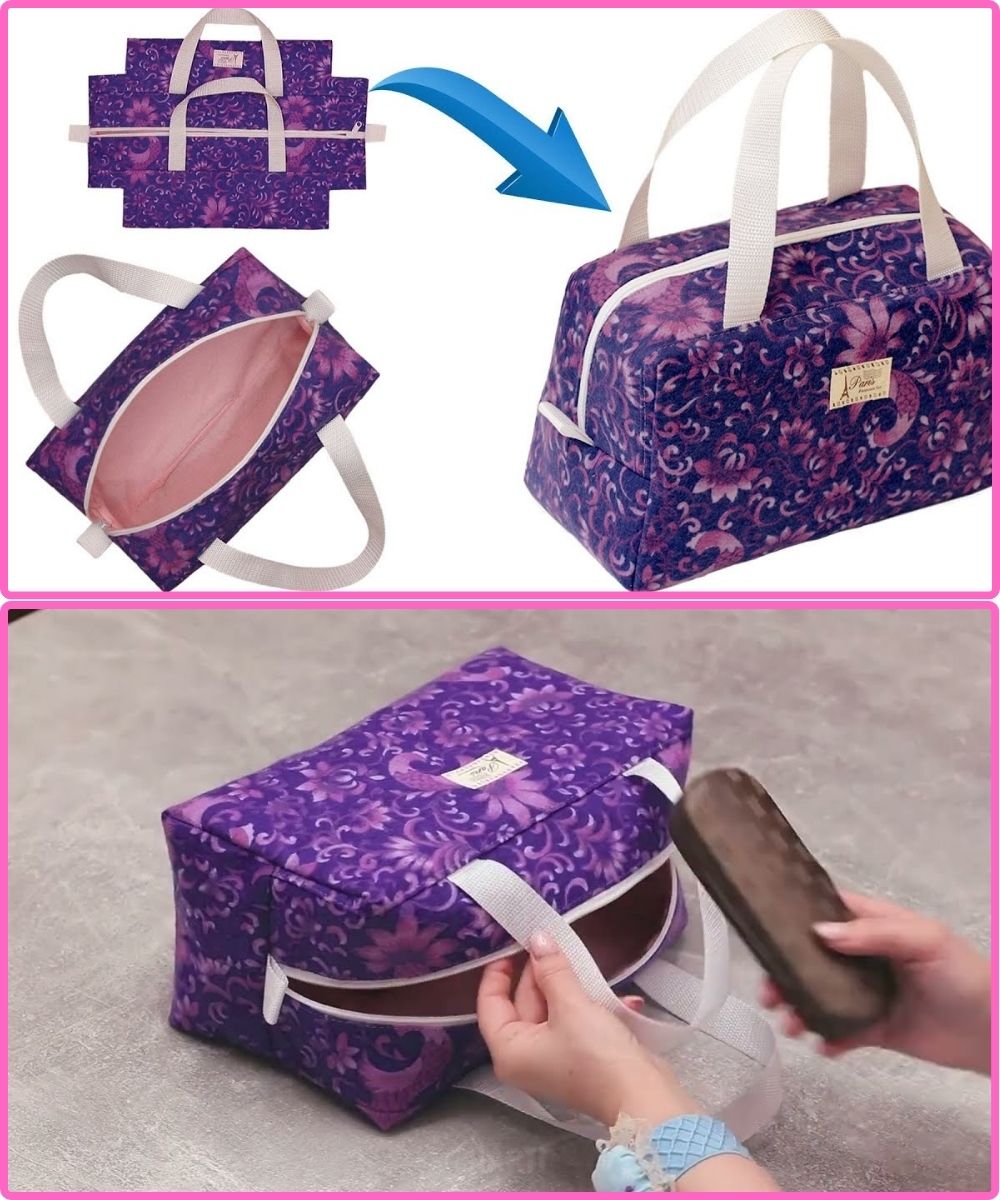
If you want your bag to have a squared bottom for more depth, fold each corner of the bag about 2-3 inches, and sew across. This will give your bag a more 3D shape.
5. Add the Lining (Optional)
-
If you’re using lining fabric, repeat the same process as for the main bag (cut two identical pieces and sew them together, leaving the top open). Once the main bag is complete, you’ll slip the lining inside and sew around the top edge.
6. Attach the Handles
-
Pin the Straps: On the inside of the bag, pin the straps to the top edge of the bag, making sure they are evenly spaced.
-
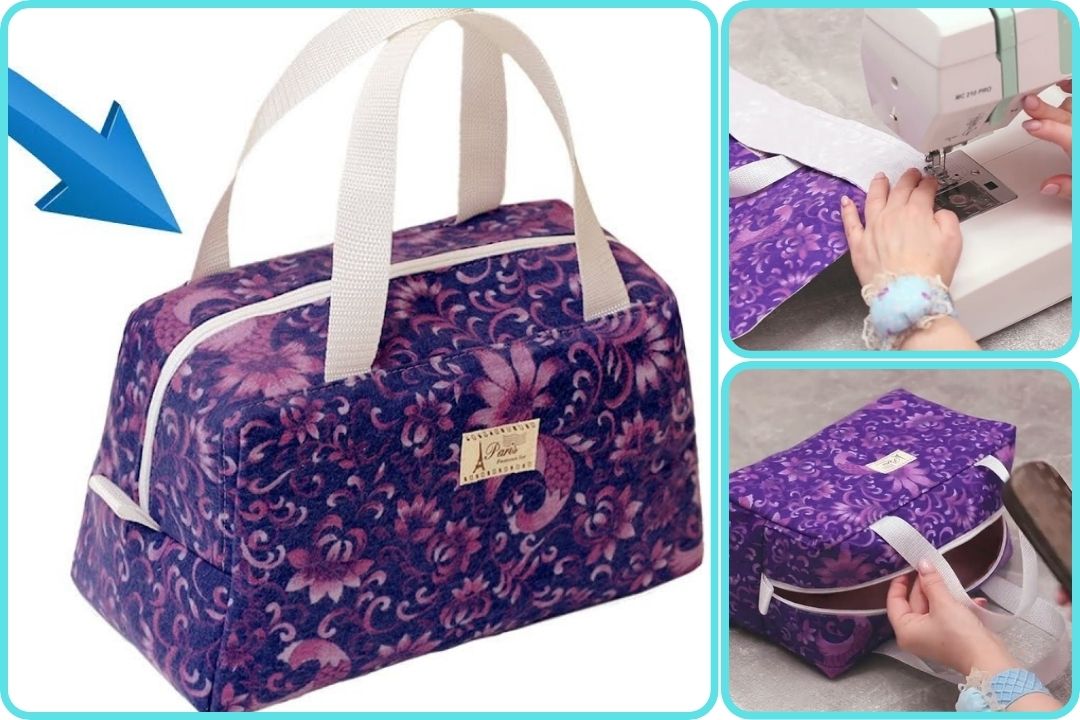
Sew the Straps: Sew the straps in place, reinforcing the stitching for extra durability. You can use a box stitch (a square) around where the straps are attached for extra strength.
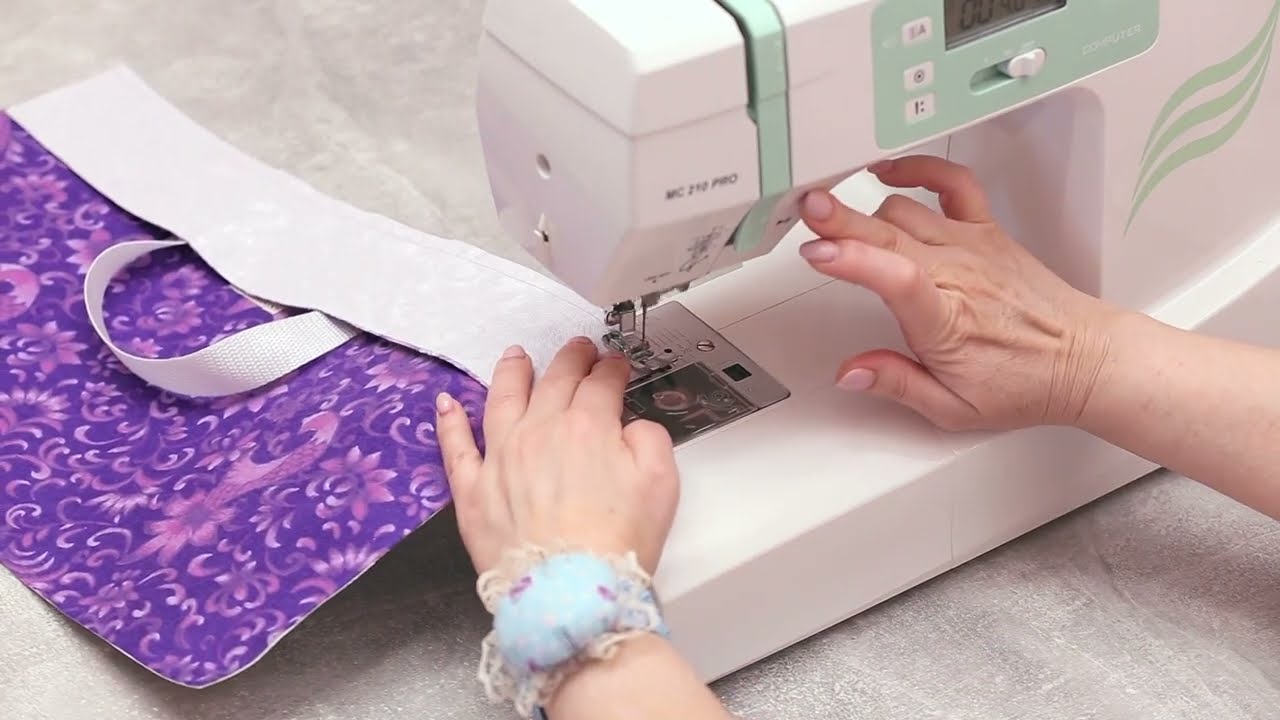
7. Finish the Top Edge
-
Fold the top edge of the bag over to create a clean finish. You can sew a simple hem or add a decorative stitch to make it look polished.
8. Final Touches
-
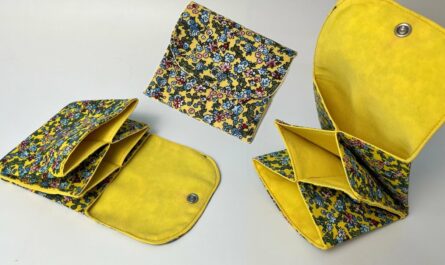
You can add embellishments such as buttons, zippers, or pockets to make your bag even more stylish. For example, sew a small pocket on the inside for your phone or keys.
Quick Tips:
-
Decorate Your Bag: Consider adding a decorative patch, embroidery, or applique to make your bag unique and fashionable.
-
Use a Pattern: If you feel uncertain about the measurements, there are many free bag patterns online that you can download and follow.
-
Recycling: Old shirts, jeans, or scarves can make great fabric choices for an eco-friendly, one-of-a-kind bag!
Conclusion:
This simple method will give you a functional, stylish bag that you can whip up in under an hour, depending on your skill level. The best part? You get to customize it however you like with your choice of fabric and embellishments.
Watch video: