 by
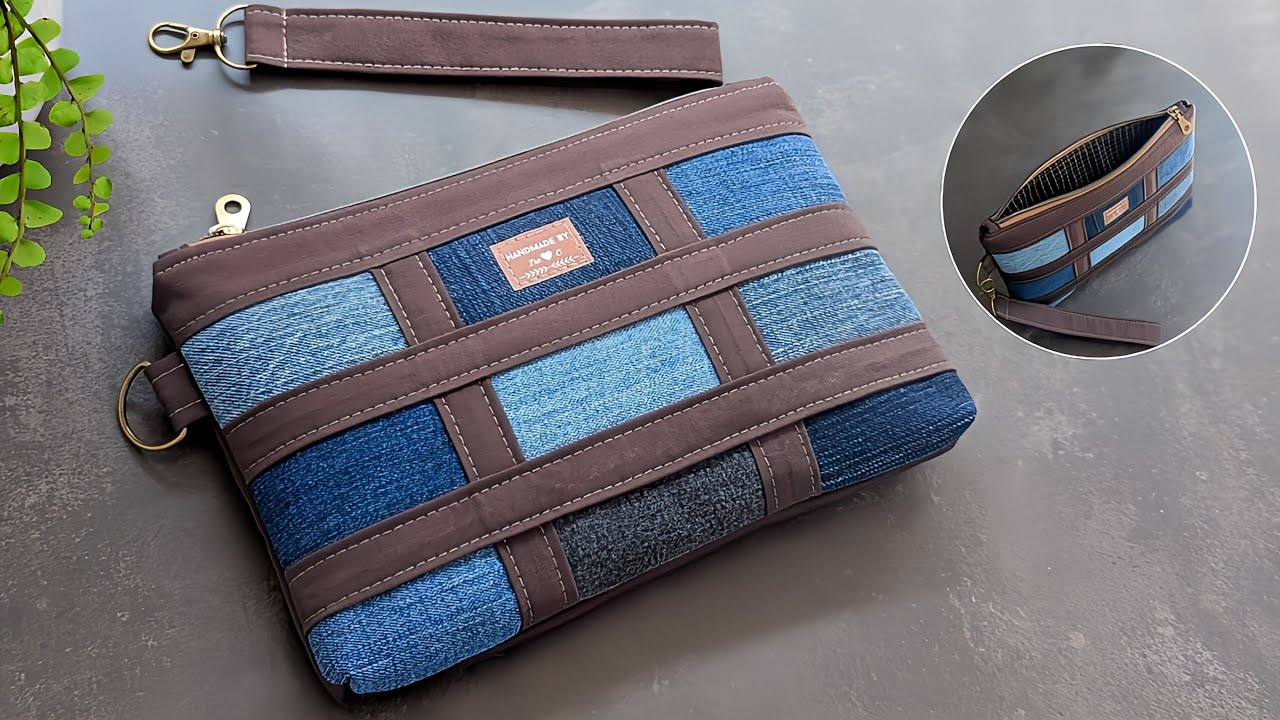
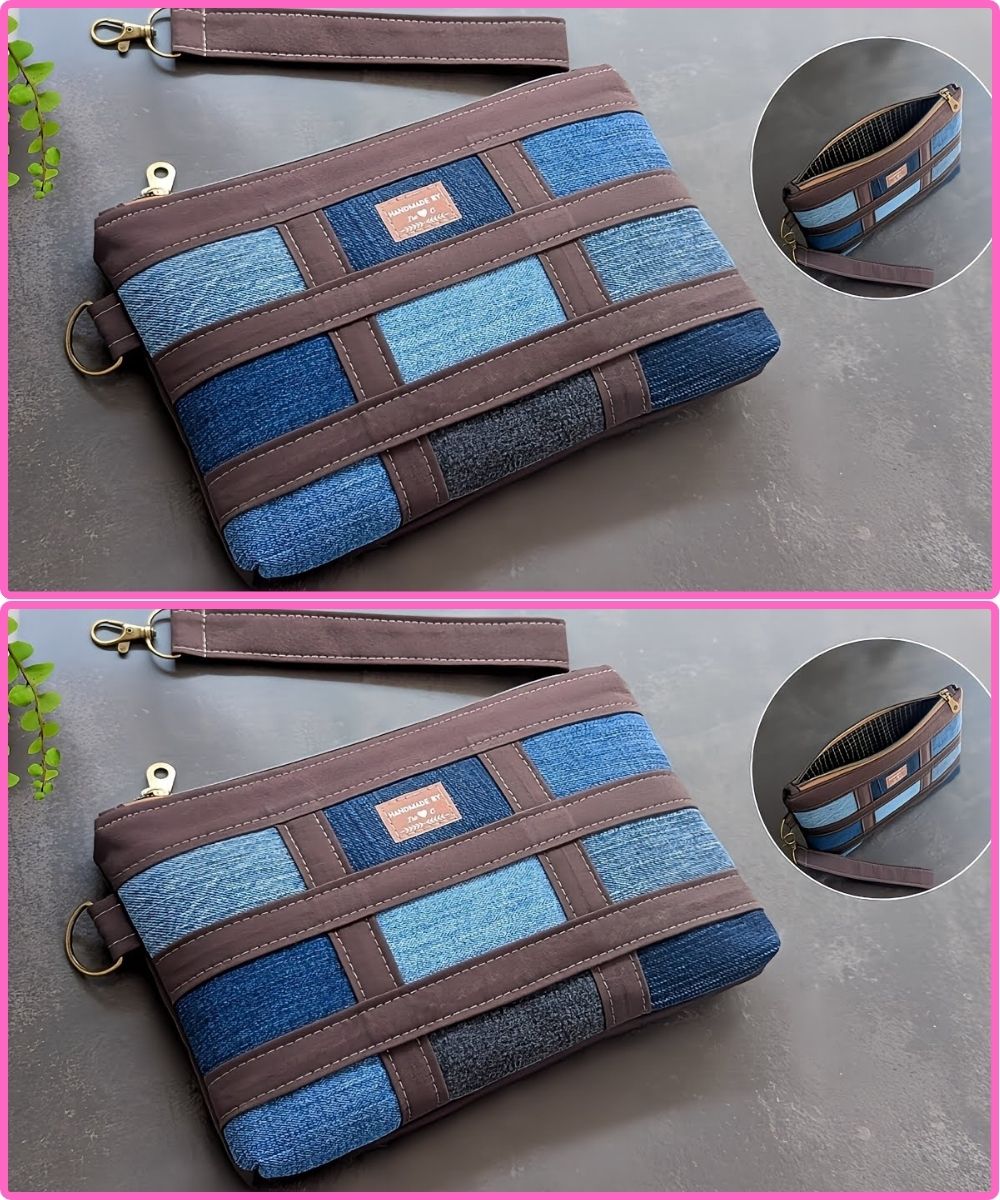
by Sure! Here’s a detailed DIY tutorial on how to make a patchwork wristlet bag using old denim jeans and plain fabric. This project is perfect for upcycling and creates a functional, stylish accessory.
✂️ DIY Patchwork Denim & Plain Fabric Wristlet Bag Tutorial
👜 Overview:
This project involves repurposing old denim jeans and combining them with plain fabric (like cotton or canvas) to create a zippered wristlet bag with a detachable wrist strap. The denim pieces will form a patchwork pattern, giving a unique, handmade look.
🧵 Materials You’ll Need:
Fabric:
-
Old jeans (various shades of denim)
-
Plain cotton or canvas fabric (for lining and contrast)
-
Fusible interfacing (medium-weight for structure)
Hardware:
-
8” or 9” zipper (nylon coil or metal)
-
1 D-ring (½” or ¾”)
-
1 swivel hook (for wristlet strap)
-
Optional: magnetic snap or button
Tools:
-
Sewing machine
-
Scissors or rotary cutter
-
Cutting mat and ruler
-
Iron and ironing board
-
Fabric clips or pins
-
Seam ripper (optional)
📏 Step-by-Step Instructions:
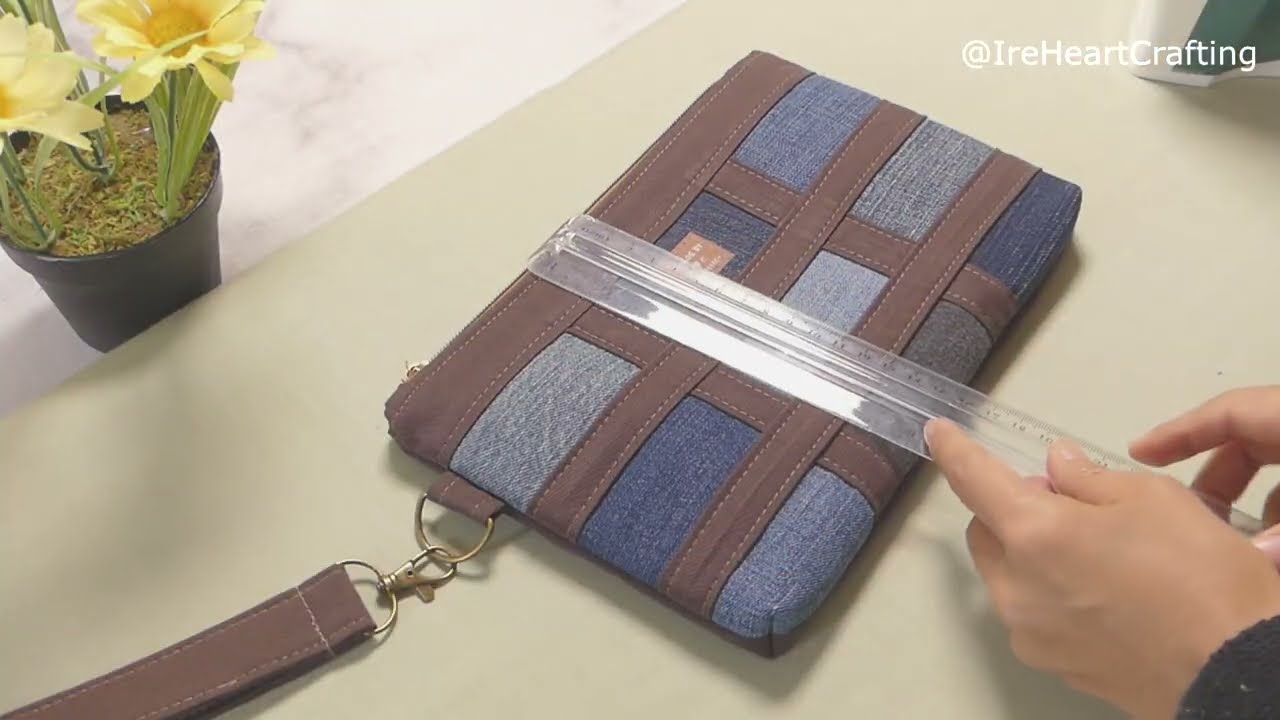
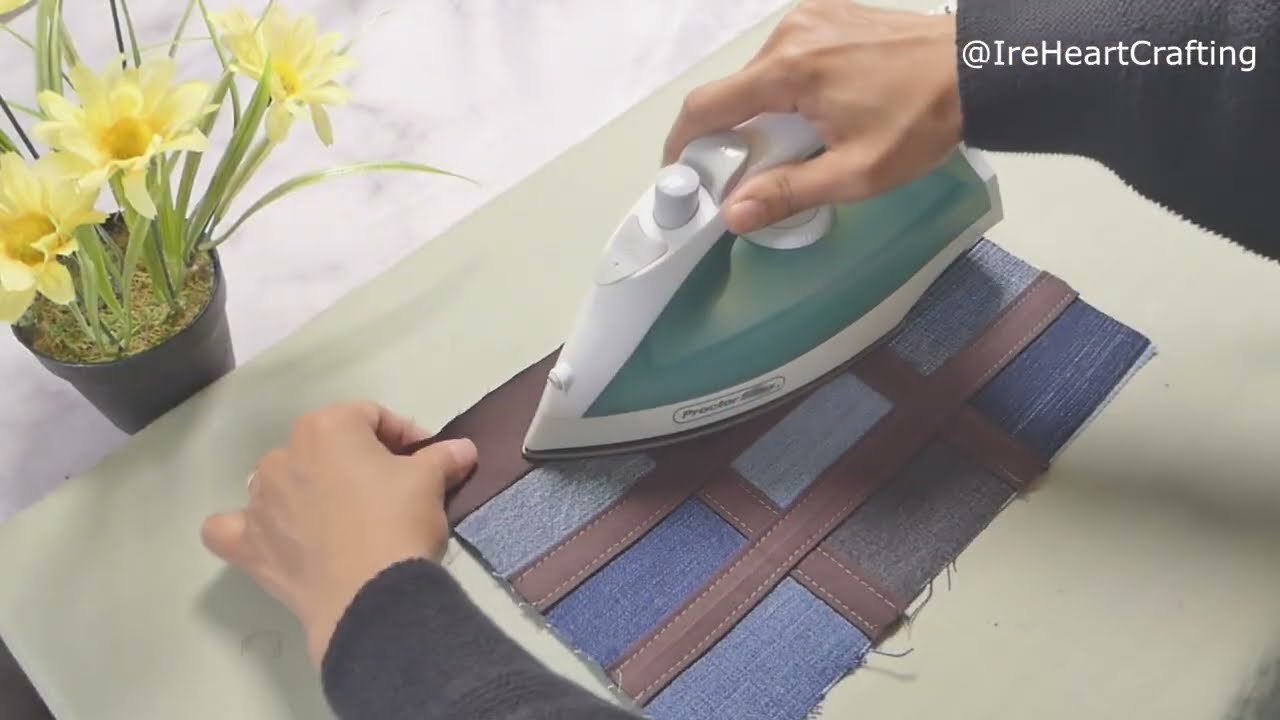
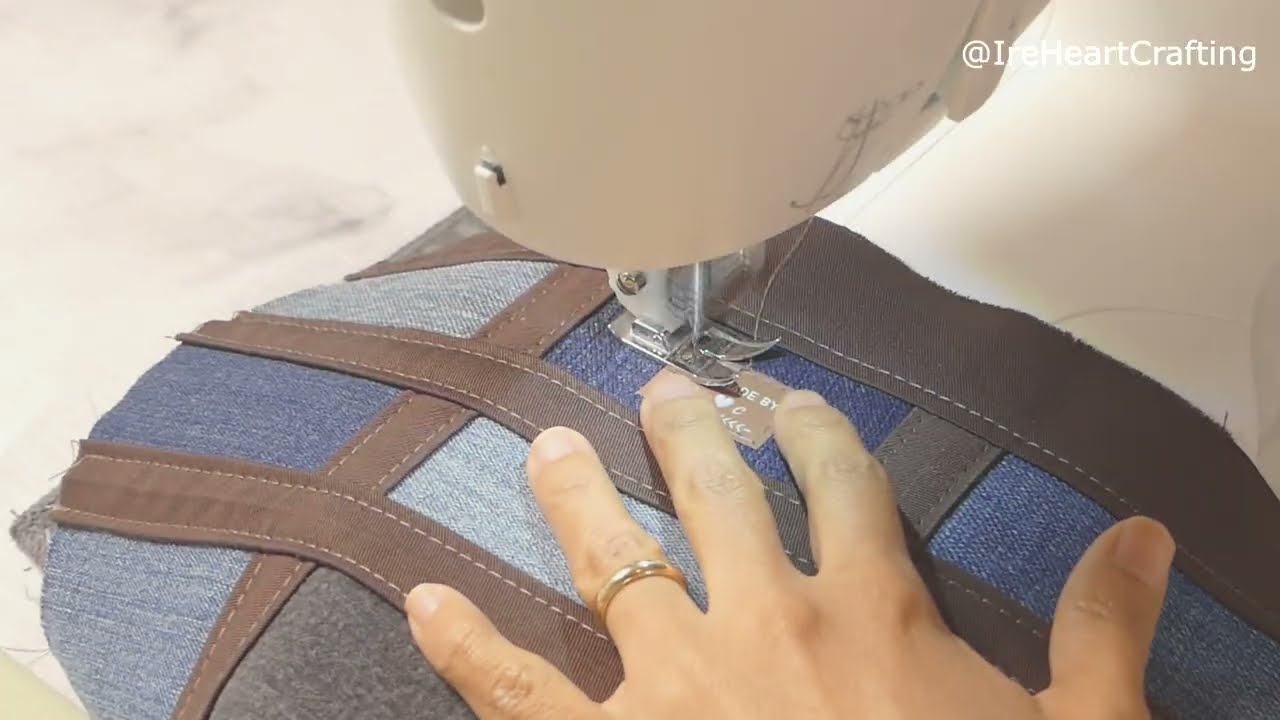
Step 1: Prepare the Denim Patchwork
-
Cut denim scraps from your old jeans. Aim for squares or rectangles (2”x2″, 2”x3″, etc.).
-
Arrange the denim pieces in a pattern (random or structured).
-
Sew the denim pieces together using a ¼” seam allowance, row by row.
-
Press the seams open or to one side with an iron.
-
Trim the final patchwork panel to your desired wristlet size (e.g., 9”x6”).
Step 2: Cut Other Pieces
Cut the following:
-
1 patchwork panel (outer front)
-
1 plain denim or contrast panel (outer back)
-
2 lining pieces (same size as outer)
-
2 pieces of fusible interfacing (same size as outer)
-
1 strap piece (denim or plain fabric): 1.5” x 12”
-
1 tab for D-ring: 1.5” x 2.5”
Step 3: Fuse the Interfacing
-
Iron the interfacing onto the wrong side of both outer fabric pieces (patchwork and back).
Step 4: Make the Wrist Strap
-
Fold the strap piece in half lengthwise and press.
-
Open it and fold each side to the center line, press again.
-
Fold in half again and topstitch both sides.
-
Attach the swivel hook and sew the ends securely.
Step 5: Attach the D-ring Tab
-
Fold the tab like the strap.
-
Slide the D-ring in the middle and fold it in half.
-
Baste the tab to the outer back panel edge, about 1” from the top.
Step 6: Sew the Zipper
-
Lay your outer front (patchwork) right side up.
-
Place the zipper face down along the top edge.
-
Lay the lining right side down on top of zipper, aligning edges.
-
Sew with zipper foot.
-
Flip both fabrics back and press. Topstitch near the zipper.
-
Repeat for the other side (outer back + lining).
Step 7: Assemble the Bag
-
Open zipper halfway!
-
Match outer pieces right sides together.
-
Match lining pieces right sides together.
-
Pin/clip around edges.
-
Sew all the way around with a ¼” seam allowance, leaving a 3” gap at the bottom of the lining.
-
Clip corners, trim excess bulk at zipper ends.
Step 8: Finish Up
-
Turn the bag right side out through the lining hole.
-
Push out corners neatly.
-
Sew the lining gap closed (machine or by hand).
-
Tuck lining into the bag and give it a final press.
🪡 Optional Embellishments
-
Add a leather tag or hand-stamped label.
-
Use decorative topstitching or sashiko for a unique look.
-
Try a contrast-colored zipper for pop.
🧼 Care Tips
-
Spot clean or hand-wash to preserve patchwork and prevent fraying.
-
If using interfacing, avoid washing in hot water.
📸 Inspiration Ideas
-
Combine light, dark, and colored denim for texture.
-
Use printed cotton for lining to surprise the user.
-
Add a small internal pocket for coins or keys.
Watch video: