 by
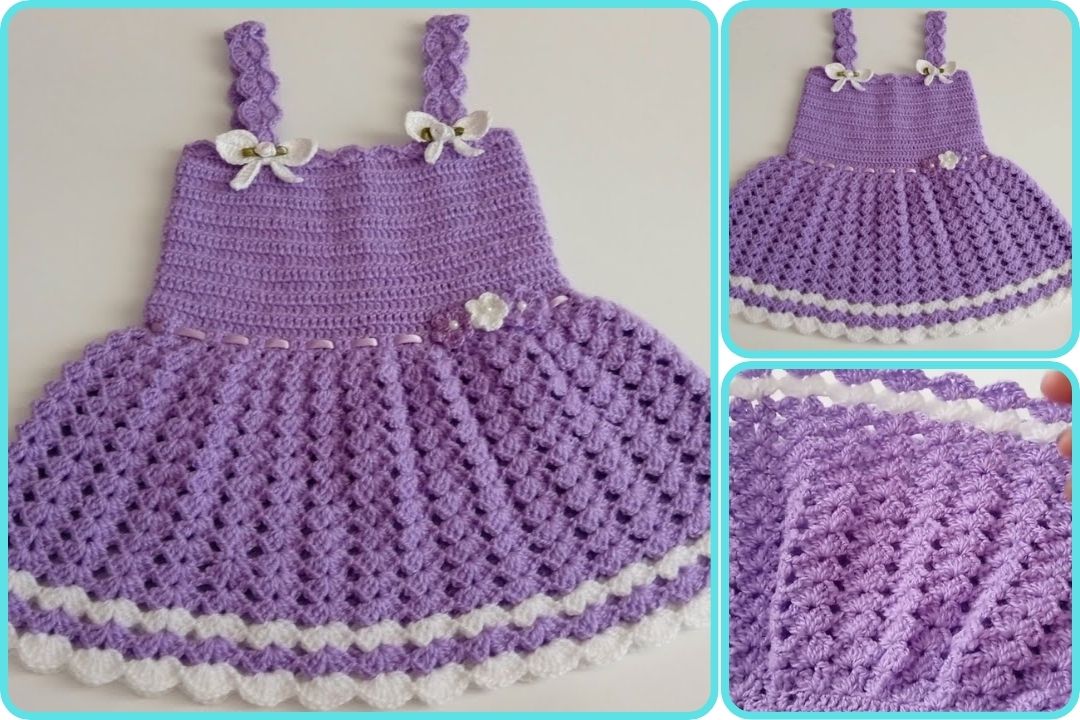
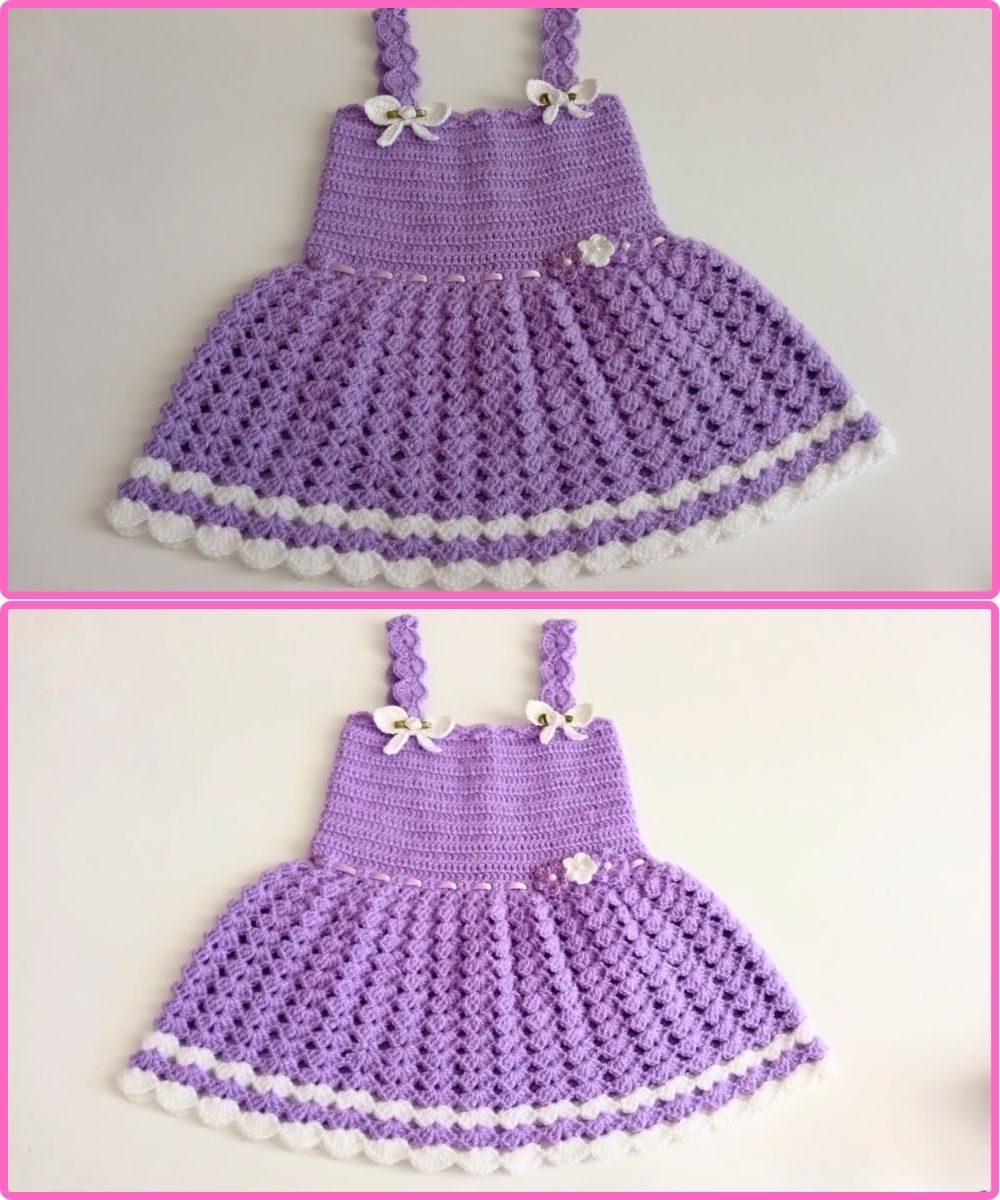
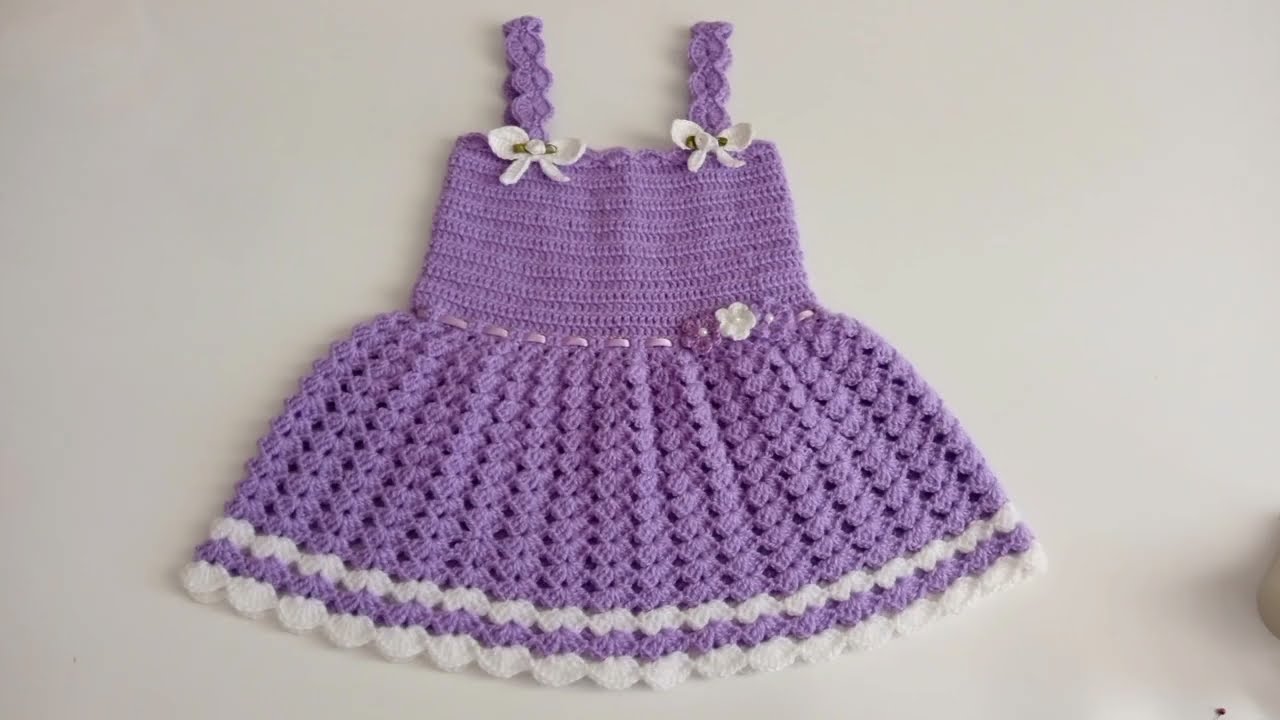
by Making a crochet dress for a child aged 1 to 2 years involves several steps, from selecting the right yarn and pattern to assembling the pieces. Below, I’ll walk you through the entire process with detailed instructions.
Materials Needed:
-
Yarn:
-
Use a soft, baby-friendly yarn such as 100% cotton or a cotton-blend yarn. Look for a light to medium weight yarn (such as DK or light worsted weight, typically in the range of #3).
-
You’ll need around 300-400 yards of yarn (depending on the pattern and the size of the dress).
-
-
Crochet Hook:
-
Use a crochet hook that matches your yarn’s weight, usually 4.0 mm (G-6) or 3.5 mm (E-4) for most baby yarns.
-
-
Stitch Markers:
-
These are essential for marking the beginning and end of rounds.
-
-
Tapestry Needle:
-
For weaving in loose ends.
-
-
Buttons (Optional):
-
Some designs may require buttons for closures at the back or shoulders.
-
-
Measuring Tape:
-
To ensure you get the correct size and length.
-
-
Scissors
Basic Steps to Crochet a Dress for Children Aged 1-2 Years
Step 1: Measure the Child
Before you start crocheting, it’s important to know the approximate size of the child. The measurements below are for a dress that fits children aged 1 to 2 years:
-
Chest circumference: 20–22 inches (50–55 cm)
-
Length of the dress: 15–17 inches (38–43 cm)
-
Armhole: 6–7 inches (15–18 cm)
Step 2: Choosing a Pattern
For a basic crochet dress, you can choose between different styles, but here are the common elements:
-
Top Portion: The bodice can be made using simple stitches like single crochet (sc) or double crochet (dc), with or without a lace pattern.
-
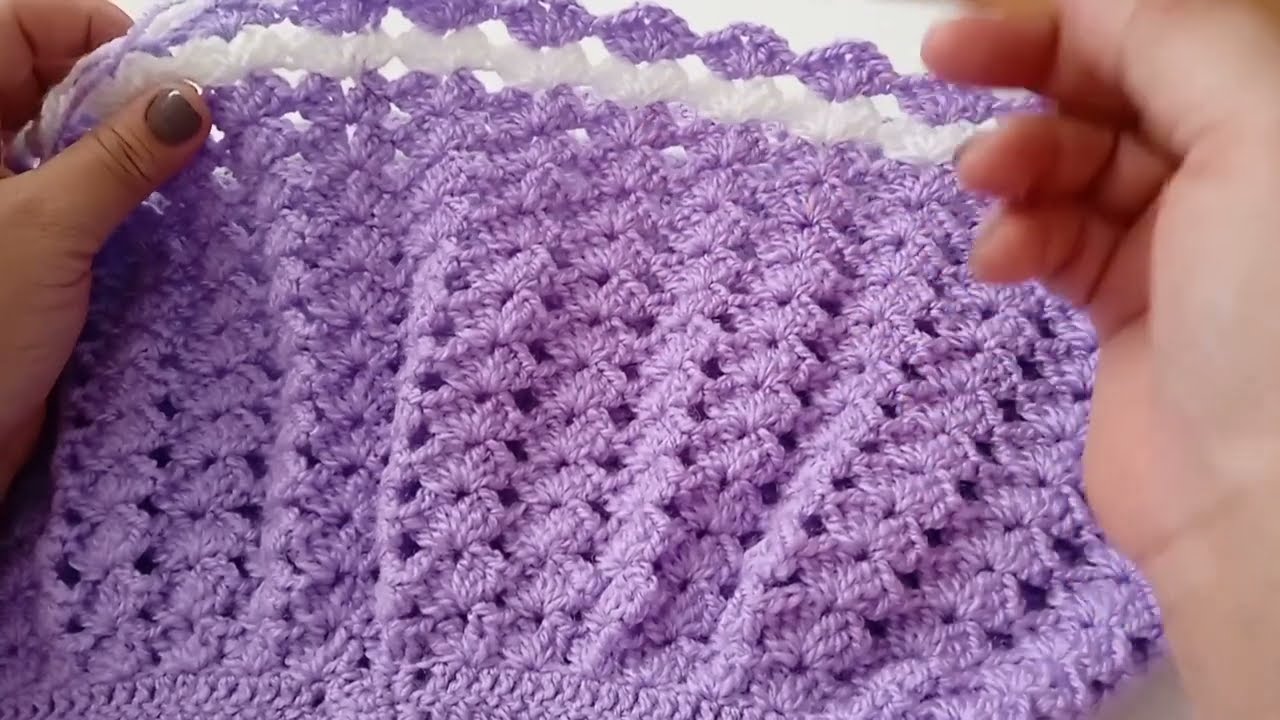
Skirt: The skirt portion is often created using chain stitches, trebles, and/or shells to give it volume and flow.
-
Straps or Sleeves: You can opt for thin crochet straps or small, puffed sleeves.
Step 3: Start with the Bodice (Top Section)
-
Make a foundation chain:
-
For a child size 1-2 years, make a foundation chain of about 50-55 chains (depending on desired width). This will be the bottom of the bodice.
-
Join with a slip stitch to form a ring.
-
-
Crochet the bodice:
-
Work in rounds, joining with a slip stitch at the end of each round.
-
For a basic bodice, you can use double crochet (dc) or half double crochet (hdc).
-
Typically, you will crochet until the bodice measures about 5–7 inches (12–18 cm) in length, adjusting based on the child’s torso.
Example pattern for the bodice:
-
Round 1: Start with chain 2 (counts as first hdc), and then hdc in each stitch around.
-
Round 2 and onwards: Continue working hdc in each stitch, increasing evenly around to maintain the correct shape (making sure it stays wide enough to go over the child’s head).
-
If you want a more fitted look, you can decrease the number of stitches in some rounds.
-
Step 4: Create the Skirt (Bottom Section)
-
Join the skirt to the bodice:
-
Once the bodice is complete, start working the skirt in rounds. You can attach a chain stitch for the first row to ensure it flares out slightly.
-
Use larger stitches like double crochet (dc) or triple crochet (tc) to add volume to the skirt.
-
-
Shape the skirt:
-
To give the skirt a flared look, you’ll likely need to increase the number of stitches in each round. For example, work 2 dc in each dc every few stitches, then continue around.
-
Continue this pattern for several rounds until the skirt reaches the desired length.
-
Make sure to measure the dress on the child as you go to ensure it reaches around 15–17 inches in length, depending on the style you want.
-
Step 5: Add Straps or Sleeves
-
For Sleeveless Option:
-
If you want the dress to be sleeveless, simply leave the armholes open. You can add small picot or shell edges along the armholes to give it a finished look.
-
-
For Straps:
-
If you want straps, create them by crocheting chains to your desired length. Typically, each strap would be around 8–10 inches long.
-
Attach the straps at the front and back of the bodice.
-
-
For Puff Sleeves:
-
You can make small puffed sleeves by crocheting in the round at the armhole, increasing stitches in certain places to make the sleeves fuller.
-
Alternatively, use shell stitches to create ruffled sleeves.
-
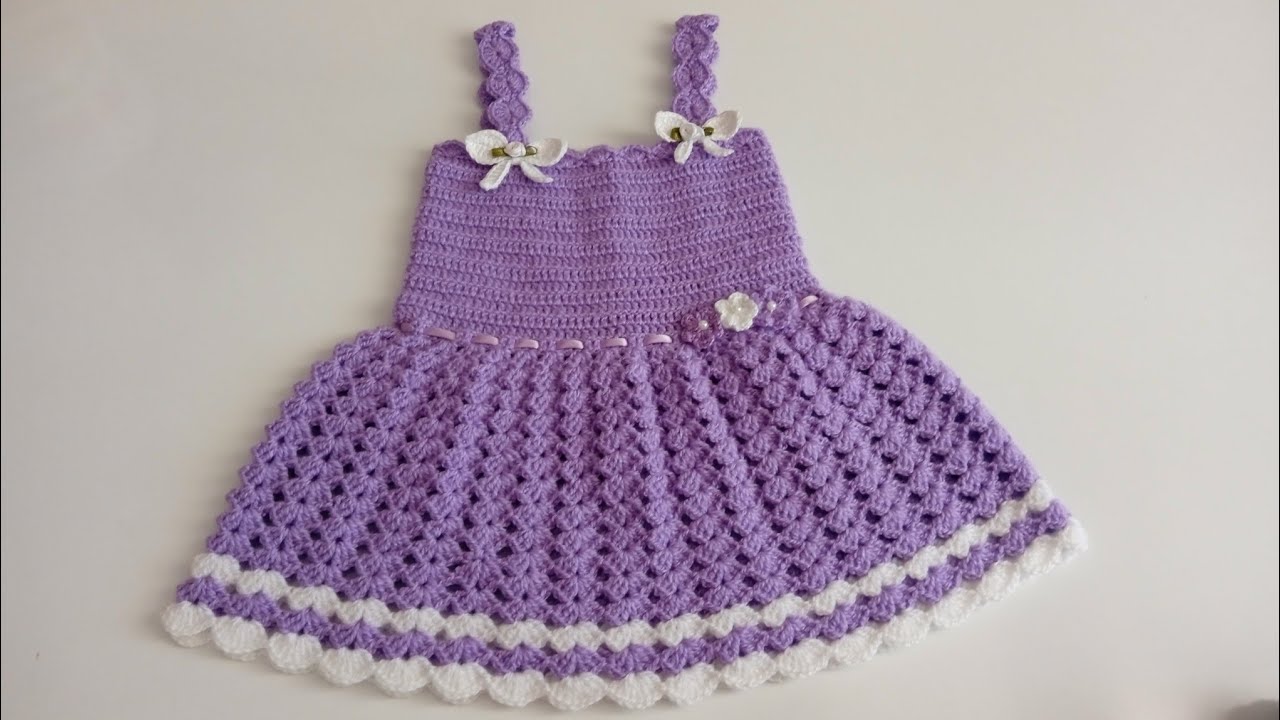
Step 6: Adding Finishing Touches
-
Edging:
-
To finish the dress, you can add a cute edging to the bottom of the skirt, bodice, and armholes using shell stitches, picots, or a simple single crochet border.
-
Example for a simple edging: Chain 2, 3 dc in same stitch, skip 2 stitches, repeat.
-
-
Buttons or Closure:
-
If your design includes buttons, sew them on the back of the dress. If it’s a pullover dress, you can simply leave the top part open or make the neck wide enough to easily slip over the child’s head.
-
Step 7: Weave in Ends
Once the dress is complete, use a tapestry needle to weave in any loose ends. This will give the dress a neat, finished look.
Step 8: Wash and Block (Optional)
-
Gently hand wash the dress and lay it flat to dry. This helps set the stitches and ensures the dress is soft and comfortable for the child.
Tips for Personalization:
-
Adding Color: You can make the bodice and skirt in different colors, or create a striped pattern for a more fun look.
-
Embellishments: Add bows, flowers, or beads to the dress for extra charm.
-
Crochet Flowers: Attach crochet flowers or appliqués along the waist or skirt for added decoration.
Sample Pattern
Here’s a simplified pattern outline for a basic crochet dress:
Bodice:
-
Chain 55 (or adjust for desired width).
-
Round 1: Hdc in each stitch, join with slip stitch.
-
Round 2 and onwards: Continue working in hdc, increasing in every 5th stitch to maintain a circular shape.
-
Work in hdc until bodice reaches 5–7 inches in height.
Skirt:
-
After finishing the bodice, chain 2 and work 2 dc in each stitch around.
-
Continue adding increases every few stitches to flare out the skirt.
-
Work in dc for 10-12 rounds or until the skirt reaches the desired length.
Straps:
-
Chain 15-20 (depending on desired length).
-
Attach straps to the front and back of the bodice.
Watch video: