 by
by Sure! Here’s a step-by-step tutorial on how to make an easy crochet bag, perfect for beginners. This guide will walk you through everything from the materials you need to finishing touches.
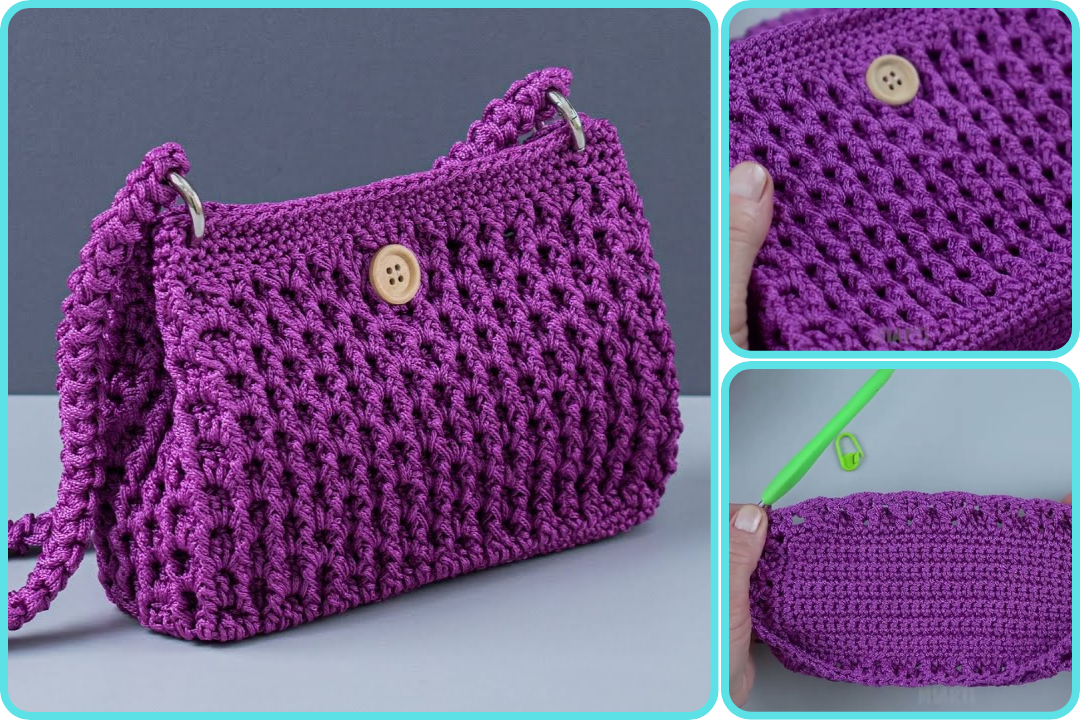
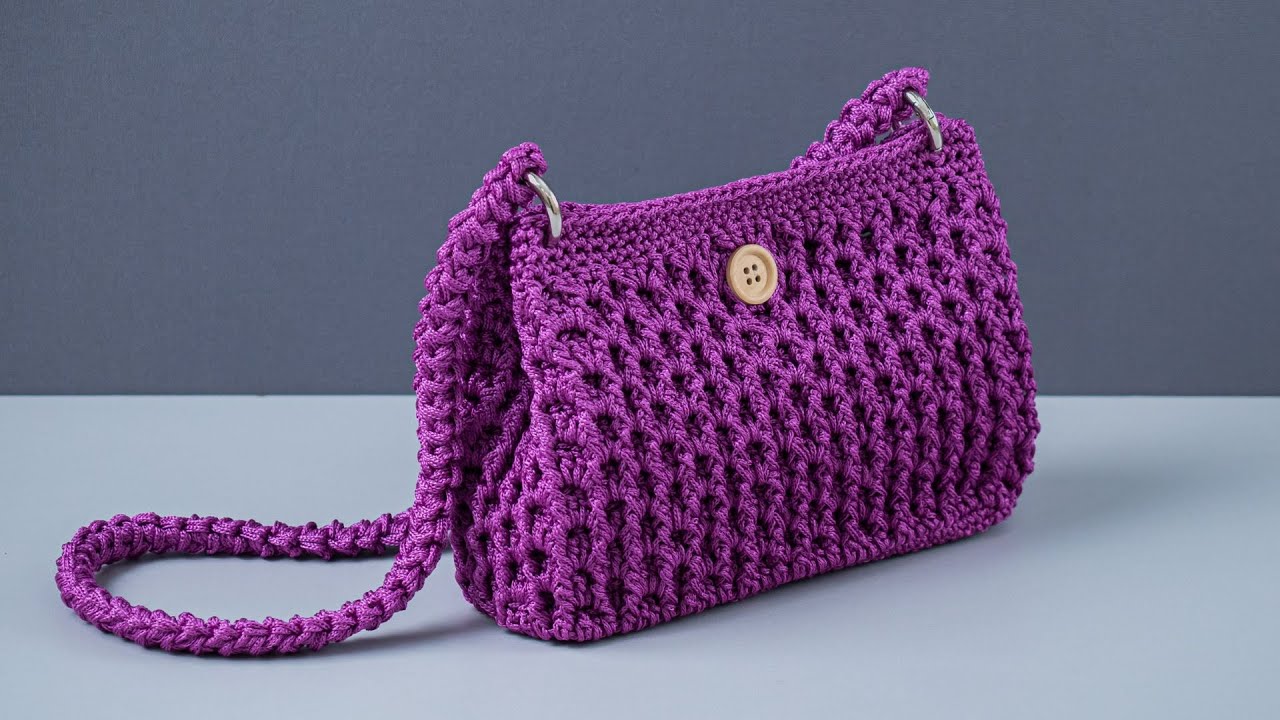
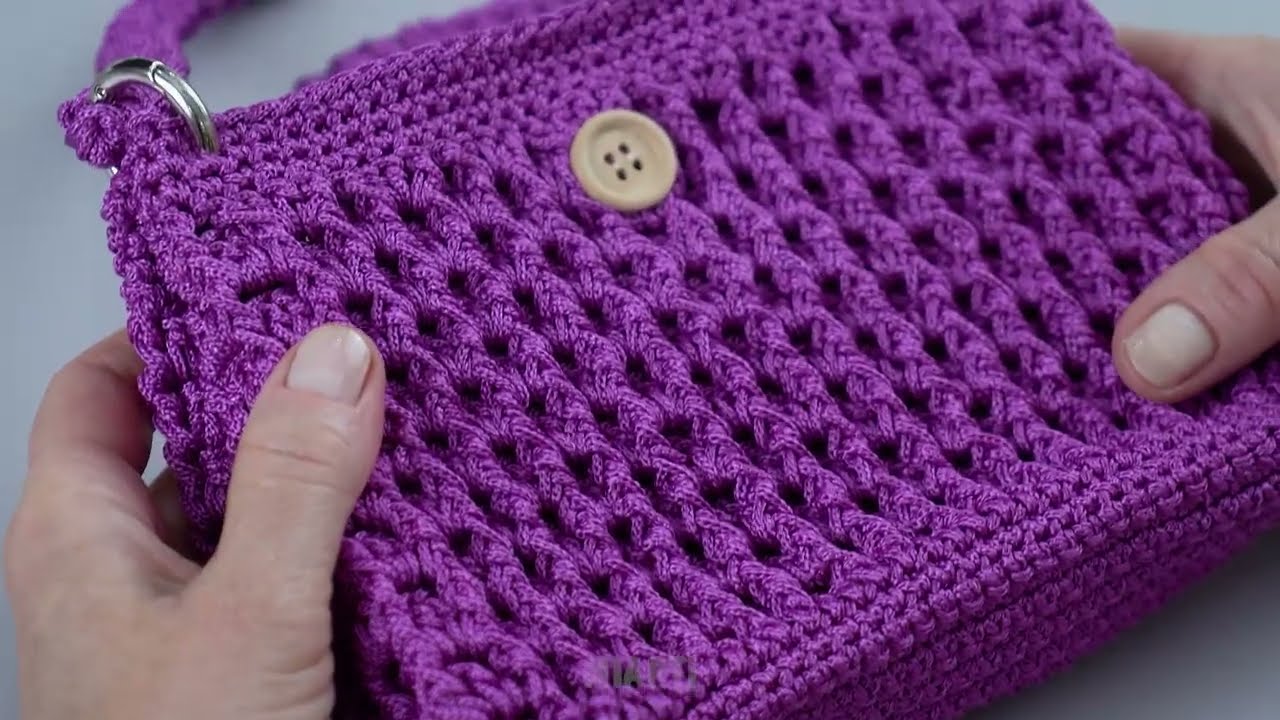
🧶 How to Make an Easy Crochet Bag: Step-by-Step Tutorial
✨ Materials Needed:
-
Yarn – Medium weight (category 4) cotton or acrylic yarn (approx. 200–300g)
-
Crochet hook – Size 5.0 mm (H-8) or according to your yarn label
-
Tapestry needle – For weaving in ends
-
Scissors
-
Stitch markers (optional)
-
Bag handles (optional, if you want a structured look)
📏 Finished Size (approximate):
-
Width: 12–14 inches
-
Height: 10–12 inches (excluding handles)
🪡 Step-by-Step Instructions:
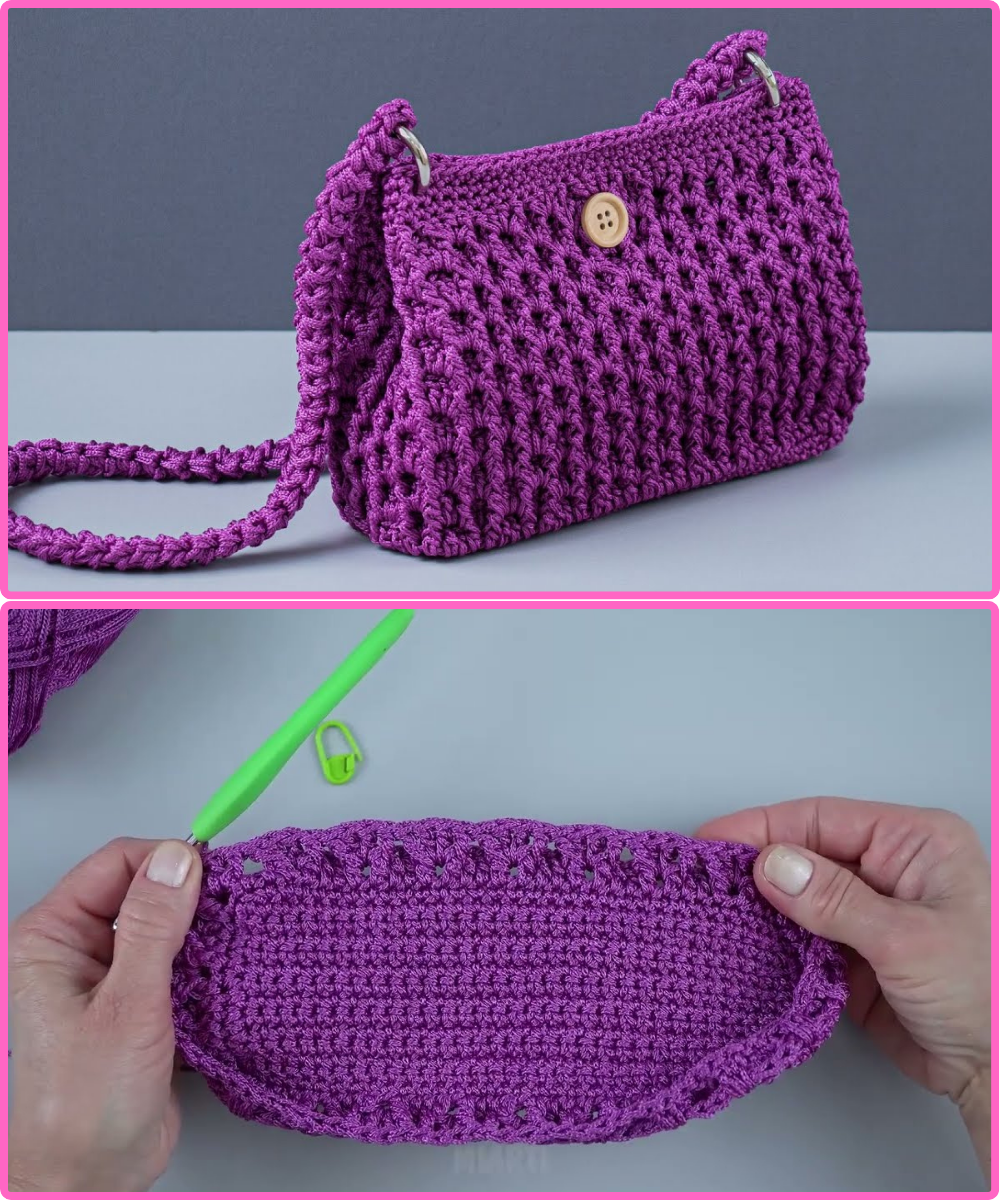
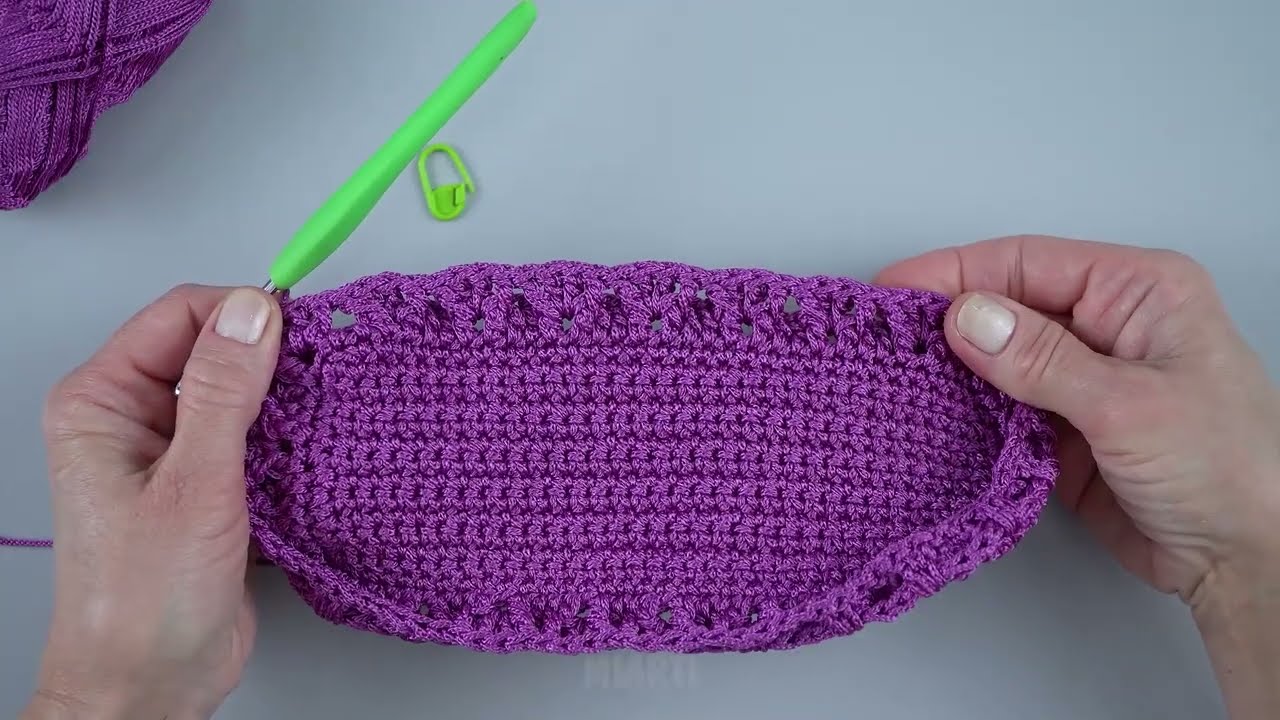
✅ Step 1: Make the Base of the Bag
-
Start with a Foundation Chain
-
Chain 31 (or any number depending on how wide you want the bag to be).
-
-
Single Crochet (SC) across the Chain
-
SC in the 2nd chain from hook and across (30 SC).
-
Chain 1, turn.
-
-
Continue Rows for the Base
-
SC in each stitch across.
-
Repeat for 10 rows (or until desired base height).
-
✅ Step 2: Start Building the Sides (Working in the Round)
-
Crochet Around the Base
-
After finishing the base, instead of turning, work SC evenly around the entire rectangle (sides and ends).
-
Place a stitch marker at the first stitch if needed.
-
You should now be working in a continuous round.
-
-
Continue Crocheting in the Round
-
SC in each stitch around for 20–25 rounds (or desired bag height).
-
Do not join rounds—just keep going in a spiral.
-
✅ Step 3: Add Handles (Optional but Recommended)
Option A: Crochet Handles
-
When your bag is the desired height, stop halfway across a round.
-
Chain 30–40 (this is your handle).
-
Skip 10–15 stitches on the round and reattach with SC.
-
Continue SC around until you reach the other side.
-
Repeat steps to make the second handle.
-
On next round, SC over the chain handles to make them sturdy.
Option B: Sew on Pre-made Handles
-
Use yarn and tapestry needle to attach leather or wooden handles securely to each side.
✅ Step 4: Finishing Touches
-
Fasten Off
-
After the final round, cut yarn, leave a tail, and pull through the last loop.
-
Use the tapestry needle to weave in the end.
-
-
Weave in All Ends
-
Secure any loose yarn by weaving through the inside of the stitches.
-
-
Optional Lining
-
If you want extra sturdiness, sew in a fabric lining using a needle and thread.
-
💡 Tips for Beginners
-
Use cotton yarn if you want a more structured, sturdy bag.
-
Keep stitch tension even for a polished look.
-
Choose bright or variegated yarn for a colorful style.
👜 Variation Ideas
-
Granny Square Bag: Crochet multiple squares and join them.
-
Mesh Tote Bag: Use chain spaces to create a light, airy look.
-
Color Block Bag: Change yarn color halfway for two-toned style.
Watch video: