 by
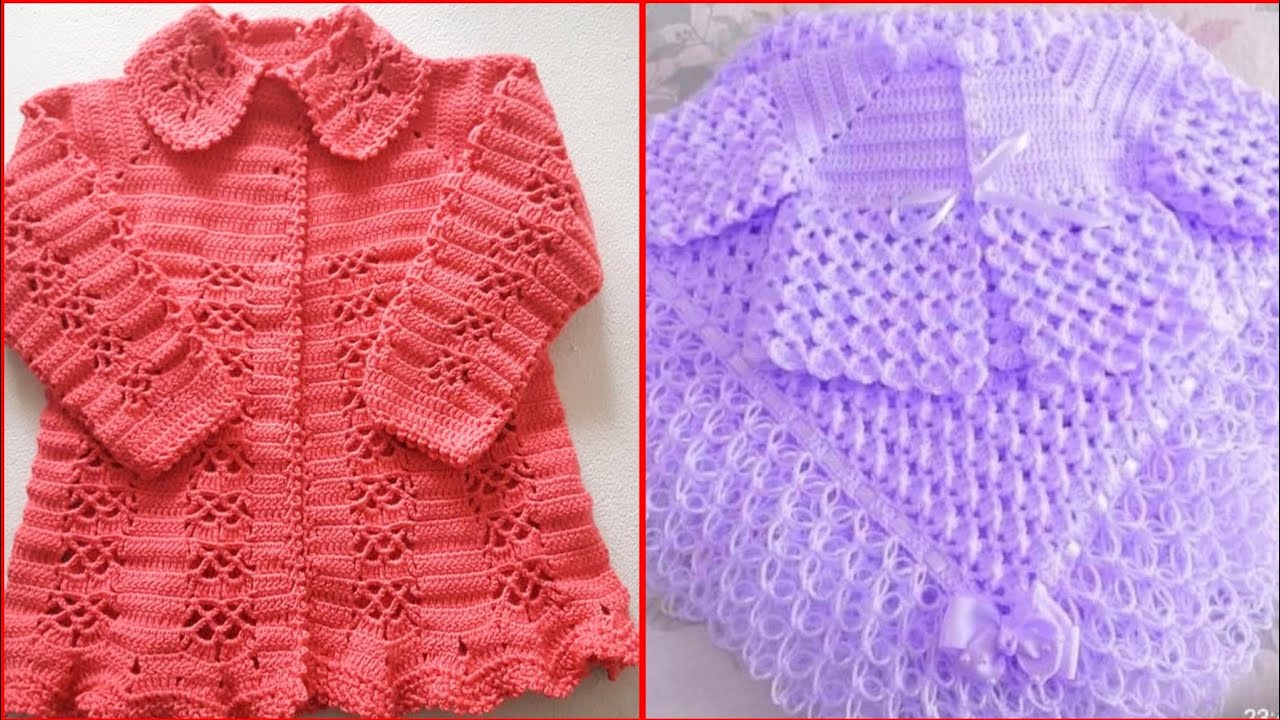
by Creating gorgeous handmade crochet baby cardigan patterns is a rewarding and heartwarming craft project. Whether you’re making a baby gift, preparing for a little one of your own, or planning to sell handmade items, learning how to crochet a baby cardigan gives you endless possibilities for customization and creativity. Here’s a detailed step-by-step guide to help you get started:

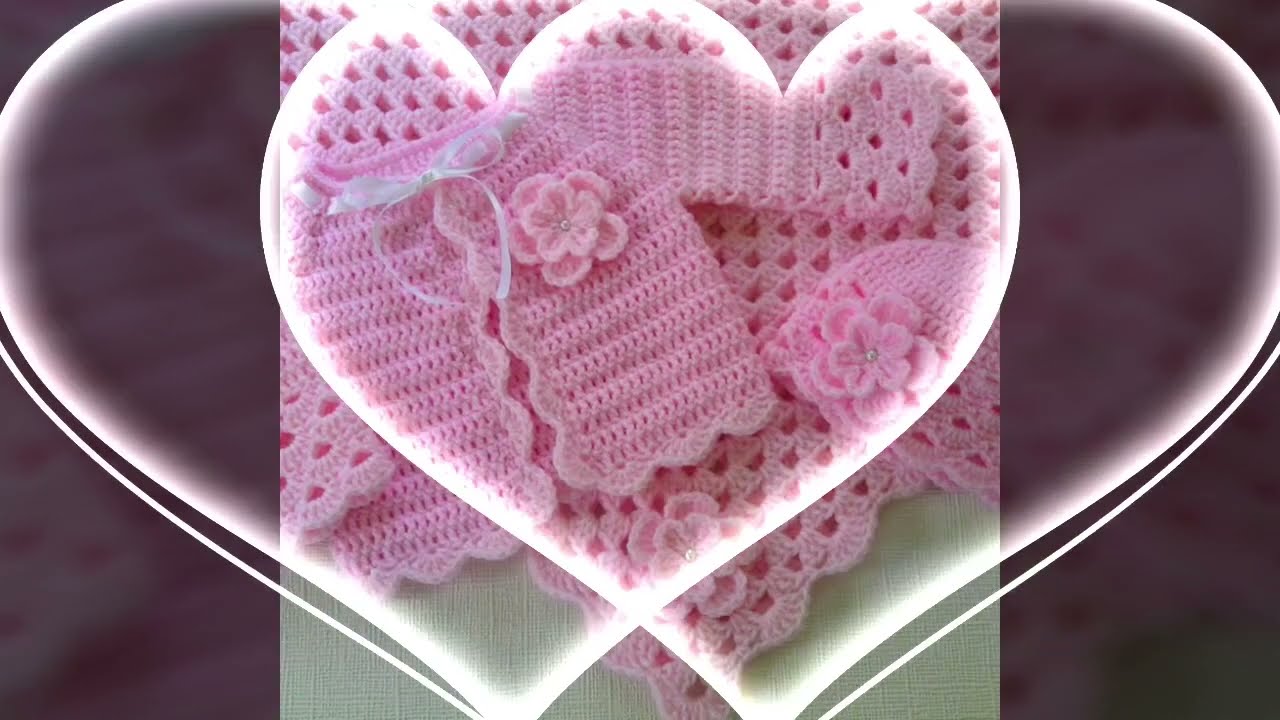
🌸 How to Make Gorgeous Handmade Crochet Baby Cardigan Patterns 💖
🧵 What You’ll Need:
Materials:
-
Yarn (Lightweight or DK yarn recommended for baby clothes; cotton or soft acrylic)
-
Crochet hook (usually 3.5mm to 4.5mm for DK yarn — check yarn label)
-
Stitch markers
-
Yarn needle (for weaving in ends)
-
Buttons (optional, but adorable!)
-
Scissors
-
Measuring tape
✨ Step-by-Step Instructions
1. Choose Your Pattern Style
You can either:
-
Use an existing pattern from a trusted source (Etsy, Ravelry, Pinterest)
-
Create your own using basic shapes (rectangles and squares)
Popular Styles:
-
Top-down raglan (worked in one piece)
-
Side-to-side construction
-
Granny square based
-
Lacy shell or puff stitch designs
2. Take Measurements
For a custom fit, use these average baby measurements:
| Age | Chest Circumference | Cardigan Length |
|---|---|---|
| 0–3 mo | 16″ (40.5 cm) | 9″ (23 cm) |
| 3–6 mo | 17″ (43 cm) | 10″ (25.5 cm) |
| 6–12 mo | 18″ (46 cm) | 11″ (28 cm) |
Measure or choose based on size charts to shape the yoke, sleeves, and body.
3. Start with the Yoke (Top Down Cardigan)
Use a foundation chain and double crochet (DC) or half double crochet (HDC) to begin.
Example:
Work in rows or rounds increasing at four corners to shape the shoulders.
Use stitch markers to mark where sleeves will separate from the body.
4. Separate the Sleeves
After the yoke is long enough:
-
Place sleeve stitches on holders or skip over them
-
Continue working the body of the cardigan back and forth in rows
-
Add any stitch patterns like shells, puff stitches, or cables for beauty
5. Make the Sleeves
Return to held stitches, join yarn, and work in the round or rows down the arm.
You can taper the sleeve by decreasing gradually.
6. Finishing Touches
-
Add ribbing (FPDC/BPDC or SC in back loops) at cuffs, hem, and neckline
-
Add button bands along the front edges
-
Sew on buttons and make buttonholes as needed
-
Weave in all loose ends with a yarn needle
🌷 Tips for Making It Gorgeous
-
Use color gradients or soft ombré yarns for a dreamy effect
-
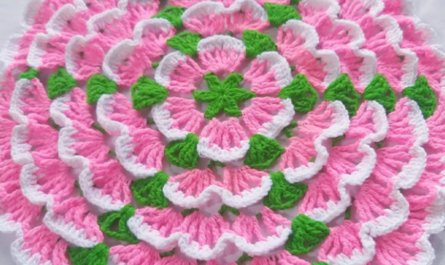
Add appliqués: crochet flowers, bows, or tiny animal motifs
-
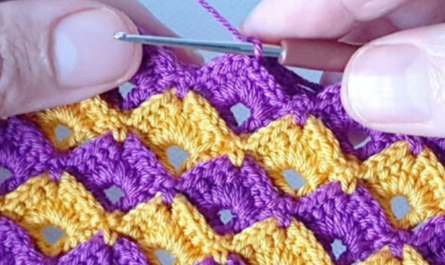
Use a lacy stitch: Shell stitch, V-stitch, or puff stitch adds elegance
-
Mix textures: Combine smooth yarn with boucle or variegated for extra style
-
Block the cardigan: Gently wet and shape the cardigan to make the stitches lie flat and neat
💡 Easy Crochet Stitches to Try
-
Shell Stitch – creates a scalloped lacy look
-
Puff Stitch – soft and plush, great for a baby look
-
V-Stitch – airy and elegant
-
Granny Stitch – classic and cozy
📐 Optional: Create Your Own Pattern Template
If designing your own pattern:
-
Sketch a simple cardigan with measurements
-
Decide stitch pattern for each section
-
Write down row-by-row instructions
-
Test it and adjust as needed
❤️ Final Thought
Making a handmade crochet baby cardigan is more than just crafting—it’s a loving gesture that can be cherished for years. Whether you’re following a pattern or creating your own, focus on soft yarn, neat stitching, and a touch of creativity.
Watch video: