 by
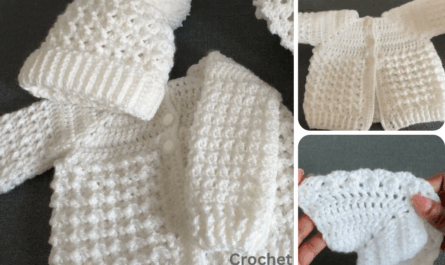
by Sure! Here’s a detailed step-by-step guide on how to crochet an Aran baby hoodie, including the stitches, techniques, and general structure you’ll need to follow. This tutorial assumes you have intermediate crochet skills, as Aran-style crochet involves textured stitches like cables and post stitches.
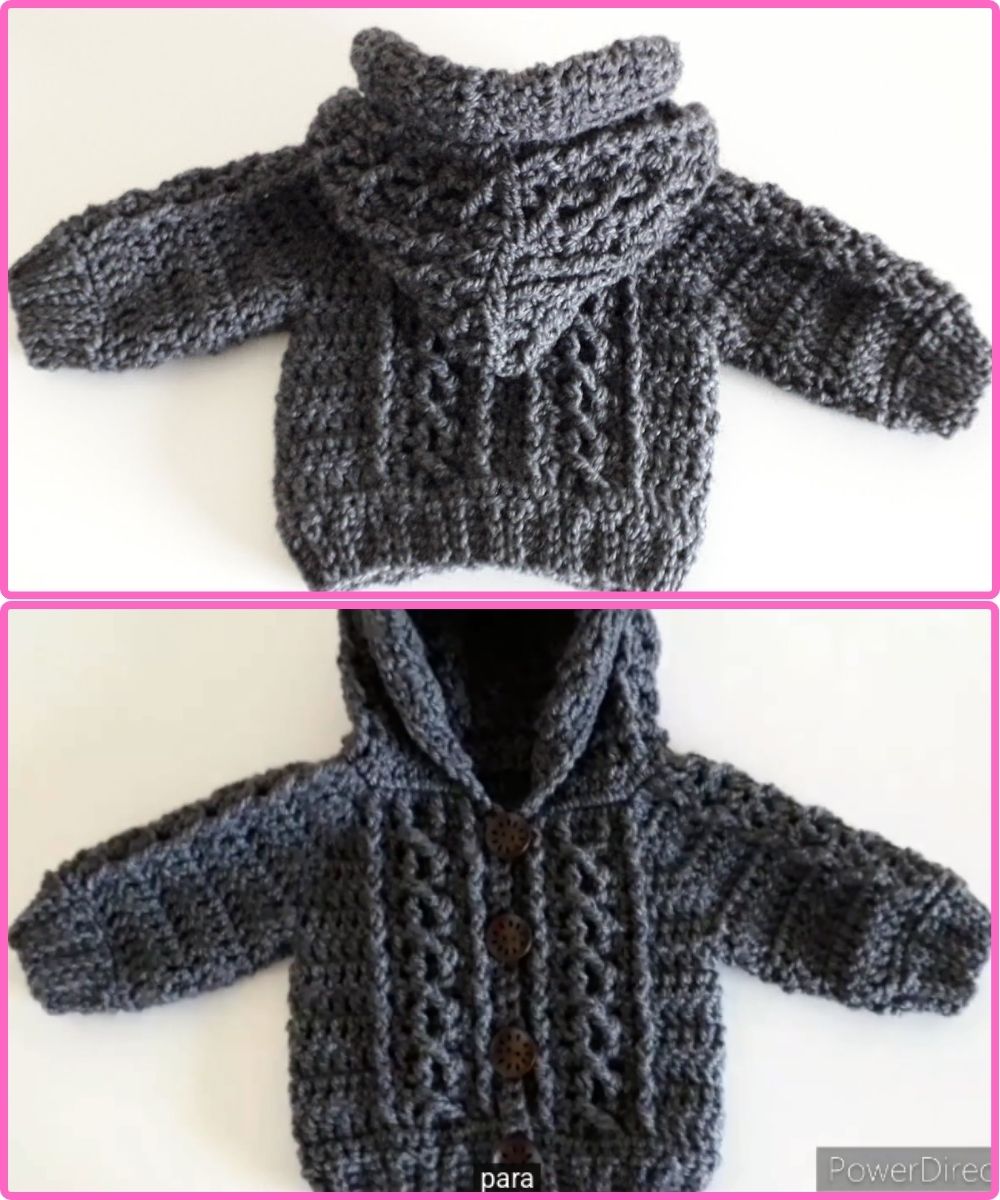
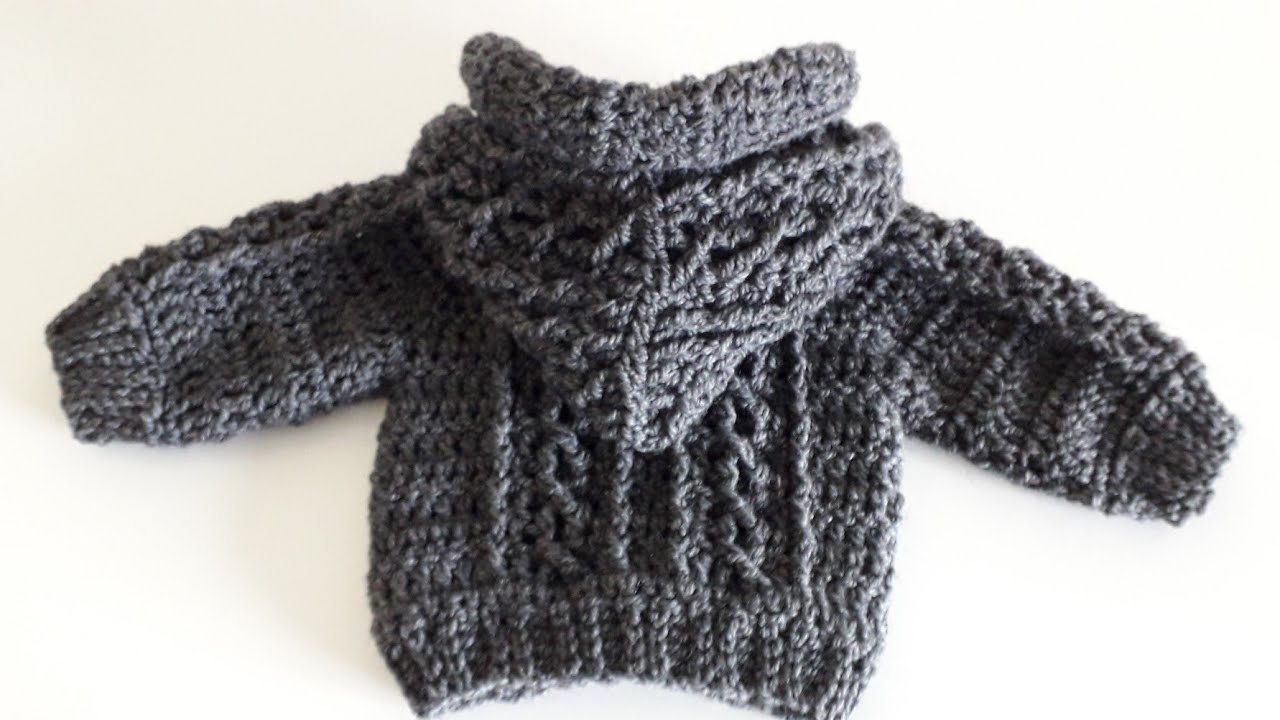
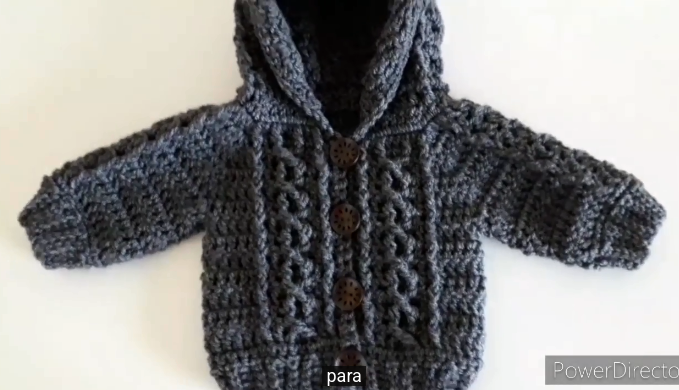
🧶 How to Crochet an Aran Baby Hoodie – Step-by-Step
🧵 What You’ll Need:
-
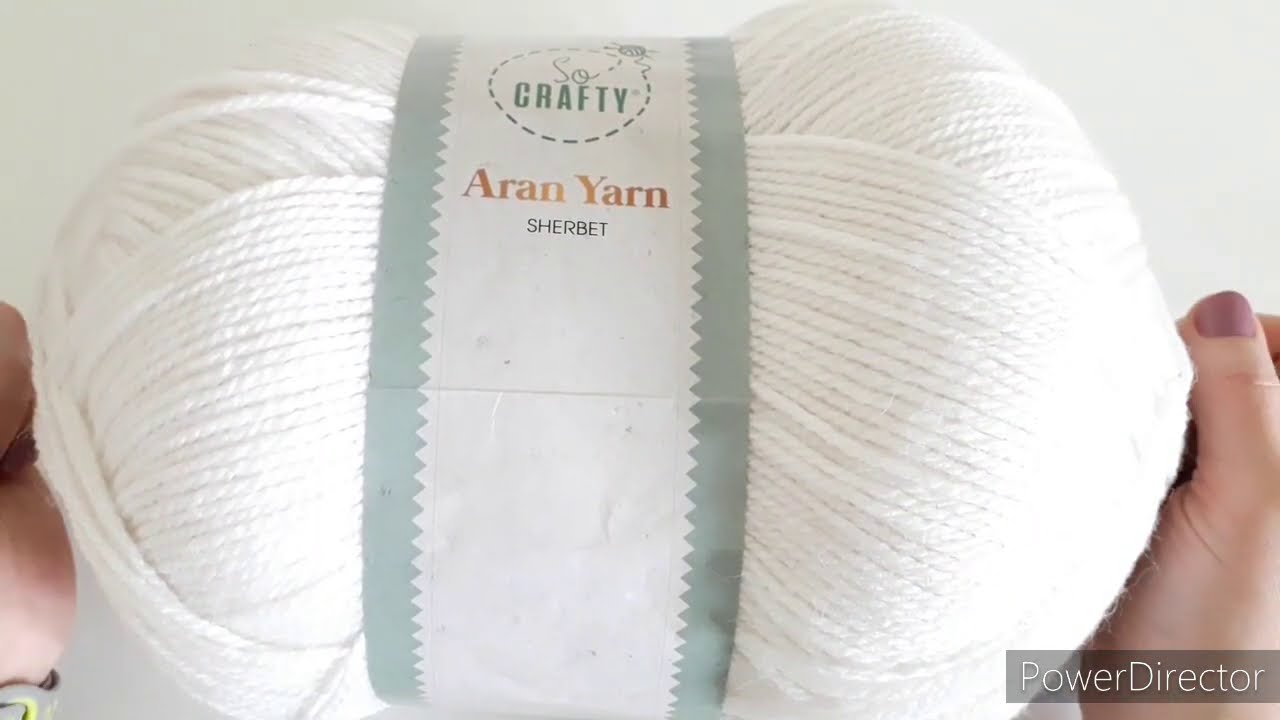
Yarn: Soft DK (light worsted) or Aran weight yarn (approx. 400–600 yards, depending on size)
-
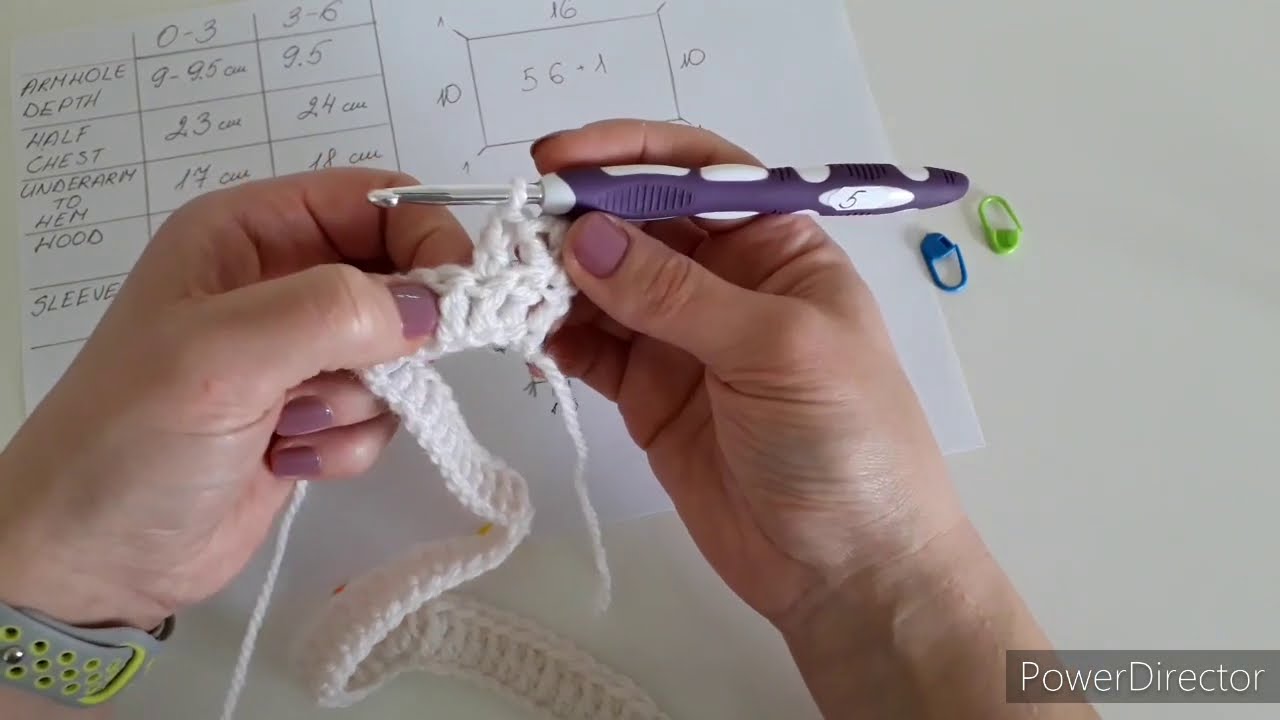
Hook: Size H/8 (5.0 mm) or size needed to obtain gauge
-
Notions:
-
Yarn needle
-
Stitch markers
-
Buttons or zipper (optional, for closure)
-
-
Gauge: 17–18 sts x 12 rows = 4″ in double crochet or cable pattern
📐 Step 1: Choose the Size
Sizes: Newborn (0–3 mo), 3–6 mo, 6–12 mo, 12–18 mo
Each size increase will generally require about 10–15% more yarn and a few more stitches/rows in body, sleeves, and hood.
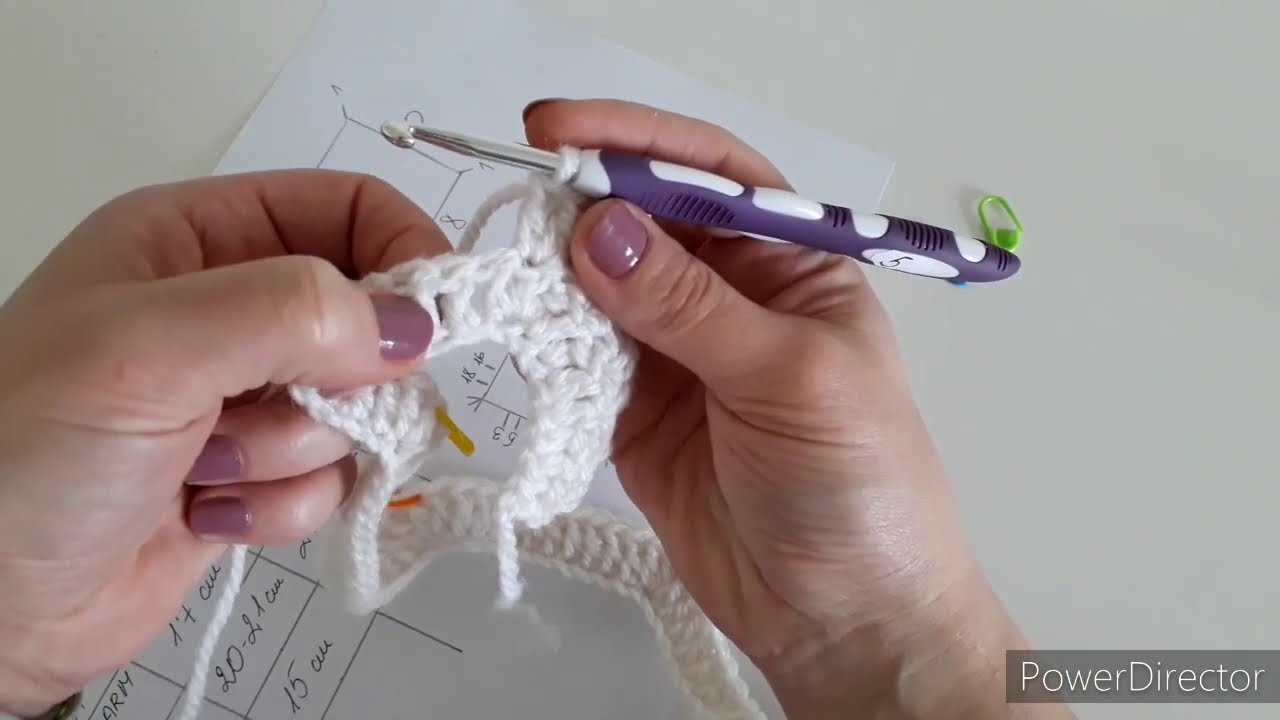
🪡 Step 2: Understand Aran Crochet Stitches
Aran crochet is known for its raised textures, cables, and post stitches. Learn these first:
-
Front Post Double Crochet (FPdc)
-
Back Post Double Crochet (BPdc)
-
Cable Stitch (usually 4 or 6 post stitches crossed)
-
Popcorn Stitch (optional)
🧥 Step 3: Construct the Hoodie – Overview
You will build the hoodie in parts:
-
Back Panel
-
Front Panels (2)
-
Sleeves (2)
-
Hood
-
Assembly
-
Edging and Closure
🪢 Step 4: Crochet the Back Panel
-
Foundation Chain: Chain the width of the back (e.g., 40–50 chains).
-
Row 1: DC in 3rd ch from hook and across.
-
Row 2 onward: Begin incorporating your Aran stitch pattern (see sample below).
🔸 Sample Pattern Repeat:
-
4 DC
-
6 FPDC (cable section)
-
4 DC
-
6 FPDC
-
4 DC (adjust width as needed)
Repeat rows, keeping cables aligned. Make enough rows for the height of the back (approx. 8–10″).
🧶 Step 5: Crochet the Front Panels
Make two identical pieces for left and right:
-
Chain about half the back panel width + 2-4 stitches.
-
Work same stitch pattern, keeping a clean edge for the button band.
-
Stop 1–1.5” below shoulder line for the neck opening.
Optional: On one side, add buttonholes every 1.5–2”.
👕 Step 6: Crochet the Sleeves
-
Start with a chain long enough for the wrist (18–22 chains).
-
Work in rows using cable or Aran patterns.
-
Increase 1 stitch every 4–6 rows at each side to shape the arm.
-
Stop when the length is around 6–8”.
Tip: If making it for a newborn, shorter sleeves are better to prevent bunching.
👒 Step 7: Make the Hood
-
Chain the length of the head (approx. 24–28 ch).
-
Work in rows with cable or rib pattern, making a rectangle.
-
Fold in half and seam the top edge to create the hood shape.
-
Seam the bottom edge to the neckline of the hoodie.
🪡 Step 8: Assemble the Hoodie
-
Join shoulders of the front and back panels.
-
Sew sleeves to the body (use stitch markers to match the center of the sleeve with shoulder seam).
-
Sew side seams and sleeve seams.
-
Attach the hood to the neckline evenly.
🧵 Step 9: Add Edging
-
Work a round of single crochet (SC) around all edges: sleeves, bottom, front opening, and hood edge.
-
Optional: Add ribbing (FPdc/BPdc) to the bottom hem and sleeve cuffs.
-
Create a button band or sew in a zipper.
🧸 Step 10: Finishing Touches
-
Weave in all ends with a yarn needle.
-
Block the hoodie gently to shape it.
-
Attach buttons, toggles, or a zipper.
-
Optional: Add a pom-pom on the hood or decorative cables on sleeves.
✅ Tips for Success:
-
Keep your stitch count consistent, especially with post stitches.
-
Use stitch markers to track cable repeats.
-
Practice your cable stitches on a swatch first.
-
Choose natural, washable yarns for babies—like cotton blends or superwash wool.
Watch video: