 by
by This sounds like a fantastic approach for beginners! The concept of repeating a single row to build a sweater simplifies the process immensely, allowing you to focus on consistent stitches rather than complex pattern changes. This method is often used for creating simple rectangular panels that are then sewn together to form the sweater shape.
Here’s a detailed guide on how to make a beginner-friendly crochet sweater just by repeating a row, adaptable for all sizes:
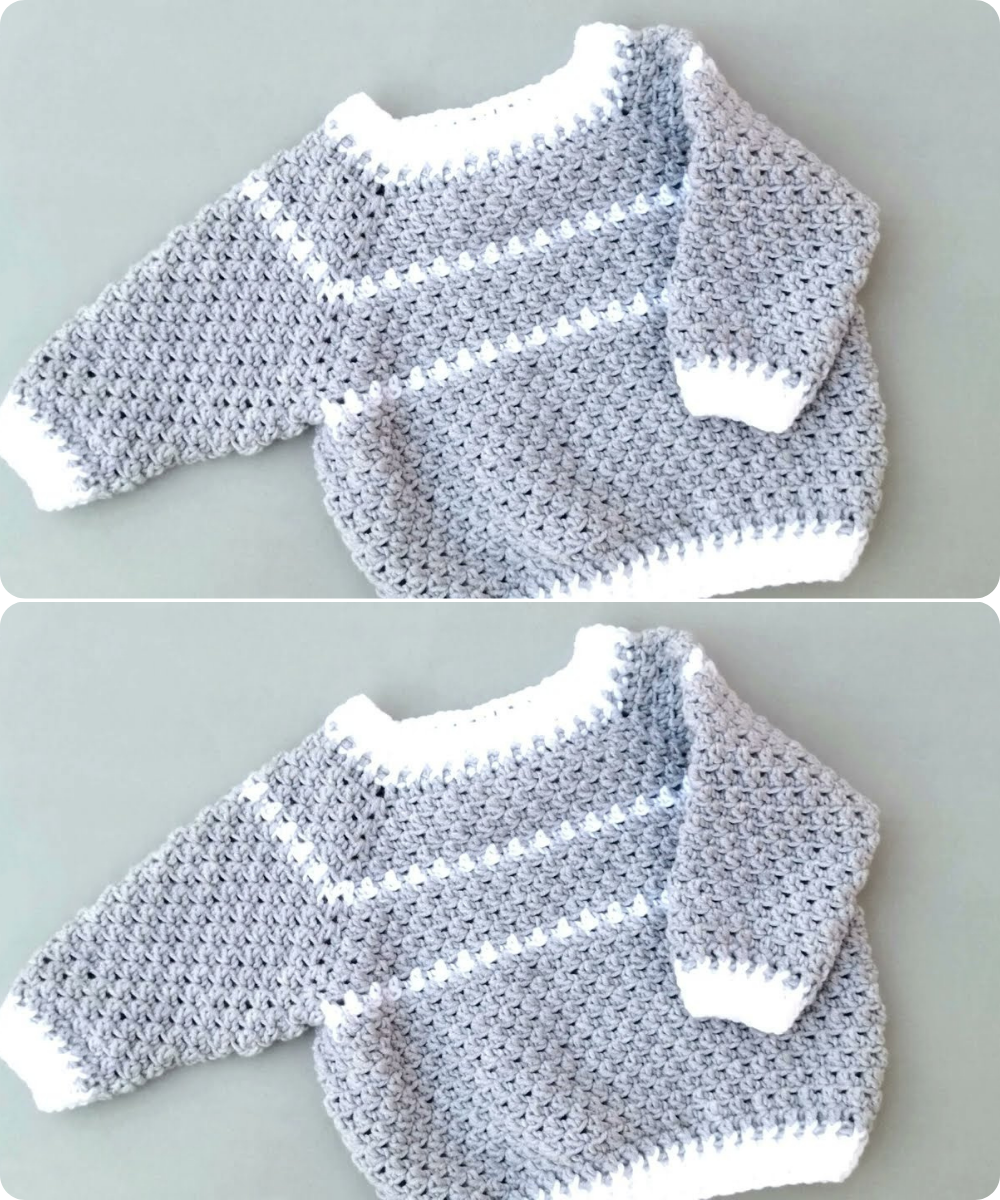
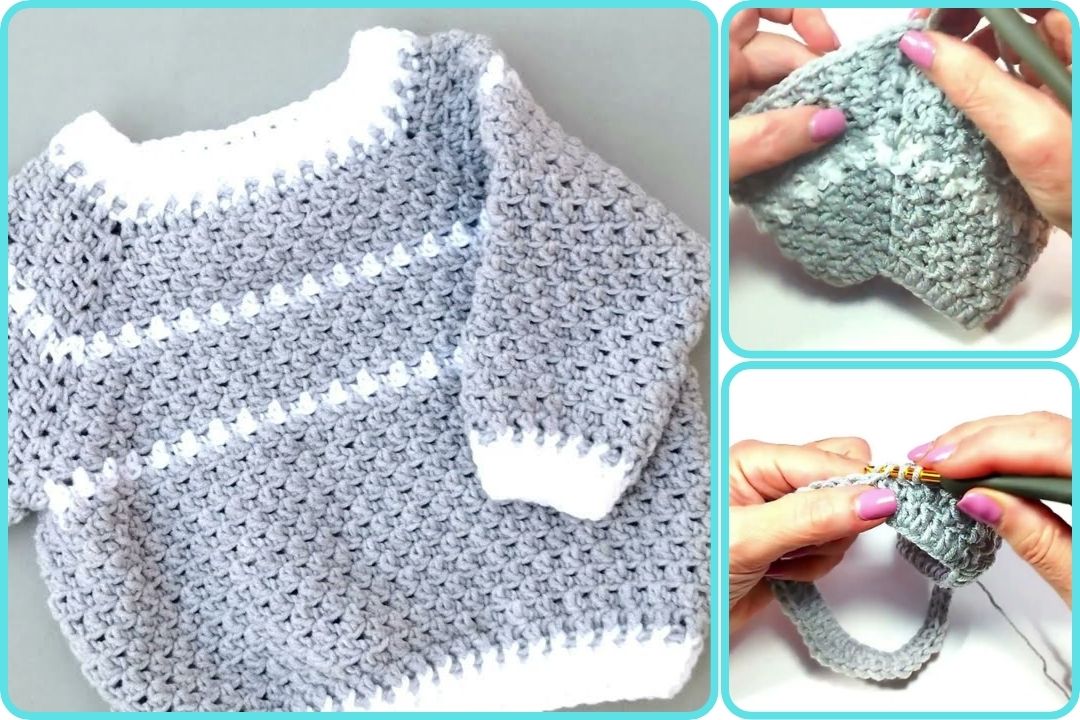
How to Make a Beginner Crochet Sweater by Repeating a Single Row (All Sizes)
This method focuses on creating simple rectangular panels that are joined together. The “repeating row” will be a basic stitch (like Half Double Crochet or Double Crochet) worked back and forth.
Part 1: Understanding the Concept & Why It Works for Beginners
The magic of this method lies in its simplicity:
- No Complex Shaping: You’ll be making simple rectangles, not intricate armhole or neck shaping within the main panels.
- Focus on Consistency: Your main task is to maintain even tension and count your stitches in each row.
- Adaptable for All Sizes: The size is adjusted purely by how many stitches you start with (for width) and how many rows you make (for length).
- Basic Stitches Only: We’ll primarily use the Chain (ch) and one main stitch (e.g., Half Double Crochet or Double Crochet).
Part 2: Essential Beginner Crochet Knowledge
Before you start, ensure you’re comfortable with these basics:
- Holding Yarn & Hook: Find a comfortable way to hold both.
- Chain (ch): The foundation of your project.
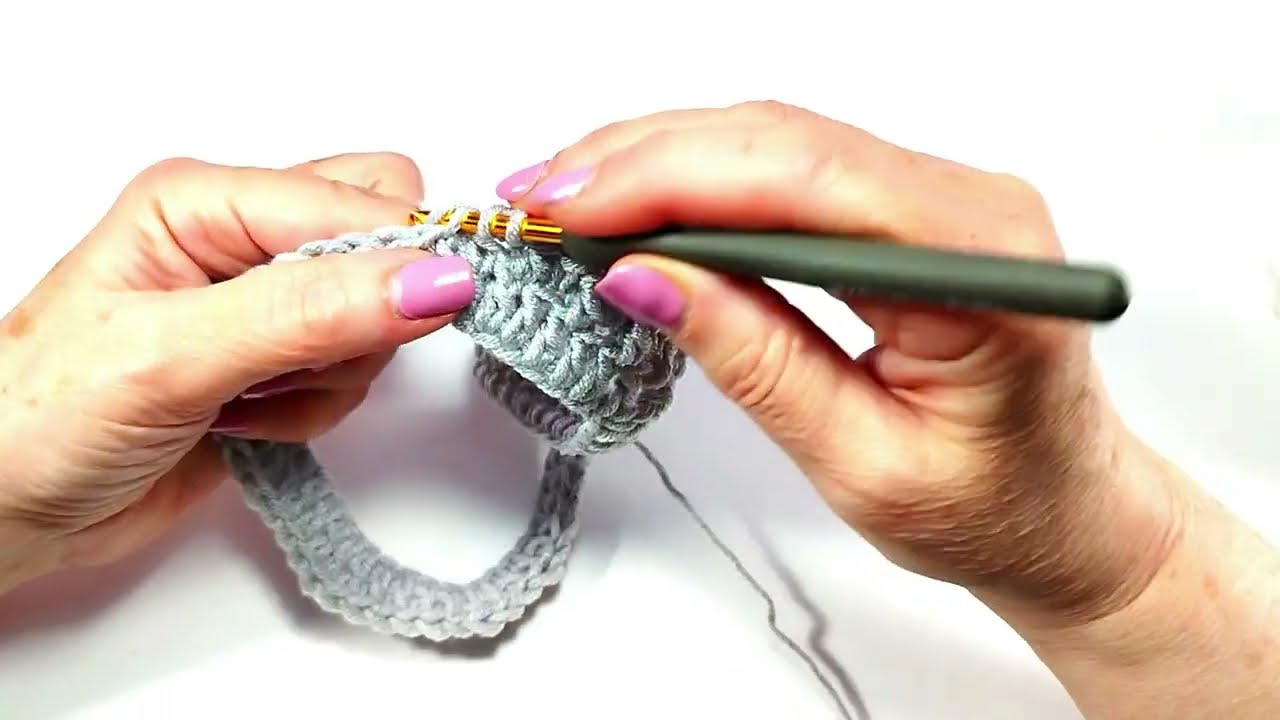
- Half Double Crochet (hdc) OR Double Crochet (dc): You’ll choose one of these as your primary stitch for the entire sweater.
- HDC: Creates a denser fabric, slightly slower to work up.
- DC: Creates a looser fabric, works up faster.
- Counting Stitches & Rows: Crucial for consistency.
Part 3: Sizing, Measurements & Gauge (Simplified)
This is the most important step for getting the right fit.
- Measure for Your Size:
- Chest Circumference: Measure around the fullest part of the chest.
- Desired Sweater Length: Measure from the shoulder down to where you want the bottom hem to fall.
- Arm Length: Measure from the outside of the shoulder (where the arm meets the body) to the wrist.
- Arm Circumference (at widest point, upper arm): Add 1-2 inches (2.5-5 cm) for ease.
- Wrist Circumference:
- Add Ease: For a comfortable sweater, add 2-4 inches (5-10 cm) to your Chest Circumference measurement. This gives you room to move and layers.
- Example: If chest is 36″, target finished chest size is 38-40″.
- Simplified Gauge Swatch:
- Why a Swatch? It tells you how many stitches and rows you get per inch (or cm) with your chosen yarn and hook. This is how you accurately translate your measurements into crochet stitches.
- How to Make:
- Chain about 20-25 stitches.
- Work your chosen stitch (hdc or dc) into the 2nd (for hdc) or 3rd (for dc) chain from the hook, and continue across the row. Chain 1 (for hdc) or Chain 2 (for dc) and turn.
- Repeat for about 10-15 rows.
- Measure: Lay your swatch flat. Using a ruler, count how many stitches are in 4 inches (10 cm) and how many rows are in 4 inches (10 cm).
- Record: Write this down: “X stitches = 4 inches, Y rows = 4 inches.”
- Adjust if Needed:
- Too many stitches/rows: Your work is too tight. Go up a hook size.
- Too few stitches/rows: Your work is too loose. Go down a hook size.
- For a beginner project, slight variations are okay! Just try to be consistent.

Part 4: Materials Needed
- Yarn:
- Weight: Medium Worsted Weight (Aran/10-ply) is a great choice for beginners – easy to see stitches, works up quickly.
- Fiber: Acrylic, cotton blends, or superwash wool are excellent choices for their durability and washability.
- Quantity: This is highly dependent on size. For an adult sweater, typically 800-1500 yards (730-1370 meters). For a child, less. Check the yarn label for recommended yardage for sweaters, or buy an extra skein just in case.
- Crochet Hook: Start with the size recommended on your yarn label for your chosen yarn weight. Adjust based on your gauge swatch.
- Stitch Markers: Very helpful for marking the first/last stitch of a row, or for assembly.
- Yarn Needle (Tapestry Needle): For weaving in ends and seaming.
- Scissors: For cutting yarn.
- Measuring Tape: For measurements and gauge.
Part 5: The “Repeating Row” Sweater Construction
This sweater will be made from four simple rectangular panels:
- Back Panel (1)
- Front Panel (1)
- Sleeves (2)
The “Repeating Row” Instruction: Let’s assume you’ve chosen Half Double Crochet (hdc). Your repeating row will be:
- “Ch 1, turn. Hdc in each stitch across.” If you chose Double Crochet (dc):
- “Ch 2, turn. Dc in each stitch across.”

Step-by-Step Instructions:
A. Back Panel:
- Calculate Starting Chain (Width):
- Take your Desired Finished Chest Circumference (e.g., 38 inches).
- Divide by 2 (since this is one panel, half the circumference) = 19 inches.
- Using your gauge (e.g., 16 stitches = 4 inches), calculate stitches per inch: 16 stitches / 4 inches = 4 stitches per inch.
- Multiply your desired half-chest width by stitches per inch: 19 inches * 4 stitches/inch = 76 stitches.
- Add 1 chain for your turning chain (for hdc) or 2 chains (for dc).
- Your starting chain: 76 + 1 = 77 chains (for hdc) or 76 + 2 = 78 chains (for dc).
- Row 1: Work your chosen stitch (hdc or dc) into the 2nd chain from the hook (for hdc) or 3rd chain from the hook (for dc) and continue across the chain. You should have the exact number of stitches you calculated (e.g., 76 hdc).
- Repeating Row: Ch 1 (for hdc) or Ch 2 (for dc), turn. Work your chosen stitch into each stitch across the row.
- Repeat: Continue repeating this row until your panel reaches your Desired Sweater Length (e.g., 24 inches from shoulder to hem).
- Calculate Rows: Using your gauge (e.g., 12 rows = 4 inches), calculate rows per inch: 12 rows / 4 inches = 3 rows per inch.
- Multiply desired length by rows per inch: 24 inches * 3 rows/inch = 72 rows.
- Make 72 rows.
- Fasten Off: Cut yarn, leaving a long tail (about 12 inches/30 cm) for seaming. Pull the tail through the last loop to secure.
B. Front Panel:
- Follow the exact same instructions as the Back Panel. You want them to be identical rectangles at this stage.
C. Sleeves (Make 2):
- Calculate Starting Chain (Cuff Width):
- Measure your Wrist Circumference (e.g., 7 inches).
- Add 1-2 inches for ease: 8 inches.
- Using your gauge (4 stitches/inch), calculate: 8 inches * 4 stitches/inch = 32 stitches.
- Add 1 chain (for hdc) or 2 chains (for dc).
- Your starting chain: 32 + 1 = 33 chains (for hdc) or 32 + 2 = 34 chains (for dc).
- Row 1: Work your chosen stitch into the 2nd or 3rd chain from the hook and continue across. You should have your calculated number of stitches (e.g., 32 stitches).
- Repeating Row: Ch 1 (for hdc) or Ch 2 (for dc), turn. Work your chosen stitch into each stitch across the row.
- Increase for Taper (Optional, but Recommended for better fit): To make the sleeve wider at the top, you’ll add stitches periodically.
- Work a regular repeating row.
- Increase Row (e.g., every 5th row): Ch 1 (or 2), turn. Work 2 stitches into the first stitch, hdc/dc in each stitch across until the last stitch, work 2 stitches into the last stitch. (This adds 2 stitches per increase row).
- How many increases?
- Calculate the desired upper arm width: Arm Circumference (e.g., 12 inches) + 1-2 inches ease = 13 inches.
- Convert to stitches: 13 inches * 4 stitches/inch = 52 stitches.
- Desired stitches at top of sleeve: 52. Starting stitches: 32. Total stitches to add: 52 – 32 = 20 stitches.
- Since you add 2 stitches per increase row, you need 20 / 2 = 10 increase rows.
- Distribute these increases evenly over the length of your sleeve. If your sleeve length is 18 inches and your gauge is 3 rows/inch, total rows is 54. So, you might increase every 5th or 6th row (54 rows / 10 increases = approx 5-6 rows per increase).
- Repeat: Continue repeating your chosen row (with periodic increase rows) until your sleeve panel reaches your Desired Arm Length (e.g., 18 inches from shoulder to wrist).
- Calculate Rows: Using your gauge (3 rows/inch), calculate: 18 inches * 3 rows/inch = 54 rows.
- Fasten Off: Cut yarn, leaving a long tail for seaming.
Part 6: Assembly & Finishing
This is where your simple rectangles transform into a sweater!
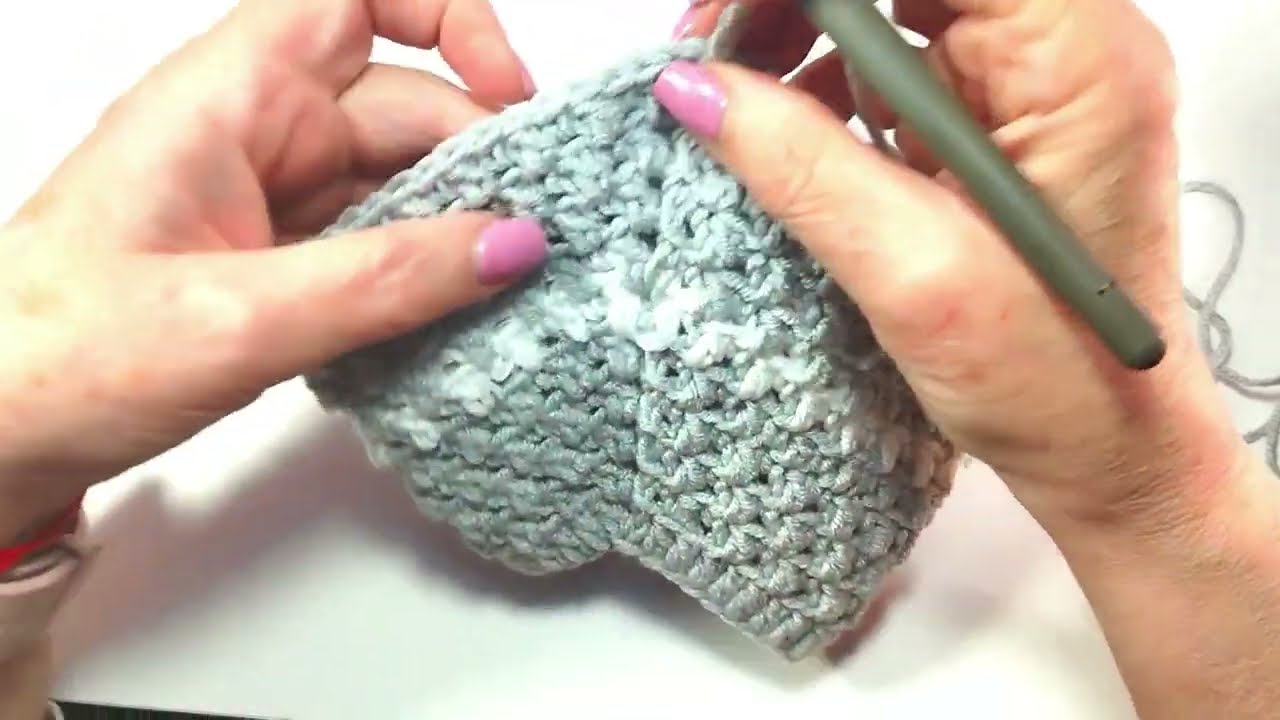
- Lay Flat and Block (Optional but Recommended):
- Gently wet each panel (or mist with water).
- Lay them flat on a towel or blocking mats. Gently shape them to their correct dimensions (e.g., ensuring front and back are the same width and length).
- Let them dry completely. This helps to even out your stitches and gives a more professional look.
- Seam Shoulders:
- Place the Front Panel on top of the Back Panel, right sides together (the side that looks best is your “right side”).
- Align the top edges.
- Measure the neck opening: Determine how wide you want the neck opening to be. For a beginner sweater, a common opening is 8-10 inches (20-25 cm) for adults, proportionally smaller for children.
- Using your yarn needle and a long tail of yarn (or fresh yarn), seam from the outer edge inwards towards the center, stopping at your desired neck opening measurement. Repeat for the other shoulder.
- Use a whip stitch or mattress stitch for a neat seam. Weave in ends securely.
- Attach Sleeves:
- Lay your body panels flat with the shoulder seams aligned.
- Find the midpoint of the top (widest) edge of one sleeve panel.
- Align this midpoint with the shoulder seam you just created.
- Pin the sleeve to the armhole opening (the unseamed portion of the top side edges of the front and back panels).
- Seam the sleeve to the body using whip stitch or mattress stitch. Repeat for the second sleeve.
- Seam Side & Underarm:
- Fold the sweater in half lengthwise, right sides together, aligning the side edges and the sleeve edges.
- Starting from the bottom hem of the body, seam up the side to the underarm, then continue down the underside of the sleeve to the cuff.
- Repeat for the other side.
- Add Neckband (Optional, but gives a finished look):
- Join yarn with a slip stitch anywhere on the neck opening.
- Round 1: Chain 1 (does not count as a stitch). Work single crochet stitches evenly around the entire neck opening. Aim for a density that doesn’t flare or pucker. Join with a slip stitch to the first sc.
- Rounds 2+: Chain 1, turn. Work single crochet into the back loop only of each stitch around (creates a ribbed look). Or, if you prefer, just continue sc in both loops. Work for 2-4 rounds until the neckband is your desired width.
- Fasten off and weave in the end.
- Weave in All Remaining Ends: Using your yarn needle, carefully weave in all remaining loose yarn tails throughout the sweater. Run them through the stitches for several inches to secure them.
Part 7: Tips for Beginner Success
- Don’t Rush the Swatch: This is your map to the right size. It’s worth the time.
- Use Stitch Markers: Place one in the first and last stitch of each row to help you count and avoid adding/losing stitches.
- Count Every Row: Get into the habit of counting your stitches at the end of every single row. If you make a mistake, it’s easier to fix immediately.
- Watch Videos: If you’re unsure about any stitch (hdc, dc) or seaming technique (whip stitch, mattress stitch), search for quick video tutorials on YouTube.
- Embrace Imperfection: Your first sweater might not be perfect, and that’s okay! It’s a learning experience. You’ll improve with every stitch.
- Choose a Simple Yarn: Avoid very dark, fuzzy, or highly textured yarns for your first project, as they can make it hard to see your stitches.
- Take Breaks: Crochet is a marathon, not a sprint. Take breaks to avoid hand strain.
This method allows you to master the basics of crochet while creating a wearable, customized garment. Good luck, and happy crocheting!
Watch video: