 by
by Below is a clear, detailed, step-by-step guide on how to make simple model slippers without a seam on the sole. This method can be used for felt, fleece, knit fabric, or even leather (with slight adjustments).
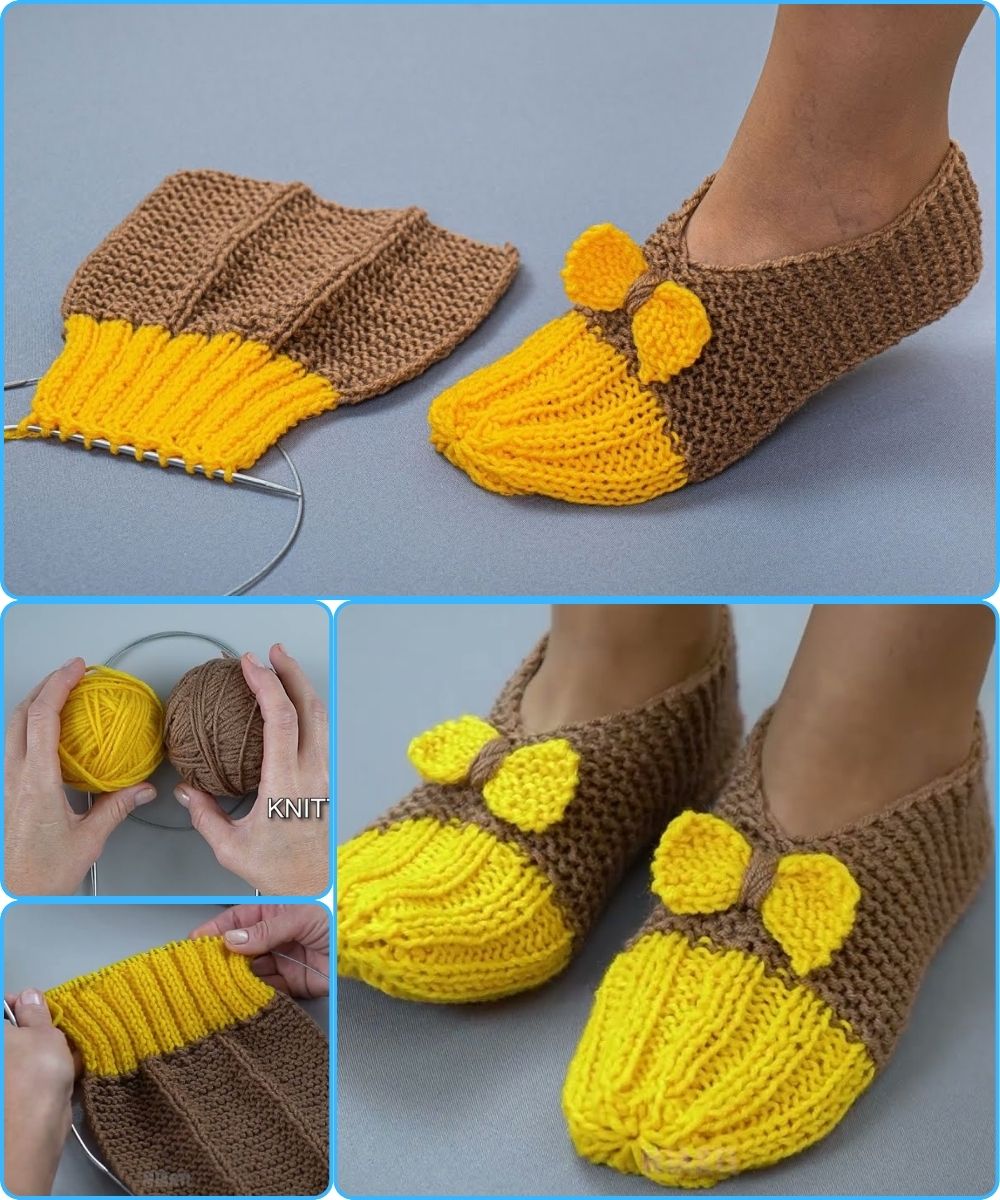
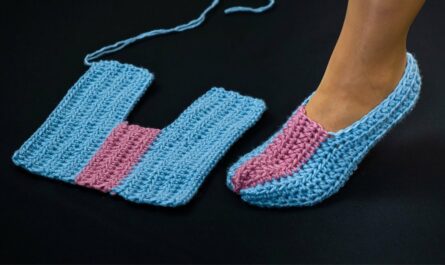
How to Make Simple Seamless-Sole Slippers
Overview
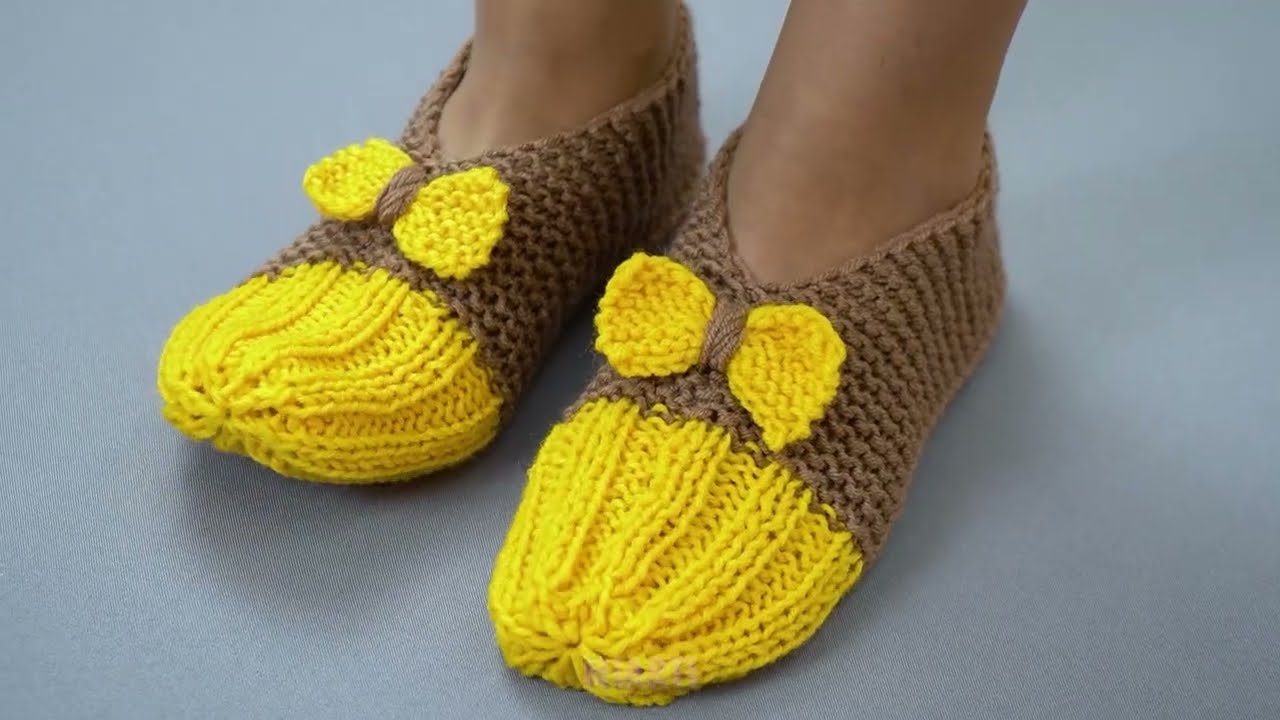
This type of slipper is formed with one continuous sole and an upper piece that wraps around the foot. The key is that the sole has no stitched join—it stays in one unbroken piece for comfort and durability.
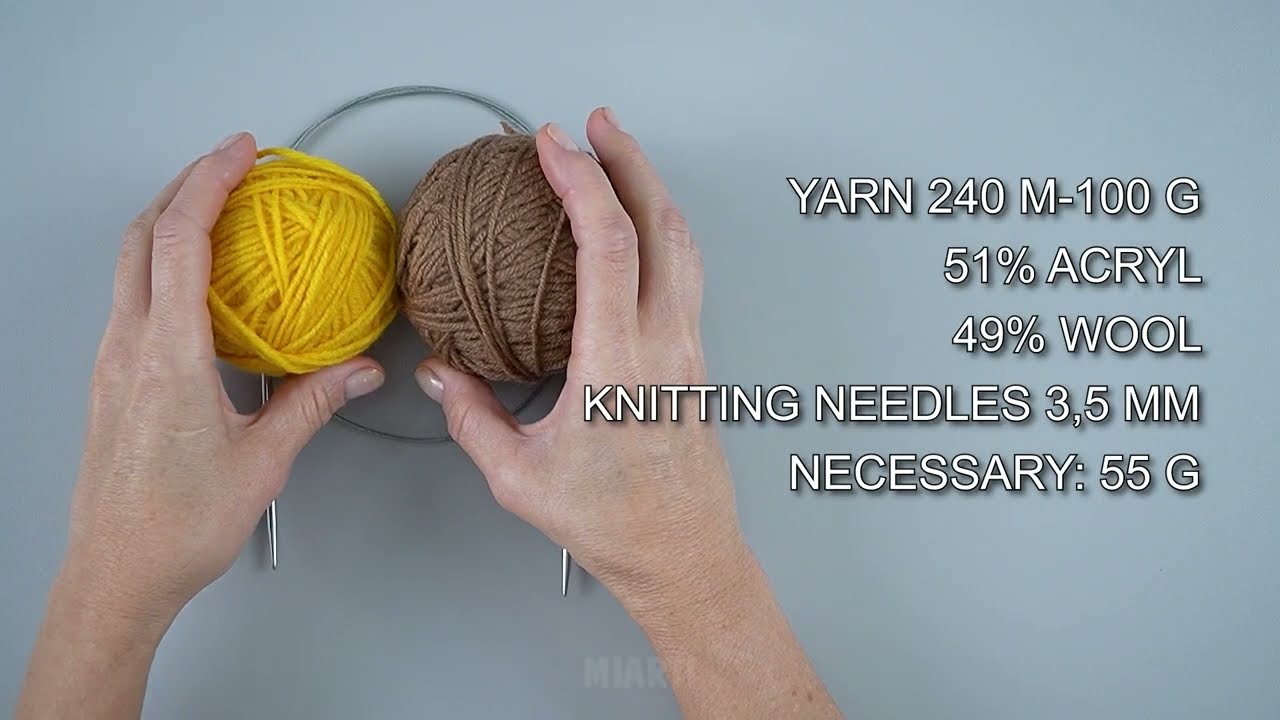
Materials You’ll Need
-
Fabric for slippers: Felt, fleece, neoprene, or soft leather
-
Interfacing or foam (optional): For structure and cushioning
-
Paper for pattern-making
-
Scissors
-
Pins or clips
-
Sewing machine or hand-sewing needle
-
Thread
-
Fabric marker or chalk
-
Ruler or flexible measuring tape
Step-by-Step Instructions
Step 1: Make Your Foot Pattern (Base Template)
-
Stand on a piece of paper.
-
Trace around your foot, keeping the pencil vertical.
-
Add 1–1.5 cm (⅜–½ inch) all around for seam allowance and comfort.
-
Smooth the outline so it forms a clean slipper sole shape.
-
Cut out this paper shape — this is your sole pattern.
Tip: If you want more padding, cut an extra sole piece from foam or batting.
Step 2: Draft the Upper (Top) Part of the Slipper
This is the part that covers your toes and top of your foot.
Method for a Simple Upper:
-
Wrap a flexible tape over the widest part of your foot (across the knuckles/toe joints).
Write down this measurement. -
Measure from where you want the slipper to start on the inside side of the sole, across your foot, to the same point on the outside of the sole.
-
Also measure length from the toe to where you want the upper to end.
-
Draw a semi-oval or curved rectangle shape using these measurements.
Shape Tip:
-
The front edge should be rounded.
-
The back (where it will attach to the sole) should be slightly curved to match the curvature of your foot.
Cut this piece out of paper → This is your upper pattern.
Step 3: Cut the Fabric
-
Use the sole pattern to cut:
-
1 or 2 layers per foot (more layers for padding)
-
-
Use the upper pattern to cut:
-
1 layer per foot
(Cut on fold if you want perfectly symmetrical upper.)
-
If using felt or fleece, you usually don’t need edge finishing.
If using woven fabric, you can:
-
Add bias binding
-
Fold and hem edges
-
Use a lining layer
Step 4: Prepare the Upper Piece
-
If you want a clean top edge, hem or bind the straight edge that will be around your ankle.
-
Optional: Add appliqué, embroidery, or decorative stitching before attaching it to the sole.
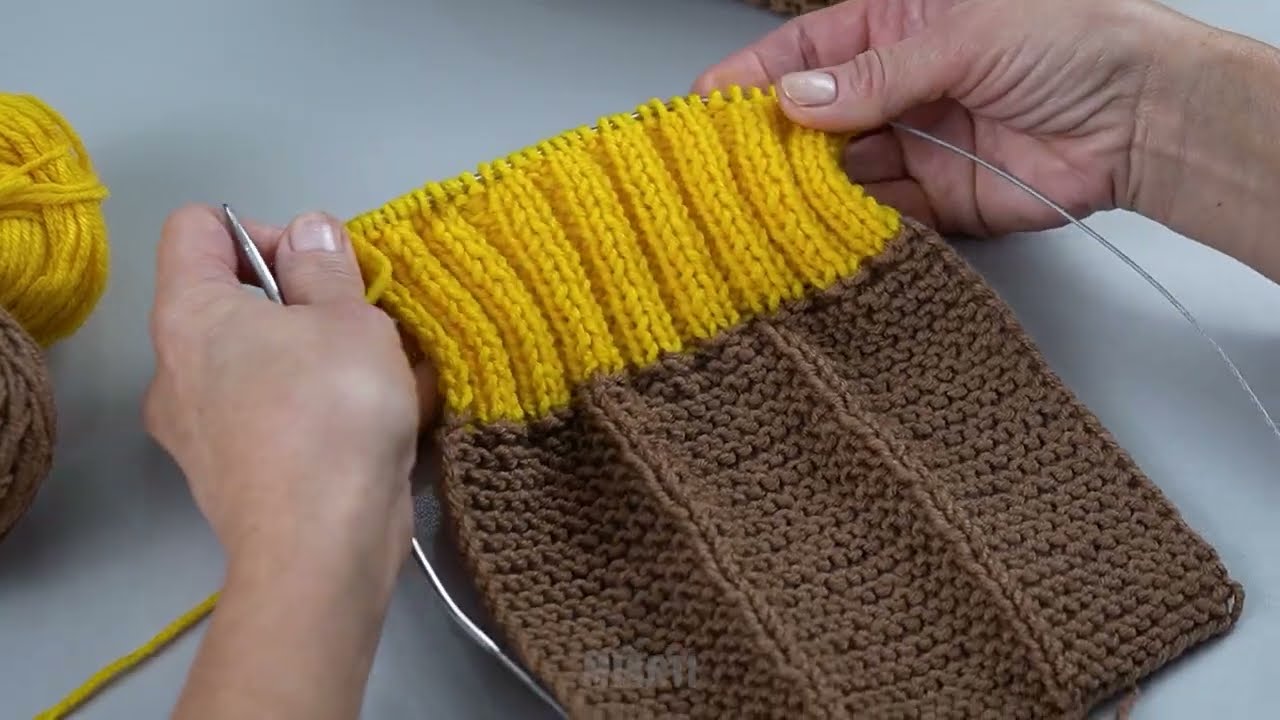
Step 5: Attach the Upper to the Sole (No Sole Seam Method)
Here’s the key part:
1. Pin the Upper Around the Sole
-
Center the rounded front of the upper on the toe area of the sole.
-
Curve the sides of the upper down and around the foot so they meet the edge of the sole.
-
The upper should wrap around the top of your foot while the sole remains flat and unbroken.
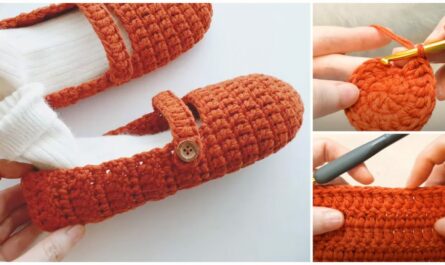
2. Stitch the Upper to the Sole
You can do this in two main ways:
Method A: Visible Edge Stitch (Simple)
-
Place the upper on top of the sole.
-
Stitch around the perimeter with:
-
A zigzag stitch
-
Blanket stitch (hand sewing)
-
Edge stitch 3–5 mm from the edge
-
This gives a handcrafted look.
Method B: Turned Seam (More Finished)
-
Place upper and sole right sides together.
-
Sew around the edge.
-
Turn the slipper right-side out.
-
This hides the seam between the two pieces.
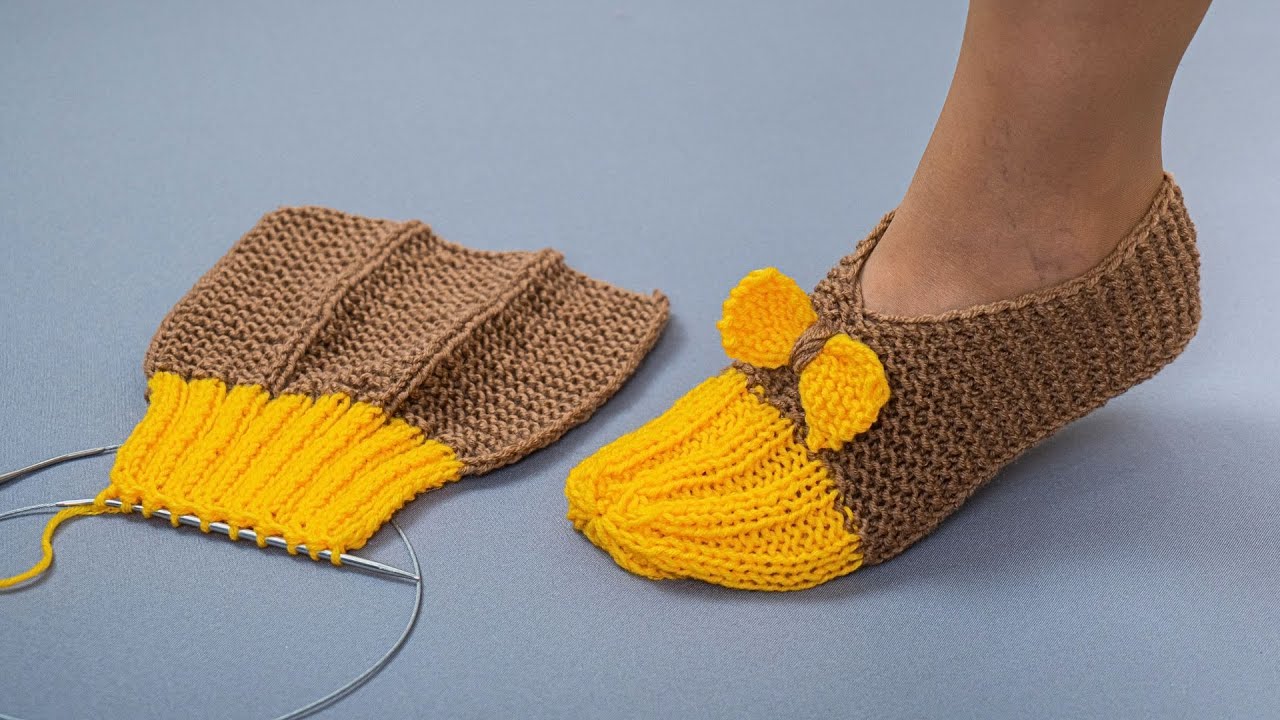
Step 6: Add Optional Heel Support
If you want the slipper to come up slightly at the heel:
-
Cut a small rectangle or crescent piece.
-
Attach it to the back of the sole before sewing the upper.
-
Then sew the upper over it as one piece.
Step 7: Final Adjustments
-
Try on the slipper.
-
If it’s loose, you can:
-
Sew a small dart at the toe
-
Add elastic across the instep
-
Adjust the side seams
-
-
If it’s tight, adjust by trimming slightly or stretching (if using fleece or knit).
Optional Add-ons
Non-Slip Bottom
Glue or sew:
-
Suede patches
-
Liquid latex dots
-
Silicone grip paint
-
Rubber sheet pieces
Lining
For extra comfort:
-
Cut a second set of sole and upper pieces from soft fabric.
-
Assemble the lining first, then attach inside the slipper.
Simple Pattern Diagram (Text Form)
Want a Printable Pattern?
I can generate a printable multi-size pattern (S/M/L/XL) if you tell me the shoe size you want.
If you’d like, I can also provide:
-
A no-sew version
-
A knit or crochet version
-
A leather moccasin version
-
Illustrated step diagrams
Just tell me!
Watch video: