 by
by Below is a clear, friendly, beginner-friendly guide for how to make simple crochet socks, with enough detail that even first-timers can follow along.
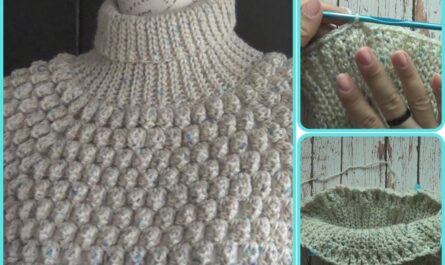
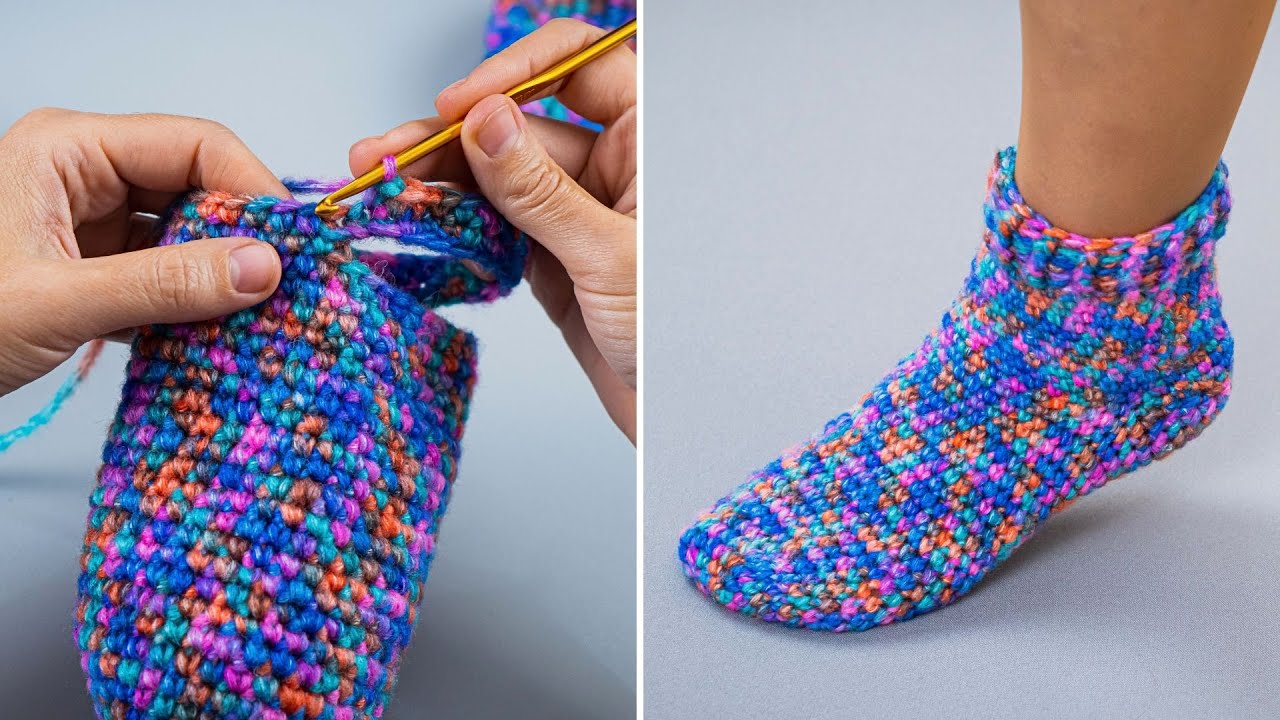
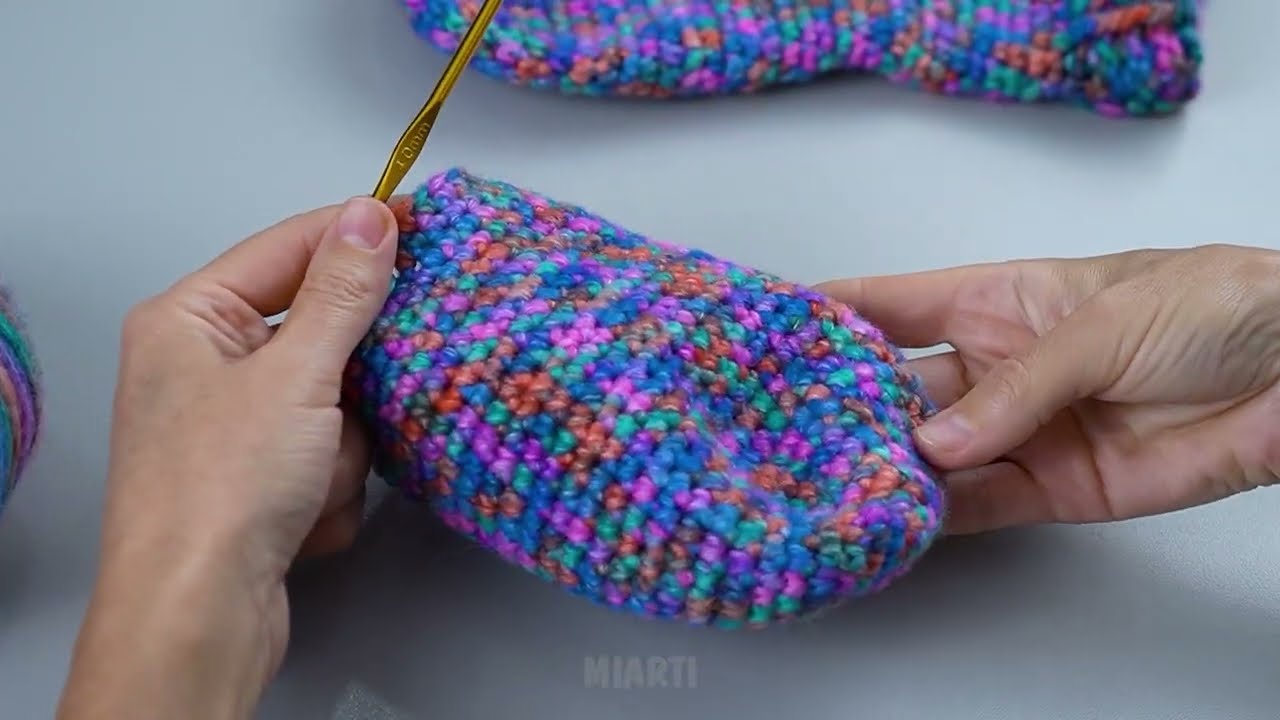
🧶 How to Make Simple Crochet Socks
(Even a beginner can handle it!)
Crochet socks might look tricky, but with basic stitches and a simple construction method, you can make your first pair quickly. This method uses worsted-weight yarn and a top-down approach—the easiest for beginners.
⭐ What You’ll Need
-
Worsted-weight yarn (medium #4) – approx. 150–200 yd for one pair
-
5.0 mm (H) crochet hook
-
Scissors
-
Yarn needle
-
Stitch markers (optional but helpful)
🧦 Basic Construction Overview
-
Cuff – a stretchy rib worked flat and then joined
-
Leg – worked in the round
-
Heel flap – a short rectangle
-
Heel turn – shaping the cup of the heel
-
Foot – worked in the round again
-
Toe – decreased and sewn shut
This method is very forgiving and perfect for beginners.
🧶 Stitch Abbreviations (US terms)
-
ch – chain
-
sl st – slip stitch
-
sc – single crochet
-
hdc – half–double crochet
-
dc – double crochet
-
st(s) – stitch(es)
✨ Step-By-Step Instructions
1. The Cuff
This creates a stretchy band so the sock stays up.
-
Ch 11.
-
Row 1: hdc in 2nd ch from hook and across (10 sts).
-
Row 2: ch 1, turn; hdc in back loop only across.
-
Repeat Row 2 until cuff fits comfortably around your ankle/lower calf.
-
Typical count: 28–34 rows.
-
-
Fold into a loop and slip stitch the short edges together.
✔ You’ve made the cuff!
Now you will work stitches around the top edge to start the leg.
2. The Leg
-
Round 1: Ch 1. Work 38–42 hdc evenly around the cuff edge. Sl st to join.
-
Rounds 2–? (your desired length): Ch 1, hdc in each st around, sl st to join.
➡️ Three to six inches is standard.
3. Heel Flap (worked in rows)
You will crochet back and forth on half the stitches to form a small rectangle.
-
Count half your stitches — usually 19–21 sts.
-
Row 1: hdc in those stitches only, turn.
-
Row 2: ch 1, hdc across, turn.
-
Repeat Row 2 until the heel flap is about as tall as it is wide (usually 10–12 rows).
4. Heel Turn (shaping the cup)
This looks scary but is actually simple.
-
Row 1: hdc in half the heel flap stitches, hdc2tog, turn.
-
Row 2: ch 1, hdc to 1 st before gap, hdc2tog over gap, turn.
-
Repeat Row 2 until all gaps are closed and a curved “heel cup” forms.
✔ The heel is done! 🎉
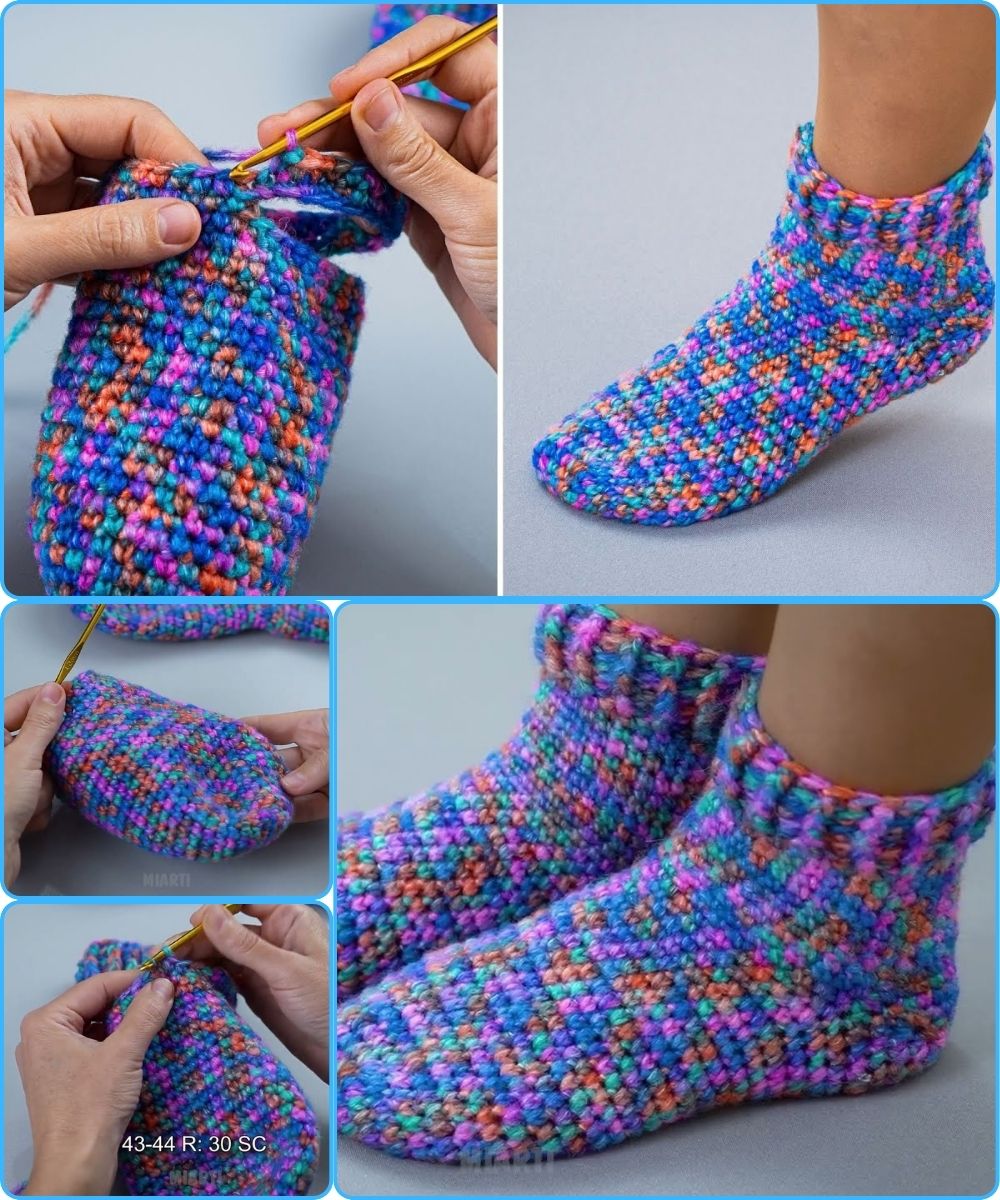
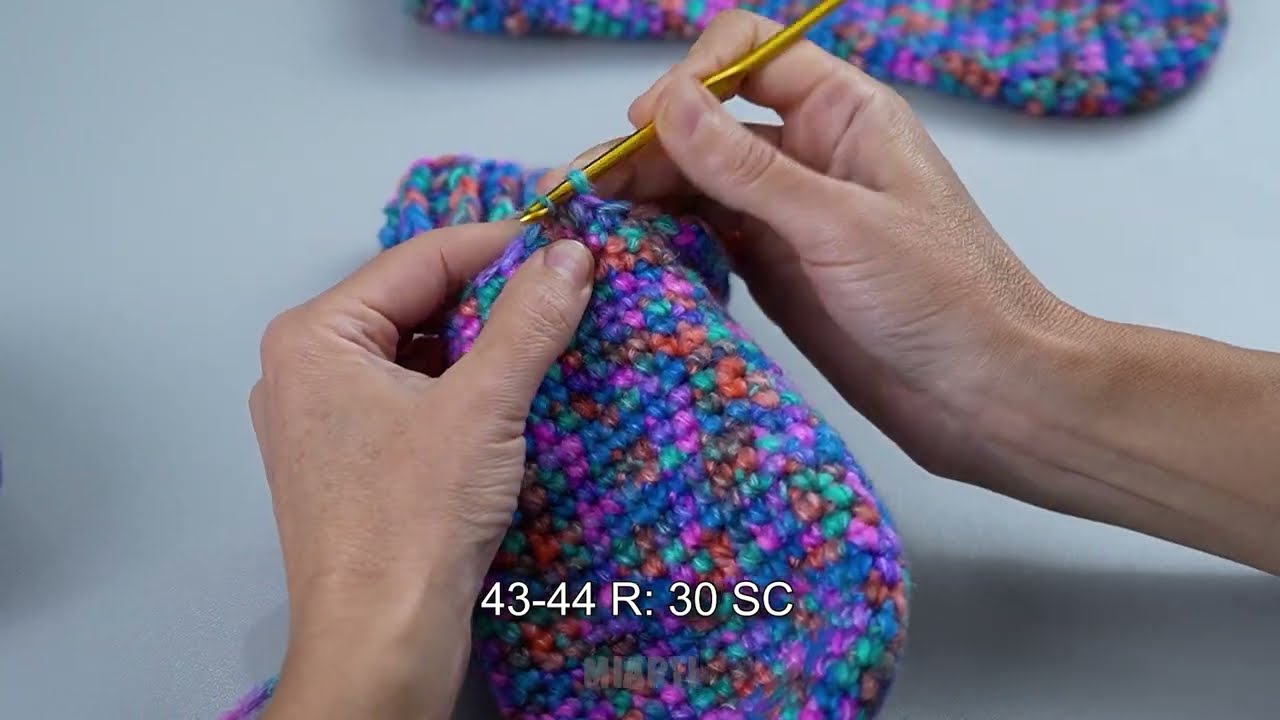
5. The Foot
Now you will work around the entire opening again.
-
Round 1: Work hdc evenly around the heel flap edges and across the instep. Join.
-
Rounds 2–? : hdc around until the foot measures 1.5–2 inches shorter than the desired finished length.
6. The Toe
You’ll decrease every other round.
Decrease round:
-
hdc in 6 sts, hdc2tog — repeat around.
Next round:
-
hdc in each st (no decreases).
Alternate these two rounds:
-
Continue until you have 10–12 sts left.
Cut yarn, leaving a long tail, and use the yarn needle to weave through remaining stitches and pull tight (just like closing a drawstring).
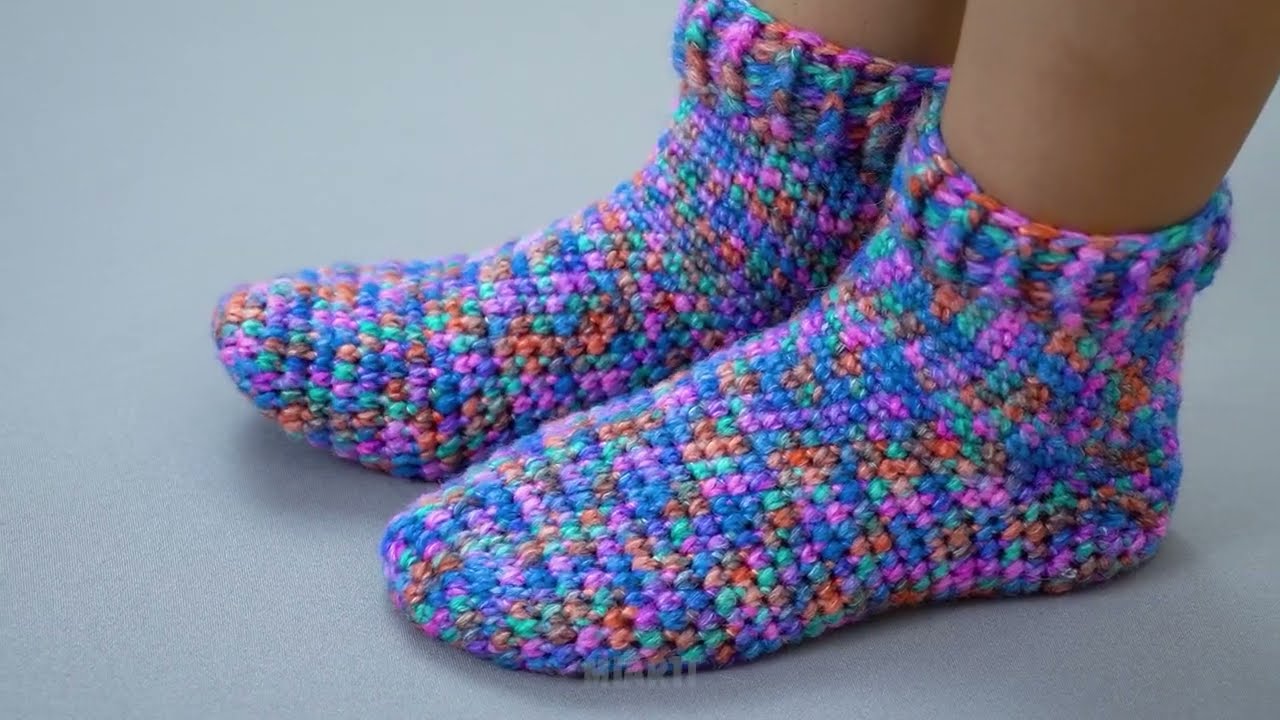
🎉 You Made a Crochet Sock!
Now repeat all steps for the second sock.
💡 Tips for Beginners
-
Try on the sock as you go. Crochet is forgiving—you can easily adjust length.
-
Use smooth, light-colored yarn so you can see stitches better.
-
Mark your rounds with a stitch marker so you don’t lose count.
-
If your sock feels loose, go down a hook size.
-
For extra stretch, use front post/back post stitches for the cuff.
👣 Optional: Size Adjustments
-
Wider ankle/foot: Add 2–4 more stitches when working around the cuff.
-
Longer leg: Add extra rounds in the leg section.
-
Bigger shoe size: Work more foot rounds before starting the toe.
-
Kids’ sizes: Use lightweight yarn (#3) and a 4.0 mm hook.
If you’d like, I can also create:
✅ A printable PDF version
✅ A stitch chart/diagram
✅ A photo-guided step-by-step version
Just tell me!
Watch video: