 by
by Here is a clear, detailed, beginner-friendly guide for making simple knitted slippers from a square using two straight knitting needles. This method is famous because it’s easy, fast, and works for any size.
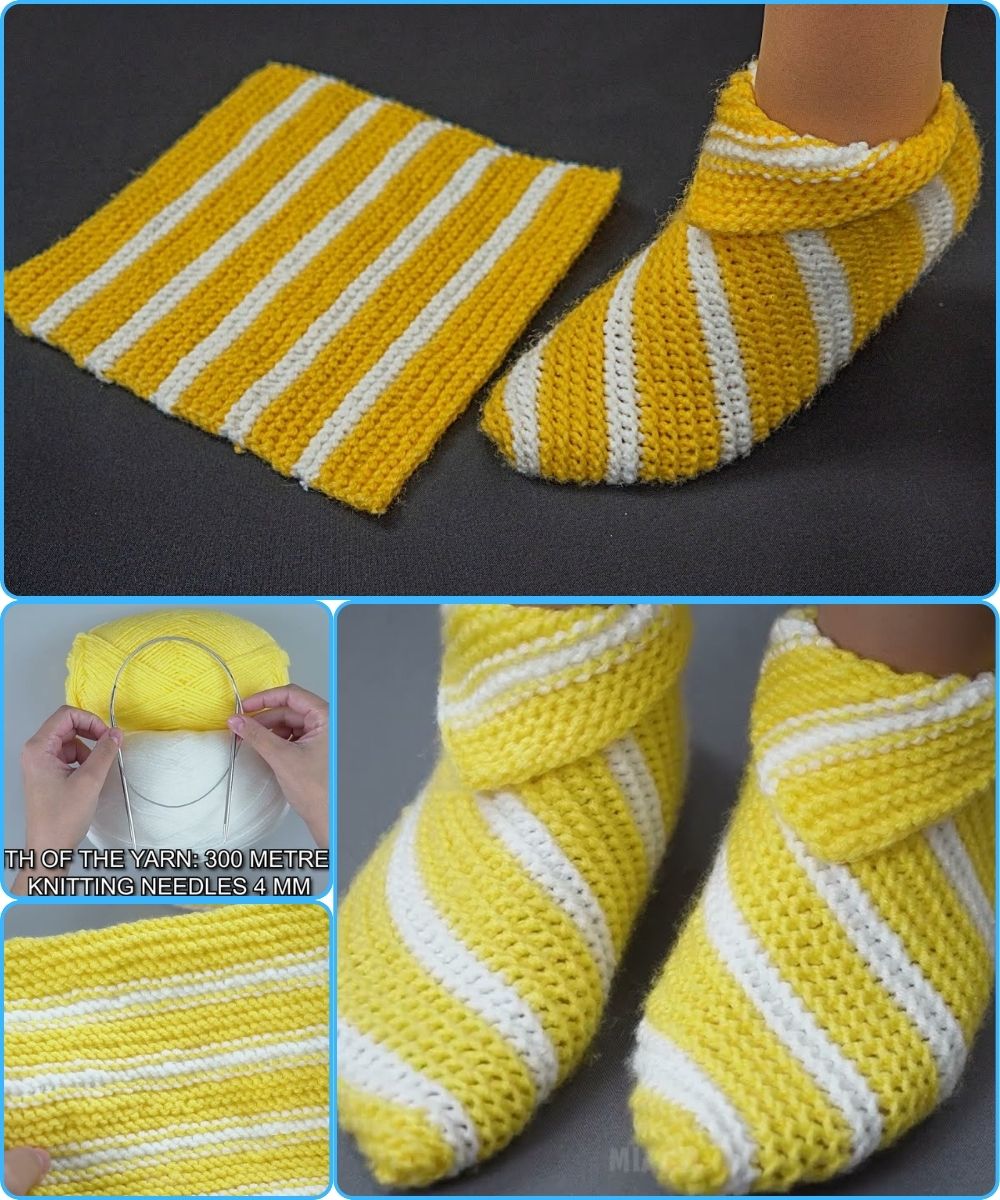
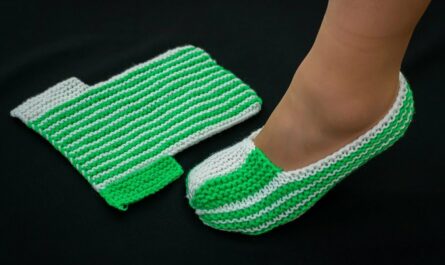
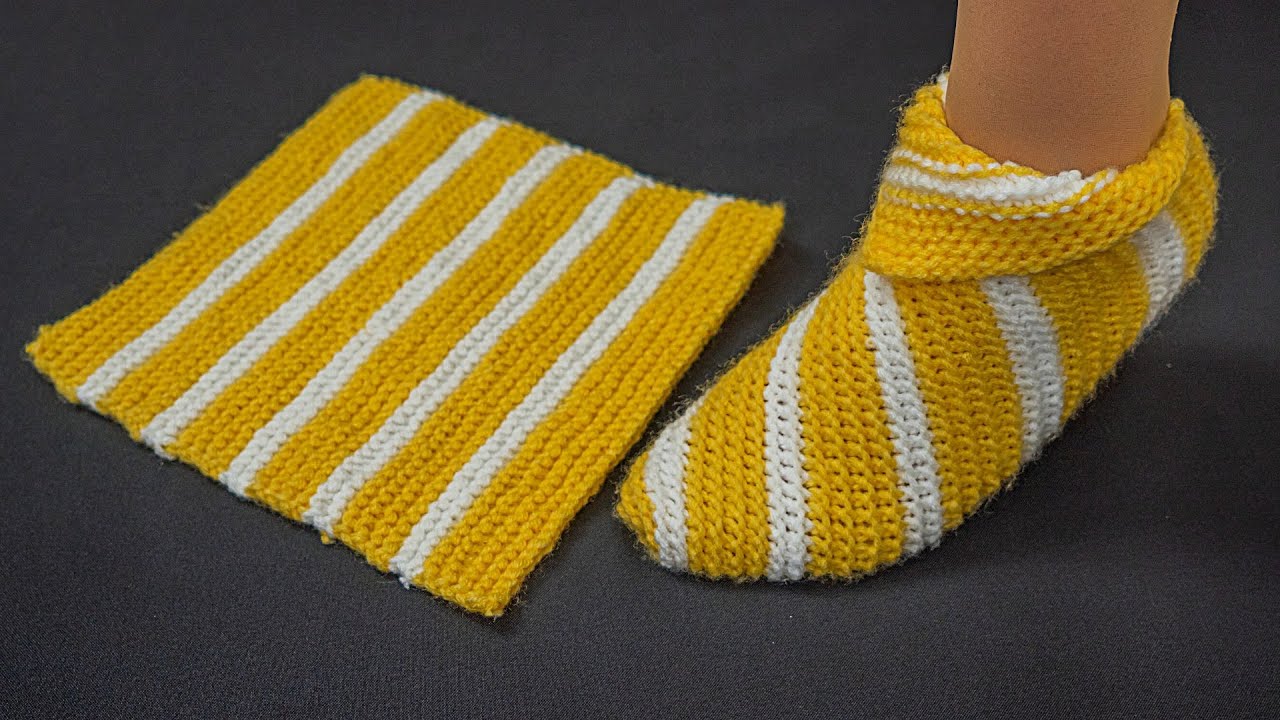
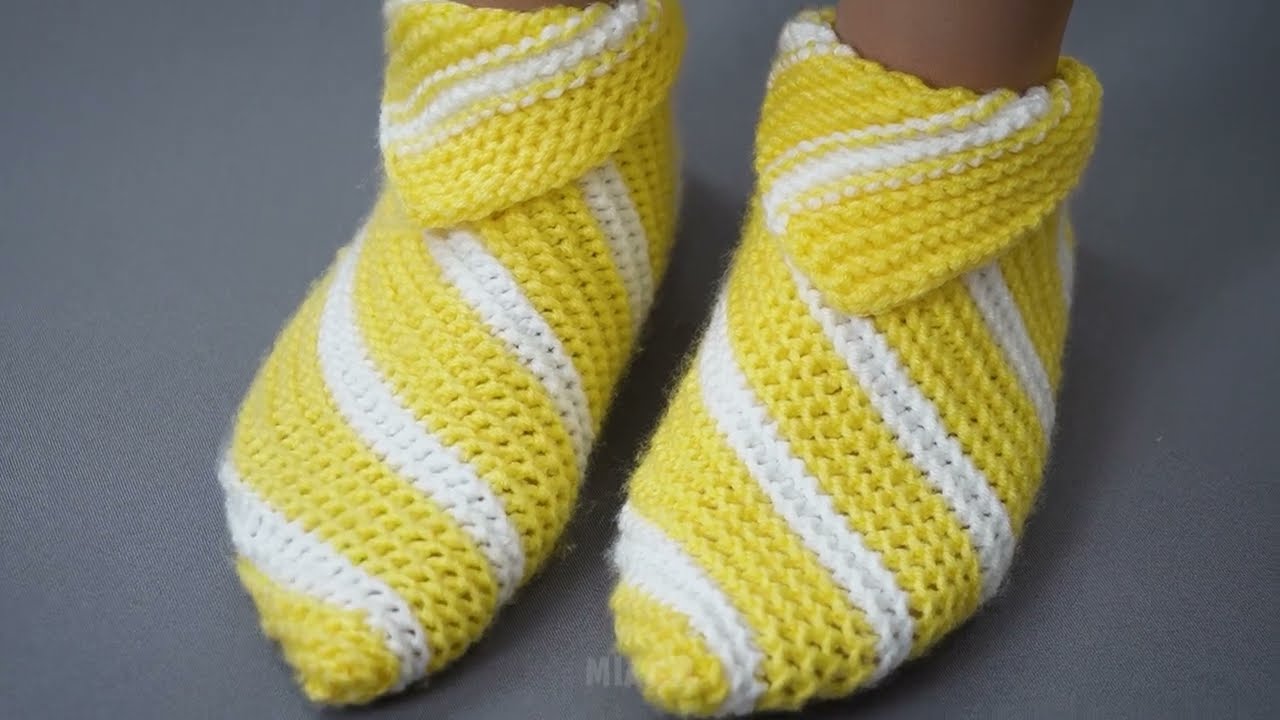
🧶 How to Make Simple Knitted Slippers From a Square (Beginner-Friendly!)
These slippers are made from one knitted square, folded and sewn in a special way. Even if you’ve only mastered the knit stitch, you can make them.
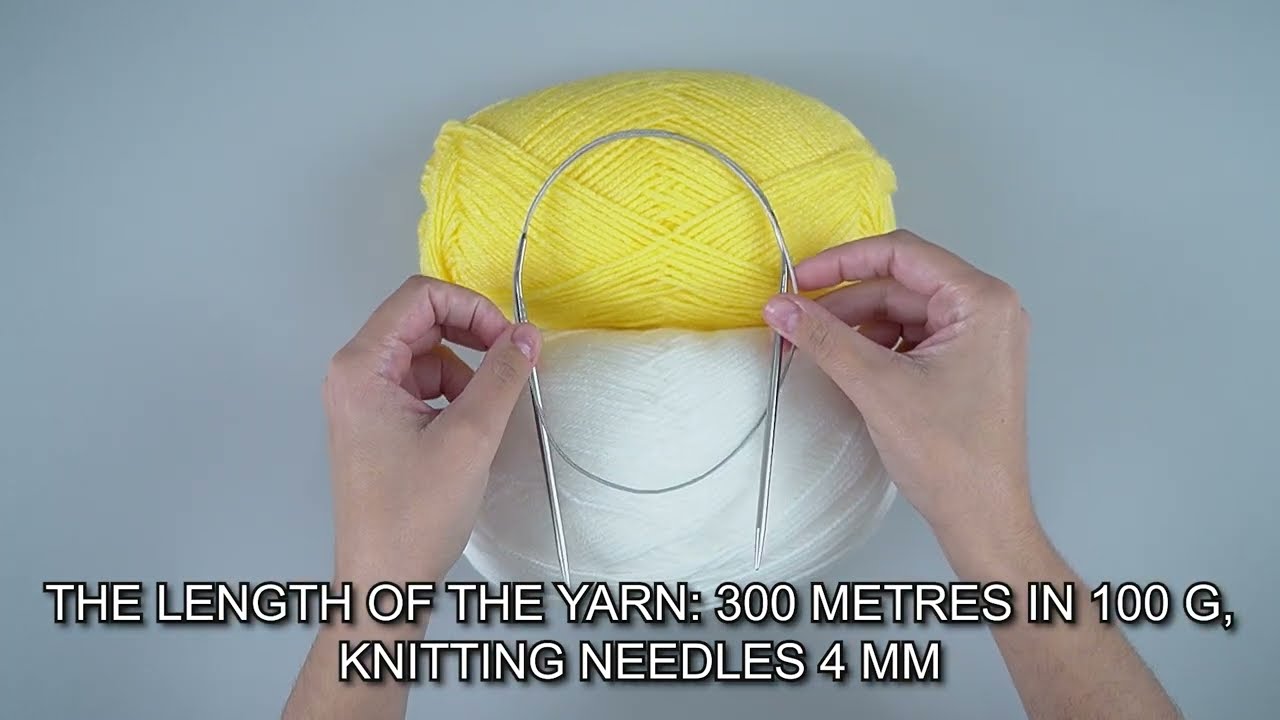
✅ Materials Needed
-
Yarn: Medium-weight (category 4) or bulky (category 5) yarn. Acrylic or wool blends work great.
-
Knitting needles: Straight needles sized according to your yarn (US 8–10 / 5–6 mm is typical).
-
Yarn needle for sewing seams.
-
Scissors
-
Optional: Decorative buttons, pom-poms, or ribbed edging
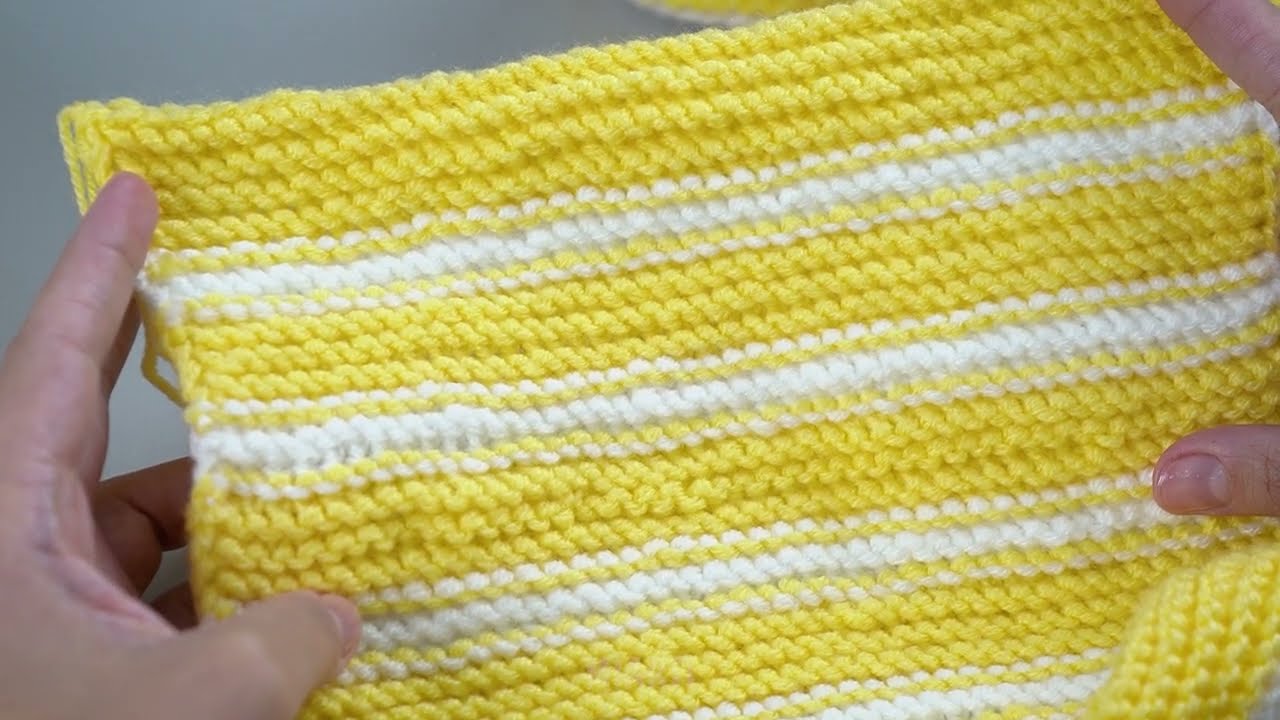
🧵 Step 1: Knit the Square
📏 How big should the square be?
-
Adult women: 20–24 cm (8–9.5 in) on each side
-
Adult men: 24–27 cm (9.5–10.5 in)
-
Children: 15–18 cm (6–7 in)
➤ Cast On
Cast on enough stitches to reach your desired width.
Example: For a women’s size using worsted yarn and 5 mm needles:
-
Cast on 32–36 stitches.
➤ Knit the Fabric
Knit every row in garter stitch (the easiest stitch for beginners).
Continue knitting until your work forms a perfect square—the height should equal the width.
➤ Cast Off
Bind off loosely and weave in the yarn tail.
🧩 Step 2: Fold the Square into a Slipper
This is the magic part! The same square becomes the sole, heel, and front of the slipper.
🔹 1. Fold the Square Like a Diamond
Place the square so it looks like a diamond (one corner pointing up, like a kite).
🔹 2. Fold the Side Corners
Fold the left and right corners inward so they meet in the middle.
These will form the toe/top of the slipper.
🔹 3. Fold the Bottom Corner Up
Fold the bottom corner upward—this becomes the heel area.
🪡 Step 3: Sew the Slipper Shape
Use your yarn needle and matching yarn.
🧵 Sew the Toe Area
-
Sew along the front where the two side corners meet.
-
Leave a small triangular opening at the top for the foot (this becomes the “v” shape of the slipper).
🧵 Sew the Heel
-
Sew up the back where the bottom corner was folded up.
-
Secure tightly for durability.
👣 Step 4: Try It On & Adjust
Slip your foot in:
-
If it feels loose → Add a row of single crochet around the opening or sew a small elastic band inside.
-
If the toe is too open → Sew up a little more of the front seam.
🎀 Optional Customizations
-
Add a ribbed cuff: Pick up stitches around the opening and knit 1×1 rib for 1–2 inches.
-
Sew on buttons or bows.
-
Attach pom-poms at the toe.
-
Use striped yarn or color-blocking for a fun look.
✨ Tips for Success
-
Garter stitch makes fabric stretchy—perfect for slippers.
-
If the slipper is too big or small, simply make a bigger or smaller square next time.
-
Use double strands of yarn for extra warmth.
🧶 Simple Pattern Summary (Quick Reference)
-
Cast on 32–36 stitches.
-
Knit garter stitch until you have a square.
-
Bind off.
-
Fold into a diamond shape.
-
Fold sides in → sew toe.
-
Fold bottom up → sew heel.
-
Add decorations if desired.
If you want, I can also create:
✅ A step-by-step diagram
✅ A printable PDF pattern
✅ Sizing instructions for children, teens, men, or wide feet
✅ A ribbed-cuff version
Just tell me!
Watch video: