 by
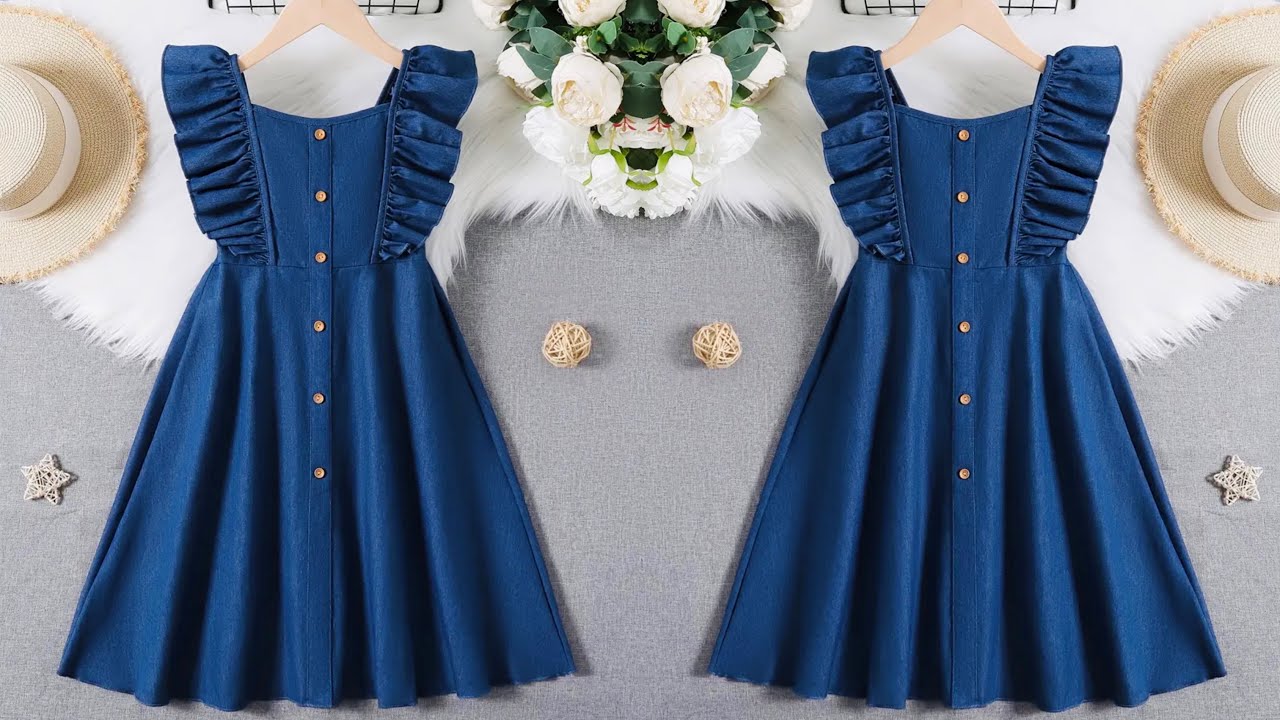
by Here’s a detailed step-by-step guide on how to make a trendy umbrella cut shirred back baby frock, including the cutting and stitching process. This style is fashionable and comfortable, with a flared (umbrella) skirt and a shirred (elastic gathered) back bodice that allows flexibility and ease for babies.
✂️ Materials Needed:
-
Cotton fabric (1–1.5 meters depending on baby size)
-
Lining fabric (optional)
-
Elastic thread (for shirring)
-
Matching sewing thread
-
Measuring tape
-
Scissors
-
Chalk/fabric marker
-
Sewing machine (with shirring capability)
-
Iron
-
Pins
📏 Measurements Required (for babies 6 months–2 years as example):
-
Chest circumference
-
Waist
-
Shoulder to waist length (bodice length)
-
Total frock length (shoulder to hem)
-
Shoulder width
🧵 Step-by-Step Process
1. Drafting the Bodice Pattern
Front Bodice:
-
Draw a basic bodice block using chest and length measurements.
-
Add seam allowance (0.5″ at neckline and arms, 1″ at waist and sides).
-
Keep the neckline higher (round or square as preferred).
-
Mark armhole curves appropriately for baby sizes.
Back Bodice:
-
Same shape as the front but:
-
Increase width by 2–3 inches to allow for shirring.
-
Keep the back neckline slightly lower or straight.
-
Divide the back into two if you want a keyhole or loop opening.
-

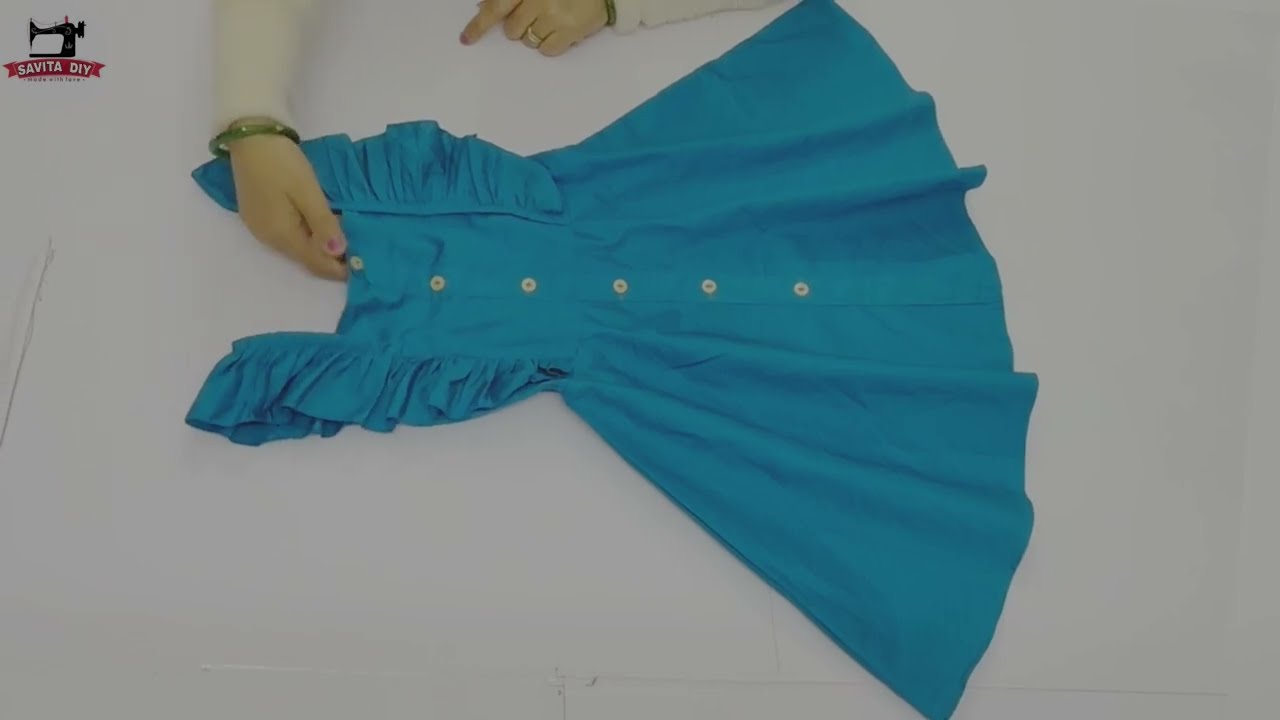
2. Cutting the Umbrella Skirt (Full Circle Skirt)
Formula:
-
Waist Radius (r) = Waist ÷ (2 × π)
-
For umbrella cut: Draw a quarter circle on folded fabric using this radius.
Steps:
-
Fold fabric into quarters.
-
From the corner, mark radius (r) for waist.
-
From the same corner, mark the full length (r + desired skirt length).
-
Cut the quarter circle.
You will get a full circular skirt when unfolded.
3. Cutting Sleeves (Optional)
-
You can use cap sleeves, puff sleeves, or make it sleeveless.
-
For puff sleeves, cut a wider sleeve piece and gather the top and bottom.
✨ Stitching Process
1. Preparing the Bodice
Front:
-
Stitch darts if needed (usually not required for babies).
-
Attach lining if using.
-
Finish neckline and armholes with facing or bias tape.
Back:
-
Wind elastic thread on bobbin by hand (not too tight).
-
Load machine with regular thread on top, elastic thread in bobbin.
-
Sew multiple rows (about 0.5″ apart) across the width of the back bodice piece.
-
The fabric will gather automatically (shirring effect).
-
Steam iron gently to shrink it further.
2. Joining Bodice Pieces
-
Join front and back bodice at the sides.
-
Attach sleeves if applicable.
-
Finish sleeve ends with elastic, binding, or hemming.
3. Attaching Skirt to Bodice
-
Match the waist of skirt to the bottom of the bodice.
-
Adjust gathers if needed to fit perfectly.
-
Pin and stitch all around.
-
Overlock or zigzag seam.
4. Finishing Touches
-
Hem the bottom of the skirt using narrow hemming or baby hem.
-
Add buttons, bow, lace, or decorative elements as desired.
-
If the back is split, add a small loop and button for closure above the shirring.
-
Press the entire frock gently with a warm iron.
✅ Tips for Perfect Finish:
-
Use lightweight cotton or lawn for best shirring results.
-
Always test shirring on a scrap first to get tension right.
-
Match thread colors carefully for a neat look.
-
Use bias tape to finish raw edges neatly.
📌 Summary:
| Part | Technique |
|---|---|
| Bodice (Front) | Simple lined bodice |
| Bodice (Back) | Shirring with elastic thread |
| Skirt | Full circle (umbrella cut) |
| Sleeves | Optional – cap or puff |
| Finish | Hemming, button/loop, bows or lace |