 by
by Here is a clear, beginner-friendly, and detailed tutorial for making the simplest crochet socks. This version is written so you can use it as a blog post, PDF, or learning guide—even if you are new to crochet 🧶
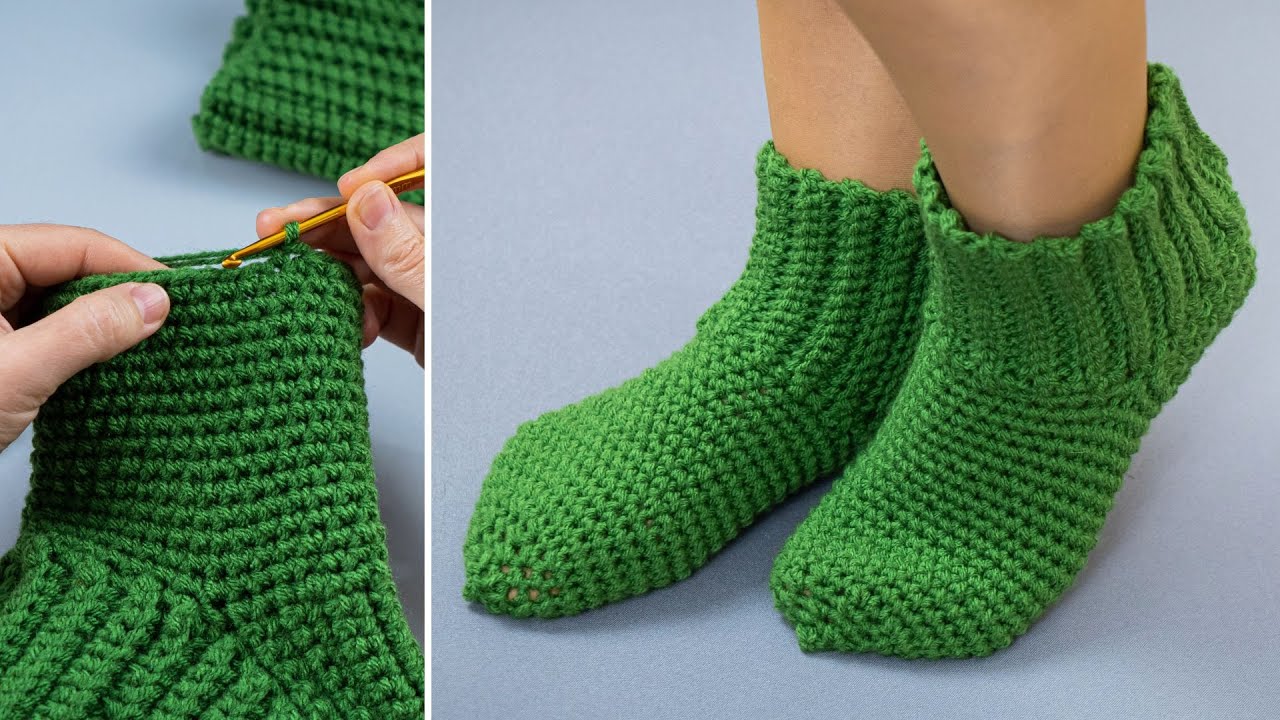
How to Make the Simplest Crochet Socks
A Step-by-Step Beginner Tutorial
Crochet socks may look complicated, but they can be surprisingly easy! This tutorial will guide you through making simple, cozy crochet socks using basic stitches and straightforward shaping. These socks are worked from the toe up, which makes sizing easier and avoids complicated sewing.
🧵 Materials You’ll Need
-
Yarn:
-
DK or Light Worsted (Category 3) yarn
-
Wool or wool-blend is best for socks (stretchy and warm)
-
Approx. 250–300 yards (230–275 meters)
-
-
Crochet Hook:
-
Size 3.5 mm (E) or 4 mm (G)
-
Choose a smaller hook for tighter stitches
-
-
Other Tools:
-
Stitch marker
-
Yarn needle
-
Scissors
-
🧶 Crochet Stitches Used
You only need a few basic stitches:
-
Chain (ch)
-
Slip Stitch (sl st)
-
Single Crochet (sc)
-
Half Double Crochet (hdc) (optional)
-
Increase (inc – 2 stitches in one stitch)
📏 Sizing Guide (Adjustable)
These socks stretch, so exact sizing isn’t critical.
| Size | Foot Length |
|---|---|
| Small | 8–9 inches |
| Medium | 9–10 inches |
| Large | 10–11 inches |
STEP 1: Start the Toe (Magic Ring)
-
Make a magic ring
-
Crochet 8 single crochets (sc) into the ring
-
Place a stitch marker and join with sl st
Toe Increases
Increase each round until the toe fits comfortably around your toes.
-
Round 2: 2 sc in each stitch (16 sc)
-
Round 3: (1 sc, inc) repeat around (24 sc)
-
Round 4: (2 sc, inc) repeat around (32 sc)
👉 Stop increasing when the toe covers your toes without stretching.
STEP 2: Work the Foot
-
Continue crocheting sc in each stitch
-
Do NOT increase
-
Try the sock on as you go
Continue until the sock reaches the base of your ankle (about 7–9 inches from toe).
STEP 3: Create the Heel (Easy Heel Turn)
This is a simple heel that works flat.
-
Crochet halfway around the sock
-
Turn your work
-
Chain 1, then sc across
-
Turn and repeat for 8–10 rows
This forms the heel flap.
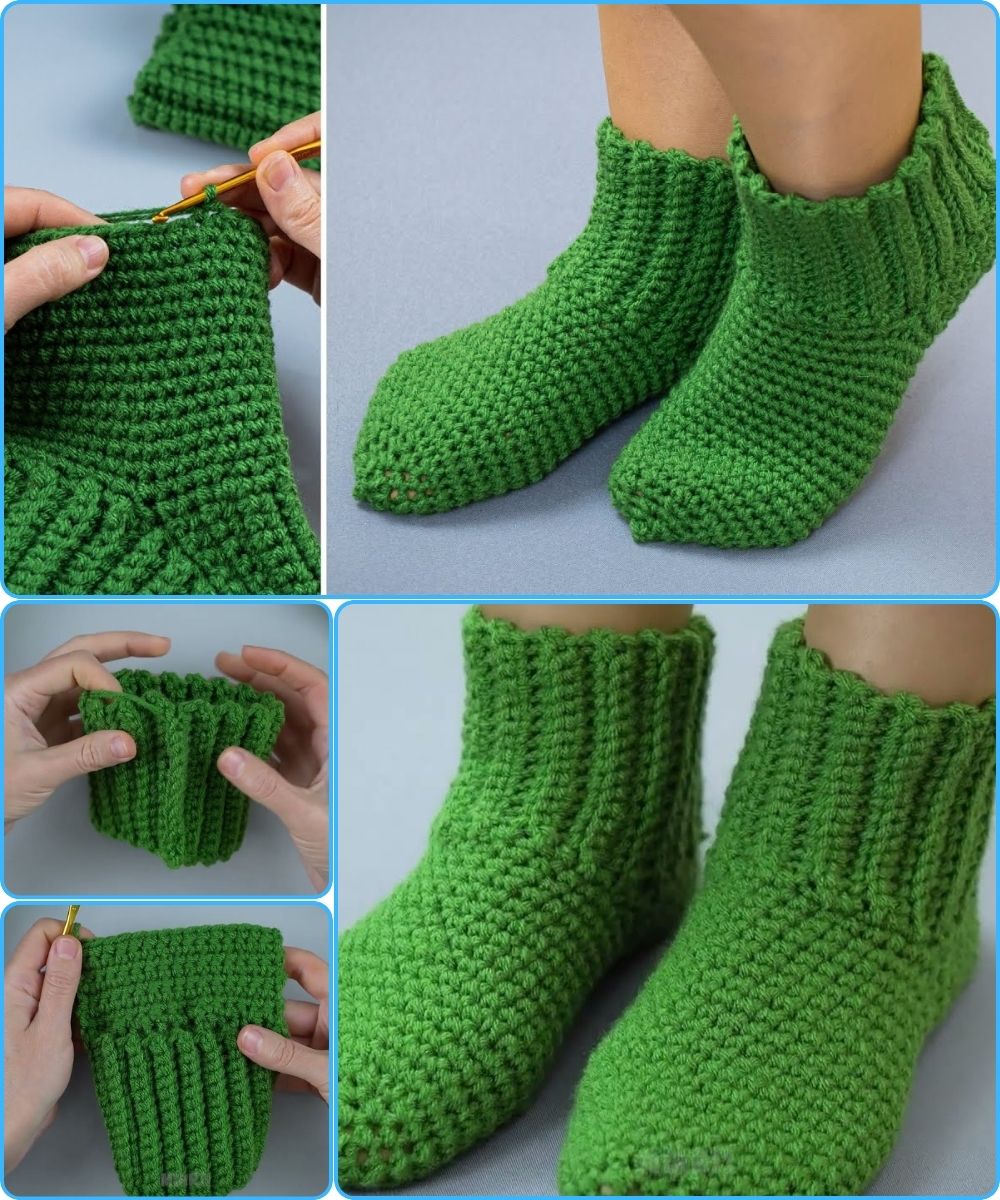
STEP 4: Join the Heel
-
Fold the heel flap in half
-
Slip stitch the sides together
-
Turn sock right-side out
Your heel is now complete!
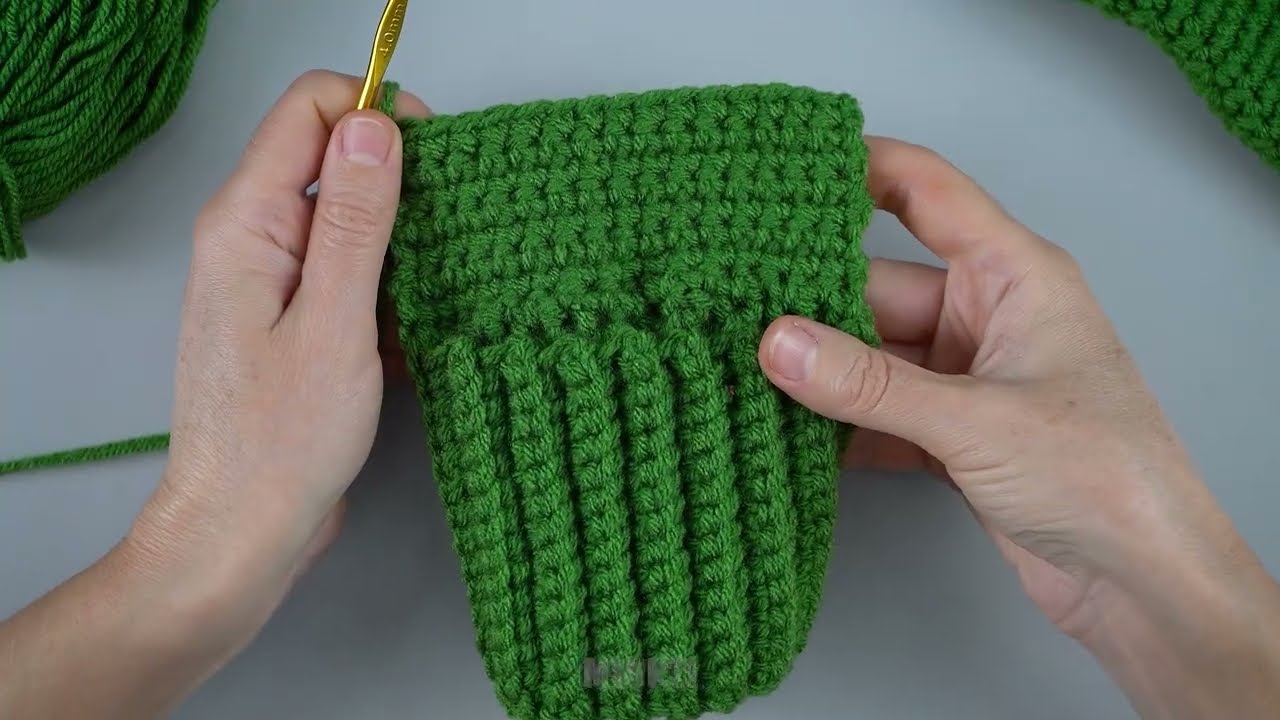
STEP 5: Crochet the Leg
-
Reattach yarn at the ankle
-
Crochet in rounds using:
-
sc for a snug fit or
-
hdc for a softer feel
-
-
Continue for 4–6 inches
Optional: Add ribbing by alternating front-post and back-post stitches.

STEP 6: Finish the Cuff
-
Crochet 2–3 rounds of slip stitches or tight single crochet
-
Fasten off
-
Weave in all ends
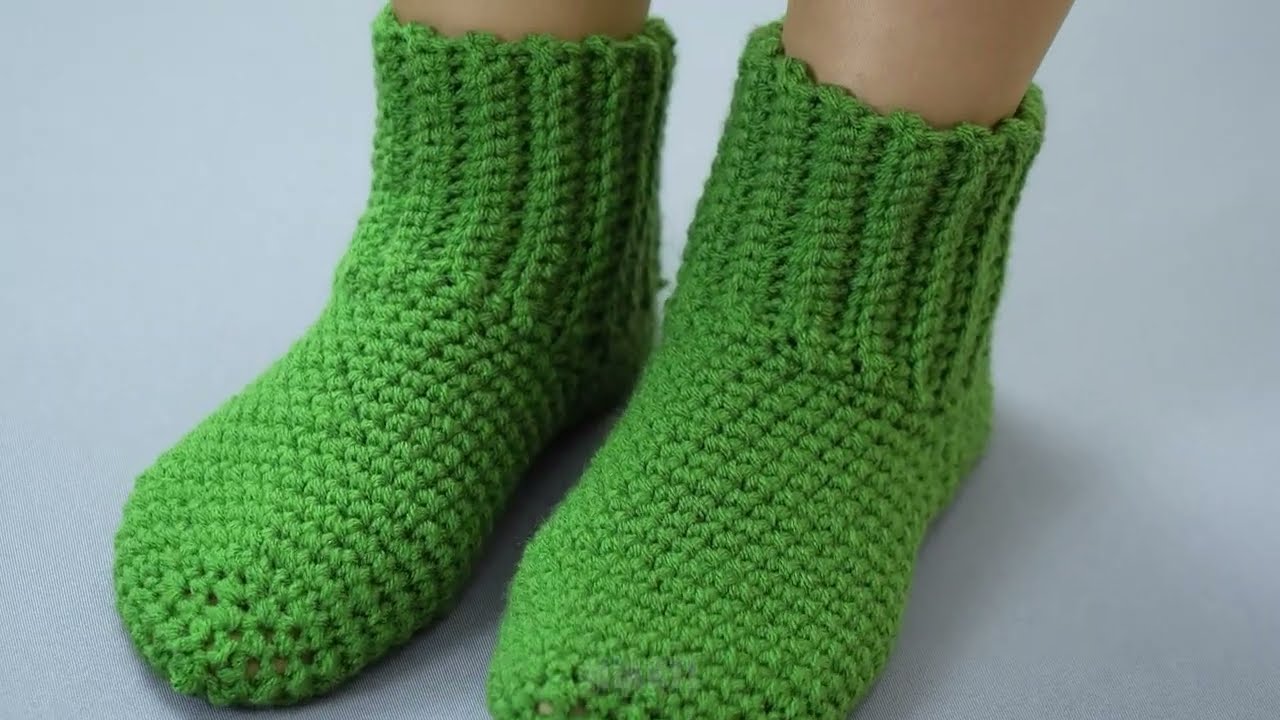
🎉 Final Touches
-
Try the sock on for fit
-
Adjust length or cuff height as desired
-
Repeat all steps for the second sock
🧦 Beginner Tips
✔ Use stretchy yarn
✔ Keep stitches tight
✔ Try on often
✔ Count stitches each round
✔ Use stitch markers generously
❤️ Conclusion
Congratulations! You’ve just made your simplest crochet socks. Once you master this pattern, you can easily add colors, textures, or fancy cuffs. Crochet socks are practical, fun, and incredibly satisfying to make.
If you’d like, I can also:
-
Simplify this further
-
Convert it into a printable PDF
-
Add photos/diagrams descriptions
-
Rewrite it for kids or absolute beginners
Just tell me 😊
Watch tutorial:


