 by
by Sure! 🧶
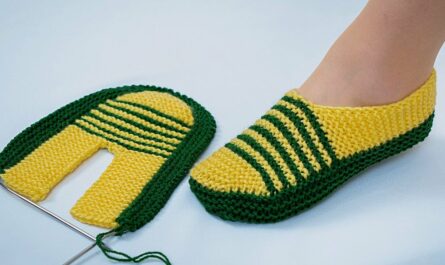
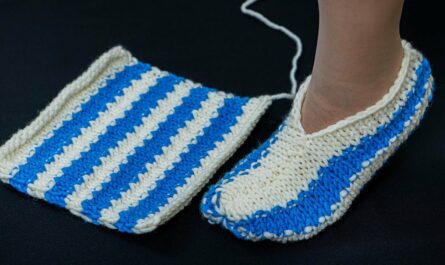
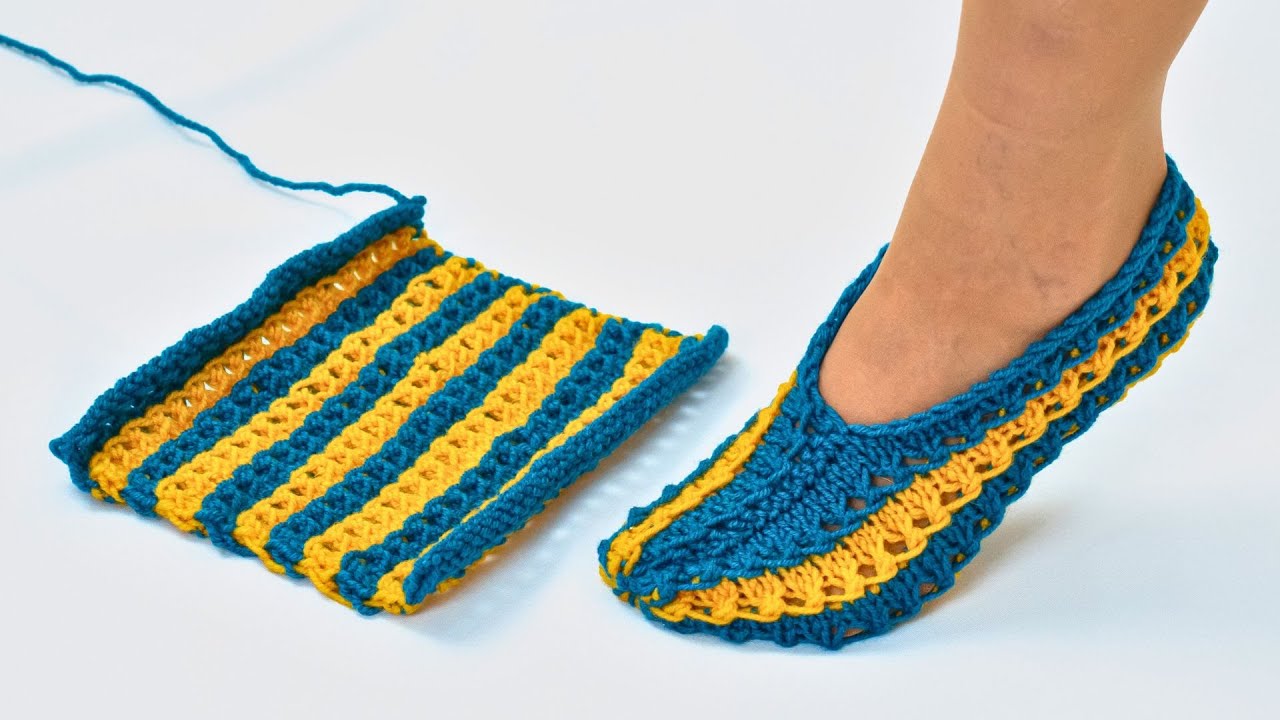
Here’s a clear, detailed, beginner-friendly guide for making easy knitted slippers from just 2 loops (stitches). This is a fun, clever method that looks impressive but is surprisingly simple, even for beginners.
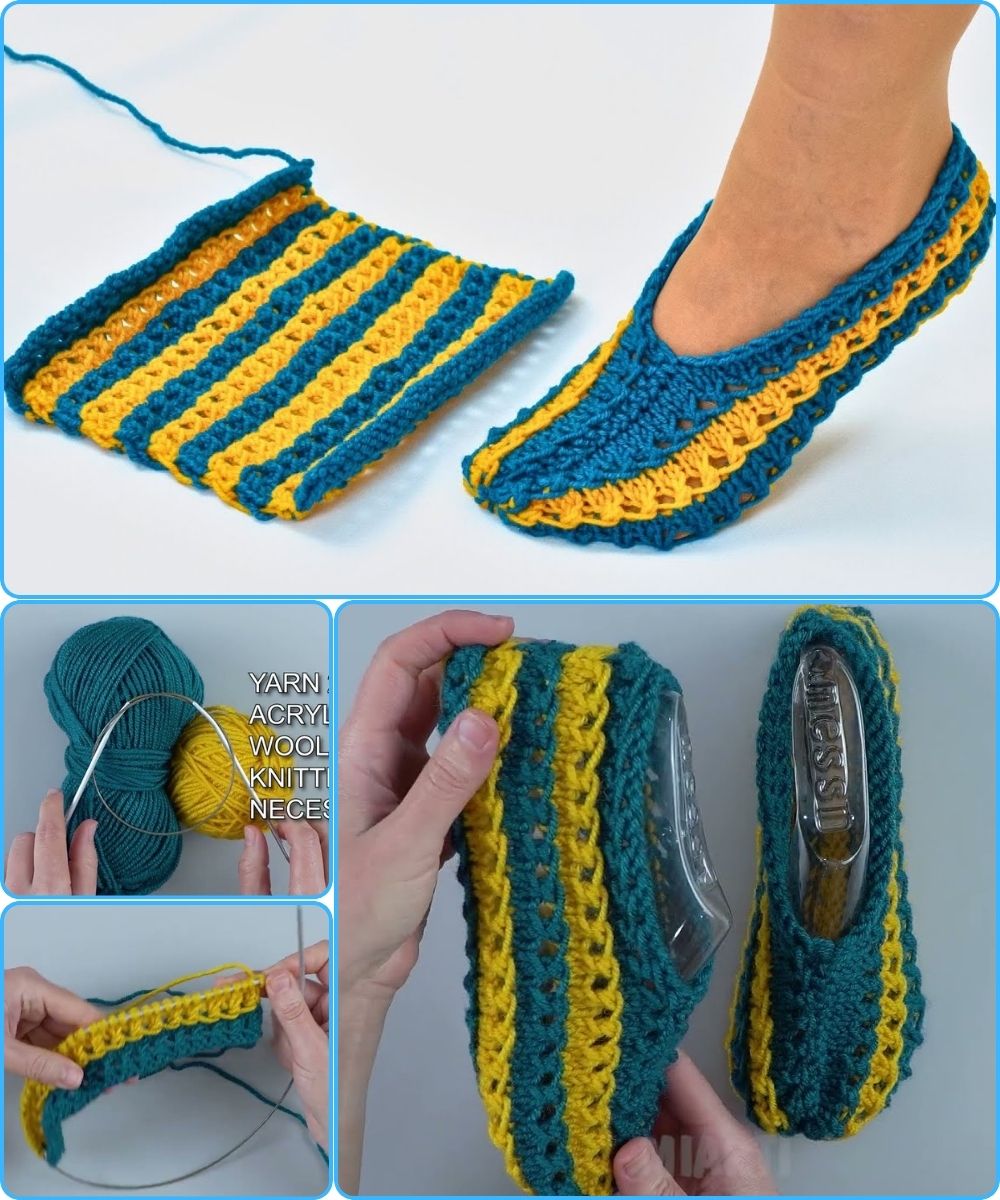
How to Make Easy Knitted Slippers from 2 Loops
Beginner Friendly – Simple & Clever Technique
These slippers start with only 2 stitches, then grow into a cozy, well-shaped slipper using basic increases and decreases. They’re worked flat on two needles and require minimal sewing.
1. What You’ll Need
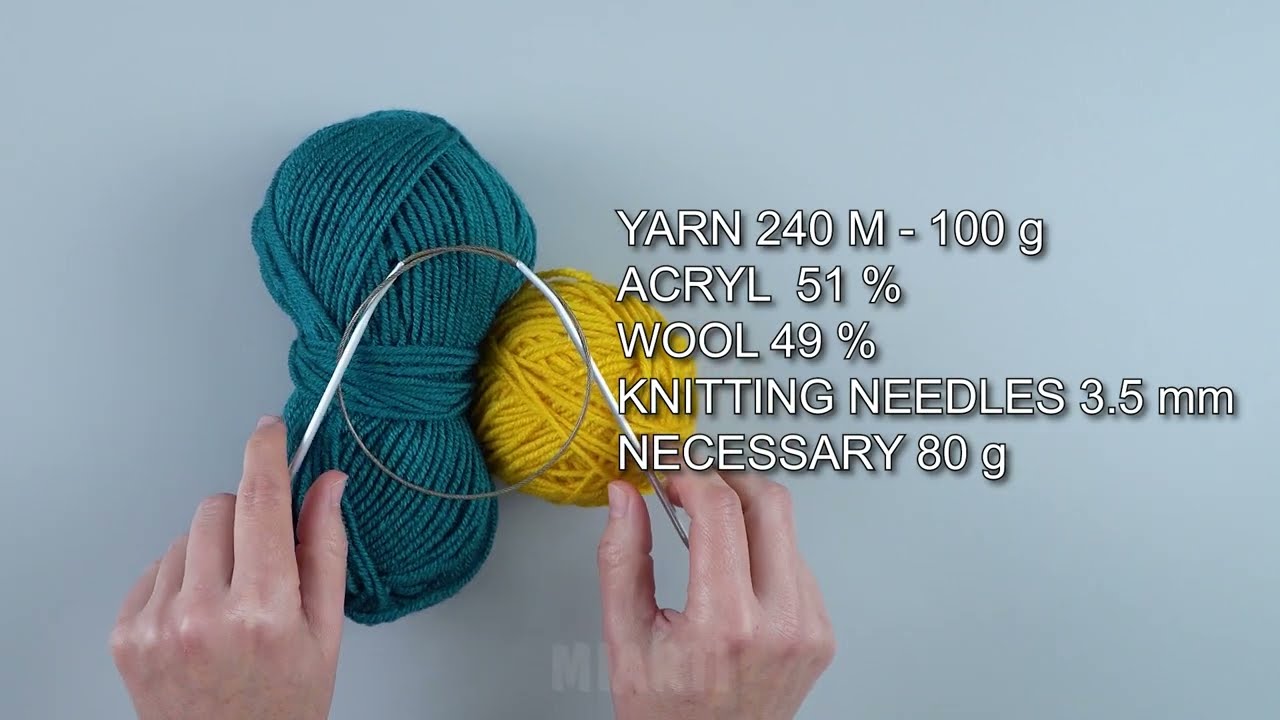
🧶 Materials
-
Yarn:
-
Medium (worsted) or bulky yarn
-
Wool or wool blend is best
-
About 100–150 g
-
-
Knitting needles:
-
Size 5 mm–6 mm (US 8–10) straight needles
-
-
Other tools:
-
Tapestry needle
-
Scissors
-
Stitch markers (optional)
-
2. Size Guide (Easy to Adjust)
This pattern fits an average adult foot.
To adjust:
-
More stitches at widest point = wider slipper
-
More rows = longer slipper
3. Stitches & Skills Used
Perfect for beginners—you only need:
-
Knit stitch
-
Purl stitch
-
Yarn over (increase)
-
Knit 2 together (decrease)
-
Cast on & bind off
4. Gauge (Not Critical)
Approximate:
-
16–18 stitches = 10 cm (4 in)
Slippers are forgiving, so exact gauge isn’t essential 😊
5. Step-by-Step Instructions
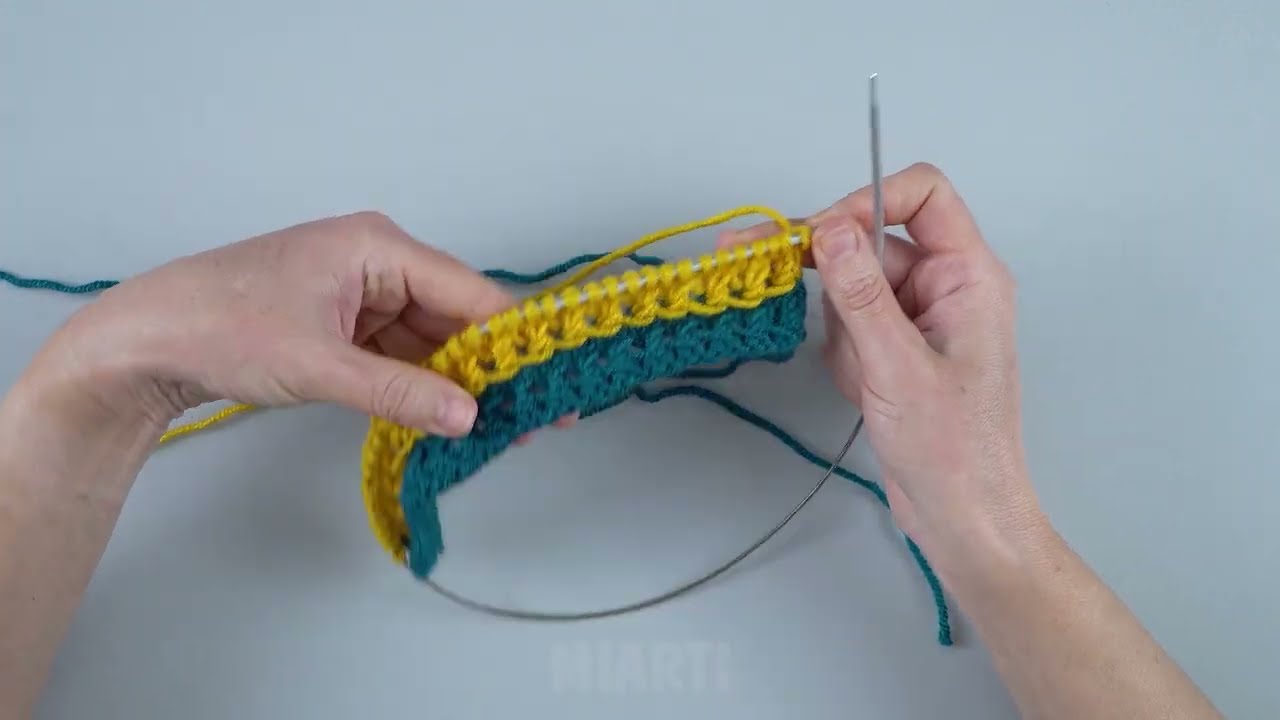
STEP 1: Cast On – Start with 2 Loops
-
Cast on 2 stitches
-
Knit both stitches
This is the starting point of the toe.
STEP 2: Increase for the Toe
On every right-side row:
-
Knit 1
-
Yarn over
-
Knit to last stitch
-
Yarn over
-
Knit 1
On wrong-side rows:
-
Purl all stitches (purl yarn overs normally)
Continue increasing until you have 36–40 stitches.
👉 This forms a smooth, rounded toe.
STEP 3: Knit the Foot
-
Continue knitting straight in stockinette stitch
-
Right side: knit
-
Wrong side: purl
-
-
Knit until the piece measures 22–24 cm (8.5–9.5 in) from the tip
This creates the foot length.
STEP 4: Shape the Heel (Decrease Back to 2 Loops)
Now we reverse the process.
On right-side rows:
-
Knit 1
-
Knit 2 together
-
Knit to last 3 stitches
-
Knit 2 together
-
Knit 1
Wrong-side rows:
-
Purl all stitches
Continue decreasing until 2 stitches remain.
STEP 5: Bind Off
-
Knit the 2 stitches together
-
Cut yarn and pull through
-
Leave a long tail for sewing
6. Finishing – Very Minimal Sewing
-
Fold slipper in half lengthwise
-
Sew:
-
Back heel seam
-
Short seam at the toe (if needed)
-
-
Do not sew along the sole
Weave in all loose ends neatly.
7. Optional Cuff (Easy Upgrade!)
For ankle warmth:
-
Pick up stitches around the opening
-
Knit 6–10 rows in rib stitch (k1, p1)
-
Bind off loosely
8. Beginner Tips 🌱
-
Use chunky yarn for faster results
-
Keep increases neat for a smooth toe
-
Try slipper on as you knit
-
Knit tightly at the heel for durability
9. Customization Ideas ✨
-
Knit with two colors
-
Add pom-poms or tassels
-
Felt the slippers slightly
-
Sew on non-slip sole patches
Final Thoughts
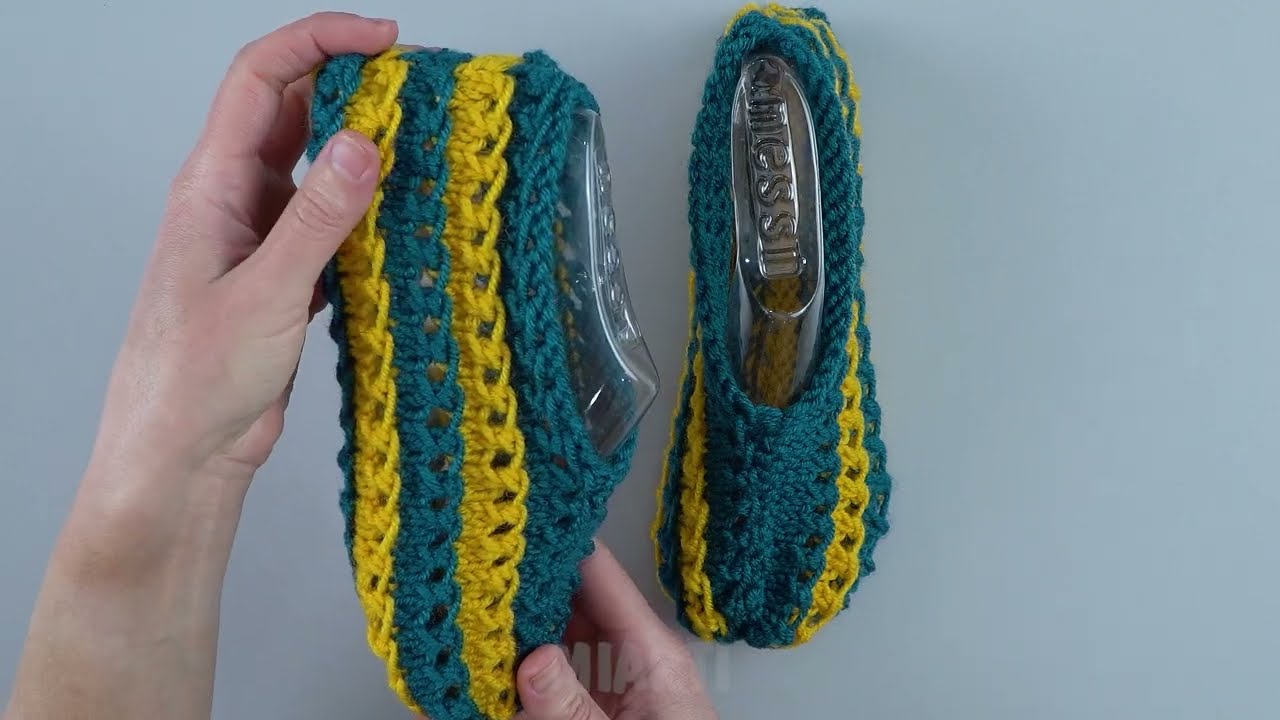
These slippers are:
✅ Started with only 2 loops
✅ Easy and beginner-friendly
✅ Cozy and practical
✅ Fun to knit and quick to finish
It’s amazing how just 2 stitches can turn into a full pair of slippers!
If you’d like, I can:
-
Resize for kids or babies
-
Make this even simpler
-
Turn it into a printable pattern
-
Adapt it for bulky yarn
Watch video: