 by
by Absolutely! 🧶✨
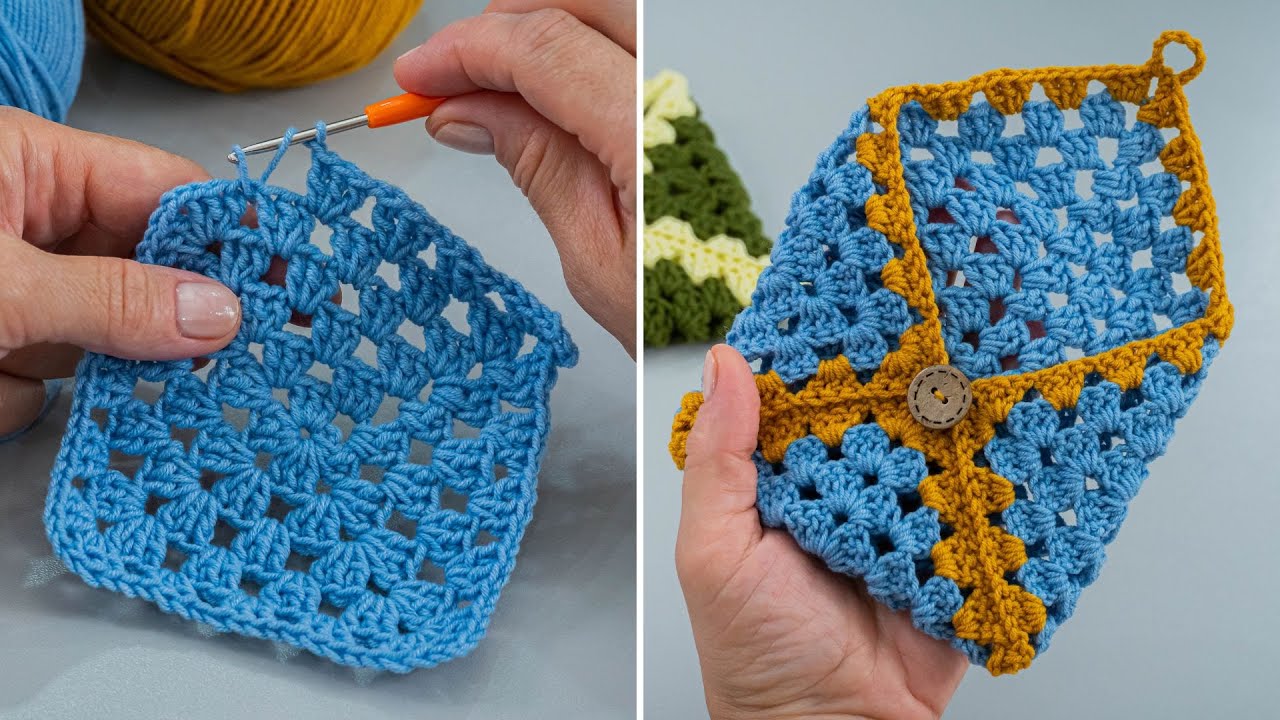
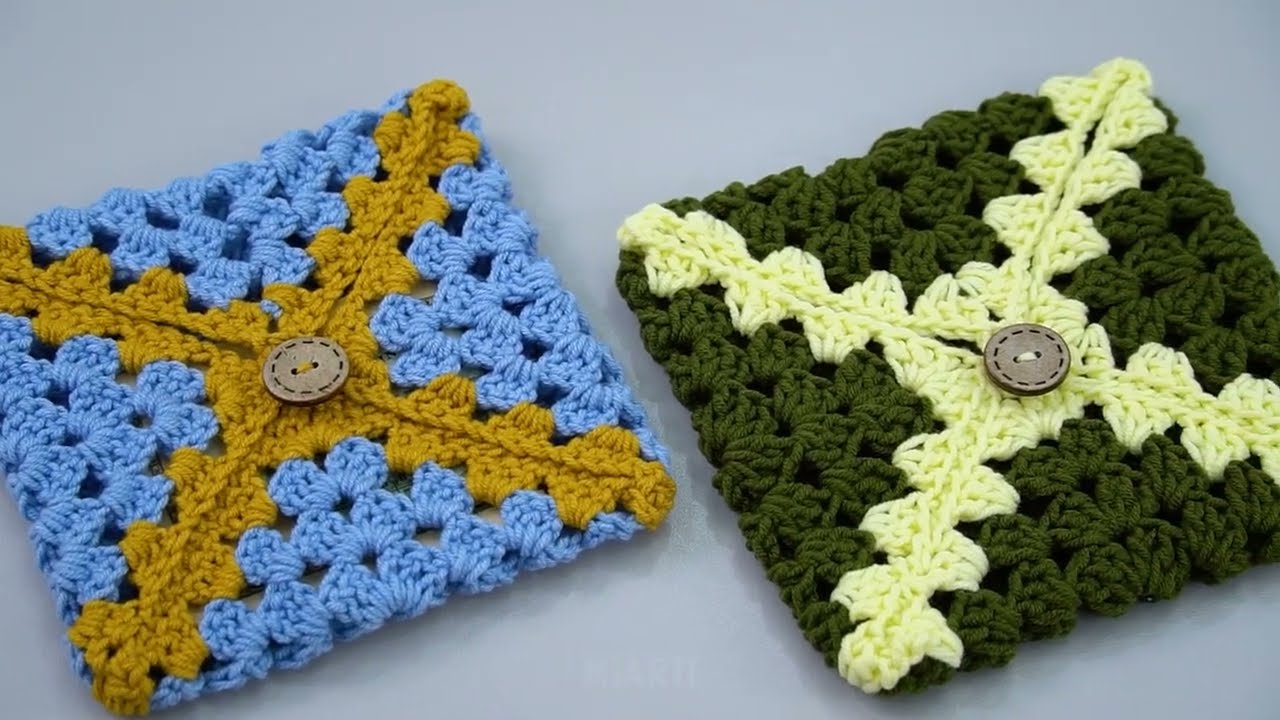
Here’s a clear, beginner-friendly, step-by-step guide for making a crochet wallet / envelope. This project is quick, stylish, and perfect for beginners, and it makes an amazing handmade gift for any occasion.

How to Make a Crochet Wallet / Envelope
Beginner Friendly – An Amazing Handmade Gift!
This crochet wallet is worked in simple stitches, using one flat piece, then folded into an envelope shape. No complicated shaping, no stress—just easy crochet and a beautiful result!
1. What You’ll Need
🧶 Materials
-
Yarn:
-
Medium (worsted) weight yarn
-
Cotton yarn is ideal (strong and neat)
-
About 50–70 g
-
-
Crochet hook:
-
Size 4 mm–5 mm (G/6–H/8)
-
-
Extras:
-
Scissors
-
Yarn needle
-
Button, snap, or magnetic clasp (optional)
-
2. Finished Size (Approximate)
-
Width: 18–20 cm (7–8 in)
-
Height (folded): 9–10 cm (3.5–4 in)
Perfect for:
-
Cash & cards
-
Small cosmetics
-
Gift cards
-
Coins or notes
👉 Easy to resize by adding stitches or rows.
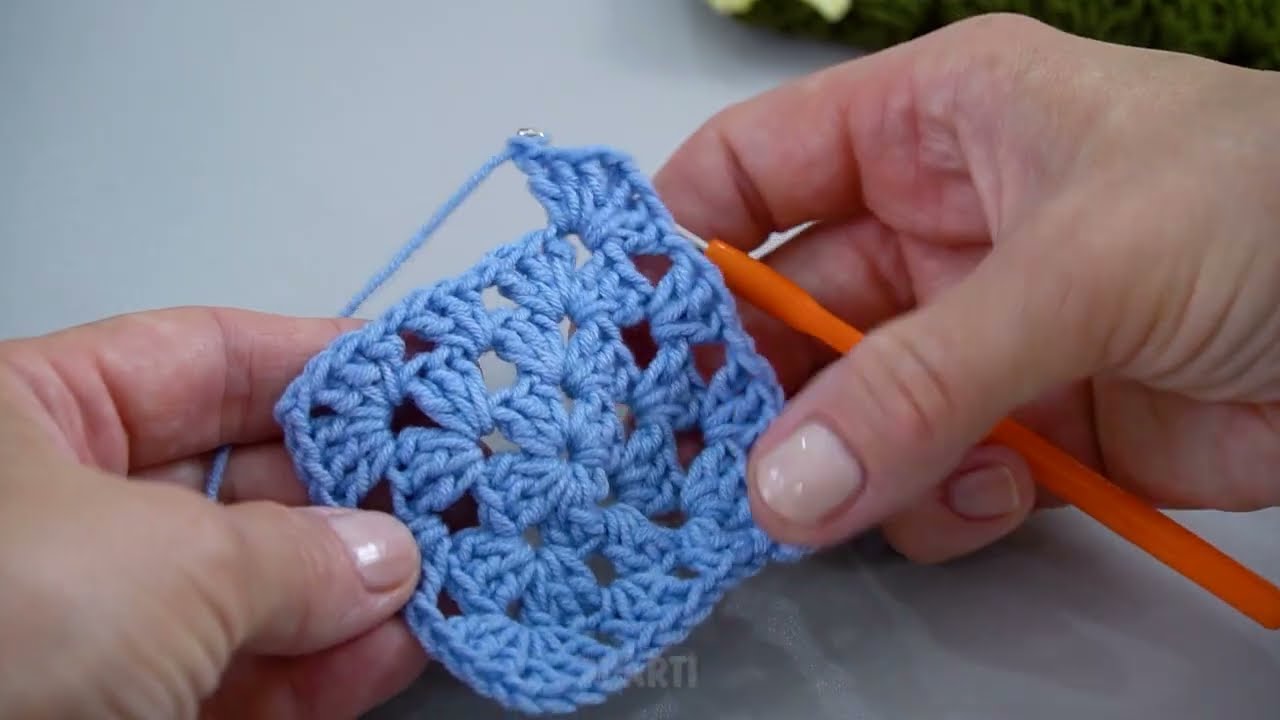
3. Stitches Used (Beginner Level)
You only need to know:
-
Chain (ch)
-
Single crochet (sc) or half double crochet (hdc)
-
Slip stitch (sl st)
That’s it! 🙌
4. Gauge (Not Critical!)
As long as your stitches are tight and even, your wallet will look great.
5. Step-by-Step Instructions
STEP 1: Crochet the Base
-
Chain 31 (adjust for width)
-
Single crochet (or half double crochet) in the second chain from the hook
-
Continue across
-
Chain 1, turn
You should have 30 stitches

STEP 2: Build the Body
-
Crochet sc (or hdc) in every stitch
-
Chain 1, turn at the end of each row
-
Continue until the piece measures 28–30 cm (11–12 in) long
💡 This long rectangle will become the envelope.
STEP 3: Create the Envelope Shape
Lay your piece flat:
-
Fold the bottom third upward (this forms the pocket)
-
Fold the top third downward into a triangle or straight flap
Adjust folds until it looks like an envelope 📩
STEP 4: Sew the Sides
-
Thread yarn needle
-
Sew both side edges of the pocket only
-
Leave the flap free
Weave in ends neatly.
STEP 5: Closure (Optional but Recommended)
Choose one:
-
Sew on a button
-
Add a snap fastener
-
Use a magnetic clasp
-
Crochet a loop for a button
👉 Simple closure = polished look!
6. Optional Decorative Flap
For a cute envelope flap:
-
Crochet 2–3 rows of decreases at the top center
-
Or add picot edging
-
Or change color for the flap
7. Beginner Tips 🌱
-
Use cotton yarn for structure
-
Keep stitches tight so cards don’t slip out
-
Count stitches every row
-
Block lightly if edges curl
8. Customization Ideas ✨
-
Color-block design
-
Stripes or textured stitches
-
Add lining fabric for luxury feel
-
Embroider initials or flowers
-
Use metallic button for elegance
9. Why This Makes a Perfect Handmade Gift 💝
✅ Quick to make
✅ Beginner-approved
✅ Budget-friendly
✅ Practical & stylish
✅ Easy to personalize
Perfect for birthdays, holidays, teacher gifts, or party favors.
Final Thoughts
This crochet wallet/envelope is one of those projects that looks impressive but is surprisingly easy. Once you make one, you’ll want to make them in every color!
If you’d like, I can:
-
Turn this into a printable pattern
-
Make a coin-purse version
-
Add a zipper option
-
Adjust it for kids or men
Watch video: