 by
by Here is a clear, beginner-friendly, and detailed guide on How to Crochet Granny Square Slippers Easily. You can use this for learning, teaching, or even for a blog or assignment.
How to Make Crochet Granny Square Slippers Easily
Crochet granny square slippers are warm, comfortable, and stylish. They are made by joining simple granny squares and shaping them into cozy slippers. This project is perfect for beginners because it uses basic crochet stitches and simple construction.
Materials Needed
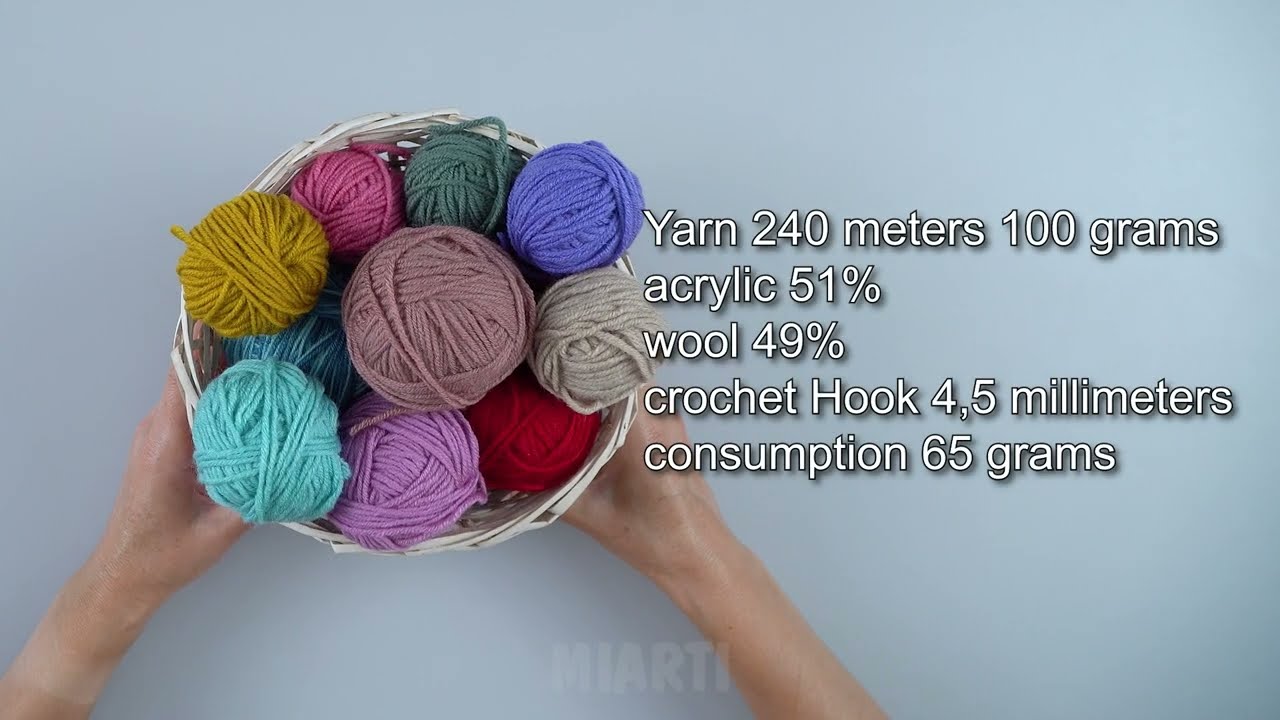
Before you begin, gather the following materials:
-
Yarn: Medium-weight (worsted) yarn works best
-
Crochet Hook: Size 4.5 mm–5.5 mm (check your yarn label)
-
Scissors
-
Yarn Needle (for sewing pieces together)
-
Measuring Tape (optional)
Basic Crochet Skills Required
You should know these basic stitches:
-
Chain (ch)
-
Slip stitch (sl st)
-
Double crochet (dc)
-
Magic ring or chain ring
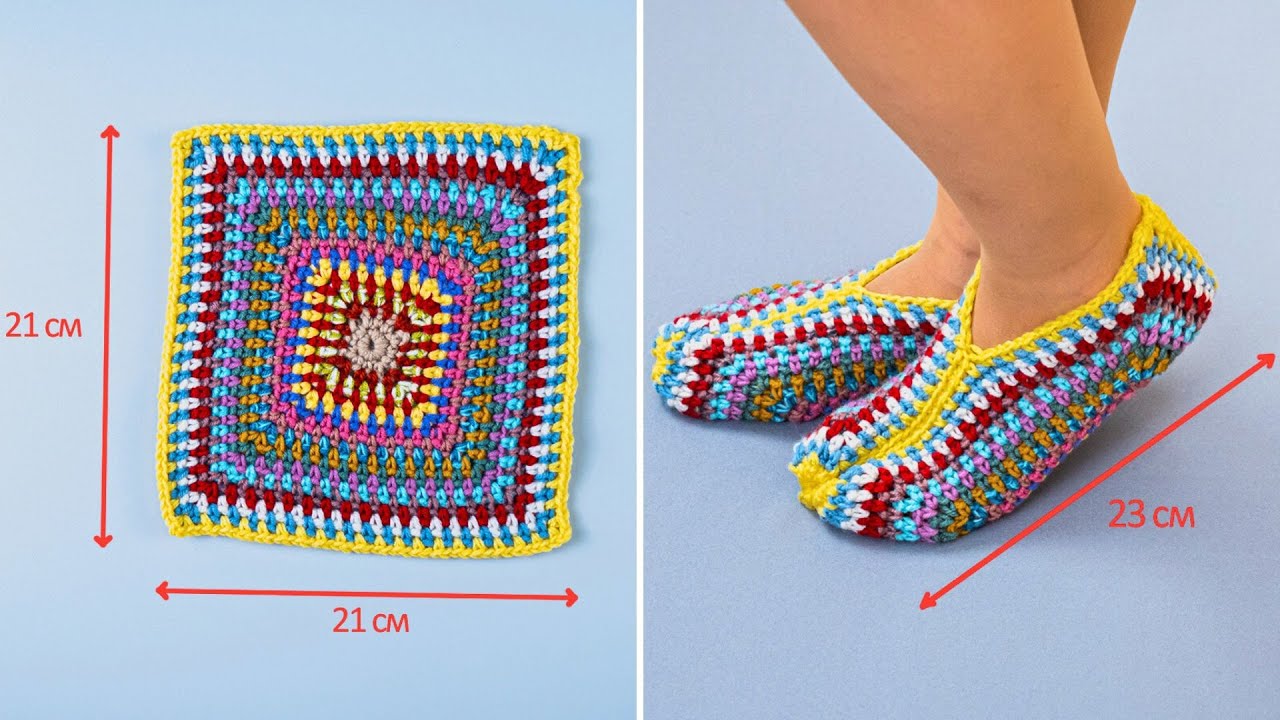
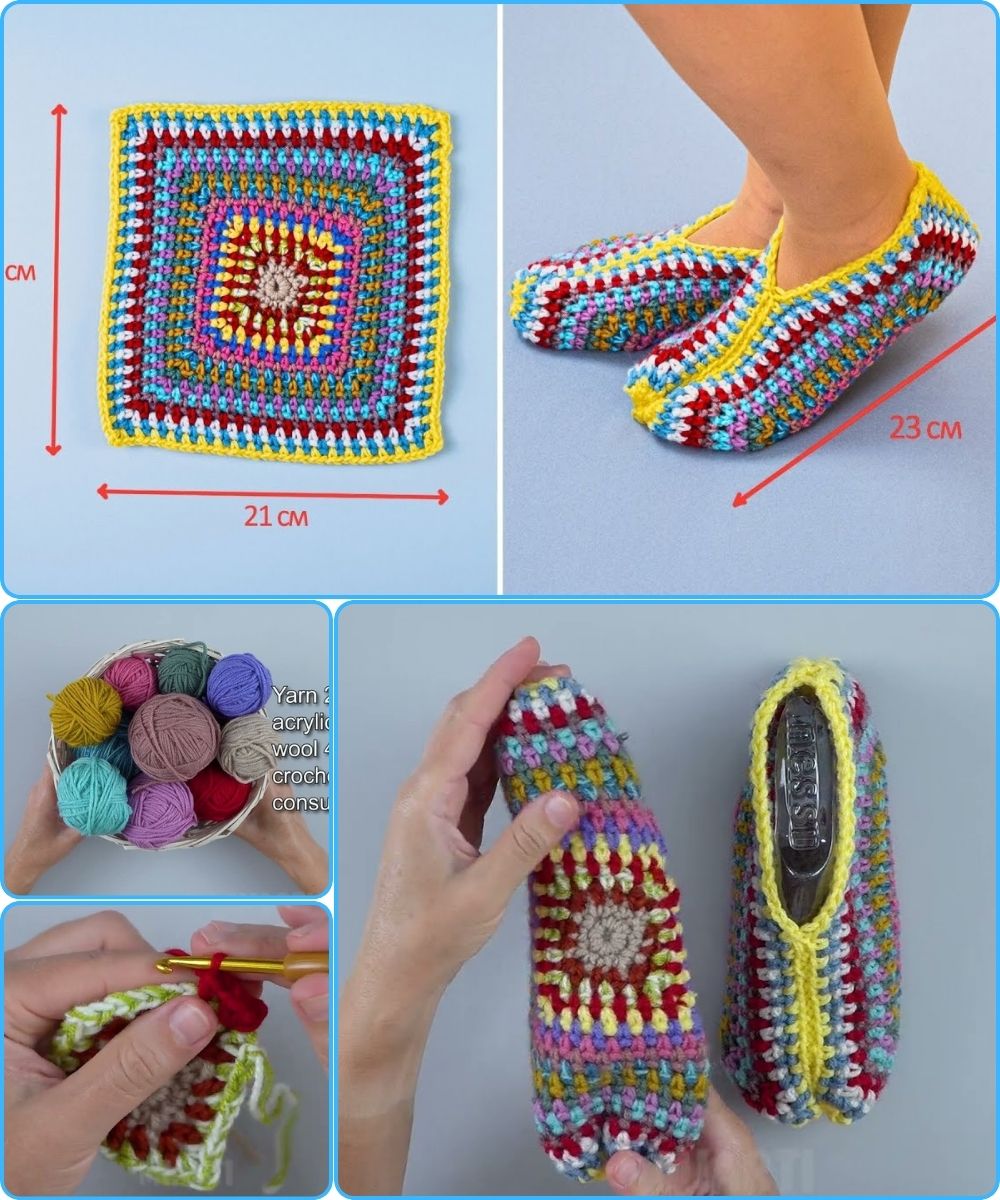
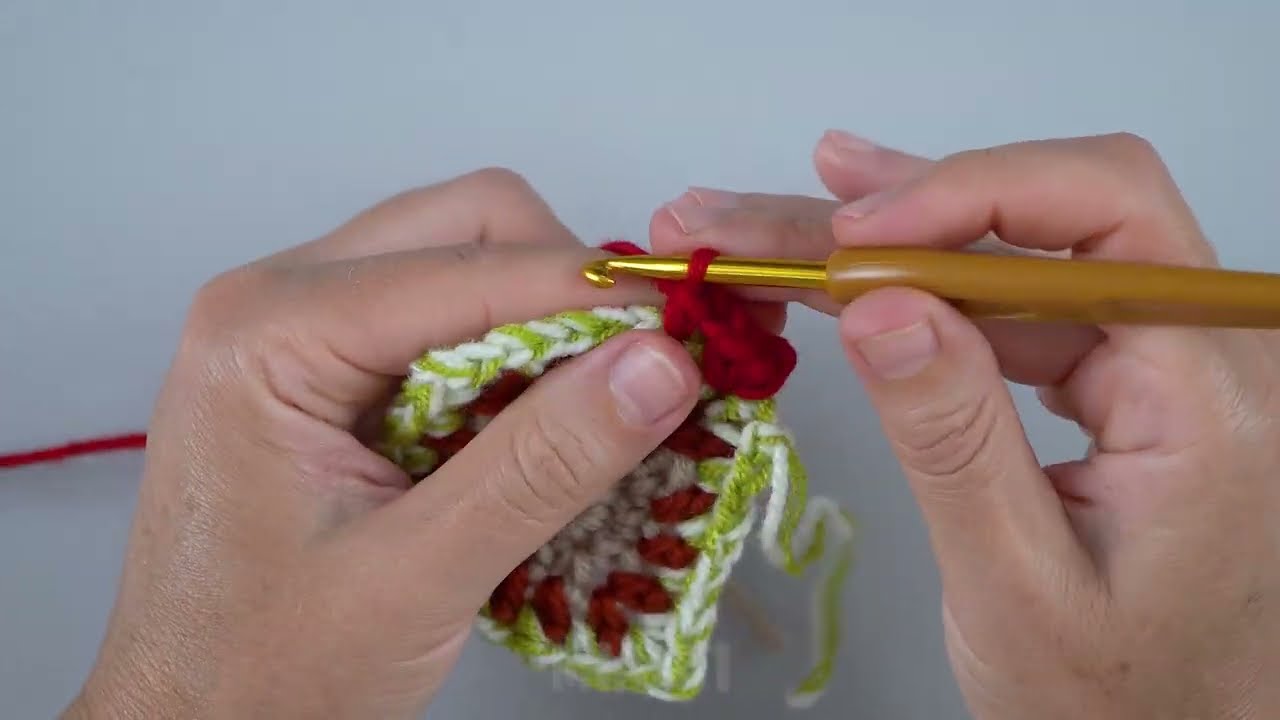
Step 1: Make the Granny Squares
Each slipper usually requires 3–6 granny squares, depending on size.
How to Crochet a Basic Granny Square
-
Start with a Magic Ring (or chain 4 and join with slip stitch).
-
Chain 3 (counts as first double crochet).
-
Work 2 double crochets, chain 2.
-
Repeat 3 double crochets + chain 2 three more times.
-
Join with slip stitch to the top of the first chain 3.
For the next rounds:
-
Slip stitch into the corner space.
-
Chain 3, make 2 dc, chain 2, 3 dc in each corner.
-
Continue until your square reaches the desired size (usually 4–5 inches).
Fasten off and weave in ends.
Step 2: Make Enough Squares
-
Small size: 3–4 squares per slipper
-
Medium to Large size: 4–6 squares per slipper
Lay the squares flat to visualize how they will form the slipper.
Step 3: Join the Granny Squares
Arrange the squares in a T or L shape to form the sole and sides.
Joining Method (Simple Sewing)
-
Place squares right sides together.
-
Use a yarn needle and whip stitch or mattress stitch.
-
Sew along the edges neatly.
Make sure the toe and heel areas are aligned properly.
Step 4: Shape the Slipper
-
Fold the joined squares to form a slipper shape.
-
Sew the toe area closed.
-
Leave an opening at the top for your foot.
Try it on to check the fit and adjust if needed.
Step 5: Add a Border (Optional but Recommended)
To make the slippers more secure and neat:
-
Attach yarn at the opening.
-
Single crochet evenly around the top.
-
Add 1–2 rounds.
-
Finish with slip stitch and fasten off.
You can also add:
-
A decorative shell edge
-
A drawstring
-
Buttons or flowers

Step 6: Make the Second Slipper
Repeat the same steps to create the matching slipper.
Tips for Beginners
-
Use soft yarn for comfort.
-
Tight stitches make sturdier slippers.
-
Add a non-slip sole by stitching fabric or applying puff paint to the bottom.
-
Always test the fit before final sewing.
Conclusion
Crochet granny square slippers are easy, fun, and customizable. With just a few squares and basic stitches, you can create cozy slippers for yourself or as a handmade gift. Once you master the basic design, you can experiment with colors, patterns, and embellishments.
If you’d like, I can also:
-
Simplify this for kids
-
Add images or diagrams
-
Convert it into a blog post or printable PDF
-
Provide a size chart
Just tell me 😊
Watch tutorial: