 by
by Here is a clear, beginner-friendly, and detailed guide you can use as a pattern, blog post, or class handout:
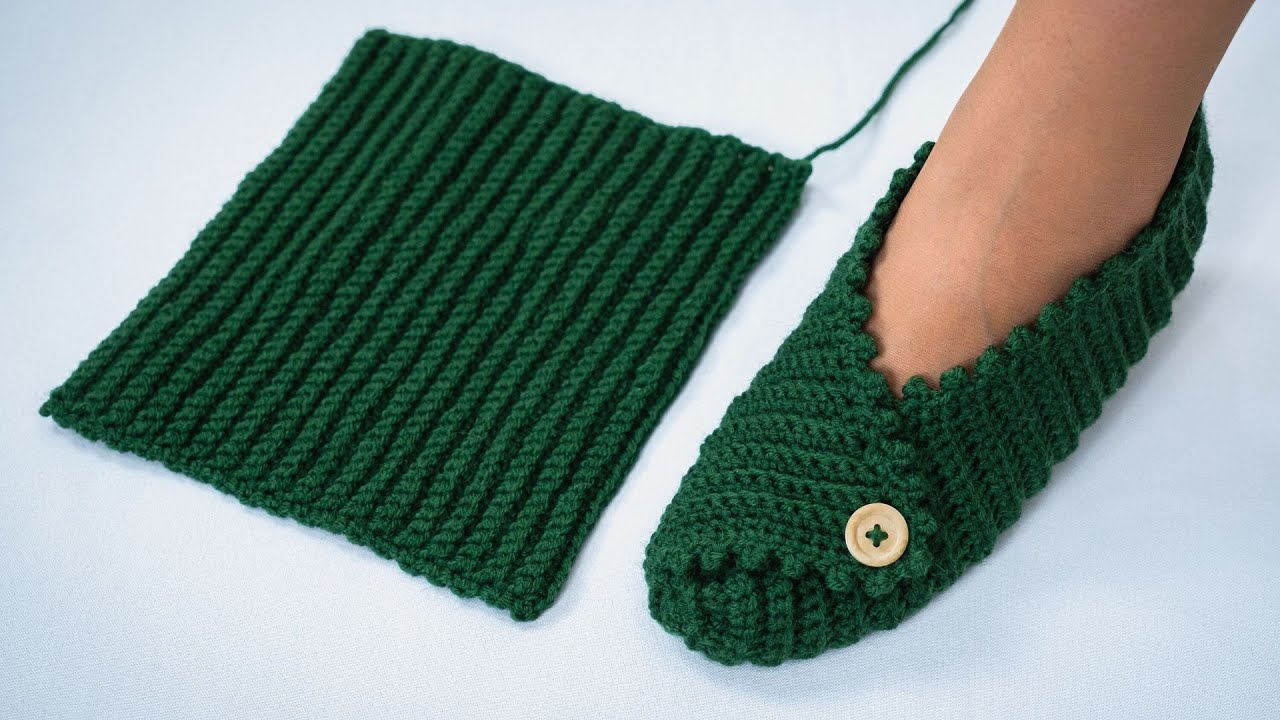
How to Make It Can’t Be Easier – Crochet Slippers Out of a Rectangle (Beginner Friendly)
If you are new to crochet and want a fast, stress-free project, these rectangle crochet slippers are perfect for you. No shaping, no counting complicated rows, and no special techniques — just one simple rectangle that folds into cozy slippers!
Why This Pattern Is Perfect for Beginners
-
✔ Only basic stitches (chain & double crochet)
-
✔ No increasing or decreasing
-
✔ Made from one rectangle
-
✔ Easy to adjust for any foot size
-
✔ Quick project — great for gifts
Materials You’ll Need
-
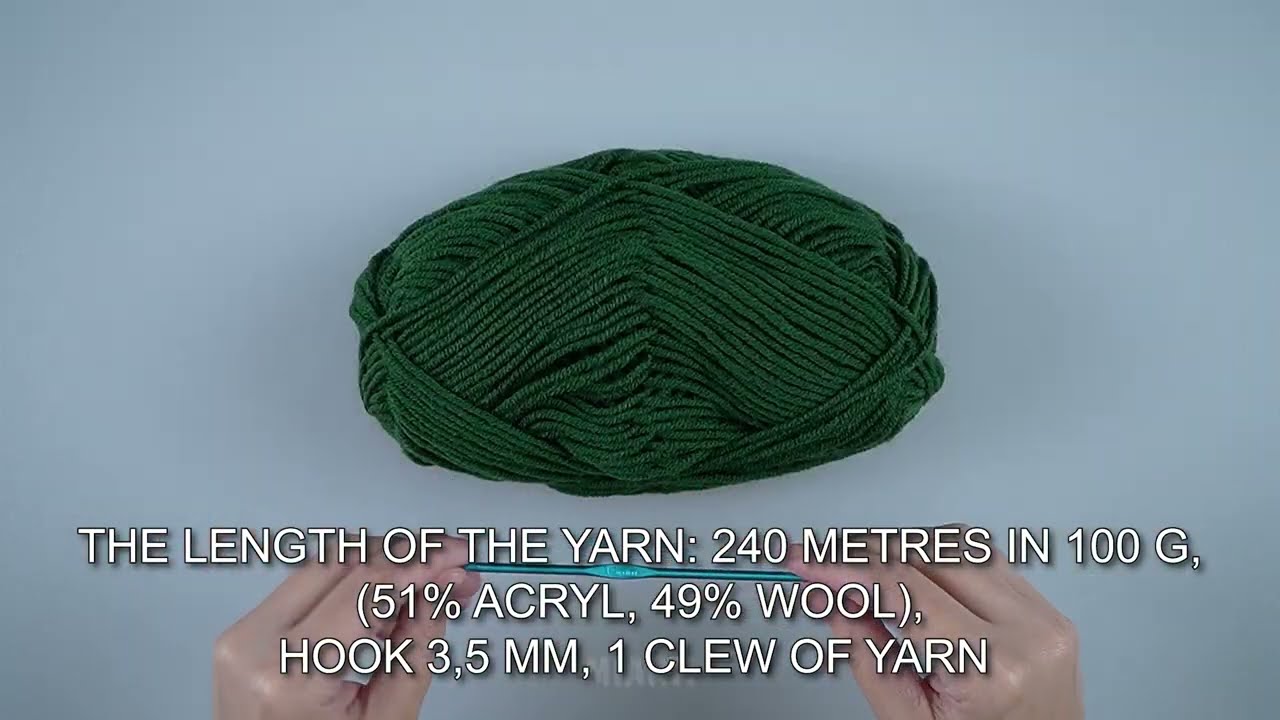
Medium weight yarn (Category 4 / Worsted)
-
Crochet hook (5.0–6.0 mm, depending on yarn)
-
Yarn needle
-
Scissors
-
Measuring tape (optional but helpful)
Basic Stitches Used
-
Chain (ch)
-
Double Crochet (dc)
(US terms)
If you can chain and double crochet, you can make these slippers!
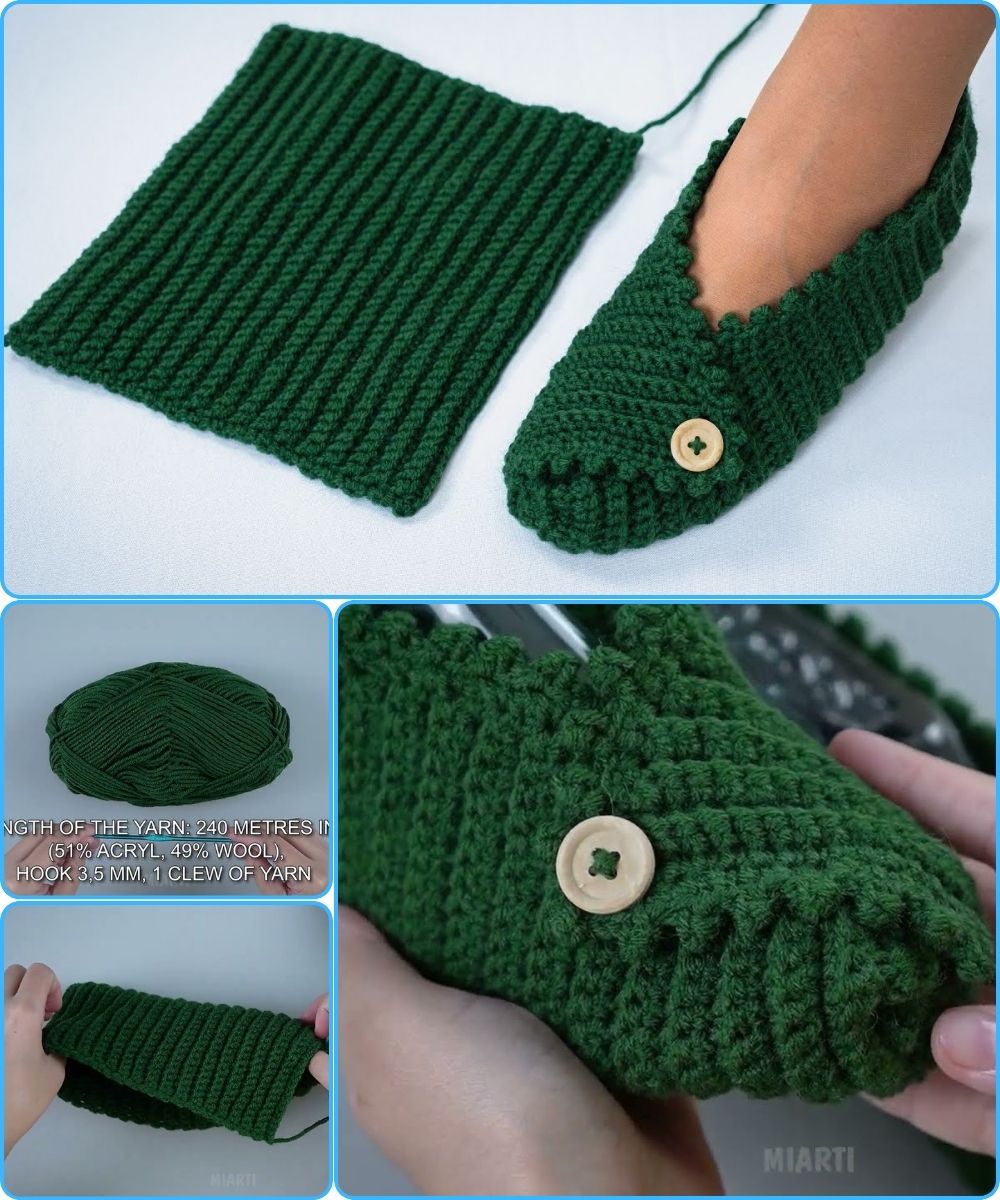
Step 1: Crochet the Rectangle
1. Make the Foundation Chain
Chain enough stitches to match the length of your foot from heel to toe.
Approximate sizes:
-
Small (6–7 US): 24–26 chains
-
Medium (8–9 US): 26–28 chains
-
Large (10–11 US): 28–30 chains
Tip: Always measure your foot or add about 1 inch extra for comfort.
2. Work Double Crochet Rows
-
Double crochet into the 3rd chain from the hook
-
Double crochet across the row
-
Chain 2, turn
Repeat rows until the rectangle reaches the width of your foot, measured around the ball of your foot.
Typical row count:
-
10–14 rows depending on yarn and hook size
Fasten off, leaving a long tail for sewing.
Step 2: Fold the Rectangle into a Slipper
Lay your rectangle horizontally.
1. Create the Heel
-
Fold the rectangle in half lengthwise
-
Sew the short edge together to form the heel
-
Stop sewing about 2 inches from the top to allow room for the ankle
2. Shape the Toe
-
On the opposite side, fold the corners inward
-
Sew across to close the toe
-
This creates a soft, rounded front
Step 3: Turn and Adjust
-
Turn the slipper right side out
-
Try it on
-
Adjust stitches if needed for a snug fit
Repeat the same steps for the second slipper.
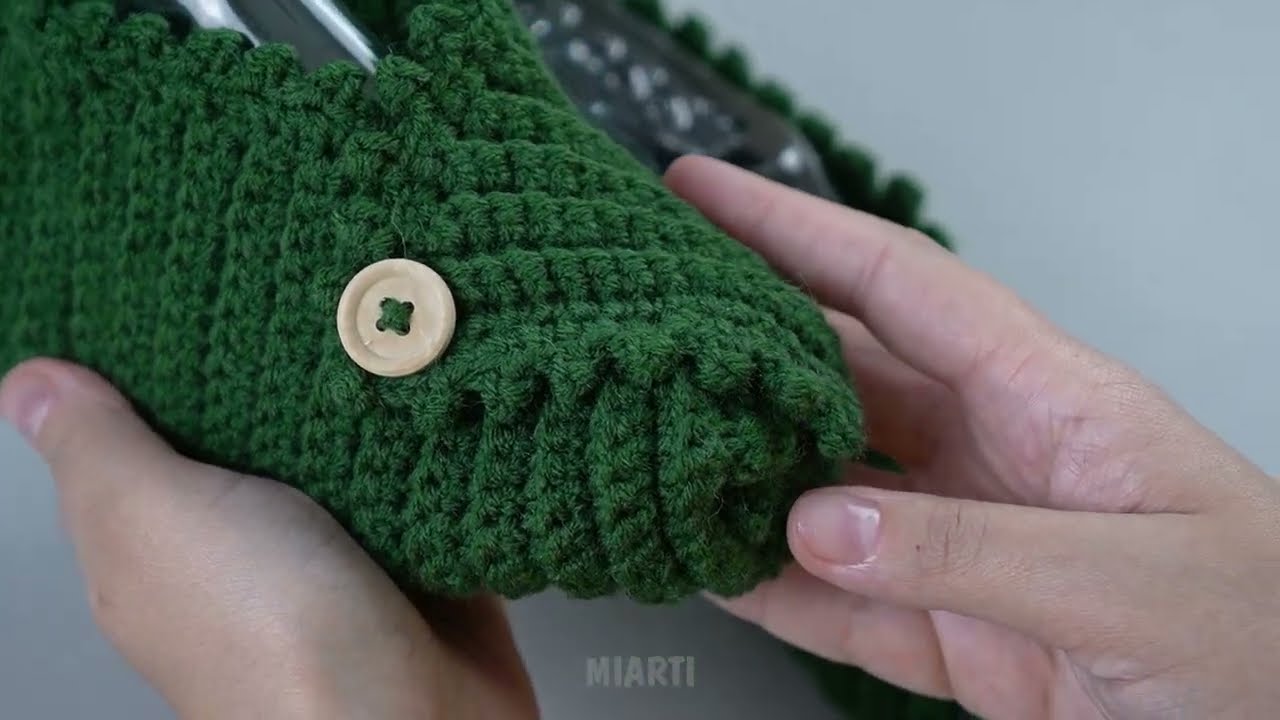
Optional Finishing Touches
-
Single crochet around the opening for a clean edge
-
Add a cuff by crocheting a few rows around the ankle
-
Attach buttons, pom-poms, or bows
-
Use non-slip fabric or puff paint on the sole
Tips for Perfect Slippers
-
Use thicker yarn for warmer slippers
-
Crochet tightly for better durability
-
Make them slightly snug — yarn stretches with wear
-
Write down your measurements for future pairs
Final Thoughts
These rectangle crochet slippers prove that crochet doesn’t have to be complicated. With just one rectangle and a few seams, you can create cozy, stylish slippers in under an hour. Perfect for beginners, gifts, or relaxing weekend projects.
Happy crocheting! 🧶
Watch tutorial: