 by
by Here’s a clear, beginner-friendly, detailed guide you can use as an article, blog post, or tutorial. It’s written so that even someone brand new to crochet can finish slippers in about an hour.
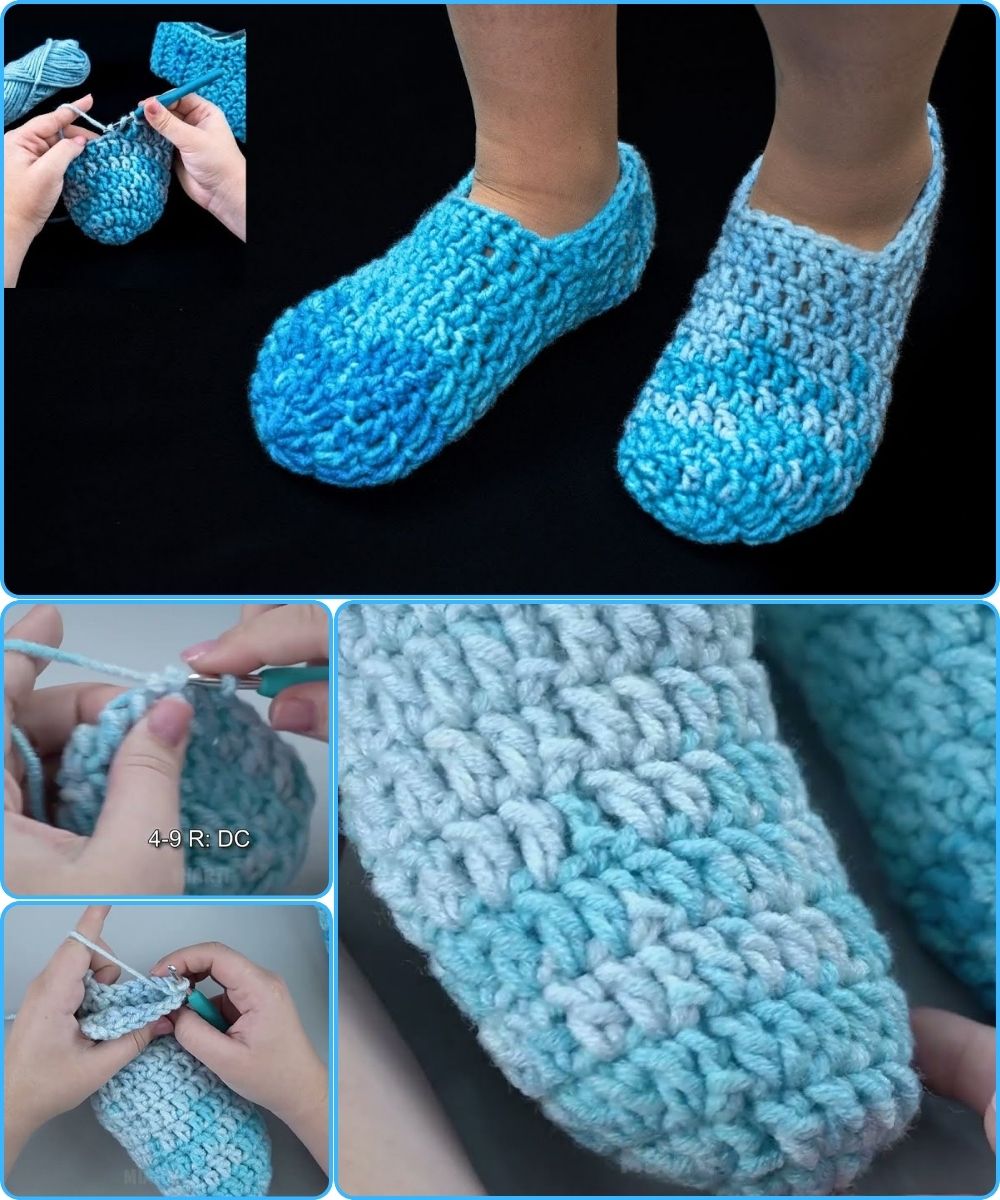
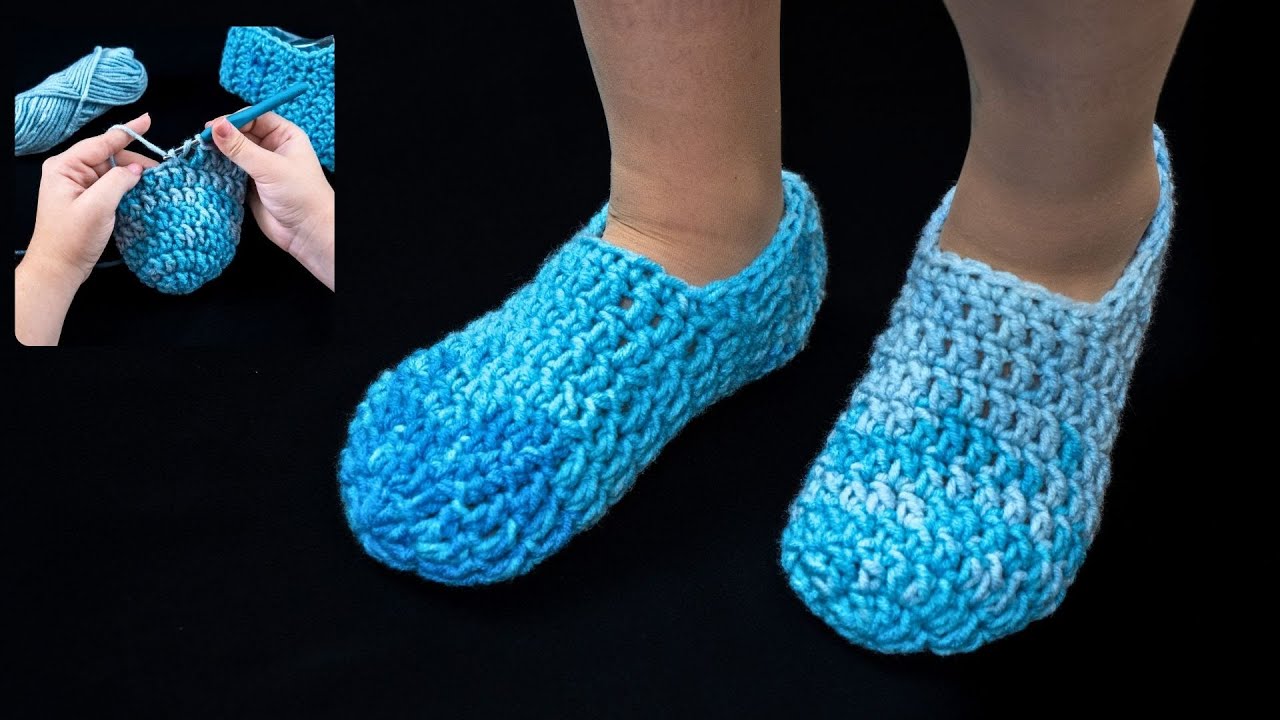
How to Make Crochet Slippers in an Hour – Even a Beginner Can Handle It!
Crochet slippers are one of the fastest and most satisfying projects you can make. They’re cozy, practical, and surprisingly easy—even if you’ve never crocheted before. With basic stitches and simple shaping, you can create a comfortable pair of slippers in about one hour.
This guide walks you through everything step by step, using beginner-friendly techniques and minimal supplies.
Why Crochet Slippers Are Perfect for Beginners
-
✔️ No complicated patterns
-
✔️ Uses basic stitches only
-
✔️ Works up quickly
-
✔️ Easy to customize for size and color
-
✔️ Great confidence-boosting project
If you can make a chain and a single crochet, you can make these slippers.
Materials You’ll Need
Gather your supplies before you start:
-
Yarn: Medium-weight (worsted) yarn
-
Acrylic or wool blend works best for warmth and durability
-
-
Crochet Hook: Size H (5.0 mm) or I (5.5 mm)
-
Scissors
-
Yarn Needle (for sewing seams and weaving ends)
-
Optional: Non-slip fabric or hot glue for soles
💡 Tip: Choose a soft but sturdy yarn so your slippers hold their shape.
Crochet Skills You’ll Use
This pattern uses only beginner stitches:
-
Chain (ch)
-
Single Crochet (sc)
-
Slip Stitch (sl st)
That’s it—no fancy techniques required.
Step 1: Make the Slipper Sole
The sole is crocheted in rows to match your foot length.
-
Chain 25–30 stitches
-
For women’s size 7–9: Chain 26
-
Adjust by adding or removing chains for different sizes
-
-
Single crochet in the second chain from the hook
-
Continue single crocheting across the row
-
-
Chain 1, turn, and single crochet across
-
Repeat this row until the sole is about 3 inches wide
-
-
Fasten off
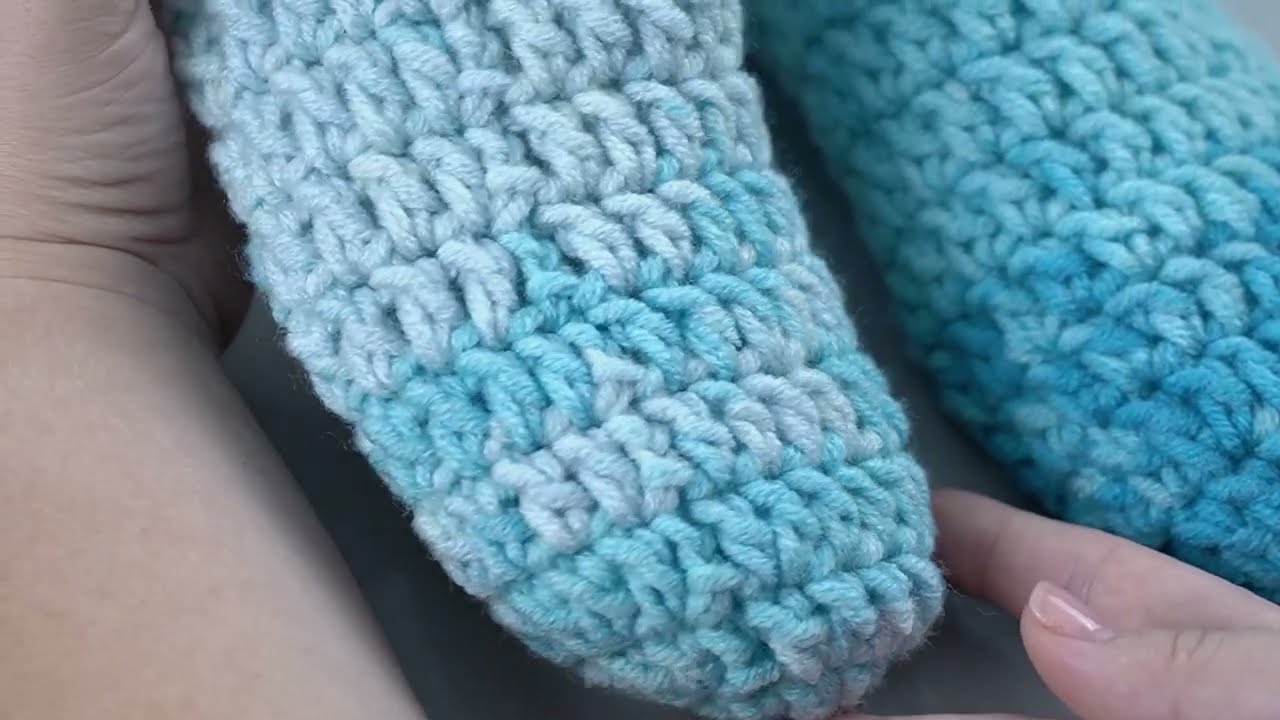
You now have a simple rectangular sole.
Step 2: Shape the Slipper Body
-
Fold the sole in half lengthwise
-
Sew the toe closed
-
Use a yarn needle and whip stitch
-
Sew about ⅓ of the front to create the toe box
-
-
Leave the heel open
At this point, your slipper will start to look like a sock.
Step 3: Crochet Around the Opening
-
Attach yarn at the heel opening
-
Single crochet evenly around the top edge
-
Slip stitch to join the round
-
Repeat for 2–4 rounds depending on how tall you want the slipper
This step helps the slipper fit snugly around your foot.
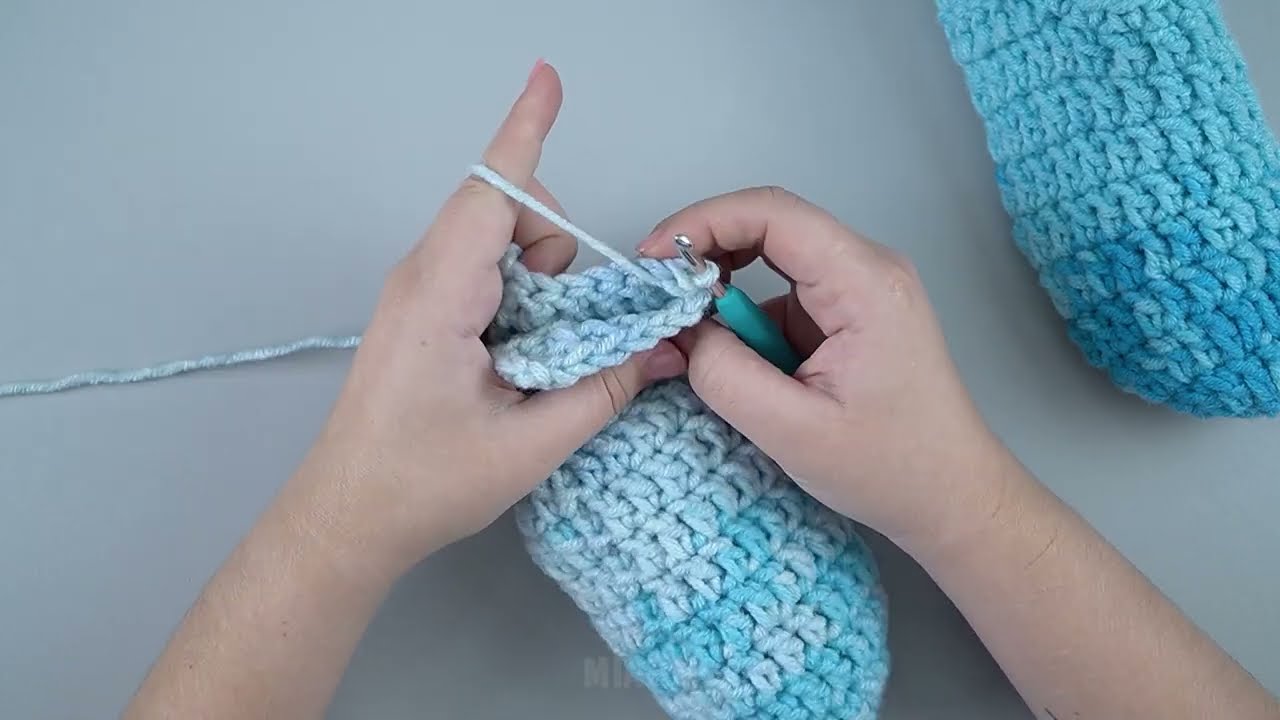
Step 4: Close the Heel
-
Fold the back edges together
-
Sew the heel seam using a whip stitch
-
Fasten off and weave in all loose ends
Your slipper is now fully formed!

Step 5: Make the Second Slipper
Repeat all steps for the second slipper, matching size and stitch count.
⏱️ Most beginners complete each slipper in about 25–30 minutes.
Optional Finishing Touches
Make your slippers extra special:
-
Add a non-slip sole using fabric paint or hot glue
-
Crochet a simple border in a contrasting color
-
Attach buttons, bows, or pom-poms
-
Line with fleece for extra warmth
Tips for Success
-
Don’t worry about perfection—comfort matters more than looks
-
Try the slipper on as you go
-
Use stitch markers if counting feels tricky
-
Relax and enjoy the process
Final Thoughts
Crochet slippers are the perfect one-hour project for beginners. They’re quick, cozy, and incredibly rewarding. Once you make your first pair, you’ll likely want to make more—for gifts, for family, or in every color you love.
With just yarn, a hook, and a little time, you can create something warm and handmade that you’ll be proud to wear. 🧶💛
If you’d like, I can also:
-
Simplify this into a short pattern
-
Adjust it for kids or men
-
Turn it into a blog-ready SEO article
-
Add images descriptions or video script
Watch video: