 by
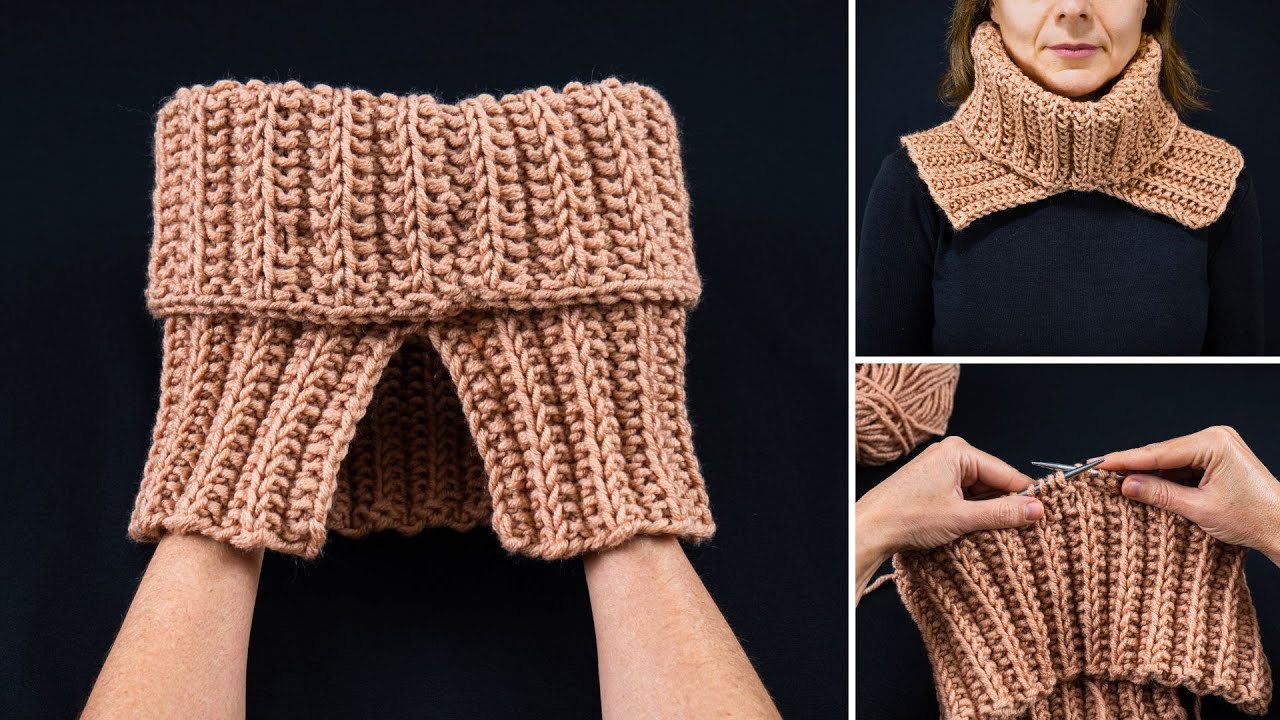
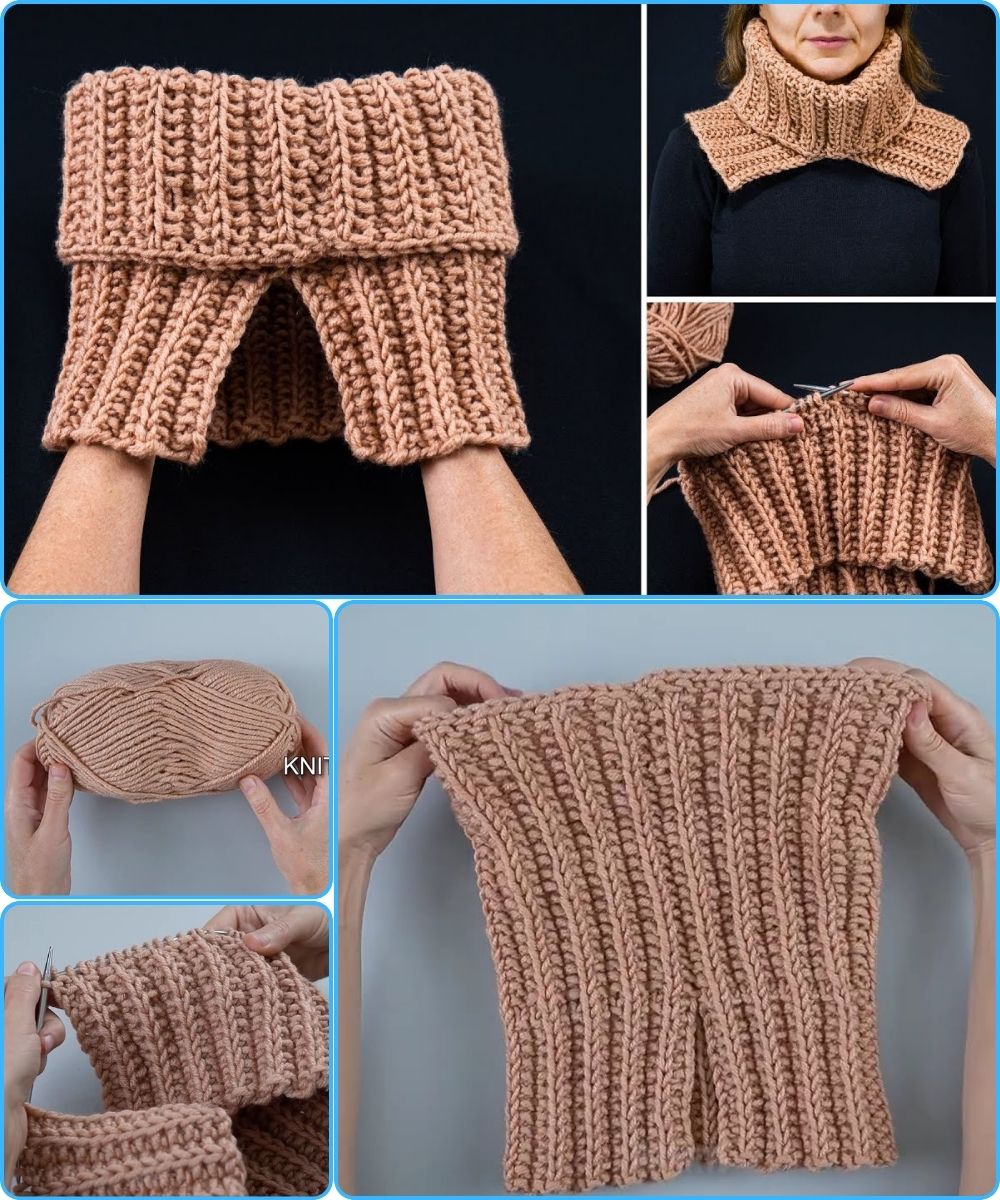
by Absolutely! Let’s go step by step and make this simple knitted snood/collar that’s perfect for beginners. I’ll keep it hand-knitting friendly and easy to follow.
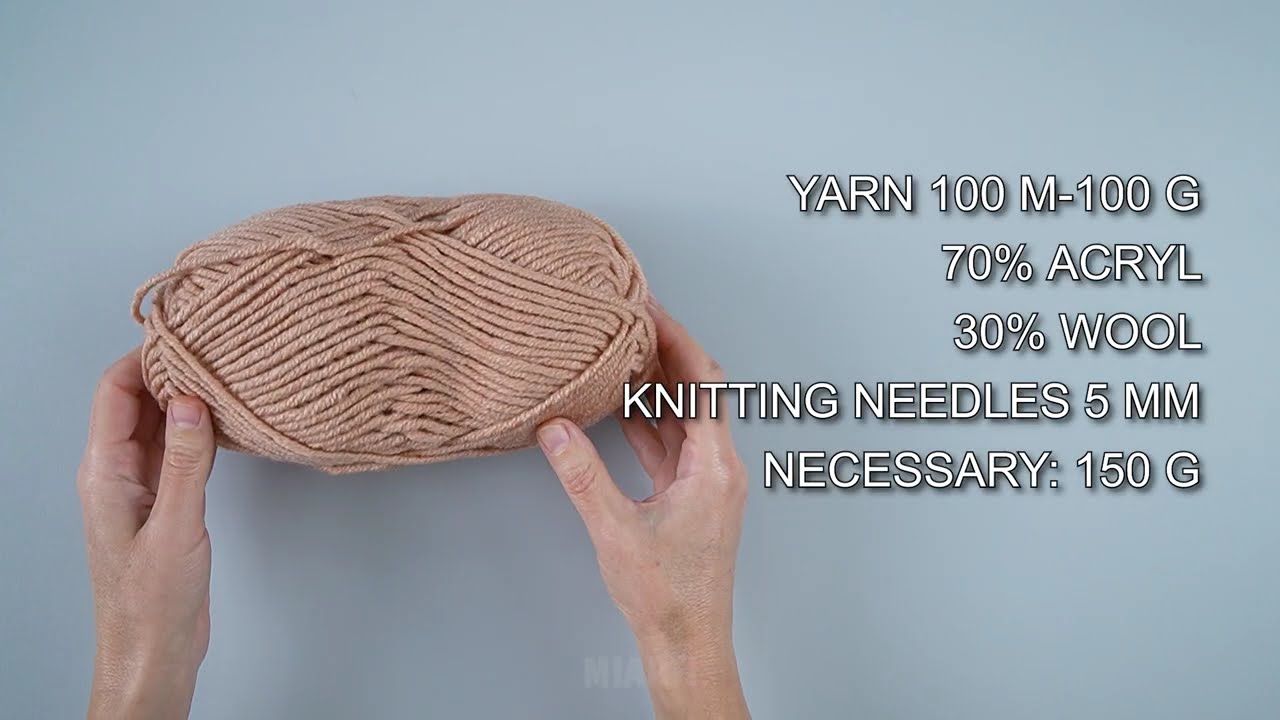
Materials Needed
-
Yarn: Medium-weight (worsted weight) yarn is ideal for beginners. Choose a soft, warm yarn.
-
Knitting needles: Size 8–10 (5–6 mm) straight needles or circular needles (circular are easier for a seamless snood).
-
Scissors
-
Tapestry needle for weaving in ends
Basic Knitting Techniques Used
-
Cast on: Long-tail cast-on (flexible and neat edge)
-
Knit stitch (K): Creates the smooth side (stockinette)
-
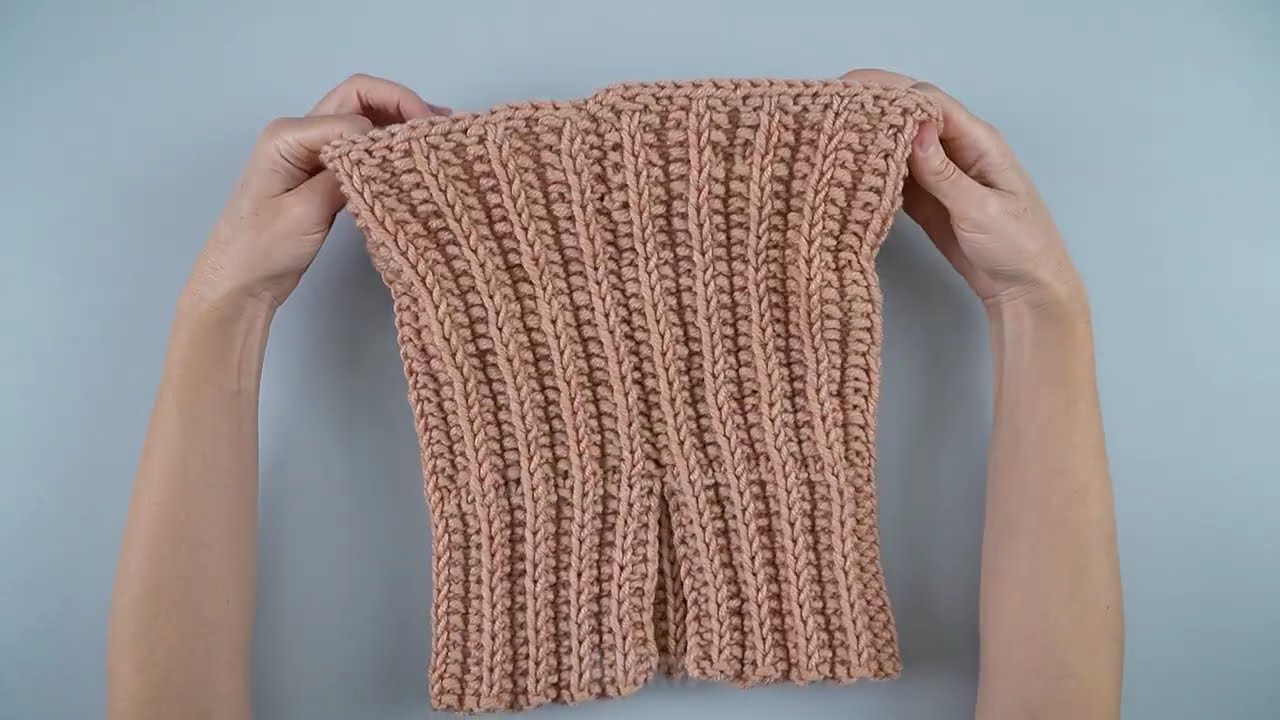
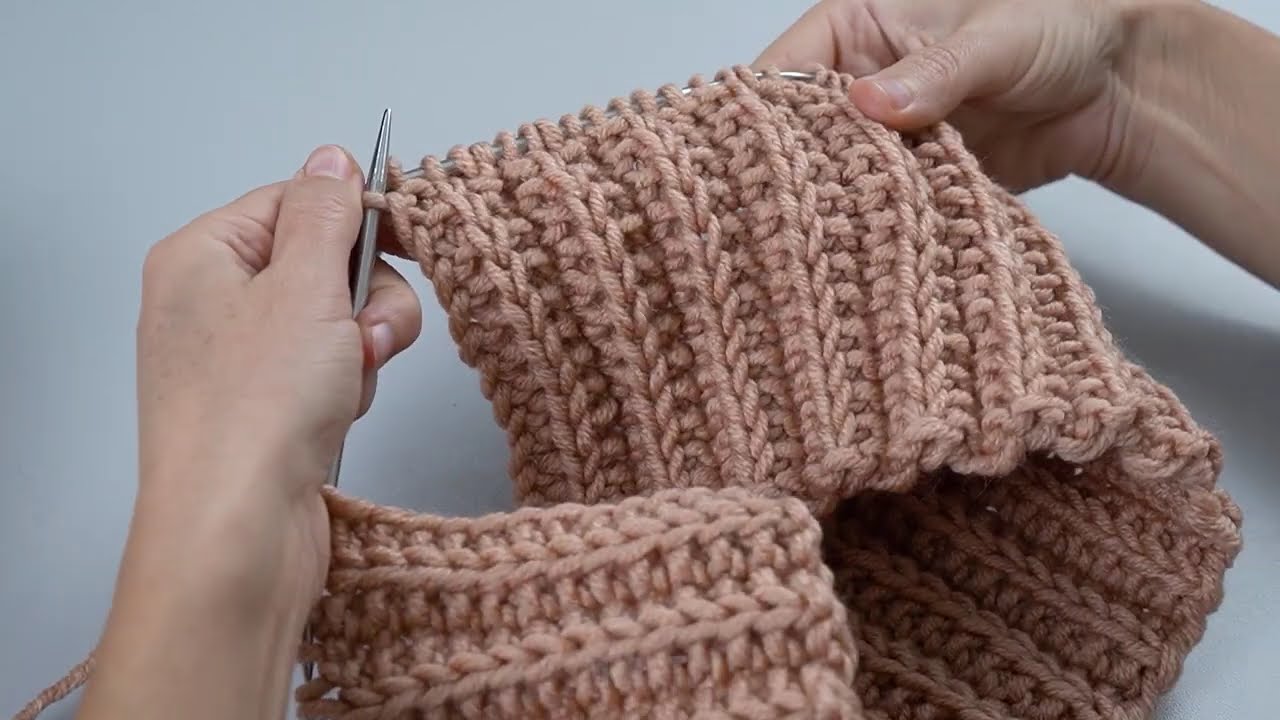
Purl stitch (P): Creates the bumpy texture (if you want a ribbed pattern)
-
Bind off: Finishing edge
Tip for beginners: If you want, you can knit the entire snood in garter stitch (just knit every row) — it’s very stretchy and keeps the snood from curling.
Step 1: Decide Snood Size
-
Width: 8–12 inches (20–30 cm) depending on how snug you want it around your neck
-
Length/Circumference: 50–60 inches (127–152 cm) for adults; adjust for children or taller adults
Step 2: Cast On
-
Cast on enough stitches to get your desired width.
-
Example: 40–50 stitches for a medium-width snood
-
Step 3: Knitting the Snood
There are two simple methods:
Option 1: Garter Stitch (All Knit Rows)
-
Knit every row until the piece measures your desired length (or until it’s long enough to loop around your neck comfortably).
-
Garter stitch gives a soft, stretchy, and warm fabric.
Option 2: Rib Stitch (Optional)
-
K2, P2 ribbing: Knit 2 stitches, purl 2 stitches across the row
-
Repeat for every row
-
This makes the snood stretchy and snug
Tip: Ribbing looks neat and hugs the neck nicely.
Step 4: Bind Off
-
When your snood reaches the desired length, bind off loosely.
-
Cut the yarn, leaving a 6-inch tail.
-
Use the tapestry needle to weave in the ends.
Step 5: Join (Optional)
-
If you want a continuous loop snood:
-
Lay the ends together and use the tapestry needle to seam with mattress stitch.
-
Or, simply leave it as a flat collar (like a cowl) if you prefer layering it around the neck.
-
Extra Tips
-
Texture variety: Try a simple seed stitch (K1, P1 across the first row, then P1, K1 on the next) for a bumpy texture.
-
Chunky yarn: Makes the snood quicker to knit and extra cozy.
-
Color fun: Use two colors for stripes — switch colors every few rows.
✅ Voila! You now have a handmade, cozy snood/collar that is perfect for winter.
If you want, I can also make a very simple diagram with stitch instructions for visual beginners — it’ll show cast-on, knit rows, and joining step by step.
Do you want me to make that diagram?
Watch video: