 by
by Here’s a clear, beginner-friendly, detailed guide you can use for a blog post, class handout, or video description.
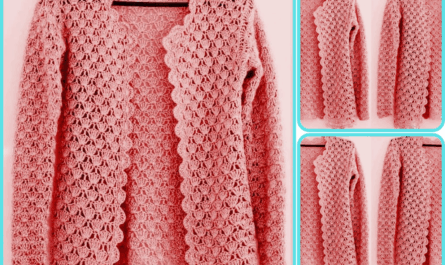
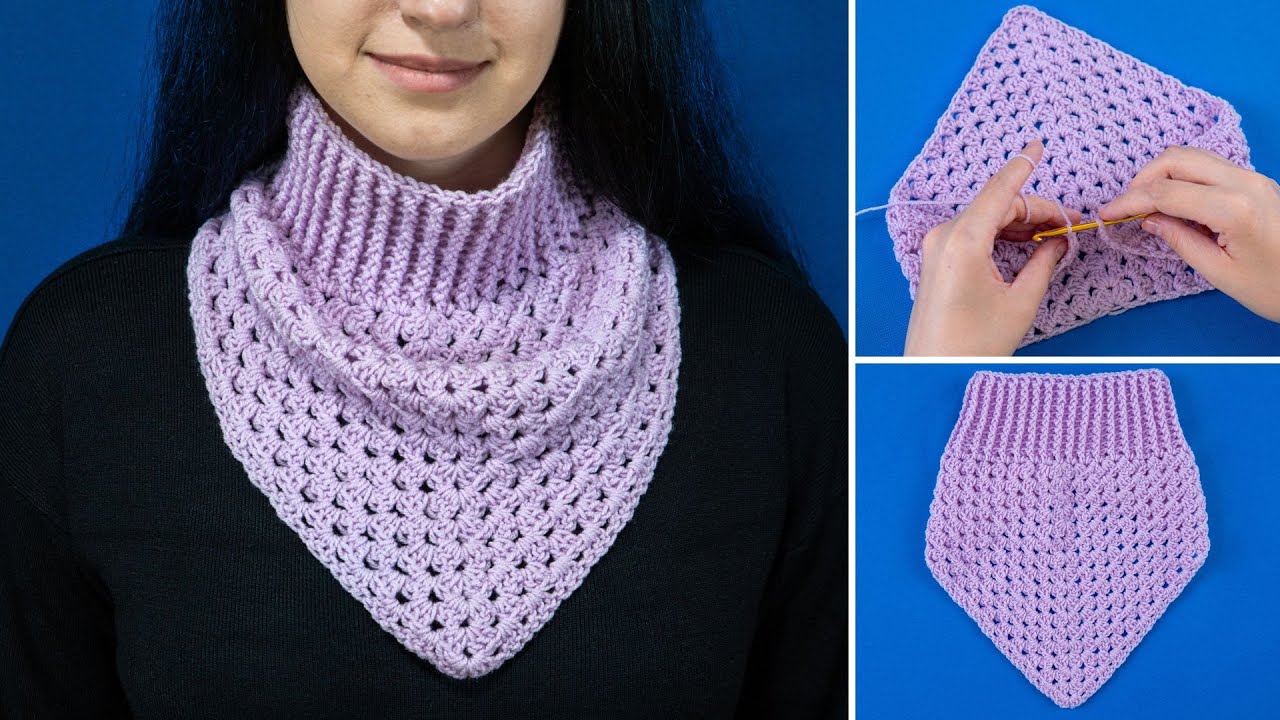
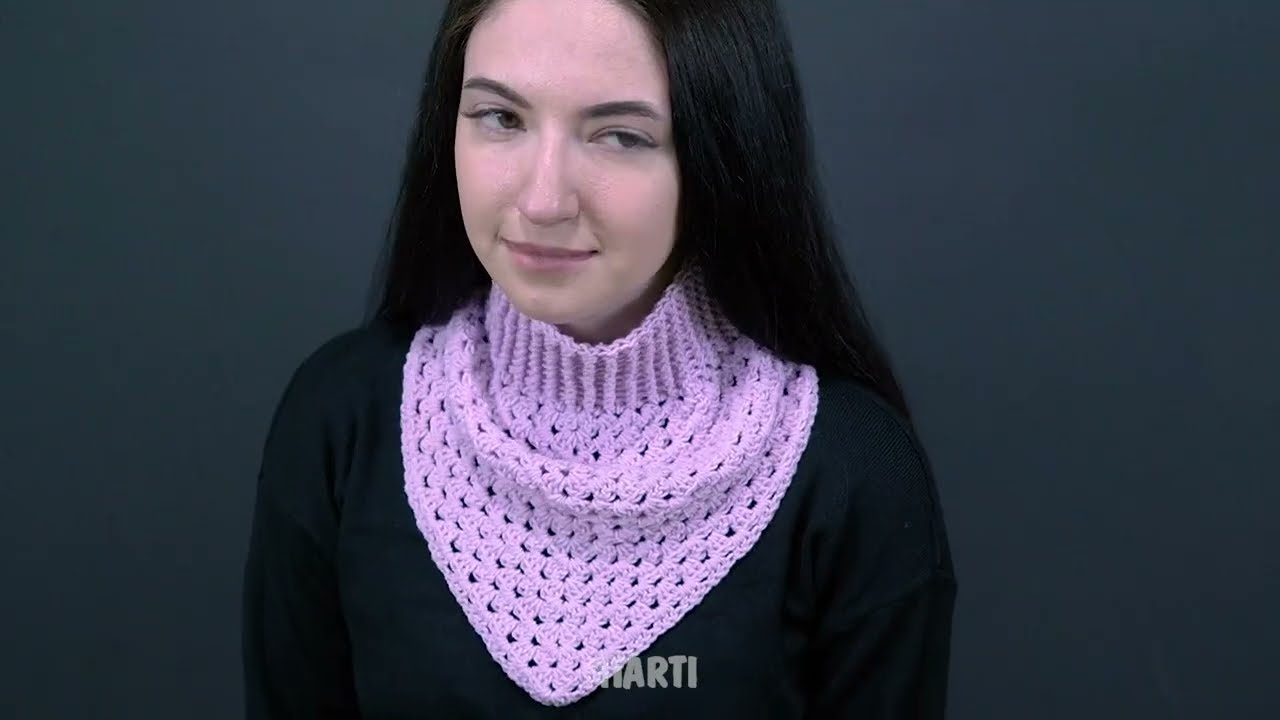
How to Make an Easy Crochet Collar / Dickey
(Even a beginner can handle it!) 🧶
A crochet collar (also called a crochet dickey) is a small, stylish piece that sits around the neckline and instantly upgrades any outfit. The best part? It works up quickly, uses very little yarn, and is perfect for beginners who want a satisfying first project.
This simple crochet collar uses basic stitches and minimal shaping, making it easy to follow even if you’re new to crochet.
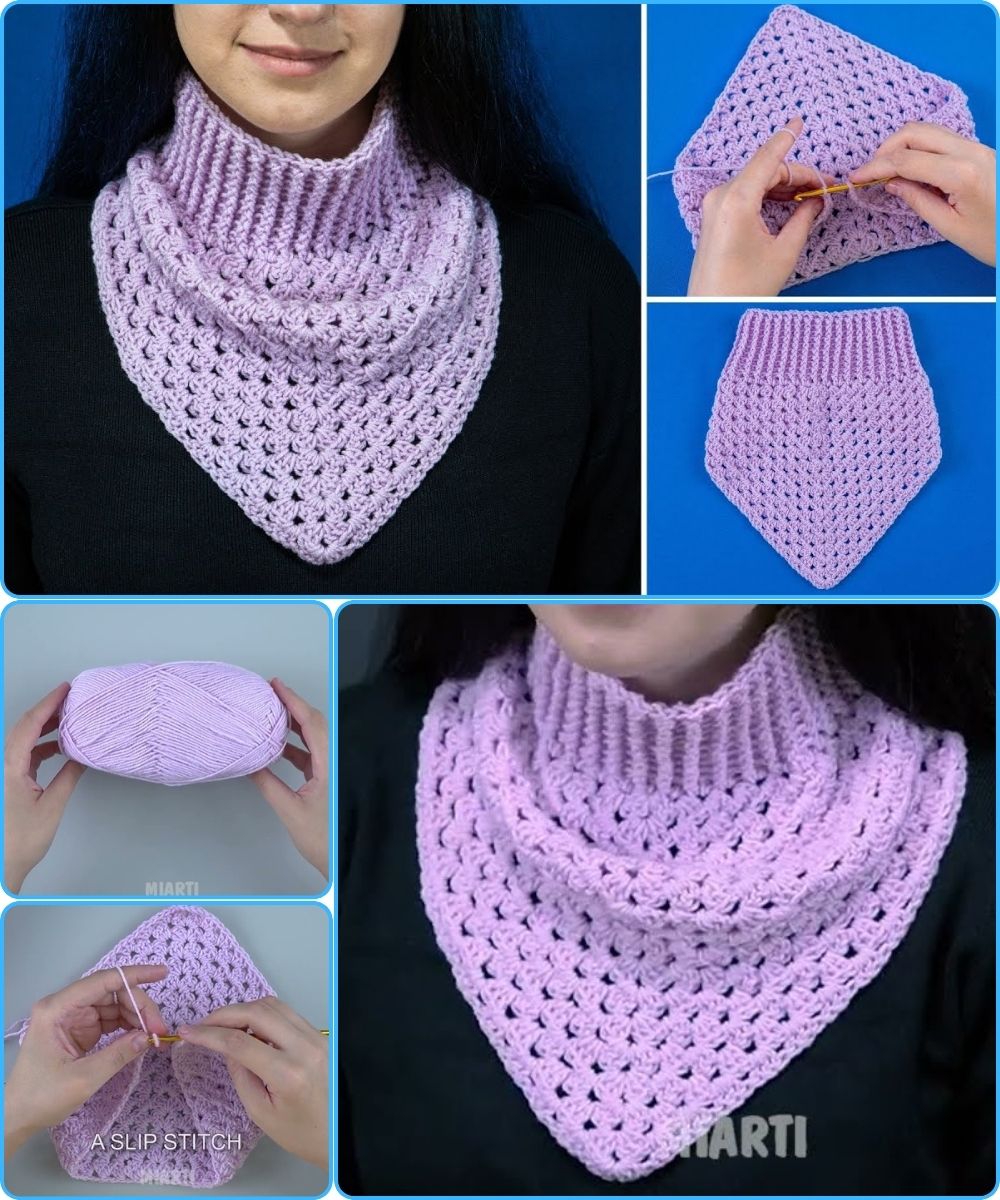
Materials You’ll Need
-
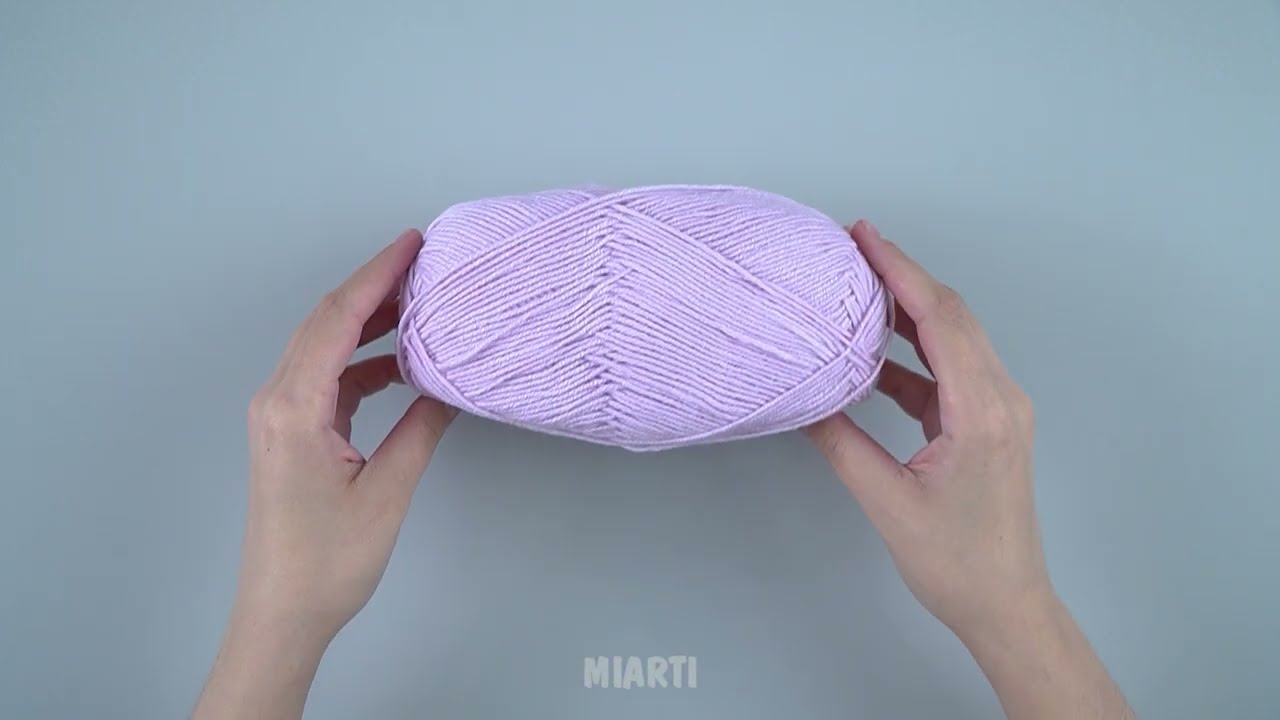
Yarn:
Lightweight yarn such as DK (Category 3) or worsted weight (Category 4)
Cotton or cotton-blend yarn works especially well for collars -
Crochet Hook:
4 mm – 5 mm (G/6 – H/8), depending on your yarn -
Other Supplies:
-
Scissors
-
Yarn needle
-
Stitch marker (optional)
-
Stitches Used
This pattern is beginner-friendly and uses only basic stitches:
-
Chain (ch)
-
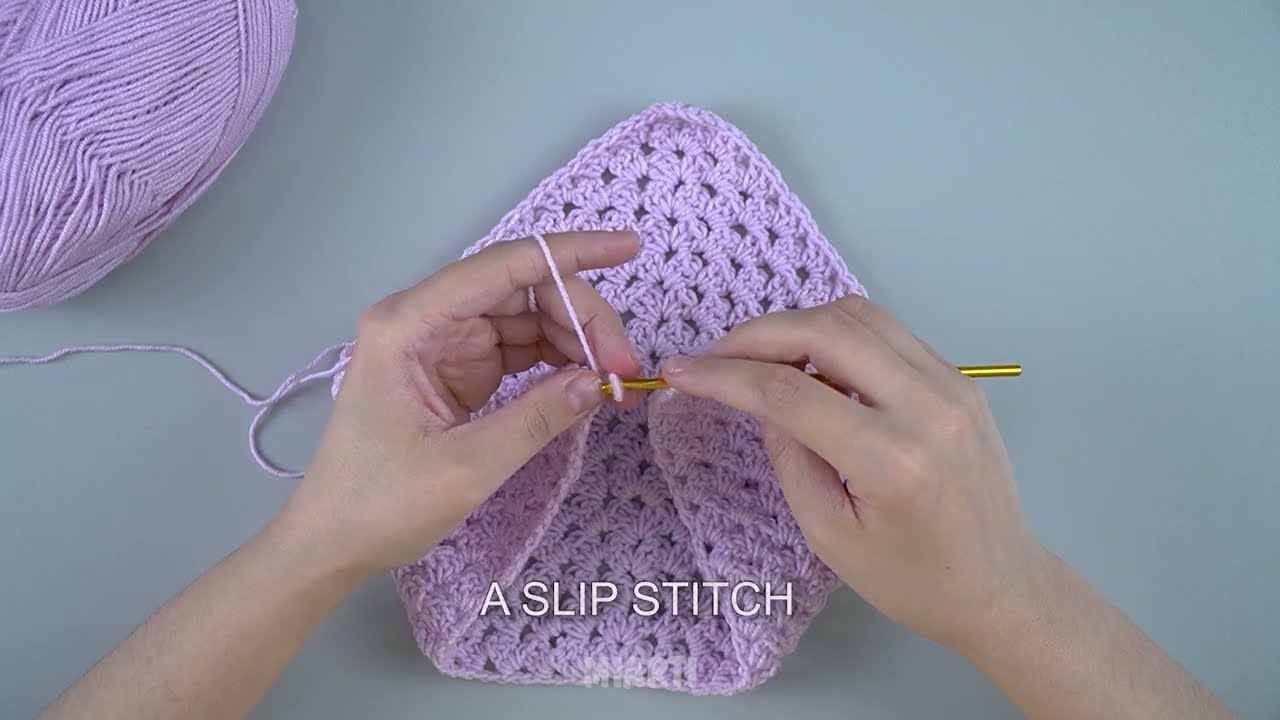
Slip stitch (sl st)
-
Single crochet (sc)
-
Double crochet (dc)
If you know how to chain and double crochet, you can make this collar!
Step 1: Make the Foundation Chain
-
Start with a slip knot.
-
Chain 60–70 stitches, depending on how wide you want your collar.
-
Shorter chain = tighter neckline
-
Longer chain = looser neckline
-
-
Join the chain into a ring with a slip stitch, being careful not to twist it.
This forms the neckline of your collar.
Step 2: Round 1 – Base Round
-
Chain 2 (counts as your first double crochet).
-
Work double crochet (dc) into every chain stitch around.
-
Join the round with a slip stitch to the top of the starting chain.
This round creates a neat, flexible base.
Step 3: Round 2 – Add Width
-
Chain 2.
-
Work 2 double crochets into every stitch around.
-
Join with a slip stitch.
This increase helps the collar lay flat and begin to flare outward.
Step 4: Round 3 – Decorative Edge (Optional but Pretty!)
Choose one of the following simple edging options:
Option A: Simple Scallop Edge
-
Skip 1 stitch, 5 double crochets in next stitch, skip 1 stitch, slip stitch in next stitch.
-
Repeat around the collar.
Option B: Basic Single Crochet Edge
-
Work 1 single crochet in each stitch around for a clean, minimal look.
Step 5: Finish Off
-
Cut yarn, leaving a 10–12 cm tail.
-
Pull yarn through the last loop to secure.
-
Weave in all loose ends with a yarn needle.
Your crochet collar is complete!
Styling Your Crochet Collar
-
Wear it over a plain t-shirt, dress, or sweater
-
Add a ribbon or button at the front for a vintage look
-
Use white or cream yarn for a classic lace-style collar
-
Try pastel colors for a modern, soft appearance
Why This Project Is Perfect for Beginners
✔ Small and quick
✔ Uses basic stitches
✔ No complex counting
✔ Easy to customize
✔ Great confidence booster
You can finish this project in under an hour, making it ideal for gifts or craft fairs.
Final Tip for Beginners
Don’t worry if your collar isn’t perfect—crochet is about practice and creativity. Each piece you make helps improve your skills. Take it slow, enjoy the process, and have fun with your yarn!
If you’d like, I can also:
-
Simplify this into a short pattern card
-
Rewrite it for YouTube or Instagram
-
Add measurements and sizing
-
Create a PDF-style pattern layout
Just tell me 😊
Watch video: