by
by Here’s a detailed, beginner-friendly guide you can use for a blog post, pattern introduction, or tutorial article.
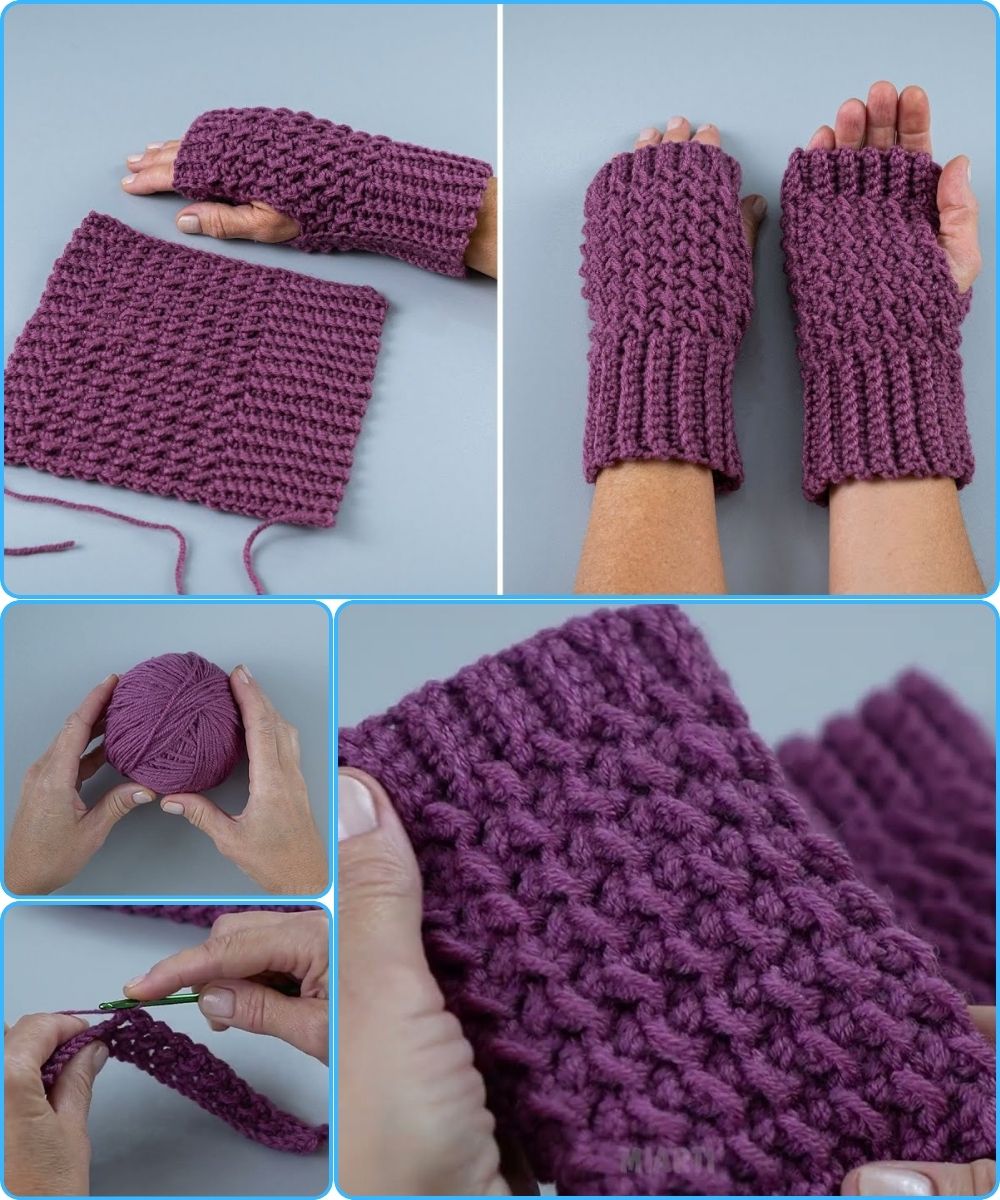
How to Make Warm Crochet Fingerless Mittens – Easy and Quick!
Fingerless mittens are one of the most practical and satisfying crochet projects. They keep your hands warm while leaving your fingers free for texting, typing, or everyday tasks. Best of all, they work up quickly, require very little yarn, and are perfect for beginners.
This easy and quick crochet project is ideal for last-minute gifts, craft fairs, or cozy winter accessories for yourself.
Why Crochet Fingerless Mittens?
Crochet fingerless mittens are popular for many reasons:
-
✔ Keep hands warm while fingers stay free
-
✔ Great for beginners and advanced crocheters alike
-
✔ Quick project – can be finished in under an hour
-
✔ Uses small amounts of yarn (great for leftovers)
-
✔ Easy to customize size, color, and texture
Materials You’ll Need
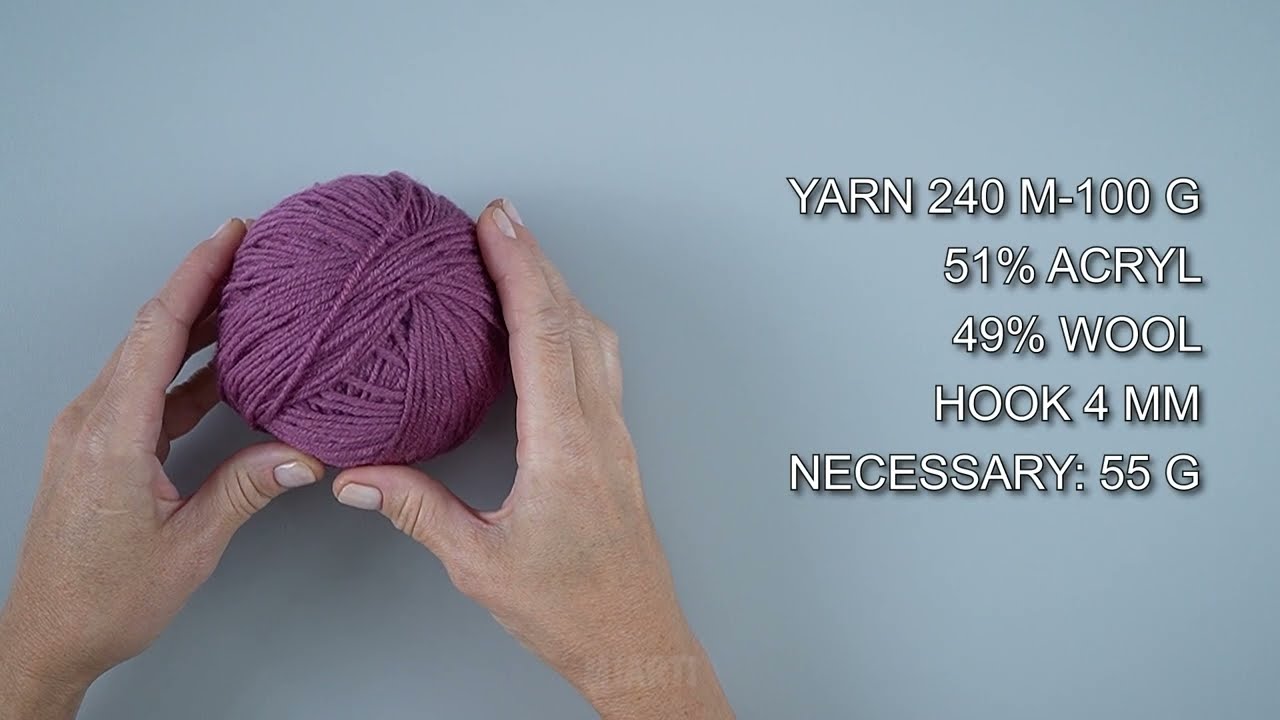
To make warm crochet fingerless mittens, gather the following supplies:
-
Yarn: Medium weight (worsted / size 4) acrylic or wool blend
-
Wool or wool blends provide extra warmth
-
-
Crochet Hook: 5.0 mm (H/8) or size recommended on yarn label
-
Scissors
-
Yarn Needle (for weaving in ends)
Optional:
-
Stitch markers
-
Measuring tape
Basic Stitches Used
This pattern uses only simple stitches, making it beginner-friendly:
-
Chain (ch)
-
Slip Stitch (sl st)
-
Single Crochet (sc) or Half Double Crochet (hdc)
-
Double Crochet (dc) – optional for a looser, faster finish
If you’re comfortable with basic crochet stitches, you’re ready to start!
Step-by-Step: How to Crochet Fingerless Mittens
Step 1: Create the Cuff
-
Chain enough stitches to wrap comfortably around your wrist (usually 14–18 chains).
-
Single crochet in the second chain from the hook and across.
-
Chain 1, turn, and continue working in rows.
-
Repeat until the cuff fits snugly around your wrist.
-
Join the short ends together with slip stitches to form a ring.
Tip: A ribbed cuff (working in back loops only) gives a stretchy and professional look.
Step 2: Crochet the Hand Section
-
Chain 1 and begin working in rounds around the cuff.
-
Crochet evenly around using half double or double crochet stitches.
-
Continue working upward until you reach the base of your thumb.
This section builds warmth and structure around the hand.
Step 3: Create the Thumb Opening
-
Crochet partway around the mitten.
-
Chain 4–6 stitches (depending on thumb size).
-
Skip the same number of stitches and continue crocheting.
-
In the next round, crochet into the chain space to close the gap.
This creates a comfortable opening for your thumb without complicated shaping.
Step 4: Finish the Mitten
-
Continue crocheting rounds until the mitten reaches just below your fingers.
-
Try it on and adjust the length if needed.
-
Fasten off and weave in all loose ends.
Repeat the same steps to make the second mitten.
Customization Ideas
Make your fingerless mittens unique with these ideas:
-
Add a decorative border or shell stitch edge
-
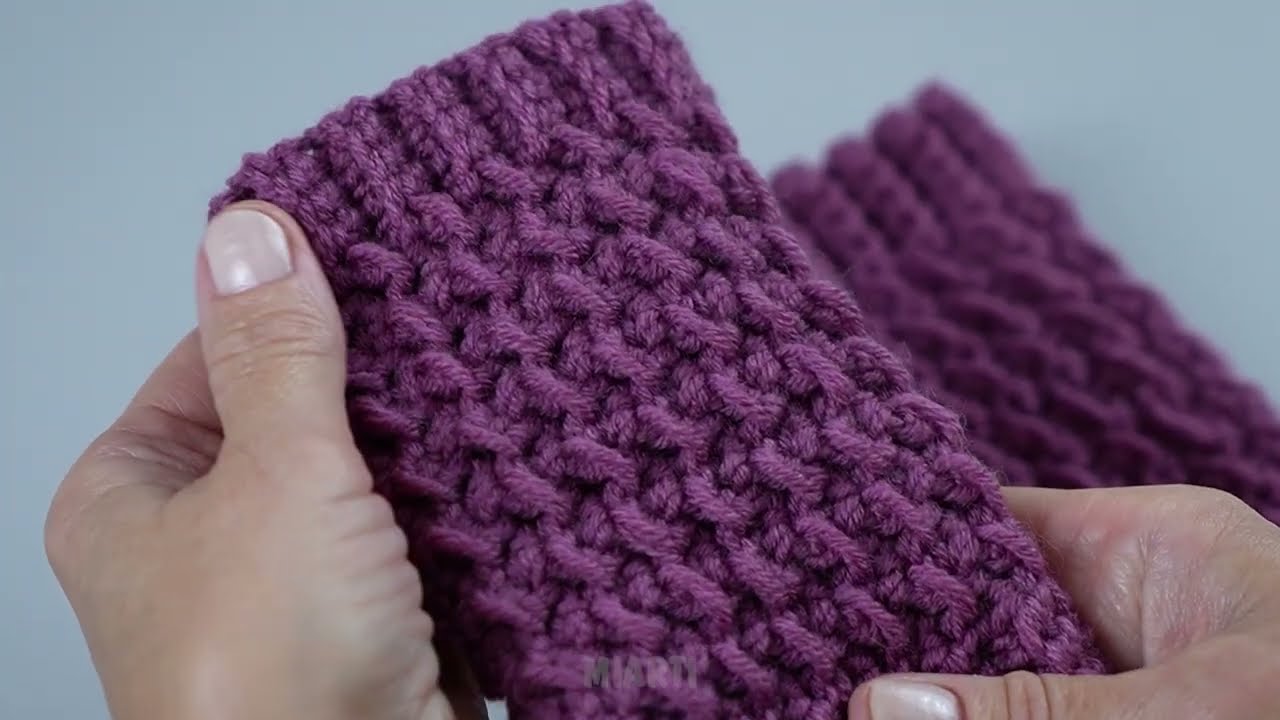
Use textured stitches like waffle or moss stitch
-
Change colors for stripes or color-blocking
-
Add buttons or crochet flowers for embellishment

Tips for Warm and Comfortable Mittens
-
Choose thicker yarn for extra warmth
-
Keep stitches snug but not too tight
-
Measure as you go for a perfect fit
-
Make the cuff slightly tighter than the hand
Final Thoughts
Warm crochet fingerless mittens are a quick, easy, and rewarding project that suits all skill levels. Whether you’re crocheting for yourself, gifting a loved one, or selling handmade items, these mittens are both stylish and practical.
Once you’ve made one pair, you’ll want to make them in every color!
If you’d like, I can also:
-
Turn this into a printable crochet pattern
-
Simplify it for absolute beginners
-
Write it as a blog post with SEO keywords
-
Add step-by-step stitch counts
Just let me know! 🧶
Watch video: