 by
by Here is a clear, beginner-friendly, detailed guide on how to knit seamless slippers “Orchid”—a popular construction where the sole has no seam, the shaping is easy, and the result looks elegant and flower-like around the instep.
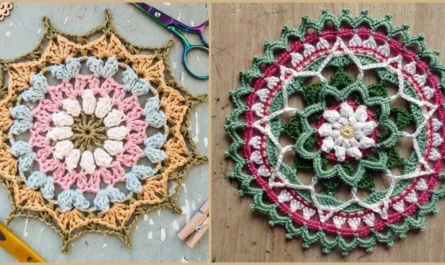
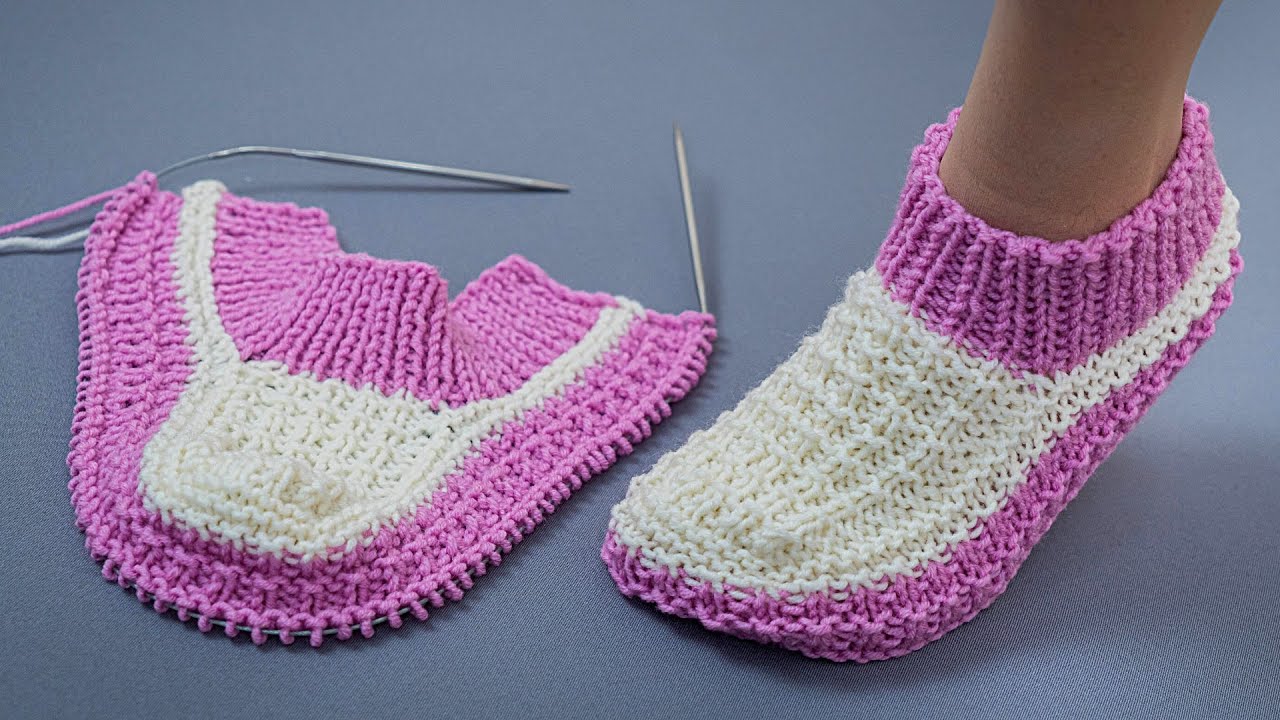
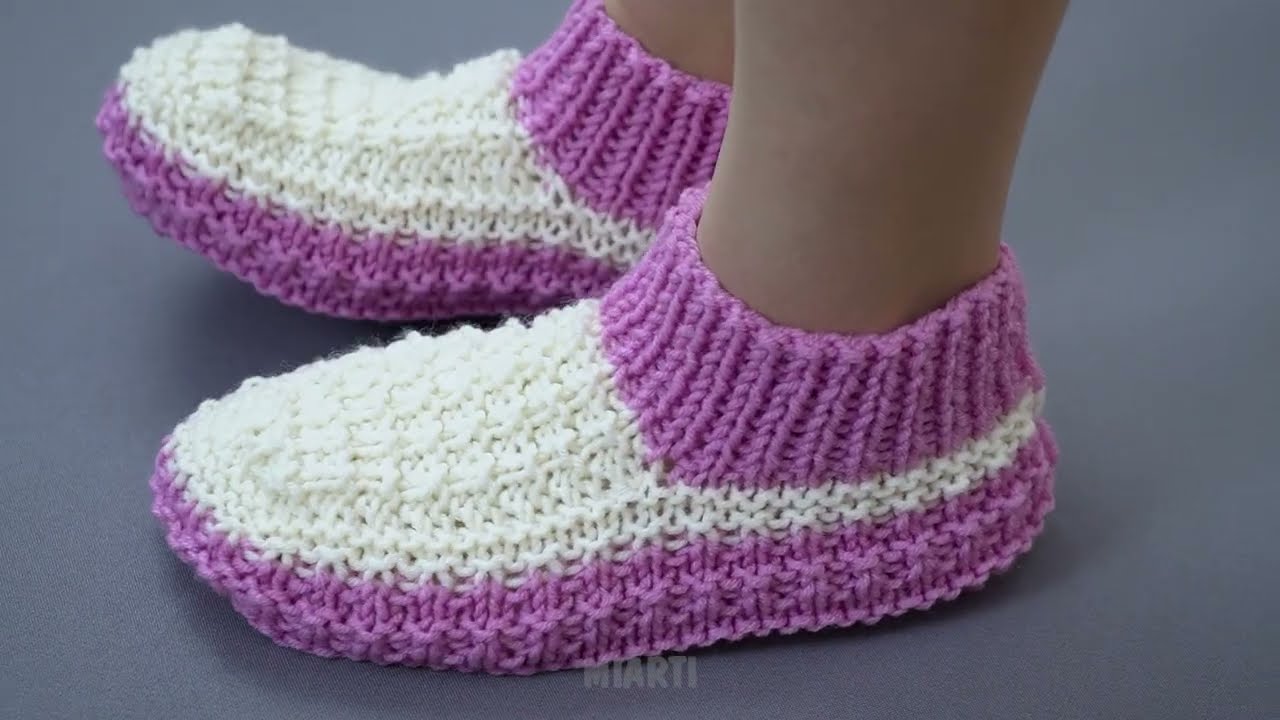
🧶 Seamless Knitted Slippers “Orchid”
A step-by-step guide—even for absolute beginners!
These slippers are worked from the toe toward the heel (or from the center outward), using simple stitches and decreases. Their signature look resembles open “petals,” which is why they are called Orchid slippers.
The best part? No seam on the sole—only one small seam up the back of the heel (or none at all if you choose a circular method).
⭐ Materials
-
Yarn: Medium-weight (DK or worsted), 80–120 g for a pair
(Soft acrylic or wool blend works well.) -
Needles:
-
Straight needles 3–4 mm (US 3–6), or
-
Circular needles 60–80 cm for seamless knitting
-
-
Tapestry needle (for weaving ends)
-
Scissors
-
Stitch markers (optional)
📏 Size Information
This method is easy to resize.
For an average adult foot:
-
Cast on 28–36 stitches depending on yarn weight.
🌸 The Basic Idea of the “Orchid” Slipper
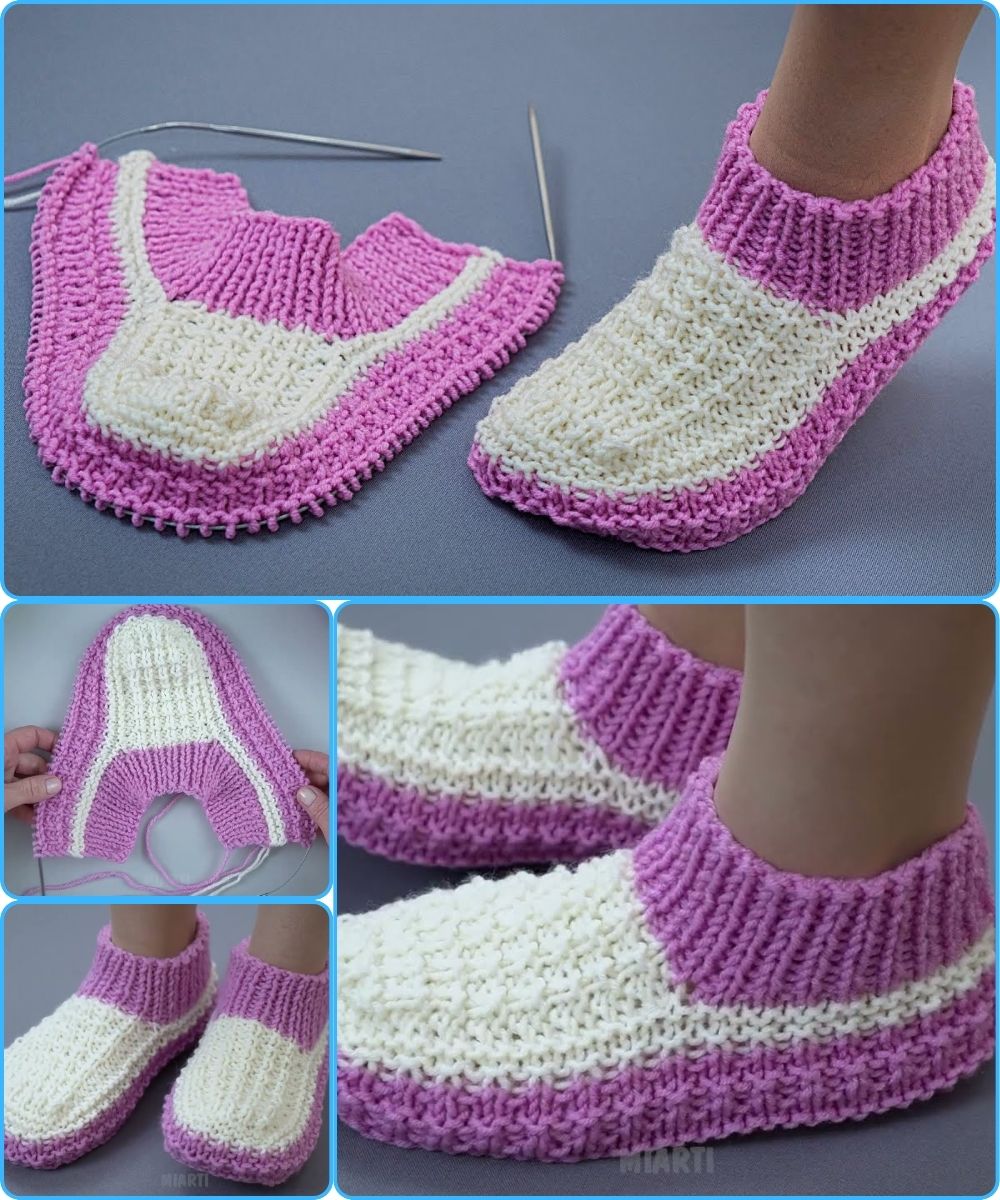
The slipper is constructed like this:
-
Start at the toe, knitting flat but building fabric symmetrically from the center.
-
Increase on both sides to create the “petals” that wrap over the foot.
-
Work a straight section that becomes the top of the foot.
-
Shape the heel with simple decreases.
-
Fold and close only the back seam, leaving the sole completely seamless.
🧵 Step-by-Step Instructions
1️⃣ Cast On
Cast on 28 stitches (or enough to match the width of the toes).
-
Row 1: Knit all stitches
-
Row 2: Knit all stitches
This forms the toe band.

2️⃣ Begin Increasing the “Petals”
You will increase at both edges on every right-side row:
Pattern section:
-
Row A (RS): K1, yo, knit to last stitch, yo, K1
-
Row B (WS): Knit all stitches
Repeat these 2 rows 6–10 times, depending on how wide you want the slipper.
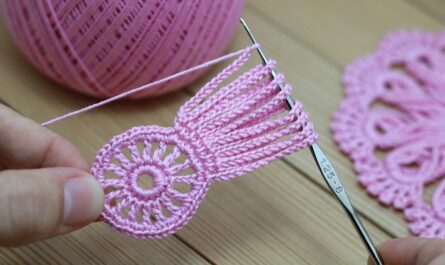
The fabric will fan outward like a blooming flower—this is where the slipper gets the “Orchid” name.
3️⃣ Knit the Instep Section
When the slipper width matches the circumference of the foot:
-
Work 10–16 rows in garter stitch (knit each row).
This part covers the top of the foot and adds comfort.
4️⃣ Shape the Heel
You now reduce stitches so the slipper cups the heel.
Decrease section:
-
Row A (RS): K1, k2tog, knit to last 3 stitches, ssk, K1
-
Row B (WS): Knit all stitches
Repeat the 2 rows until you return to the original 28 stitches (or your starting number).
5️⃣ Work the Heel Flap
Knit straight (no increases or decreases) for:
-
6–10 rows, depending on foot length.
This forms the back of the slipper.
6️⃣ Close the Heel
Fold the heel section together and sew only the back seam.
The sole remains completely seamless, because the construction was knitted in a single piece from the toes to the heel.
If using circular needles and magic loop, you may graft the heel instead of sewing.
🌼 Finishing Touches
-
Weave in all ends with a tapestry needle.
-
Decorate with:
-
Crocheted flowers
-
Buttons
-
A contrasting edge (pick up stitches around the opening and knit 3 rows)
-
-
Lightly steam-block for best shape.
✔️ Tips for Beginners
-
Don’t worry if your yarn overs feel loose—they tighten naturally after the heel shaping.
-
Garter stitch is forgiving. Uneven tension won’t show.
-
Try your slipper as you go! This pattern adapts easily by adding or removing rows.
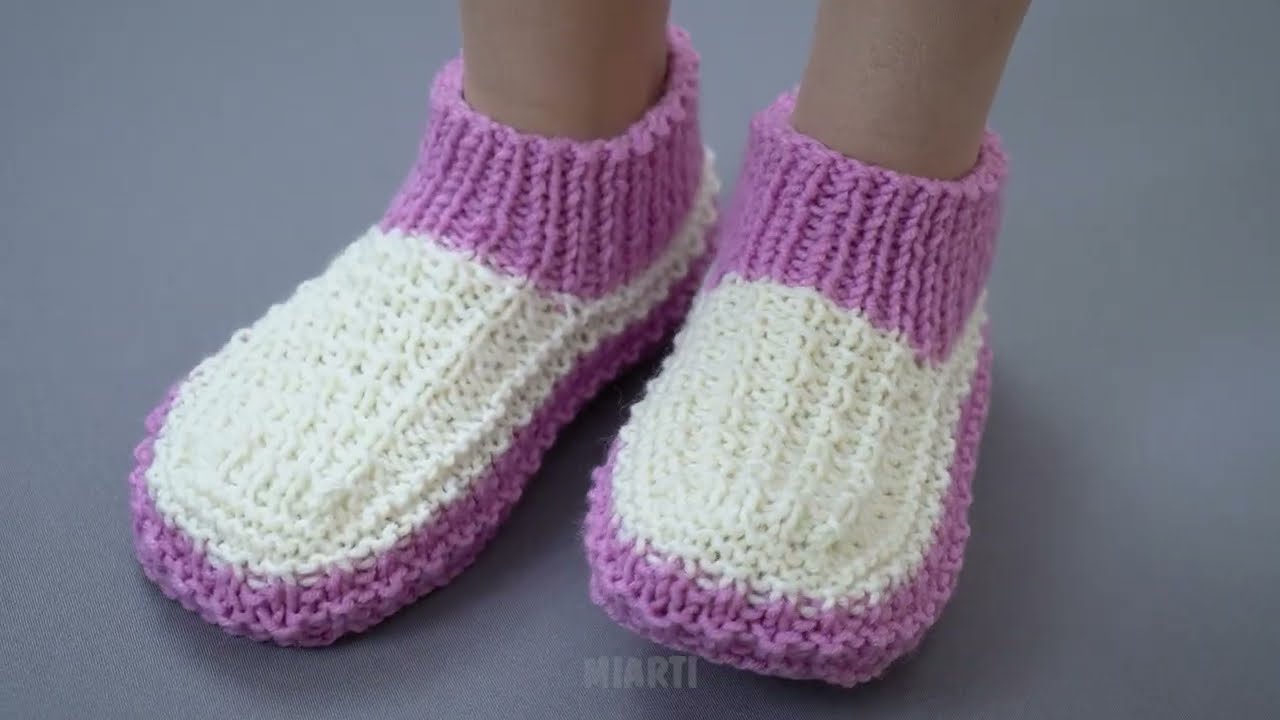
💗 Result
You now have a pair of soft, flexible, beautiful Orchid-style seamless slippers that sit perfectly on the foot and stretch comfortably—ideal for gifts or cozy wear at home.
If you want, I can also provide:
✅ Row-by-row written pattern
✅ A printable PDF
✅ Video-style instructions
✅ Size chart for all foot sizes
Just tell me!
Watch video: